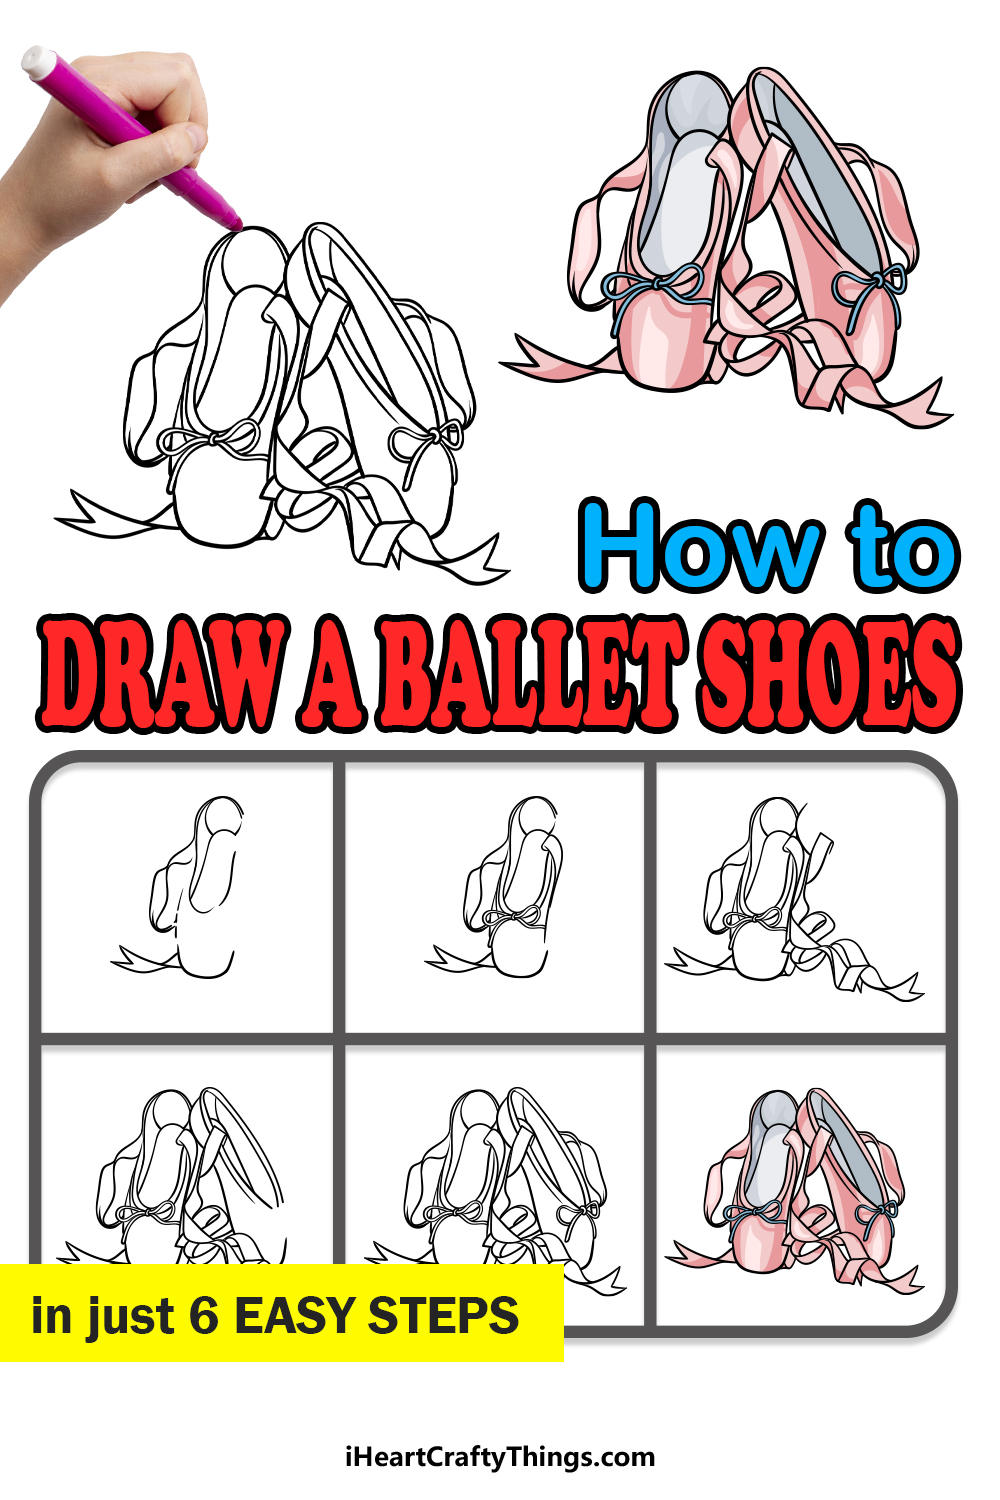
Ballet is one of the most elegant and enjoyable forms of dance and physical expression, and it is popular worldwide.
The gear and clothing associated with ballet such as tutus and ballet shoes are as iconic as ballet itself, and learning how to draw ballet shoes can be a great way to celebrate ballet!
These shoes have a lot of detail to them, so learning how to draw them can often be easier said than done.
If you have some steps to follow it can be made much easier, however, so you’ll definitely want to read through this whole guide.
Our step-by-step guide on how to draw ballet shoes will show you how to draw these iconic shoes with little difficulty.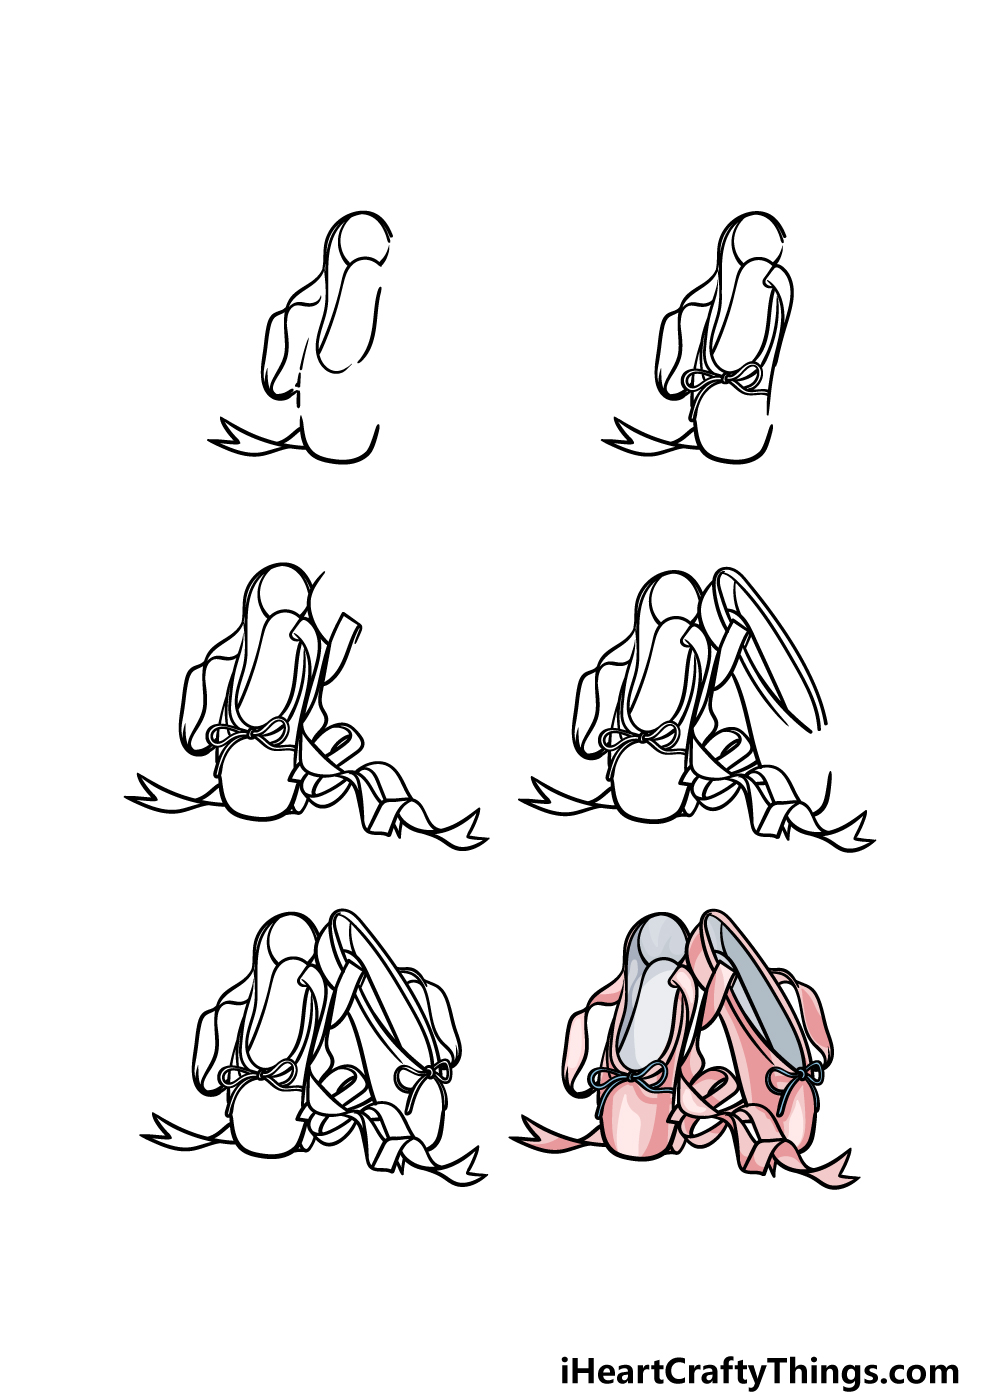
How to Draw Ballet Shoes – Let’s Get Started!
Step 1
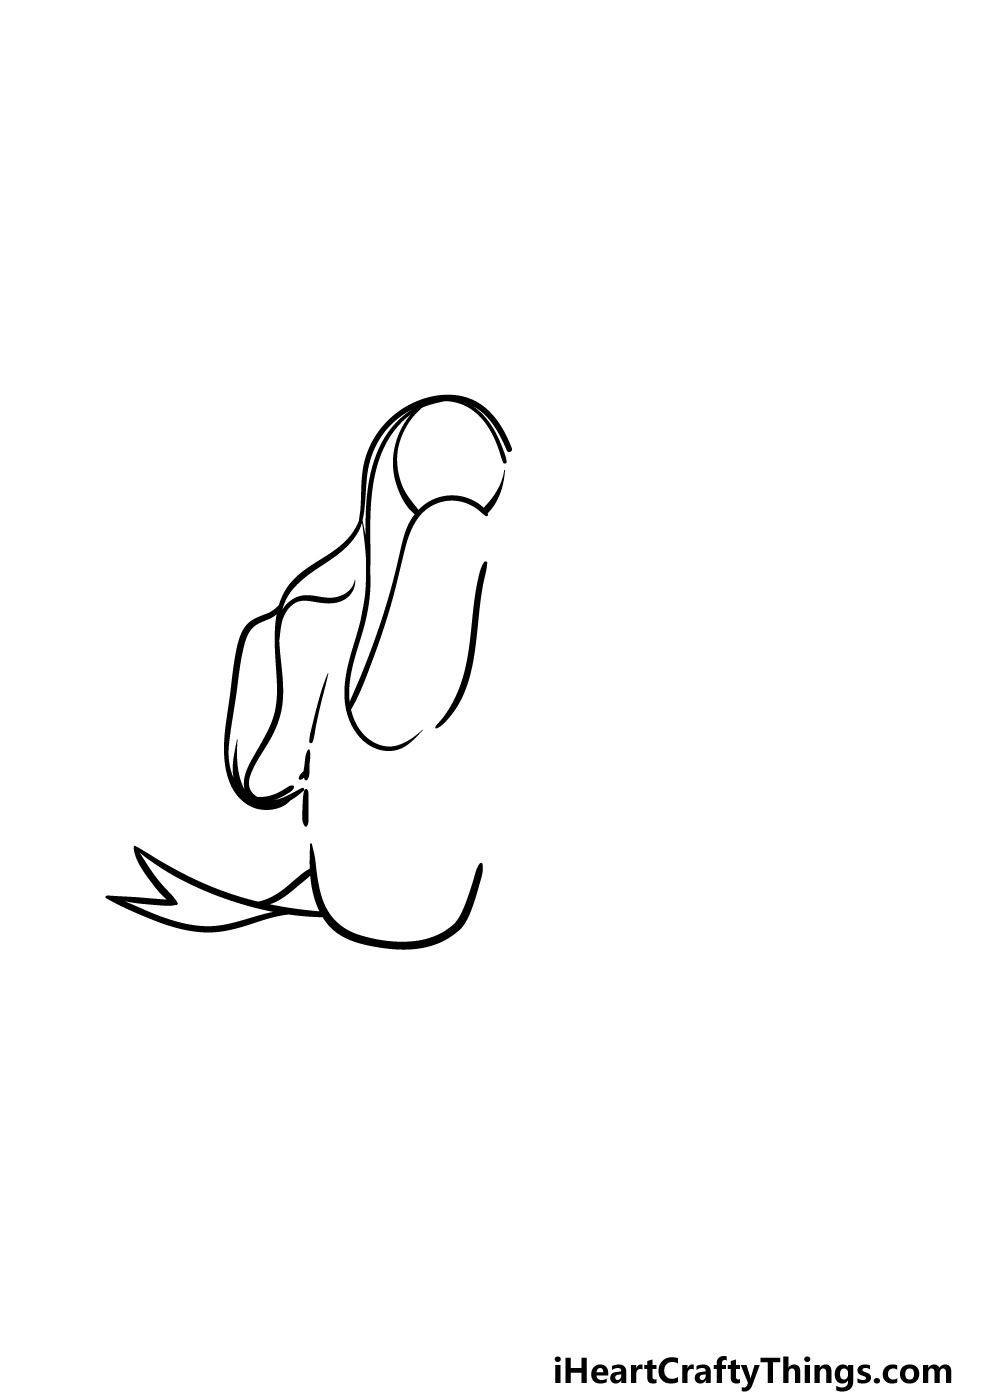
While we will be drawing two shoes in this guide on how to draw ballet shoes, we shall simply start with one in this first step.
For this and all of the following steps in this guide, you may want to try and copy the lines exactly as they appear in the reference image.
This first shoe will be propped up, so we will use some curved lines to draw the opening of the shoe that will be facing us as the viewer.
This inner section will also have a rounded oval shape at the top of it. Then, you can use some more curved lines for the front of the shoe, and then use some wavy ones for the ribbon dropping off of it. Then we shall move on to step 2!
Step 2 – Draw some more details for the first shoe
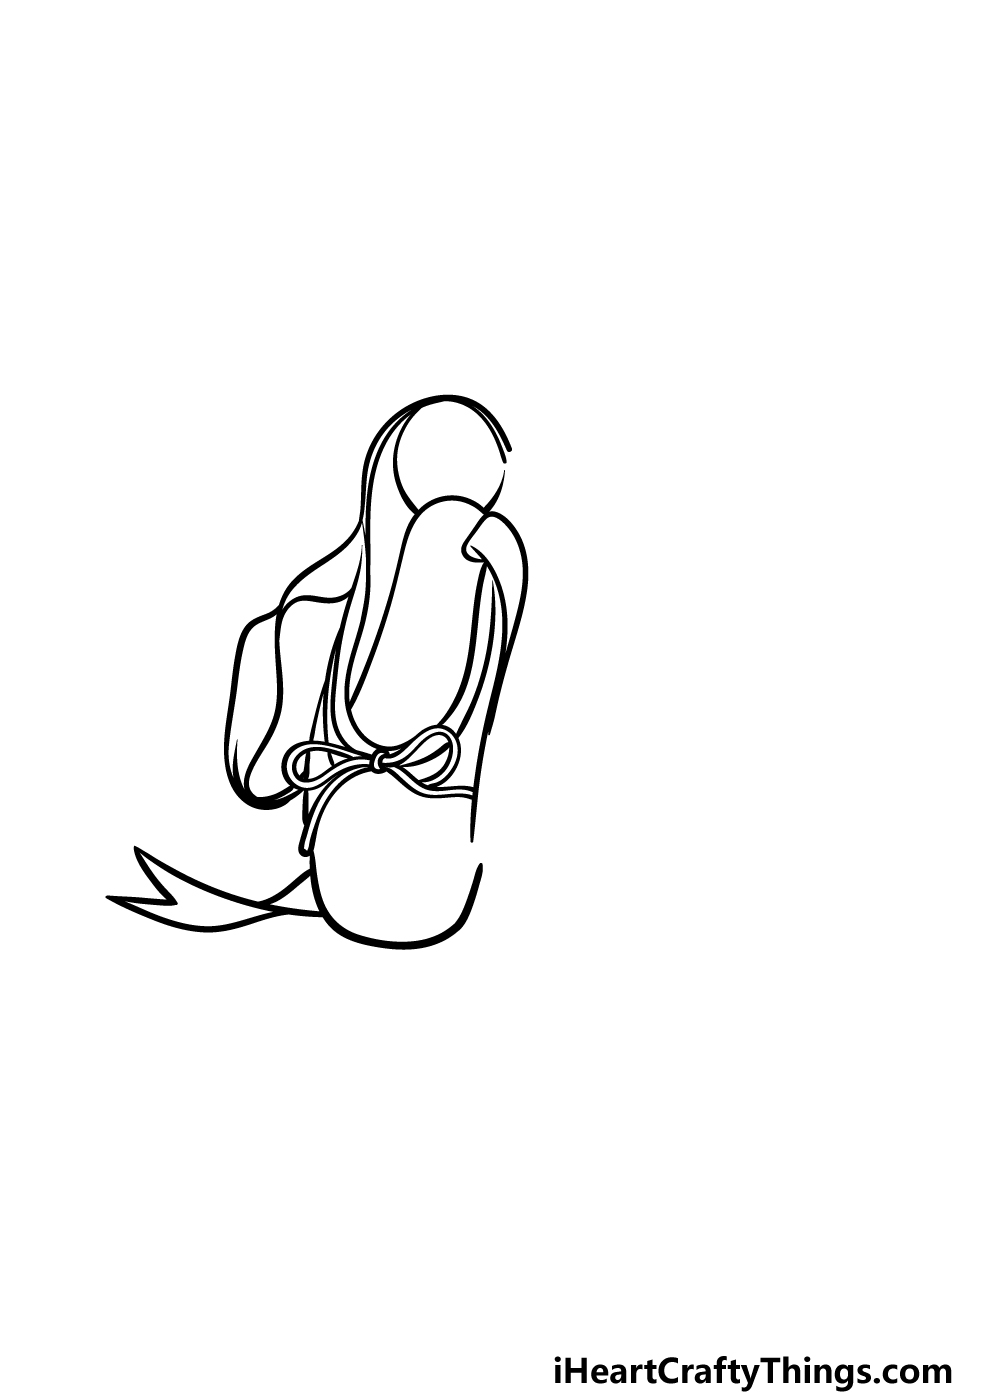
Now we will be adding some more detail onto the shoe that you started in the previous step of this ballet shoes drawing.
First, you can use some thin lines to draw the laces tied into a bow that is at the front of the shoes. This bow will go directly beneath the hole that the foot will go into, which you drew in the previous step.
You will also use some curved lines on the right-hand side of the shoe to have another ribbon piece dropping down.
Finally, add an outline for the hole of the shoe and then we can proceed to the next part.
Step 3 – Next, draw some ribbons coming off the shoes
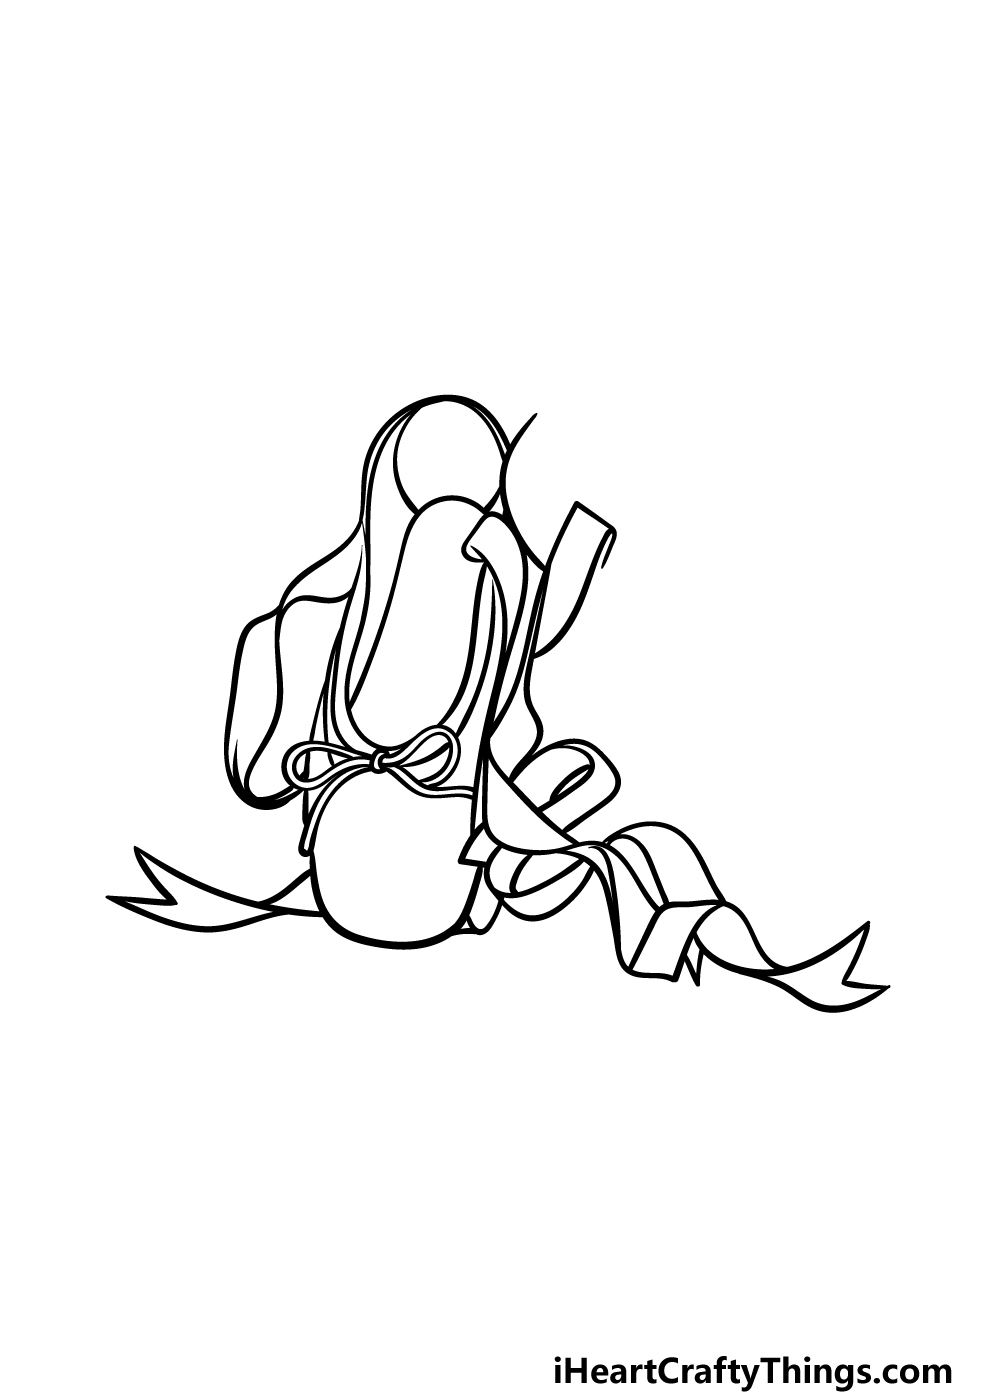
This third step of our guide on how to draw ballet shoes will possibly be the trickiest of all the steps in the guide!
The reason for this is that we will be drawing a lot of ribbon coming off of the shoes, and getting the flow of the ribbon looking right can be quite a challenge.
Earlier in the guide, we mentioned how you may want to copy the lines as they appear in the reference picture, and that is especially true here.
As you draw these ribbons, try to keep in mind how a real ribbon would look and flow and then try your best to replicate it here.
We will be using lots of wavy lines to draw the ribbons here, and they will go between the two shoes once you add the next one in the following step.
Step 4 – Now, draw the second shoe
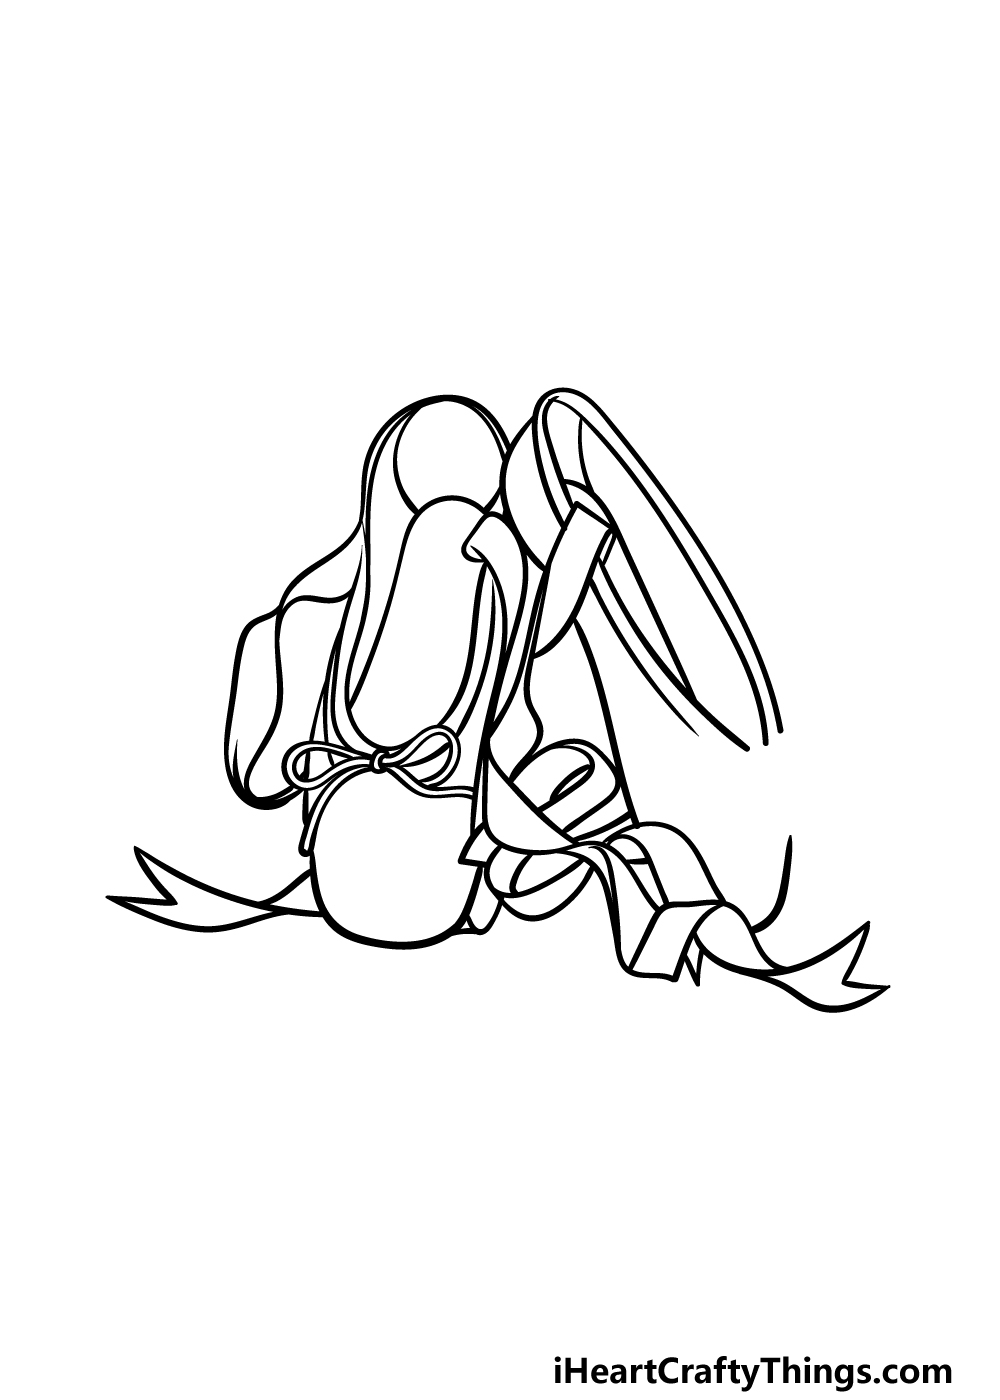
You’ve got the hardest part of this ballet shoes drawing out of the way, and now you’re ready to draw the second shoe in the pair.
This shoe will be similar in structure to the first one, however it will be at a bit of a different angle.
The second one will also be standing upright, and you will draw the hole of the shoe by using a long, rounded shape.
Then, you can also draw a rim around the hole and then use more curved lines for the front of the shoe.
There will be a space left near the front of the top of the shoe, as we will be adding a bow there along with some final details in the next part.
Step 5 – Add some final details to your ballet shoes drawing
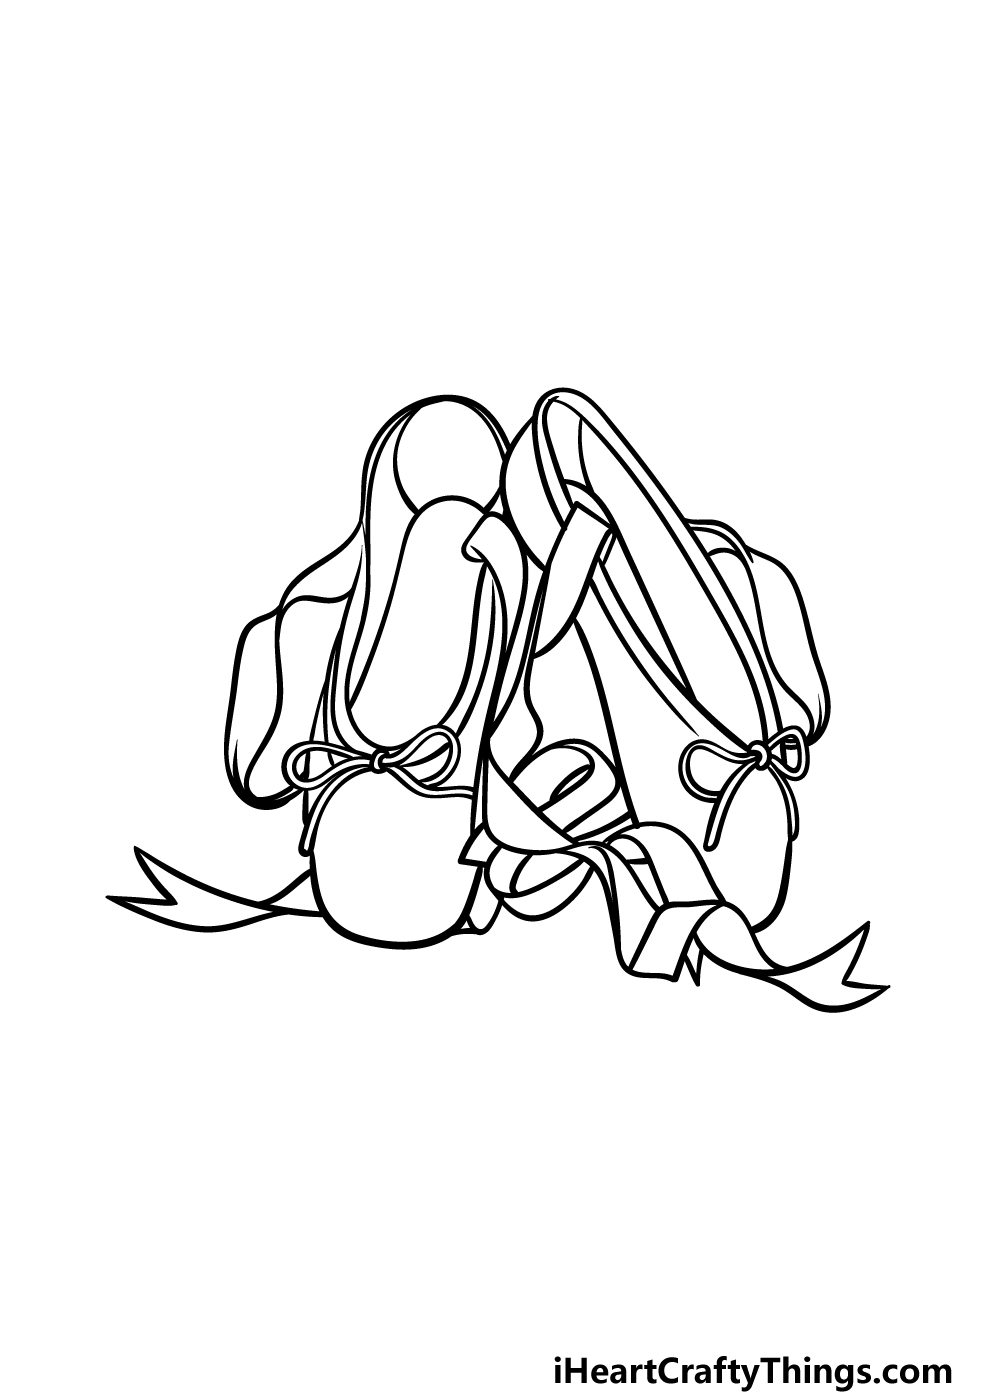
For this fifth step of our guide on how to draw ballet shoes, we will be finishing off the final details to have you ready for some coloring in the final step.
First, you can draw another thin bow onto the space that you left near the front of the shoe previously.
We will also be drawing another piece of ribbon dropping of the right-hand side of the shoe. Once these details are drawn, you are ready for the final step in the guide!
Before you move on, can you think of additional details to add to the image? It could be fun to draw a nice background for the picture to further personalize it!
Step 6 – Finish off your ballet shoes drawing with some color
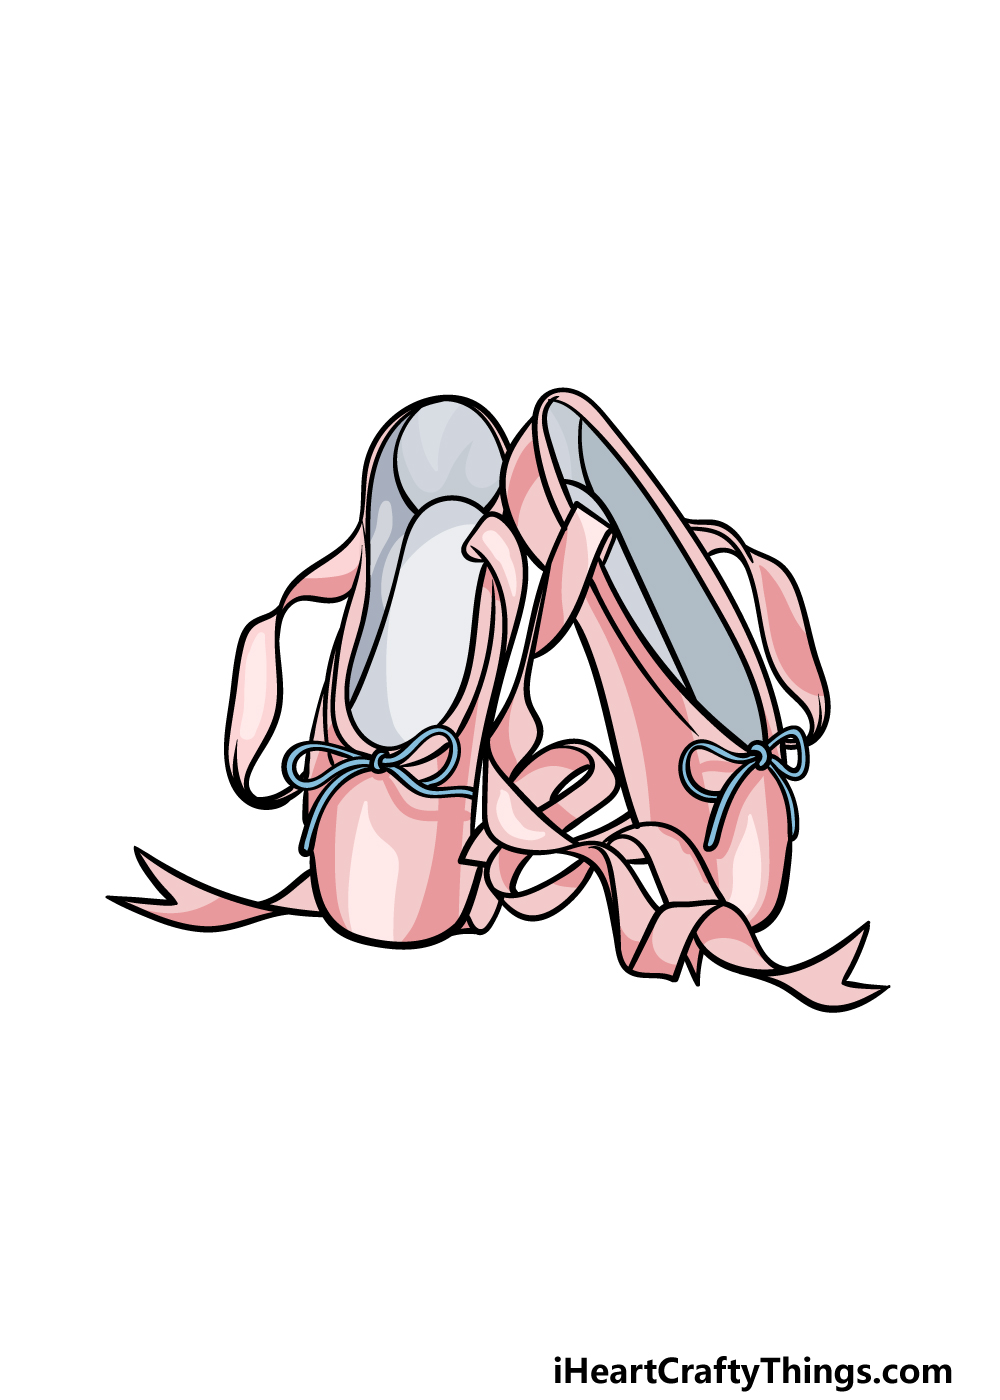
Now it’s time to close of this guide by adding some beautiful colors to your ballet shoes drawing.
Ballet gear is usually associated with pinks or light blues, and we went with the pink option for our example image. Even though we primarily used pink, we incorporated different shades to add some definition to the colors.
When coloring in, you could try to experiment with various art mediums depending on the kinds of color intensities you’re looking to achieve.
Acrylics and colored markers help for brighter colors, and watercolors or colored pencils can be good for some subtle tones.
You can also mix up the mediums you use for some great combinations!
3 More tips to make your ballet shoes drawing easy!
Dance for joy as we make this ballet shoes sketch even easier for you to draw!
For this drawing of ballet shoes, we added a lot of details to make the image more realistic. Some of these details, especially the flowing ribbon, could be quite hard to draw.
There are a few ways that you can make this easier on yourself, and this could include removing or simplifying some of the details.
Let’s say that you are having a hard time drawing the ribbon. If that is the case, then you could either leave out that detail or have them tied up in a bow that’s easier to draw.
Whichever details are proving the most frustrating, there’s probably a way to make them easier to handle.
The angle that we chose for this ballet shoes drawing shows off a good portion of the shoes. This view is great from a compositional standpoint, but it could also be one that is harder to draw.
One way that you could potentially make it easier would be by drawing the shoes at a different angle. For instance, maybe they could be flatter on the ground.
Basically, you can choose any angle that may be simpler for you to portray in your picture. It could also help you to create some alternate versions of this drawing.
Finally, you can use real shoes to help you with this ballet shoes sketch. If you happen to have some real ballet shoes on hand, you could use them as models to aid you as you draw.
If you don’t have any, then you could even use regular shoes that are similarly shaped to ballet shoes.
By arranging them in the same way that we arranged these ballet shoes, you can get a sense for how to handle the details and proportions of the drawing.
Another option would be to look up some images online of ballet shoes. If you can find some photos posed similarly to the design in this guide then that’s even better!
Your Ballet Shoes Drawing is Complete!
Objects such as these famous shoes can be surprisingly hard to draw, so we hope that this guide on how to draw ballet shoes made it fun and easy for you to do.
When dealing with a drawing that has tricky elements, the best way to tackle it is by breaking it down and taking it slowly.
As long as you do that and follow the guide closely, you’ll do a great job with this picture!
Now that you have completed this guide, it’s time to find your next drawing challenge on our website. We often upload new guides to the collection, so definitely keep checking in!
When your pretty ballet shoes drawing is finished, be sure to share it on our Facebook and Pinterest pages for us to see, as we always love to see your amazing artwork!