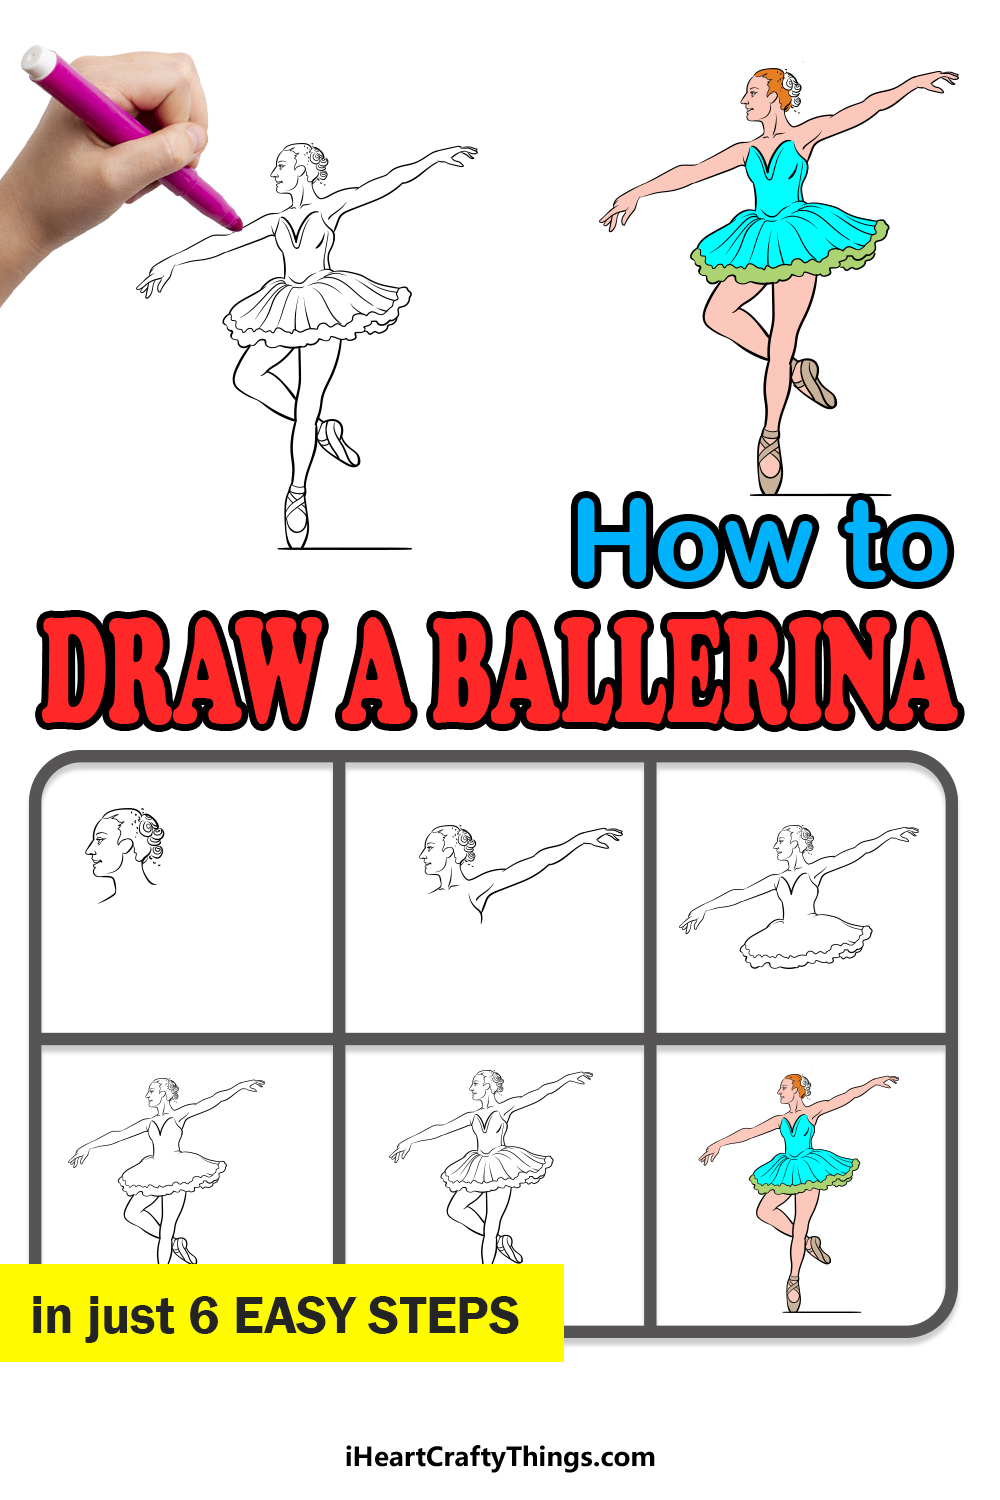
Ballet is one of the most beautiful and elegant forms of dance there is. Skilled ballerinas can tell stories through dance and fancy moves, and becoming a ballerina is something that many people dream of!
Not everyone can become a ballerina though, so the next best thing would be to learn how to draw a ballerina.
By the end of this tutorial, you will easily be able to create your very own ballerina!
We hope that you have a great time with this step-by-step guide on how to draw a ballerina in just 6 steps, and we’re sure it will help make this drawing a breeze for you to do!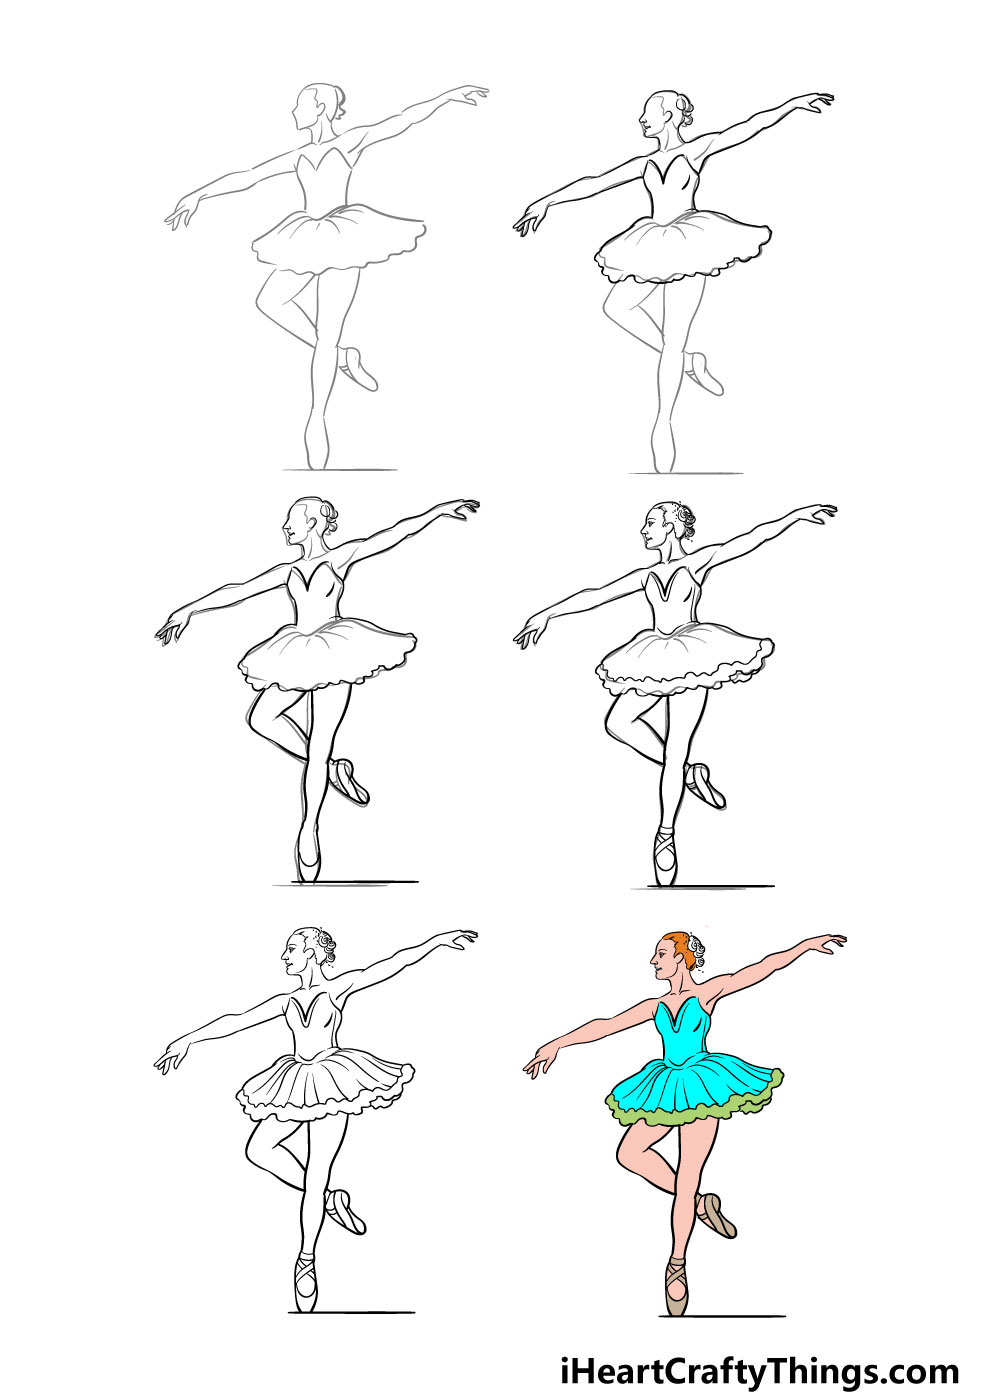
How to Draw A Ballerina – Let’s Get Started!
Step 1
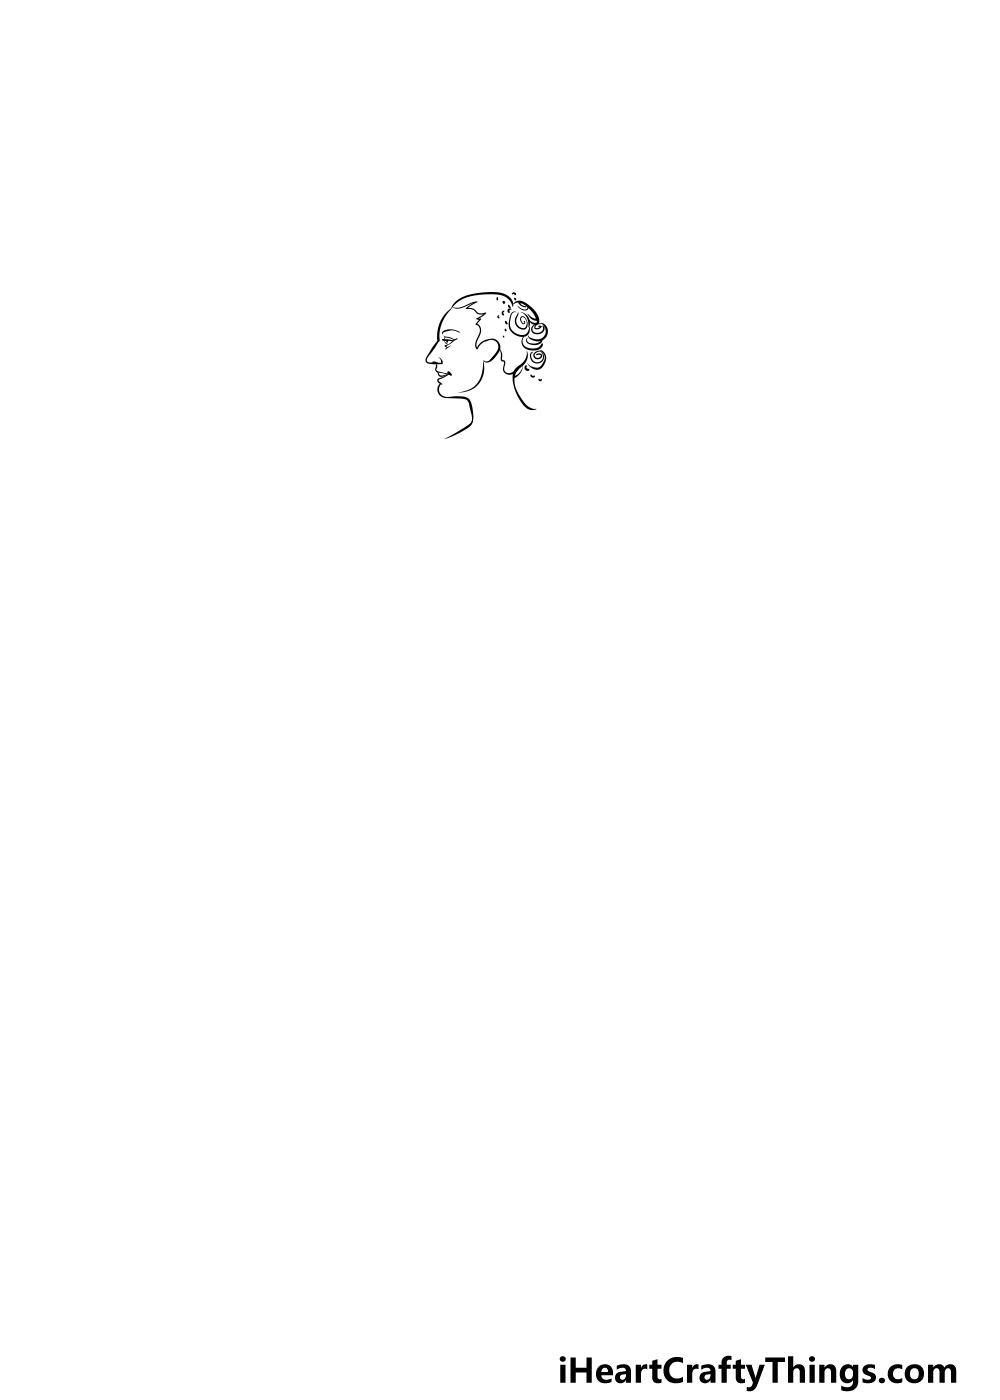
For this first step of our guide on how to draw a ballerina, you will be using a pencil to draw some outlines to guide you.
These guiding lines and shapes can be a bit complicated, so don’t be afraid to closely follow the reference image as you draw!
You will be drawing some rough outlines for the entirety of the dancing ballerina, and these pencil lines will make it much easier when you start refining the image and adding some more detail.
As long as you take it slow and refer to the reference image you’ll definitely be able to do it! Because you’re drawing with your pencil, you can always erase any mistakes or areas that aren’t looking right.
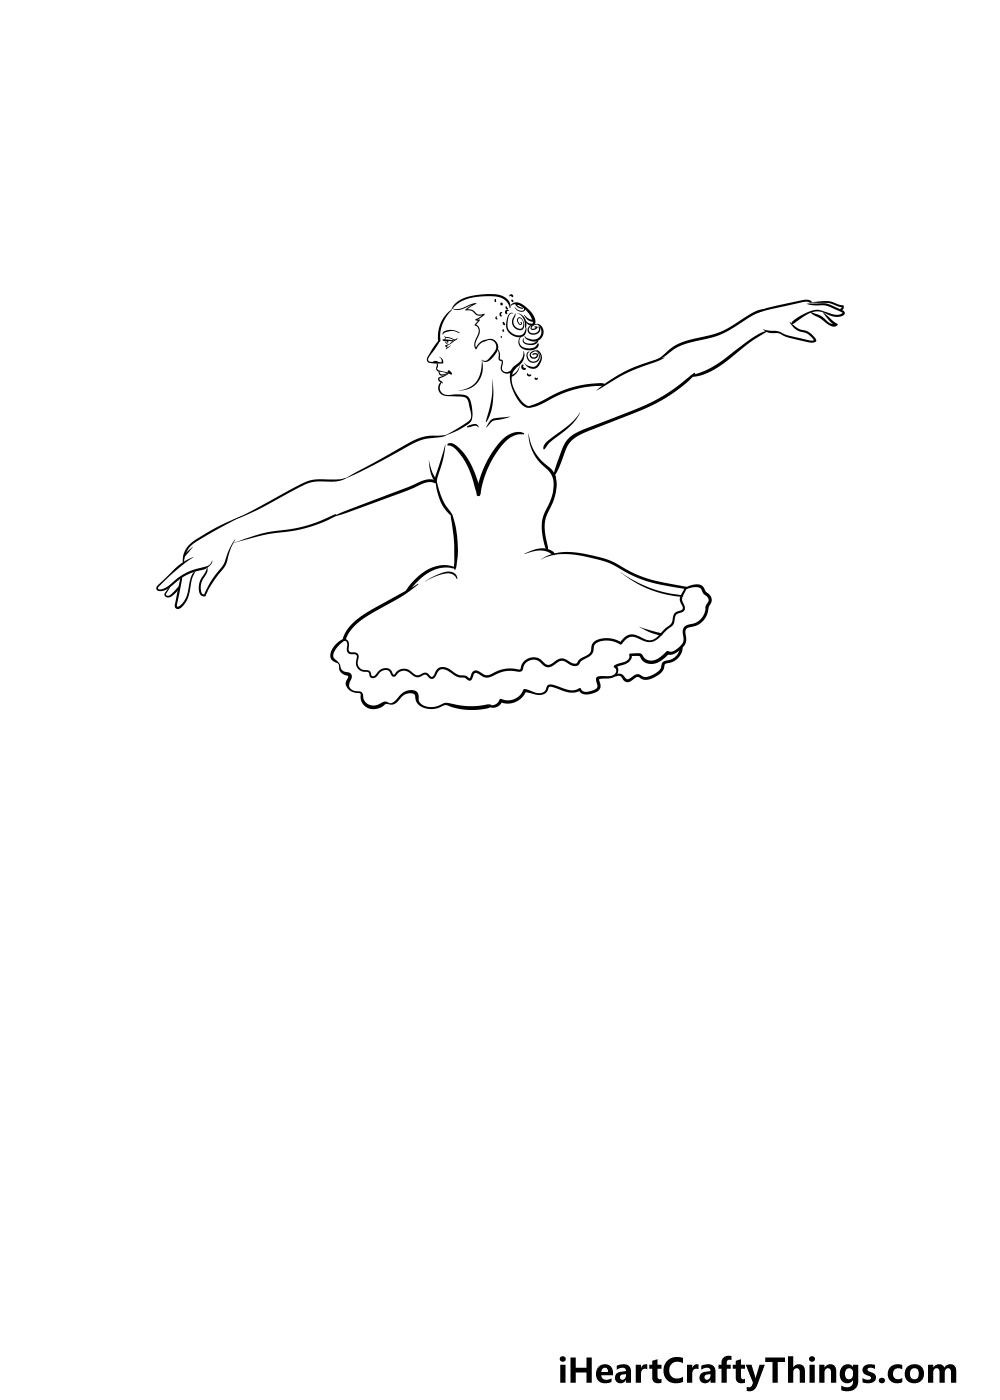
Step 2 – Start working on some finer details with your pen

Now that you have the pencil outline of your ballerina drawing done, you can start to use a pen or darker pencil to add some finer details to the image.
From this point onward, you’ll definitely want to take it slowly! Drawing isn’t a race, however, so take your time and have fun with it!
You can use your pen to start adding detail to the top half of the ballerina’s body. This will include her arms, face and her tutu.
In our reference image, the lines you will be adding will be darker than the grey lines from the first step.
Step 3 – Now, draw the bottom half of the ballerina
You’ve drawn the top half of the ballerina, and in this step of our guide on how to draw a ballerina you can add the second half.
To do this, simply keep adding more pen lines to the legs and feet of your ballerina until it matches our reference image. You can also use a flat line for the floor she is dancing on.
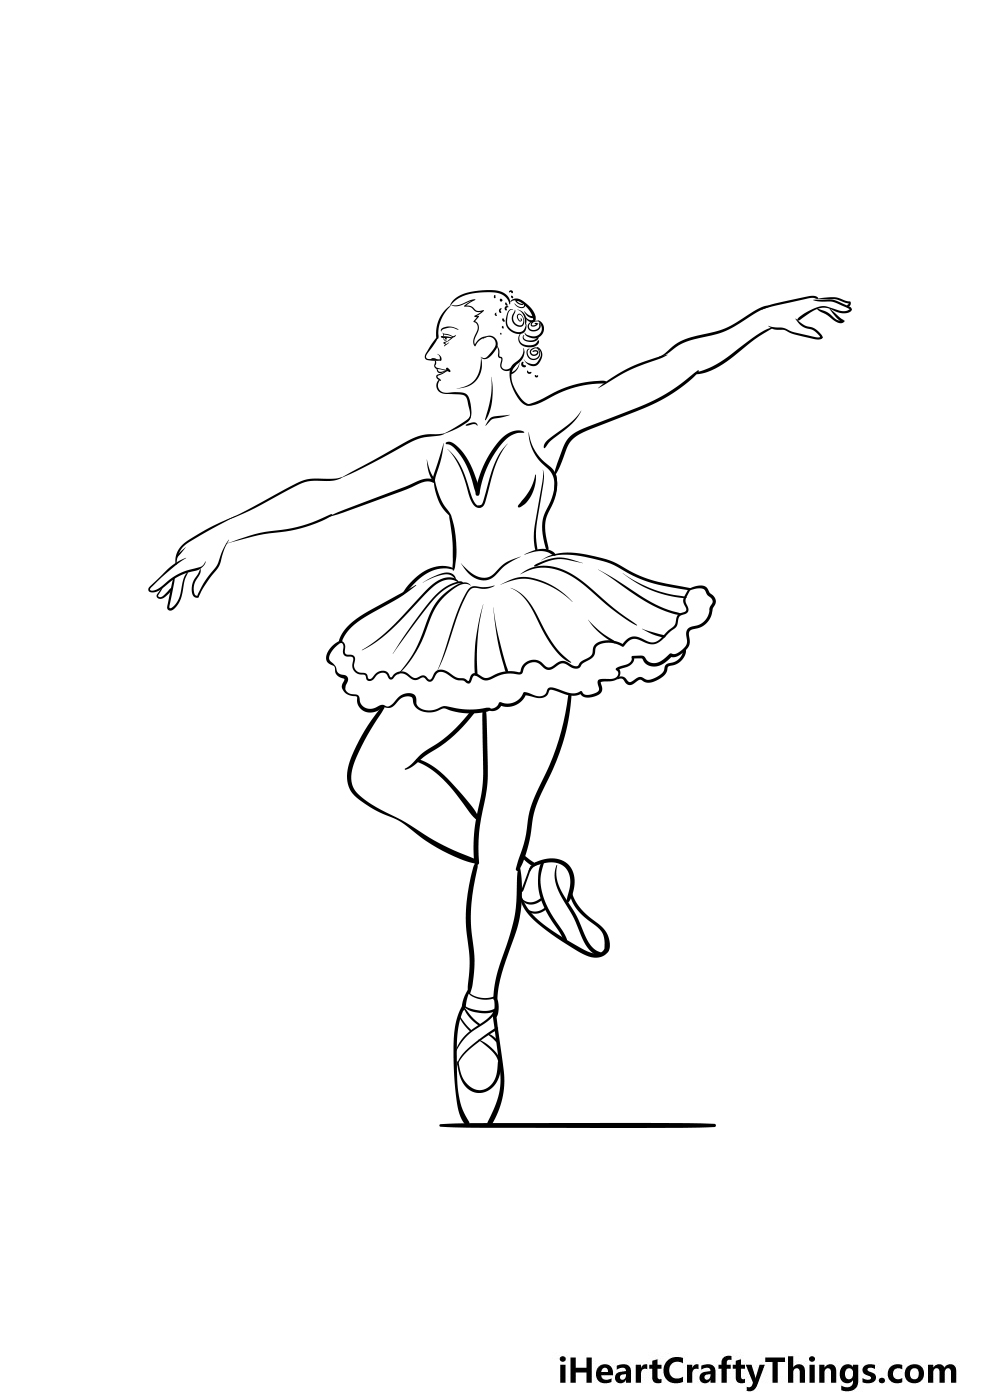
Step 4 – Add some face and finer details
You’re making great progress with the outline of your ballerina drawing, and now you can start adding some final details.
The main part of this step will be adding her facial features like her eyes, nose and mouth. You can also add some details to her hair in this step.
Then, there are a few more line details that you can add to her clothing and her body for some fabric and muscle detailing.
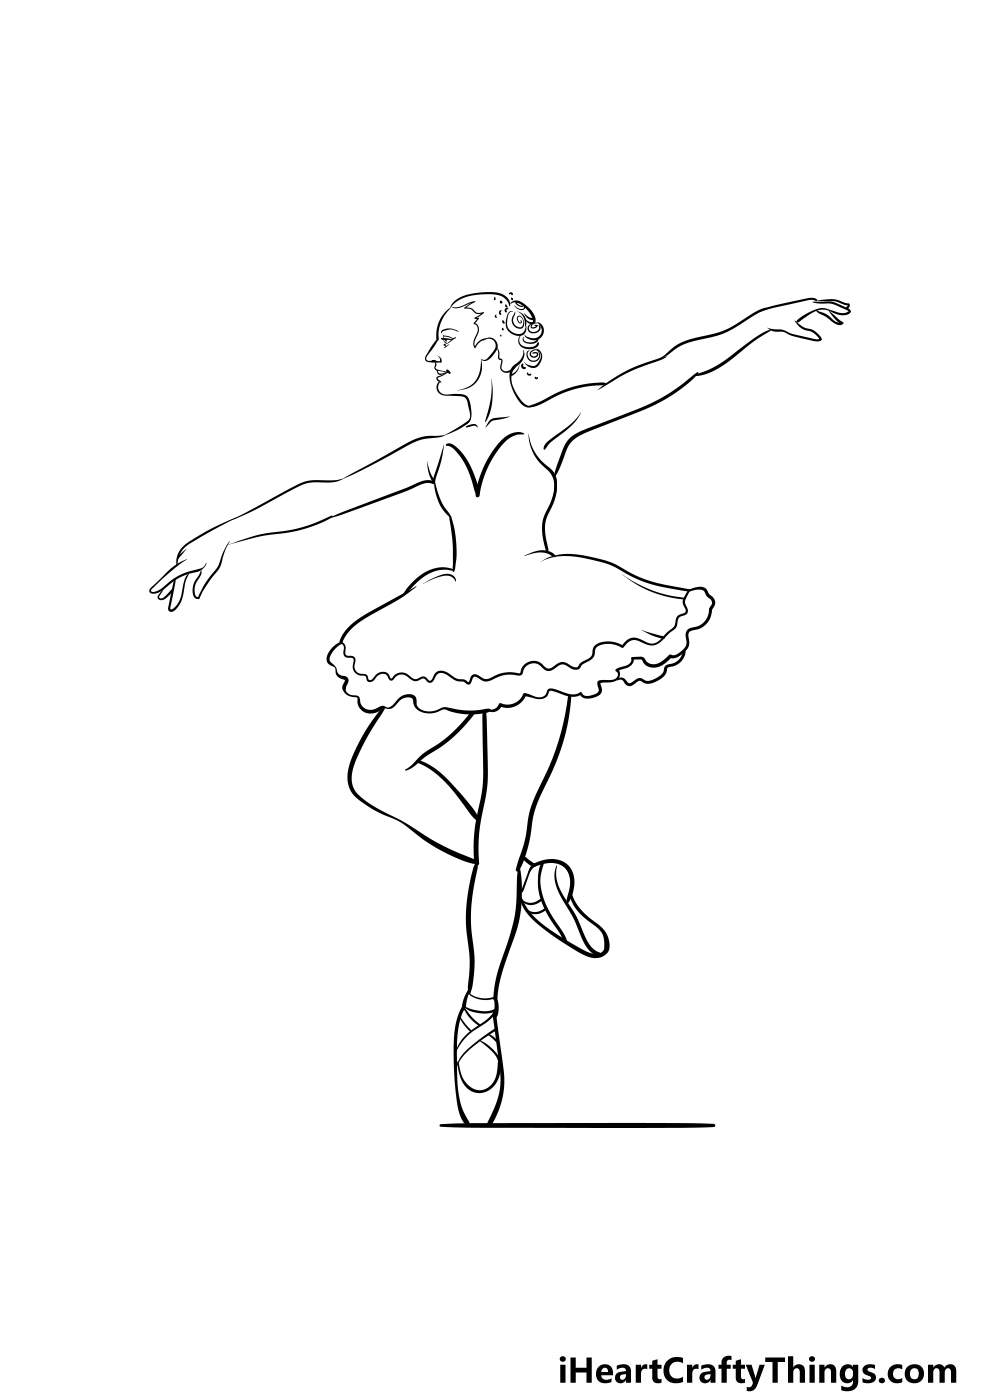
Step 5 – Now, you can add some final details and erasethe pencil lines
Before you start to add some color to your ballerina, we have a few more details to add in this guide on how to draw a ballerina.
The main feature of this step will be her tutu, which you can add some lines to in order to give it more depth.
Once that’s done, you can also add any additional details that you would like for your drawing!
You could even draw a background for her, and some examples could include showing her in a dance studio or perhaps in front of a giant crowd!
Adding a background and some of your own details are a great ay to add some of your own personality and creativity to an image, so be sure to let your imagination run wild!
Once you’re happy with how it’s looking, you can erase the pencil lines from step 1, as you won’t be needing them anymore.
Just be careful when you do this, as if the pen ink isn’t totally dry yet you could smudge it.
Once you’ve erased the pencil, you can go over any details you may have missed out and then you’re ready for the final step!
Step 6 – Finish off your ballerina drawing with some color
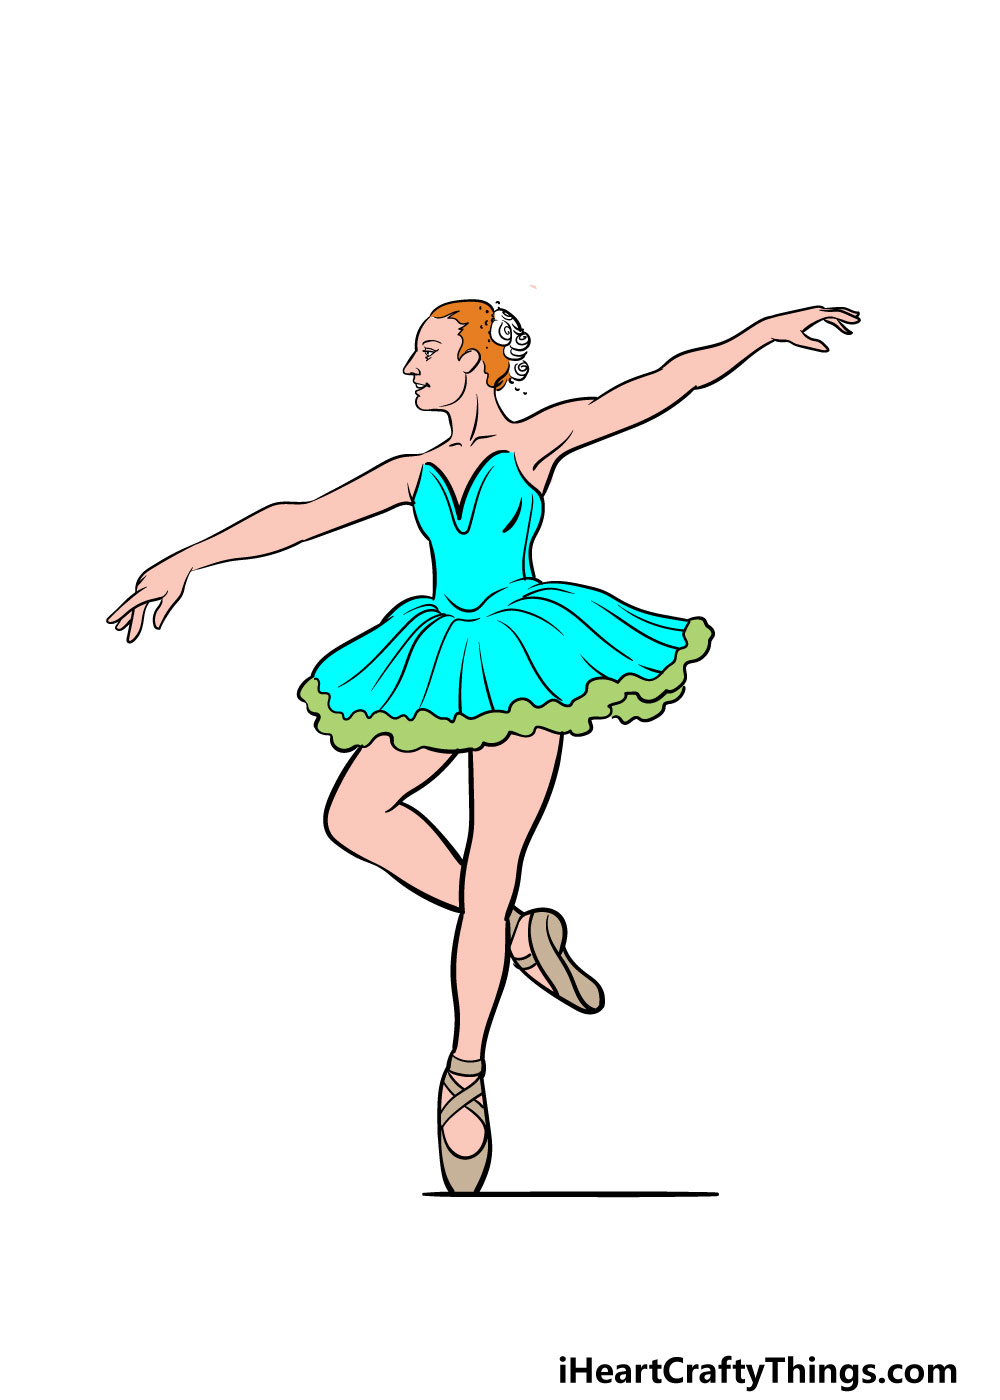
That brings you to the final step of your ballerina drawing, and this is where you get to have fun coloring in your pretty drawing!
In our reference image, we went with some nice blues and greens for her tutu and used some red for her hair.
This is just one way that you could go about it, however, and for this step you should really let your creativity flow!
Tutus often come in elegant pink or purple colors, but they can be any color you would like! It’s completely up to you and you can show what your tutu would look like if you were a ballerina.
You could even alter some of the details and colors to make her look like you so you can really imagine what it would be like to be a ballerina!
What colors and art mediums will you use to finish off your ballerina drawing?
5 Tips To Make Your Ballerina Drawing Even Better!
These tips for your ballerina sketch will make it look even more stunning!
Seeing a ballerina doing a beautiful dance is always amazing, but it’s even better when you can see multiple ballerinas doing their thing.
Now that you have completed this drawing of a ballerina you could add some more!
They could even be drawn and posed very similarly to the first one and it would look like they are dancing in formation. How many ballerinas would you like to dance in this picture?
Ballerinas will wear all kinds of beautiful outfits, and this drawing shows just one. You could personalize it a lot by changing the outfit that she is wearing.
This could be as simple as changing the colors of the tutu or you could use an entirely different design.
This ballerina drawing shows her performing a classic ballet pose. If you want to really challenge yourself, you could try to portray a different pose as well.
To do this, you may wish to look up some photos or performances showing real ballerinas. Then you could use these as a reference point as you adapt the pose to the same style as our image.
If you love to perform ballet or have always dreamed of being a ballerina, then you could adapt this picture to look like you are the dancer! This could be done with just a few changes.
Another option would be to make this ballerina look like a real ballerina that you admire or maybe even know. The hair and face would be the most important aspects to change, but you can add any other details.
Finally, you could finish off this ballerina sketch with a background. This could be a simple stage to keep the focus on the ballerina, or you could make it really complex.
Using your colors, you could even add aspects such as a spotlight shining on the ballerina and create some props. You could also have a crowd in the background that is cheering her on!
Your Ballerina Drawing is Complete!
We hope that you had a wonderful time working with us on this step-by-step guide on how to draw a ballerina!
This drawing had a lot of detailing to it, but once you follow this guide and get the hang of it you’ll see how easy it can be when you have some steps to follow!
This guide is just the start of the fun, however, and now you can have a great time adding your own details such as clothing changes or a background.
Once you add some colors it will really finish it off nicely!
When you’re ready for more drawing fun, we hope to see you on our website where we have many guides for you to enjoy. We also upload new ones all the time, so be sure to visit often!
Once you have finished your ballerina drawing, we would love to see your pretty artwork! You can show us on our Facebook and Pinterest pages, and we can’t wait to see!