We may not be able to see atoms with the naked eye, but you technically are seeing them everywhere you look!
Atoms make up all matter around us, and it’s amazing to think that on a microscopic level these tiny cells are what make up everything we see and interact with. Atoms are very important, but it can also be fun to learn how to draw an atom!
With the help of this guide, you will know exactly how to do just that.
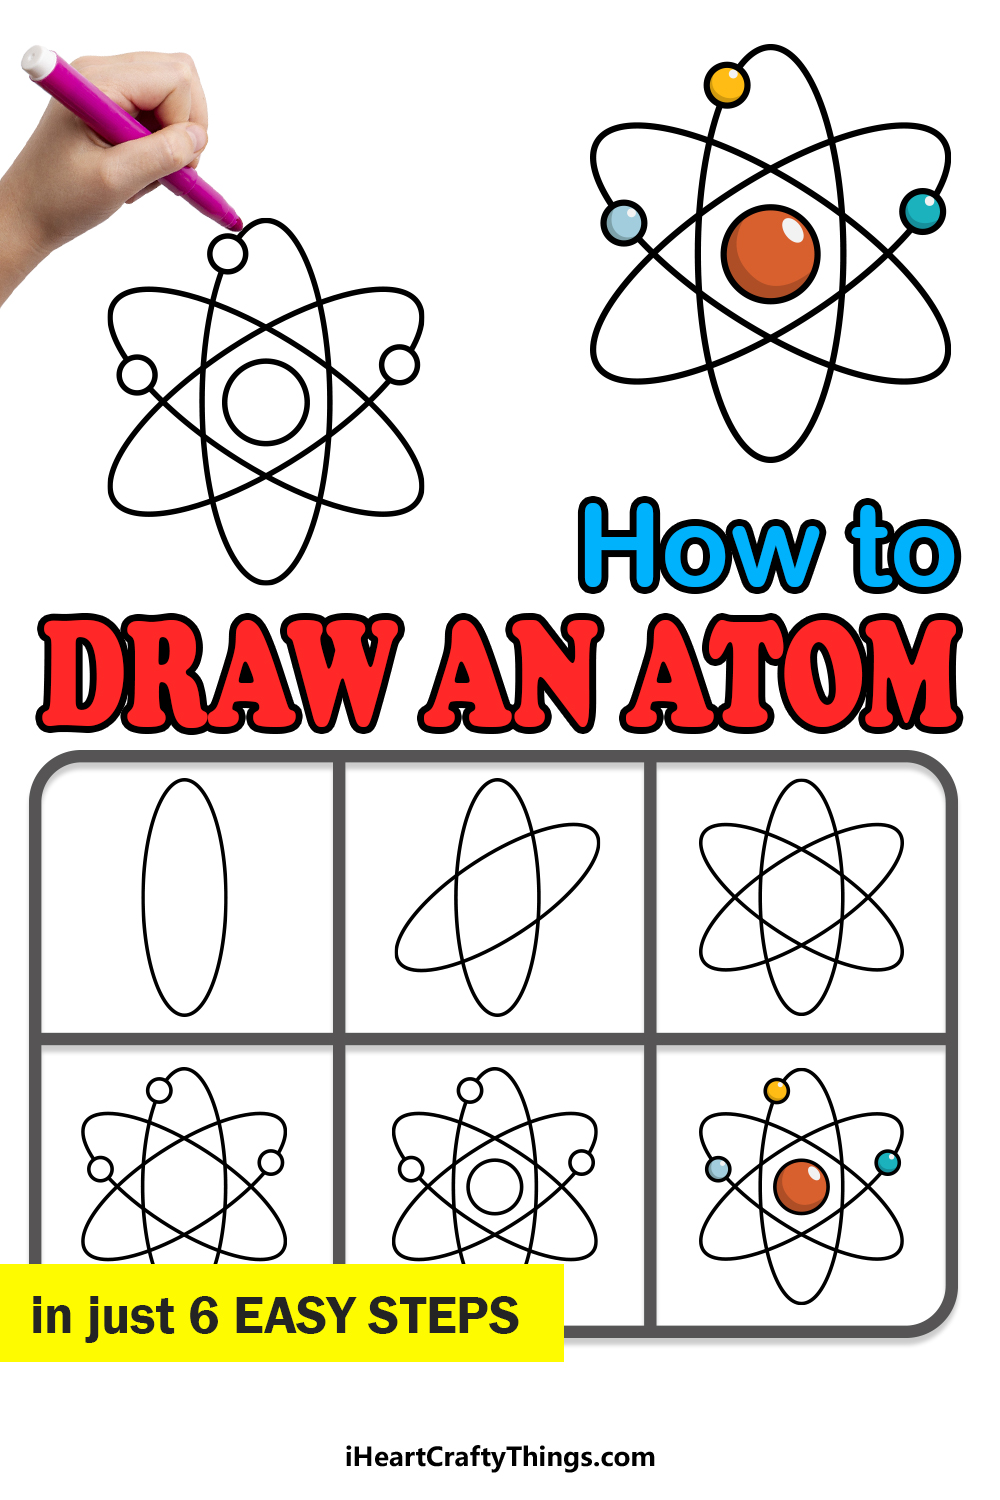
We hope that you enjoy this step-by-step guide on how to draw an atom in 6 steps!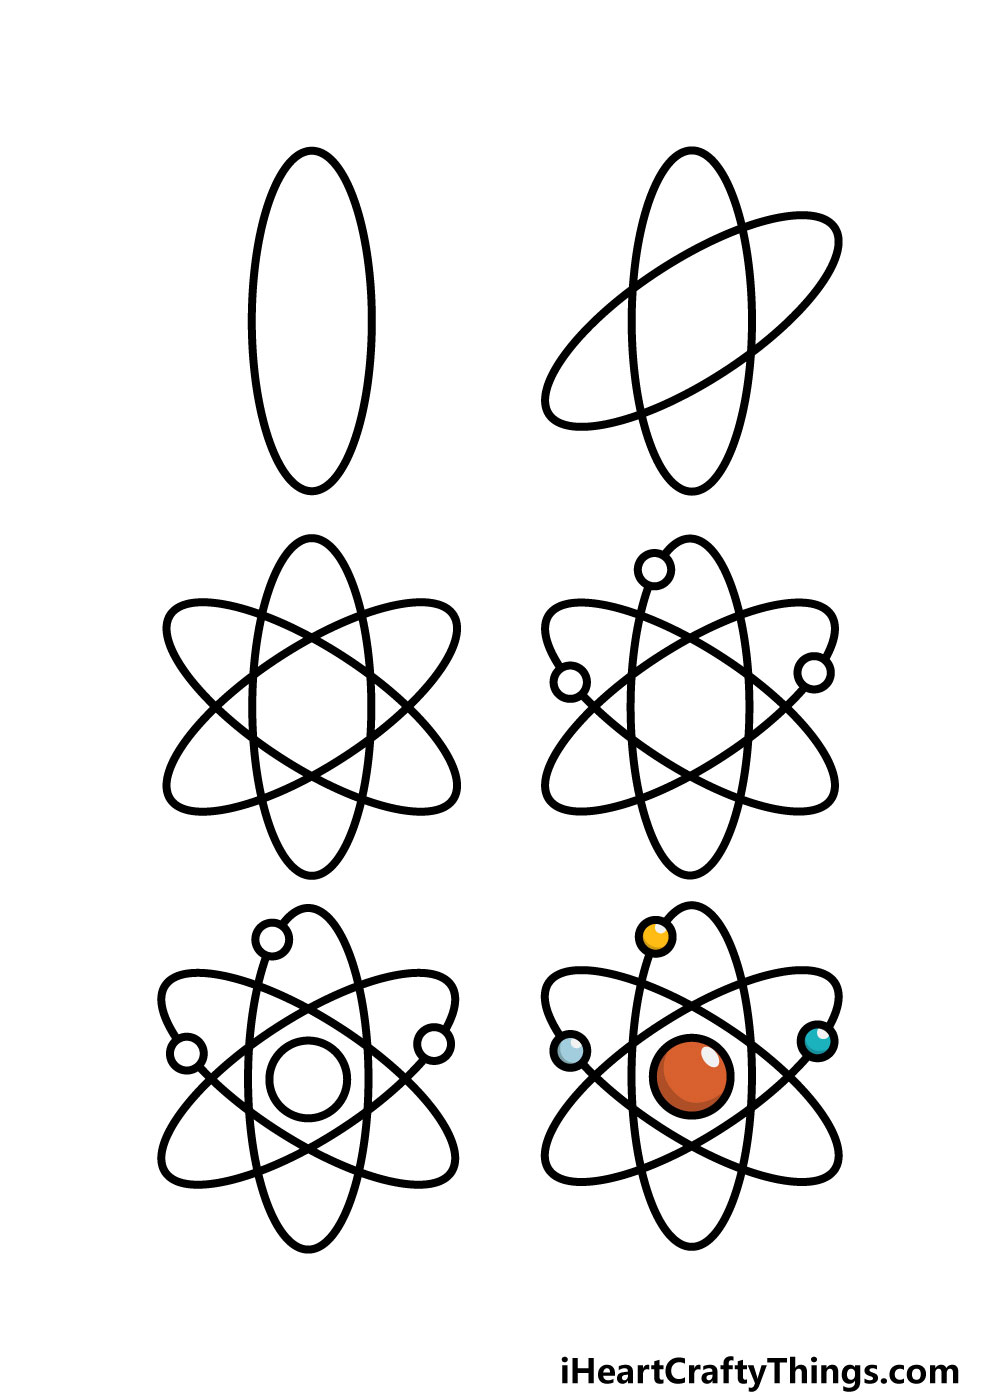
How to Draw An Atom – Let’s Get Started!
Step 1
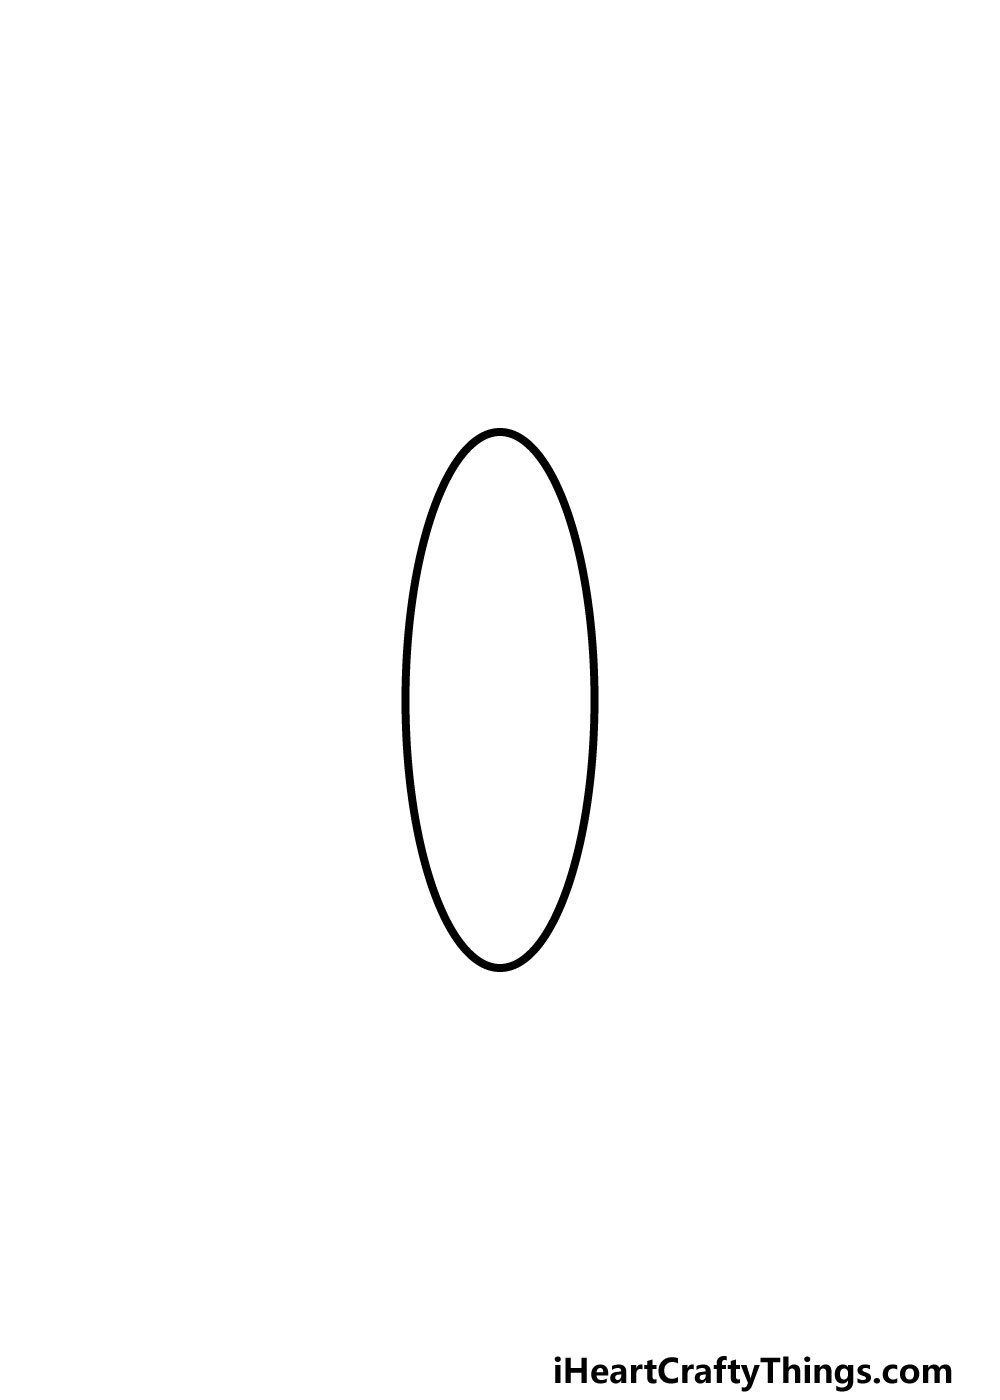
In this first step of our guide on how to draw an atom, we will start with a very simple shape. In fact, we will be building up the atom using several instances of the same shape.
This shape will be a long oval, and the first one will be vertical. Ideally, you would want to have all subsequent ovals that you will be drawing to be the same size.
You could ensure this by using a stencil or by tracing around something flat and oval.
Otherwise, you could measure the length and width of this oval and try your best to replicate it in future steps. Once you have this oval drawn, you’re ready for the next step!
Step 2 – Draw the next oval for your atom
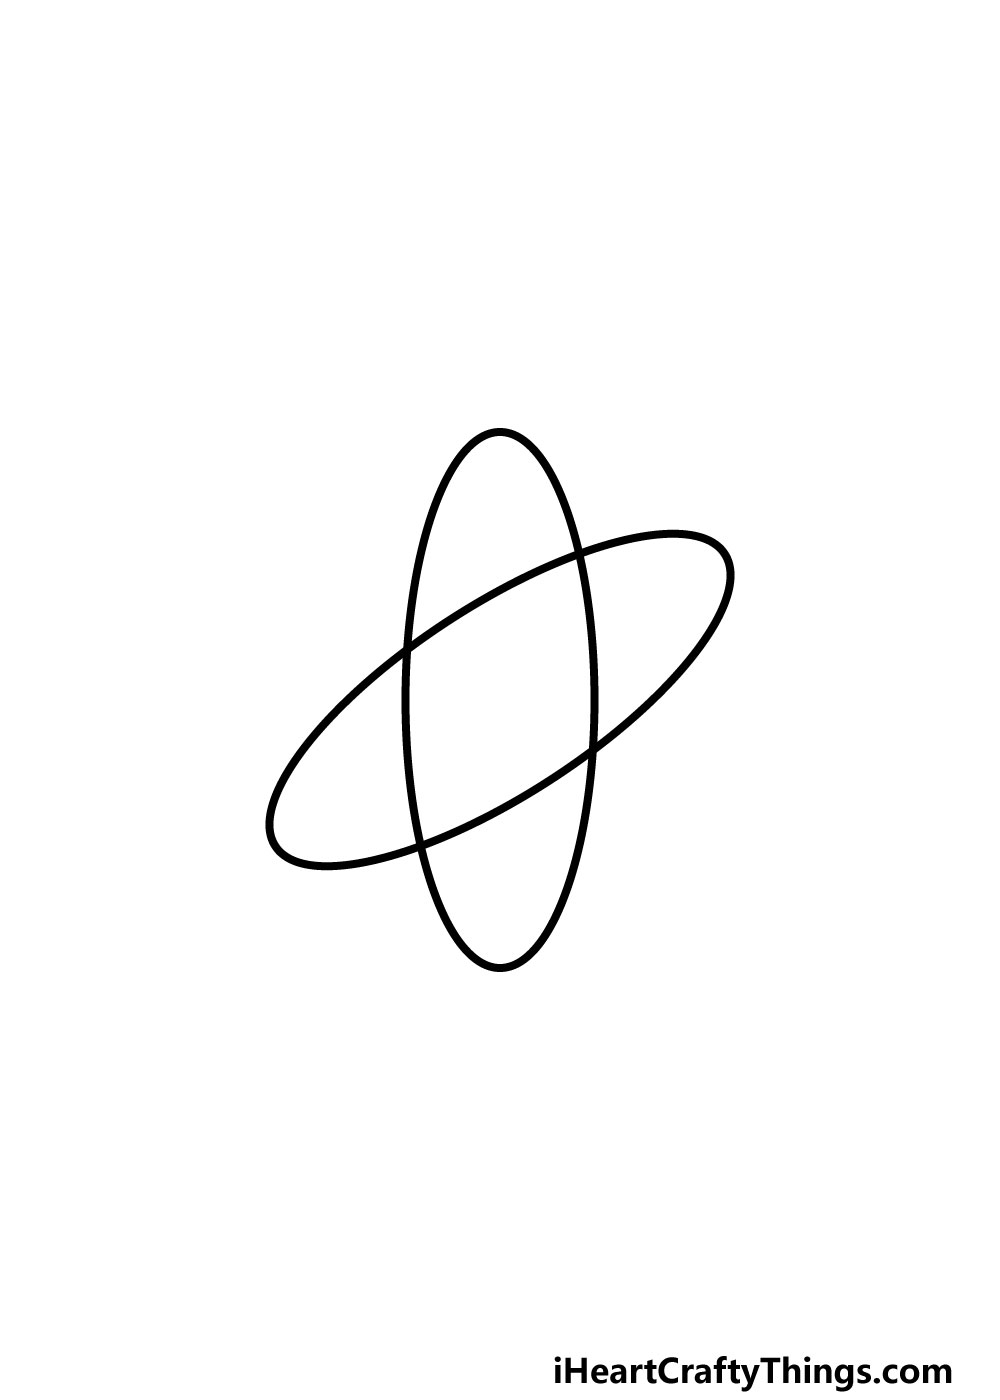
You have the first oval of your atom drawing done, and now you can add another one in this step. As we mentioned in the previous step, you should try your best to have this oval be identical in size and shape to the first one.
That is why using something like a stencil to trace with would be ideal for this kind of drawing! However you end up drawing it, this oval will go diagonally over the other oval.
Step 3 – Next, draw another oval shape for your atom

You’re really getting the hang of it now! Before we add some particle details to the atom, we have one more oval to add in this step of our guide on how to draw an atom.
This one will also go diagonally over the first oval, except this one will go in the opposite direction to the one from the previous step.
With all of the ovals drawn, we will move on to the final particle details in the next few steps, so let’s move on!
Step 4 – Now, start drawing some particle details to your atom
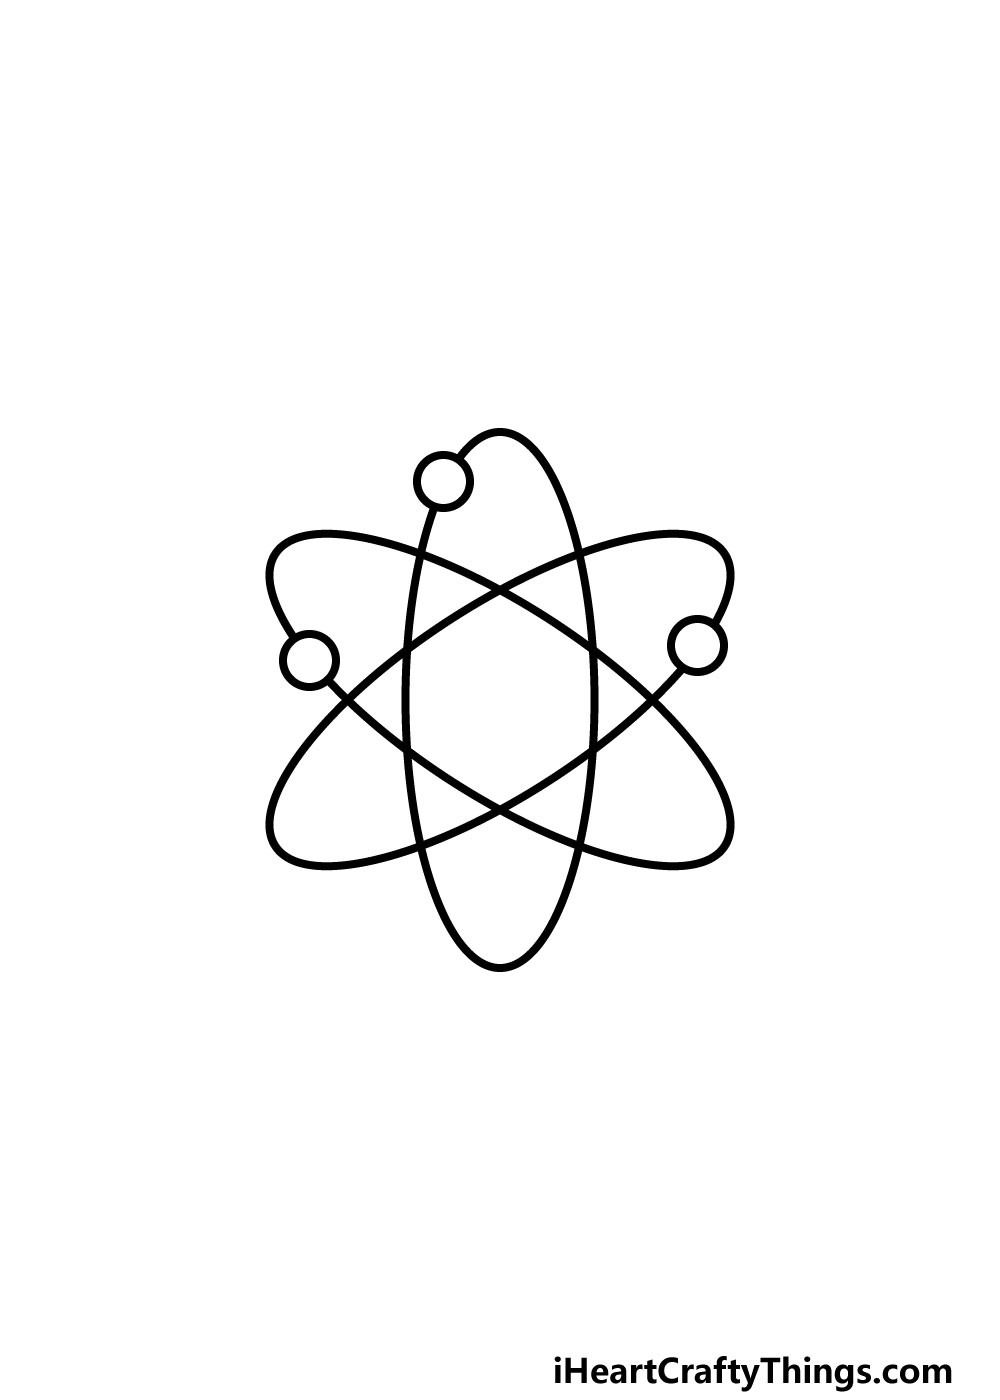
In this step of your atom drawing, we will add some small particle details onto the atom. These will be small and simple, yet they will also be effective in making your atom look like a real one!
To do this, simply draw some small circles onto the lines of the atom that you’ve been drawing so far.
We drew three for this guide, but you could draw more or less if you prefer, and you could also change up where they are on the atom.
Then, we just have one more major element to add before you start to color in your atom drawing!
Step 5 – Add the nucleus of the atom
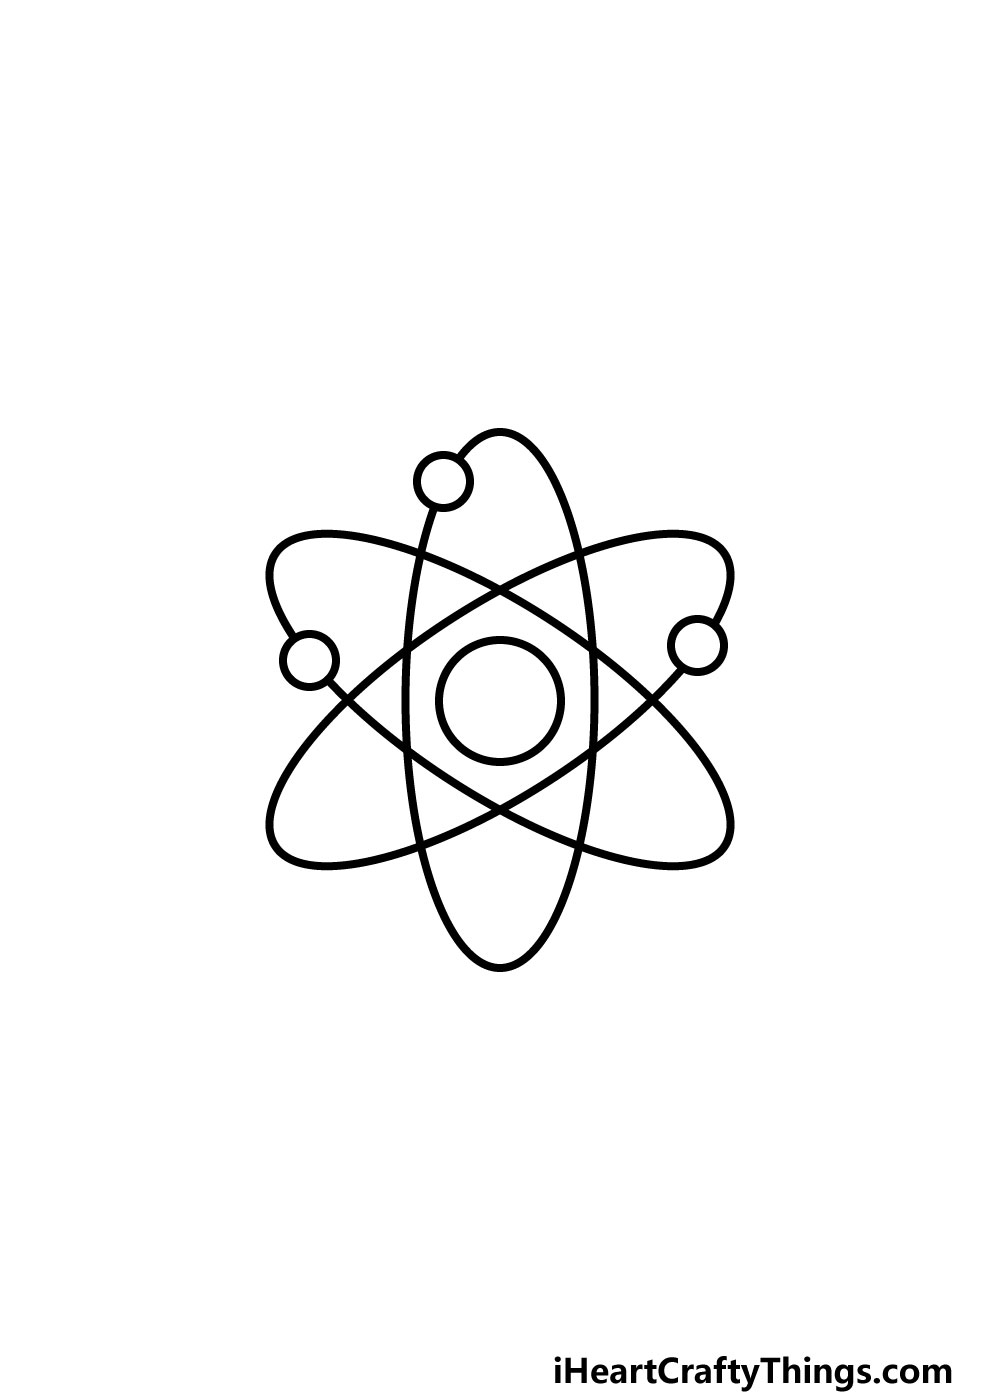
The center of the atom is called the nucleus, and it’s the most important part of the atom! Luckily, while it may be very important, it will be very easy to draw in this step of our guide on how to draw an atom.
All you need to do is draw a circle in the center of the atom. If you would like to draw a perfect circle for the center, you could either use a drawing compass or trace around something round and flat to do it.
Before you move on, you can also add some details and elements of your own! We mentioned drawing more particles onto the atom or changing up their positioning, but you could also do even more creative ideas.
Perhaps you could draw some more atoms floating around in the background! What can you think of to finish off this atom drawing before moving on to the final step?
Step 6 – Finish off your atom drawing with some color
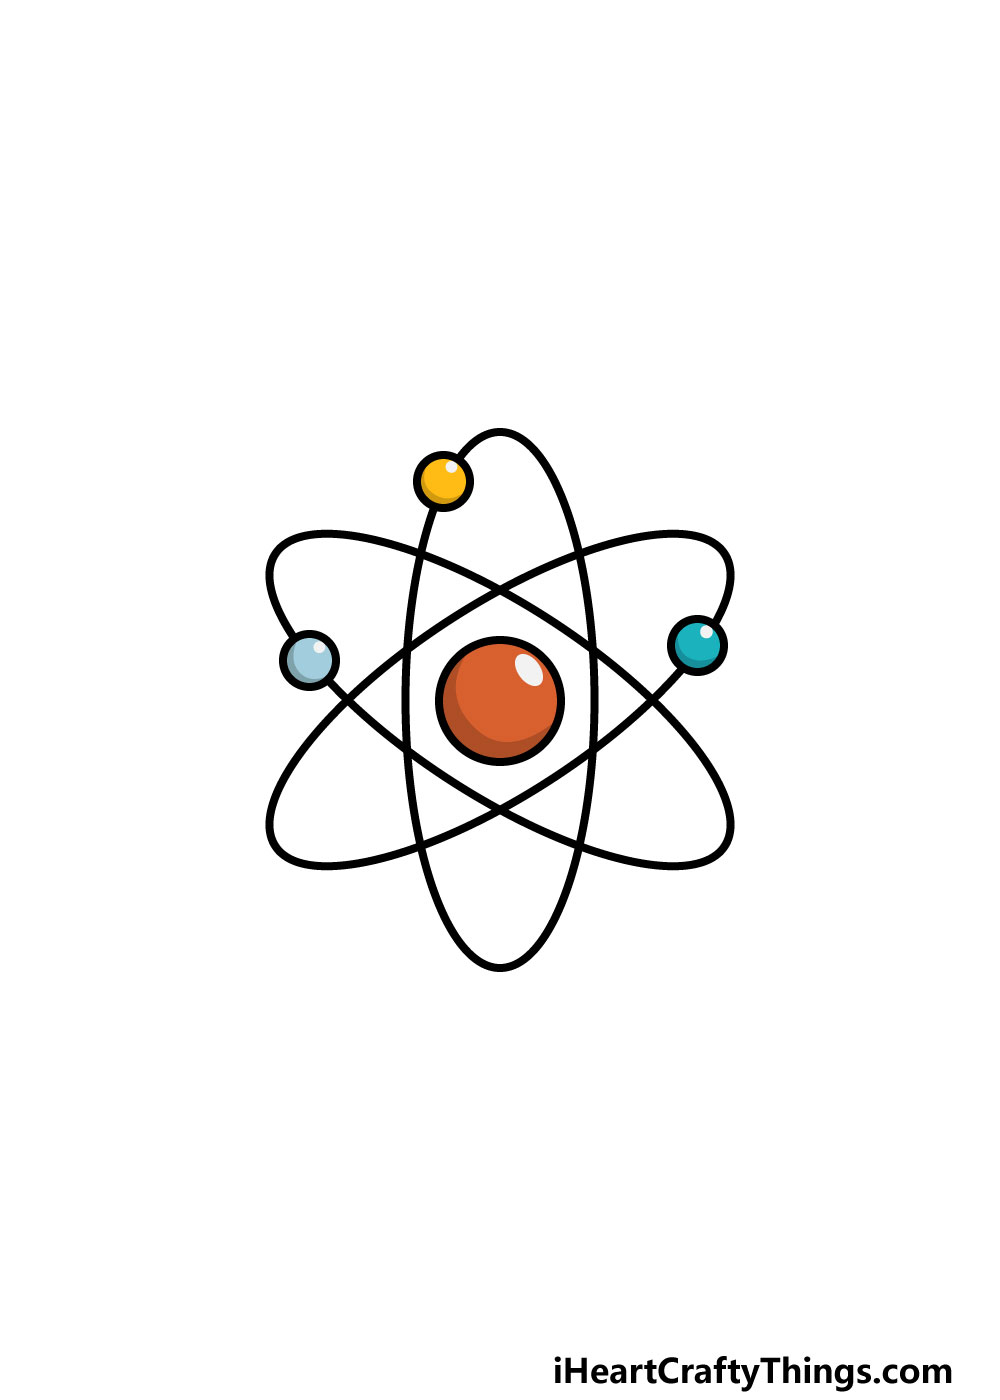
That brings you to the final step of your atom drawing, and this is the step where you get to have lots of fun bringing some color to your picture!
We kept it simple and clean for our image, and we used red, blues and yellow for the various particles of the atom. This is just a suggestion, however, and you have many options in how you can color in this image!
You also don’t have to limit yourself to coloring in just the particles of the atom, and you could also color in the spaces between the ovals that you have been drawing.
You also have limitless options for the colors that you can use, so this is a great opportunity to use all of your favorite colors!
You can have fun choosing the colors, but you can also have a great time playing around with your favorite art mediums to bring them to life.
Whether you keep the colors bright and vibrant or cooler and more muted, we know you will make this atom drawing look even better!
3 More tips to make your atom drawing easy!
Build up this drawing as we show you how to make your easy to draw atom even easier!
One of the easiest ways you could make this atom drawing easier to take on would be by drawing it as big as you can.
The atom structure can be quite complex and fiddly, so the smaller you make it the trickier it will be.
If you make it nice and big, you can also start to use drawing tools like a compass to make drawing the circles easier.
You could also use thicker drawing tools like markers or pens to make the lines smoother.
Having the drawing look larger will also make it look more impressive!
Preparation is the key to making any drawing easier, and that is the case for this drawing of an atom. In the previous step, we mentioned that drawing the image large can help, but you can also use your pencil to prepare.
Working with a pencil is great, as you can erase any mistakes. That way you can focus on the drawing itself without frustration.
Then when you’re happy with how the pencil lines look, you can switch to your more permanent mediums to carefully go over the lines. Once you have erased the pencil, no one will ever know you used it!
Sometimes, a good way of getting past difficulties in a drawing is by drawing attention away from problem areas. Let’s say that you made one part of your atom sketch a bit too long and it’s too late to fix it.
As the artist, it’s easy to fixate on such a mistake, but most people won’t even notice it! One way that you could make sure that would be the case would be by adding some labels.
You could do this by looking at a diagram of an atom to see what the various parts are called. Then, draw some lines coming off of your atom with those labels.
That way, people will have their eyes drawn to that instead of any small errors!
Your Atom Drawing is Complete!
That brings you to the end of this guide on how to draw an atom. We hope that this guide showed you that drawing an atom doesn’t have to be rocket science!
Also, we hope that this guide also showed you that drawing an atom can be fun and satisfying.
Finishing this guide is just part of the fun, though! You can also keep this drawing going by adding your own details and elements.
We mentioned a few ideas such as drawing more atoms in the background or changing up the design, but what else can you think of?
If you’re ready for more, we have many more awesome drawing guides on our website. They cover a huge variety of subjects, so there’s something for everyone! Be sure to visit often, as we upload new ones frequently.
Once your atom drawing is complete, we hope that you will share it for us to see on our Facebook and Pinterest pages. We can’t wait to see your artwork!