Art is pretty varied and hard to define. Different people can have different ideas of what does and does not constitute art, but it certainly has the capacity to conjure up powerful emotions!
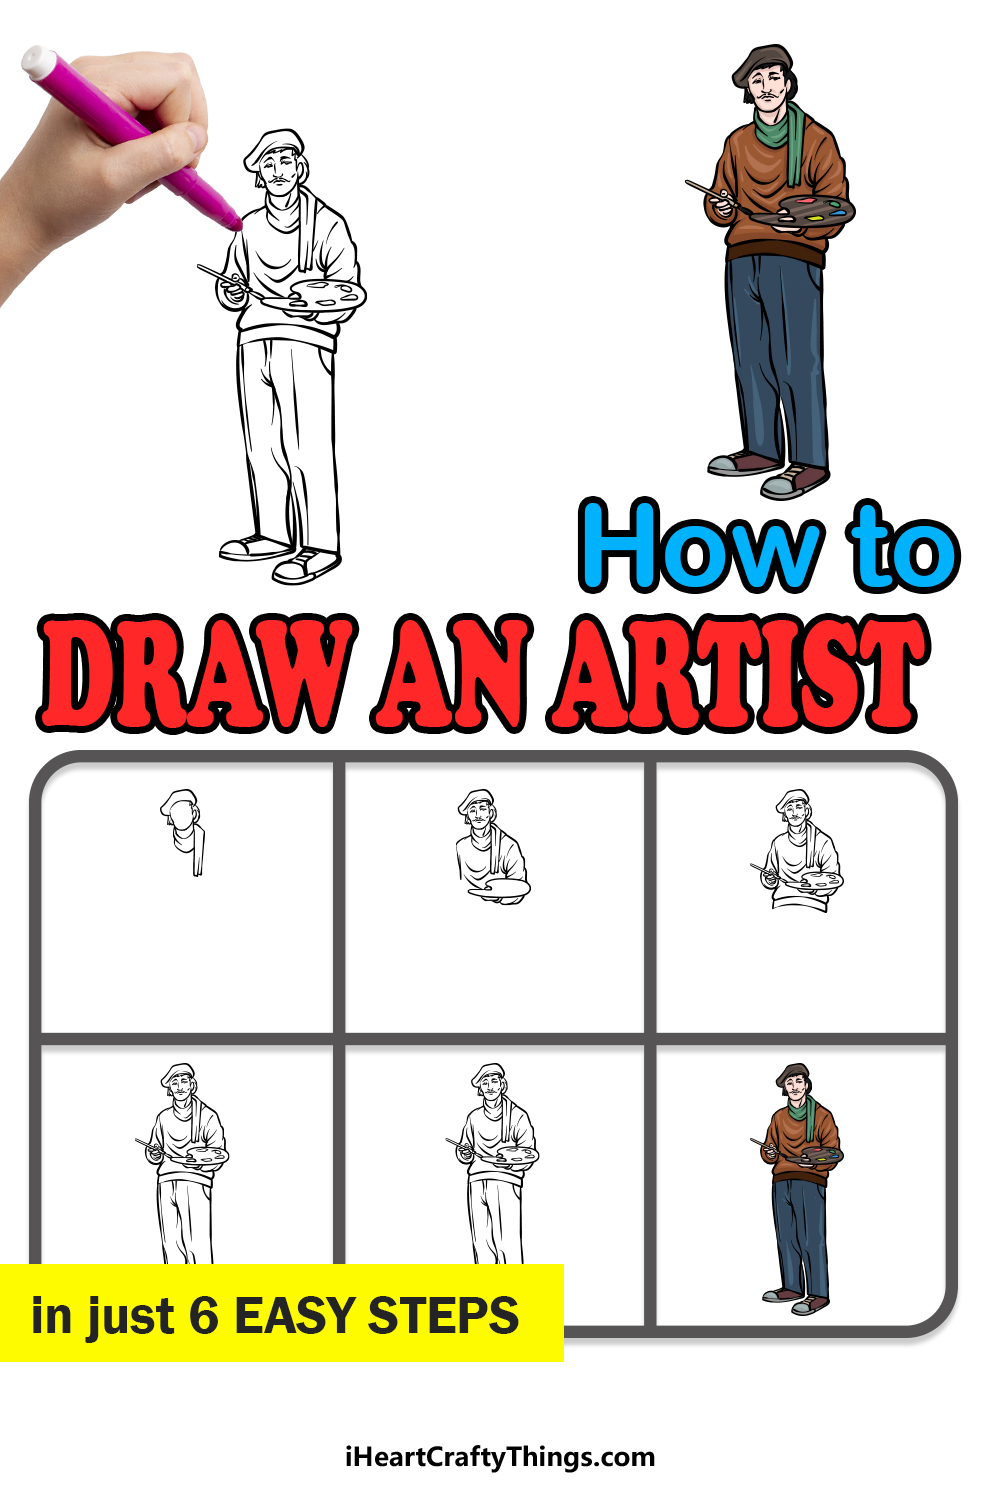
Art would not exist without artists, and the beauty of it is that anyone can create art. In this guide on how to draw an artist, we will be putting a fun spin on proceedings by creating some artwork that is depicting an artist!
If you’re an art lover, then this should prove to be a fun tutorial for you to work through! By the end of it you will be able to create a depiction of a classic artist-type.
We hope that you have a great time working with us on this step-by-step guide on how to draw an artist in just 6 steps!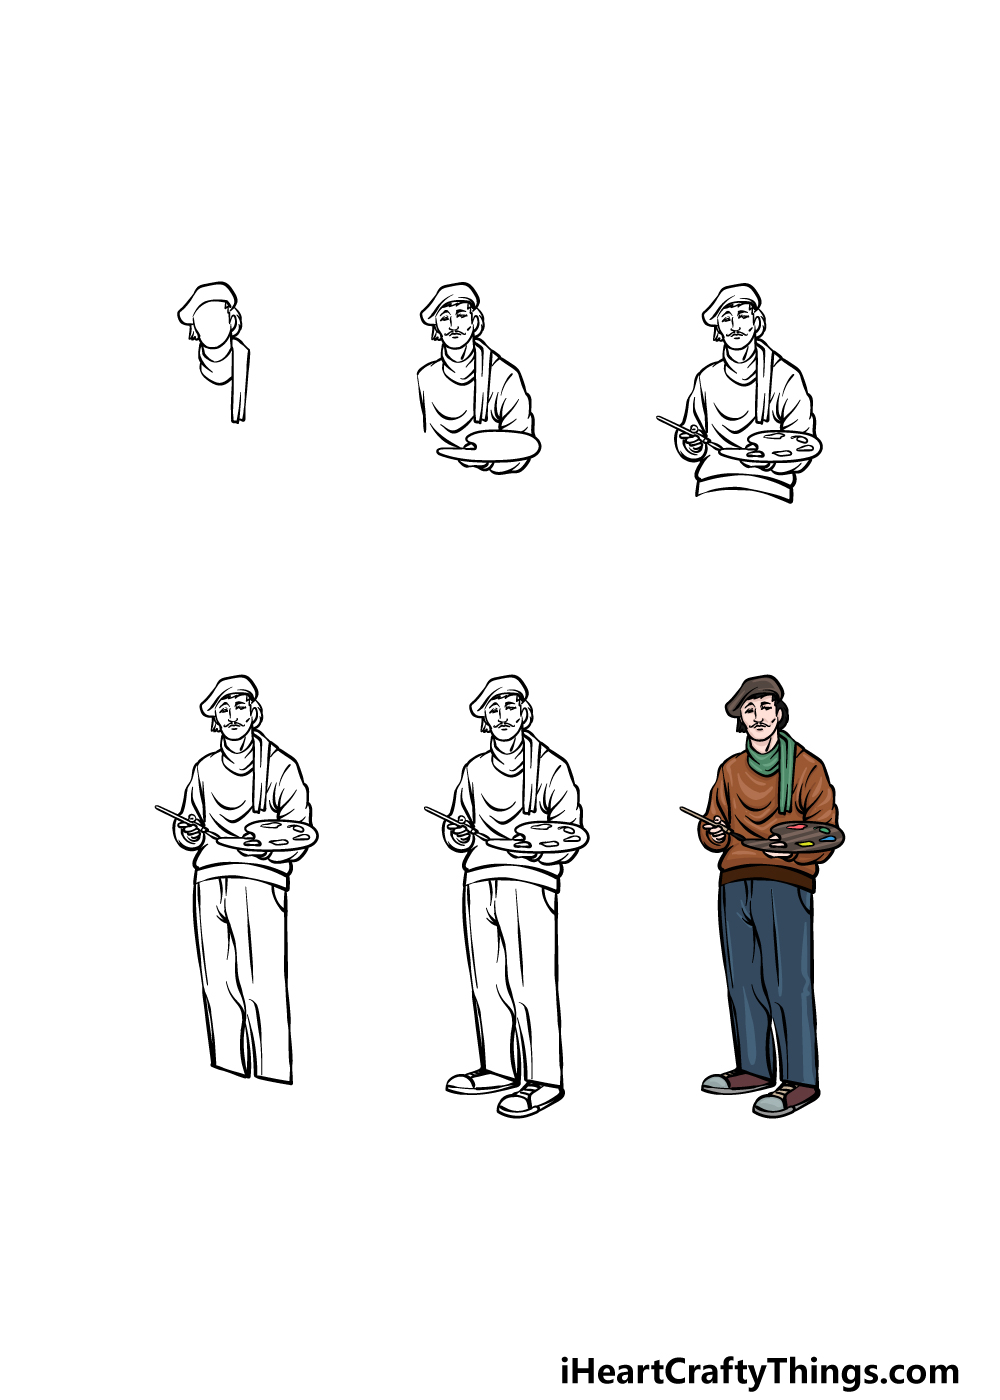
How to Draw An Artist – Let’s Get Started!
Step 1
Anyone can be an artist, and that means that there would be many options for a depiction of an artist! For this guide on how to draw an artist, we will be drawing a classic interpretation of one.
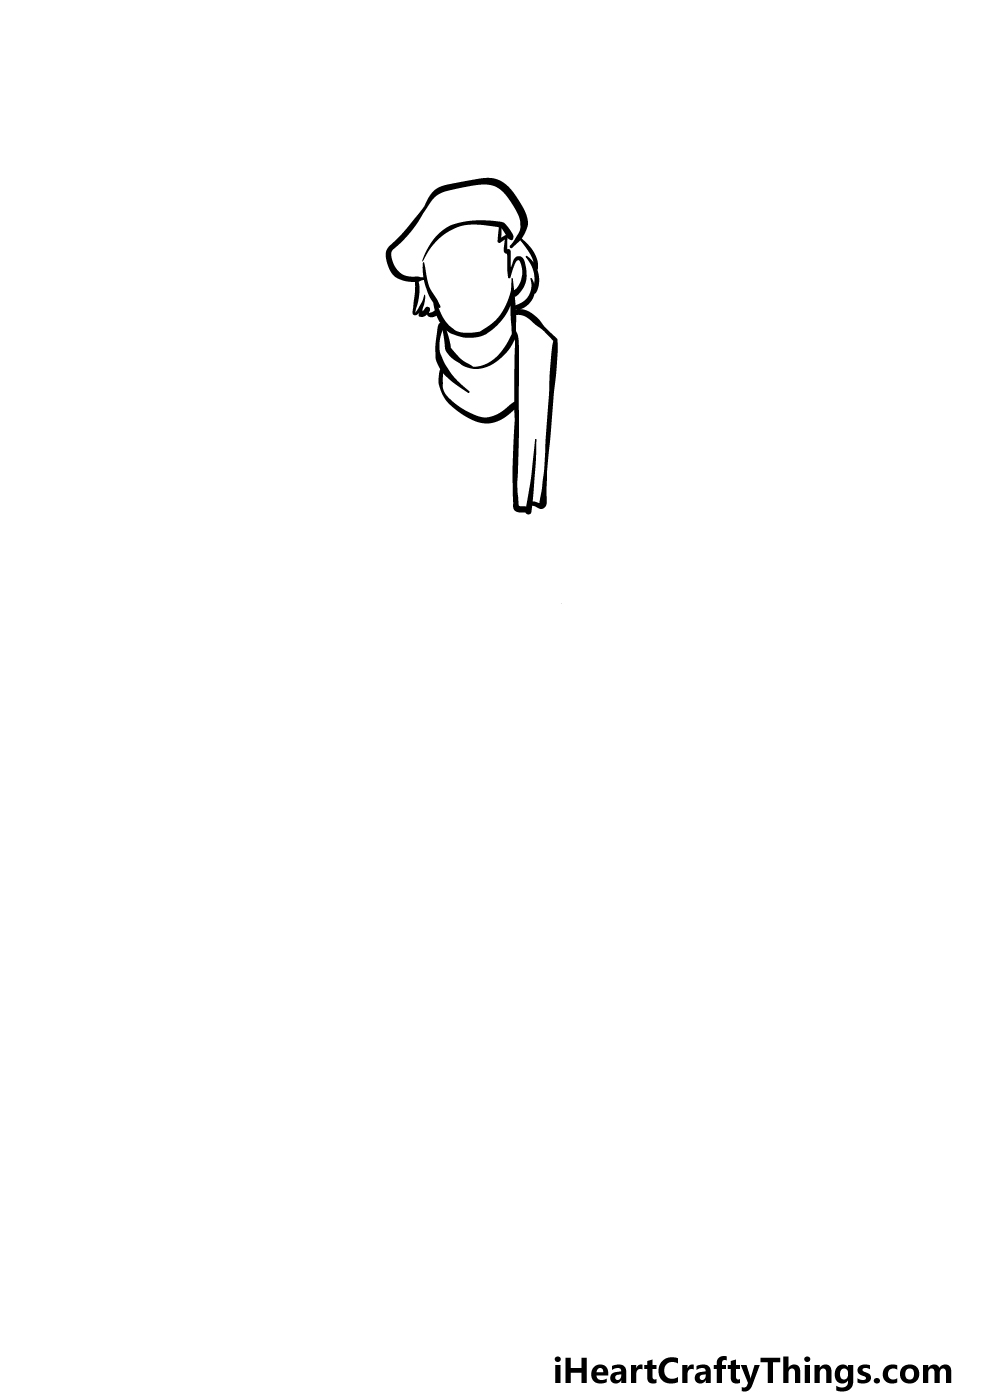
This artist looks like he could be working on a classic French painting! To begin, we will be drawing his head and scarf.
Use some rounded lines for his facial outline, and then you can add his puffy beret sitting on top of his head. You can then use some pointier lines for his spiky hair poking off the sides.
Draw some more curved lines for his scarf wrapped around his neck, and then use some straighter lines for the scarf dropping down over his shoulder. Then we can proceed to step 2!
Step 2 – Now, draw his facial details and his arm
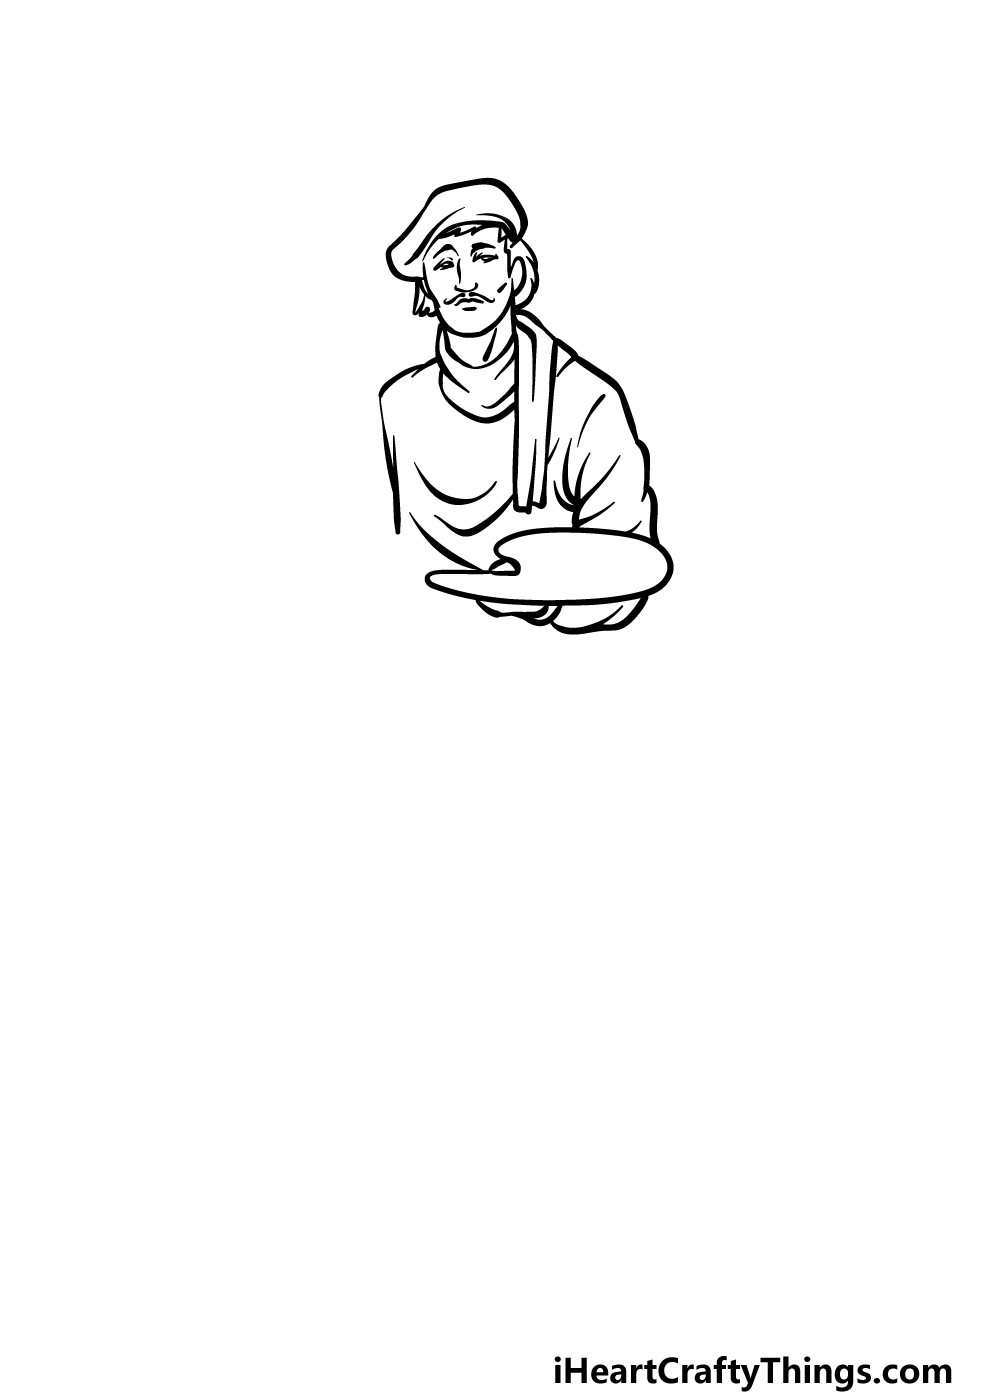
Using the outline of the head that you began in the previous step of this artist drawing, we can now start adding his facial details.
He has a rather intense expression to show that he’s taking his craft rather seriously! You can depict his expression by using some simple lines for his eyes, nose, mouth and curly mustache.
Then, we will start drawing the chest of his baggy sweater and will also add some curvy texture lines to it.
He will be holing a palette for his paints in the hand on the right, and you can draw that as a rounded shape as well.
Step 3 – Draw his other arm and waist
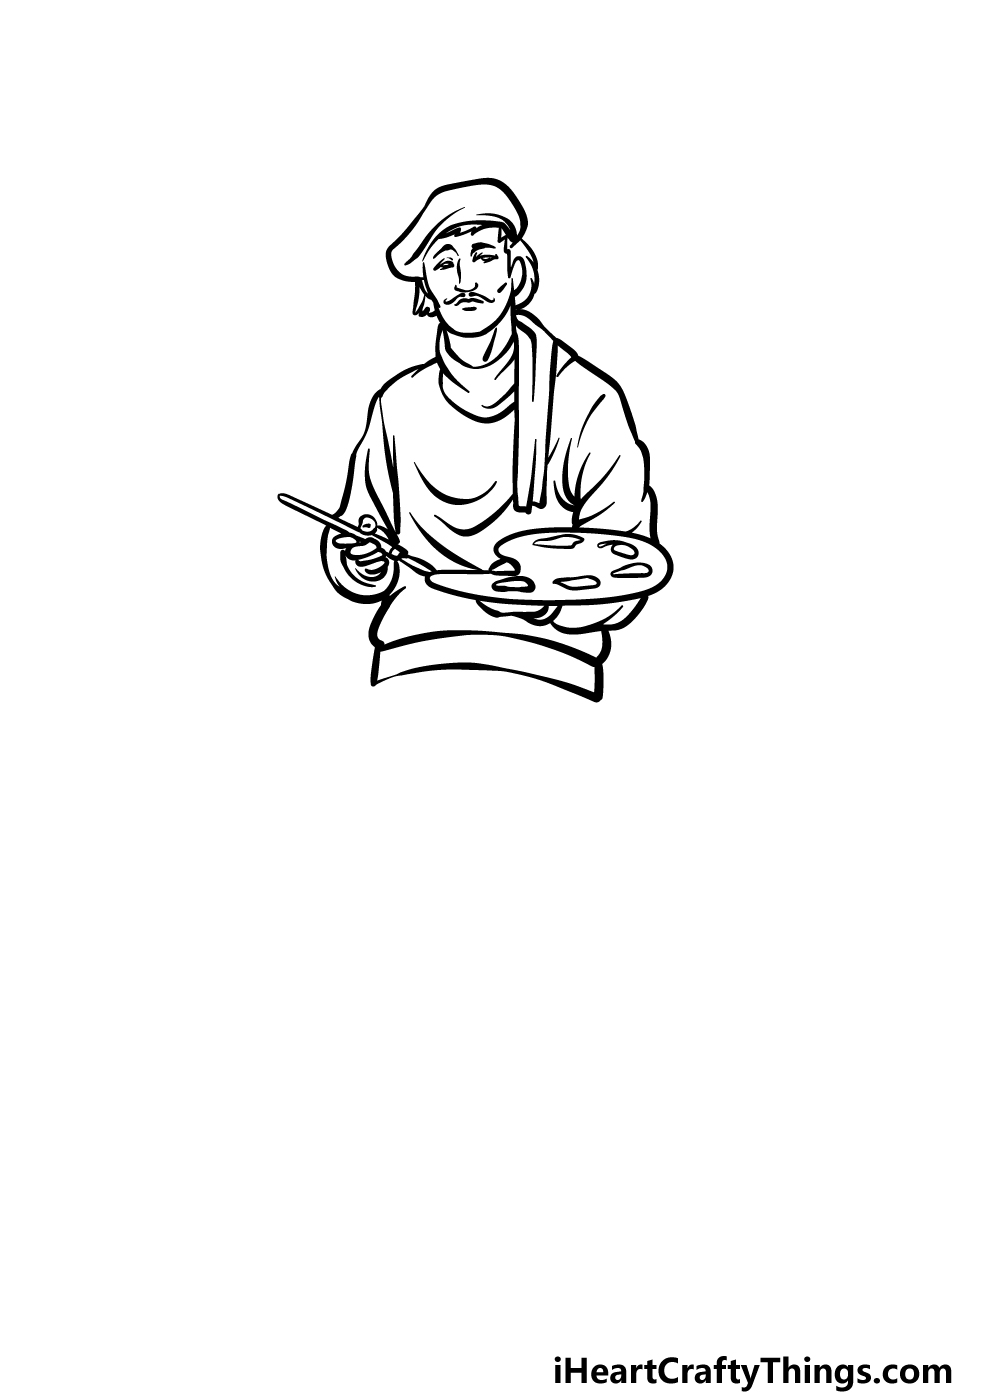
For this third step of our guide on how to draw an artist, we will be drawing the hand that is holding his paintbrush as well as the waist for his sweater.
First, you can draw the rest of the sleeve for the arm on the left and then have his hand clutching his thin paintbrush there as well.
Then, extend his waist with some more curvy lines, and then draw a rim at the base of his sweater. Once these are drawn, we can move on to step 4!
Step 4 – Next, draw his legs
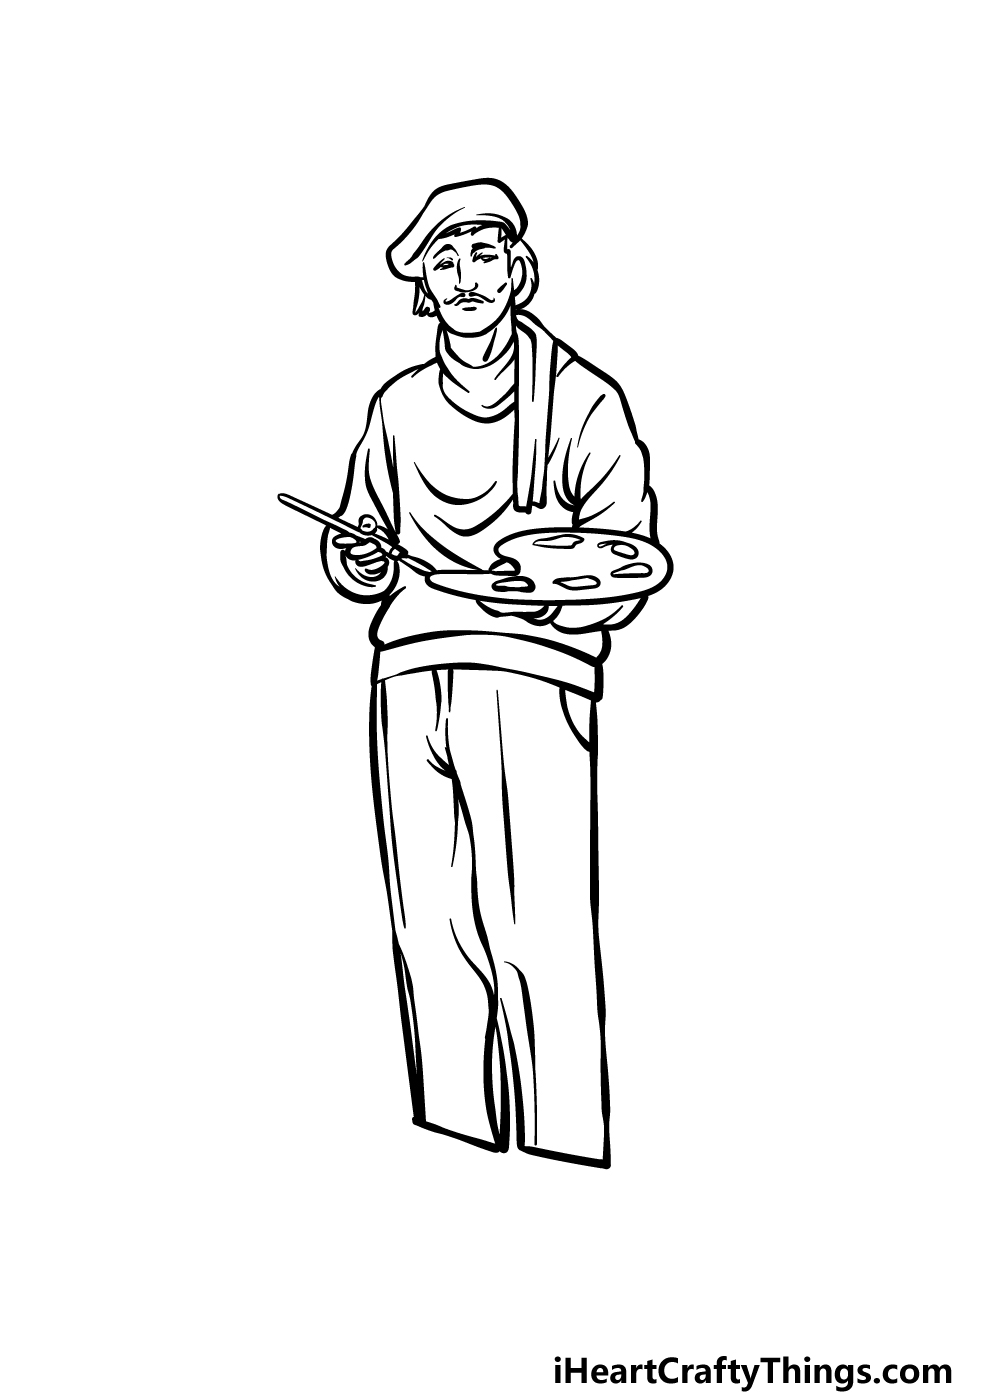
Now it’s time to draw the legs of his pants. He is wearing some fairly simple trousers, so that should make adding them to your artist drawing a bit easier!
You can use some slightly curvy lines to draw his straight-legged pants dropping down. Then, we will add some line details throughout the pant legs to make it look like they are made of fabric.
We won’t see his feet yet, but we will be drawing those along with any final details in the next step of the guide.
Step 5 – Add the final details to your artist drawing
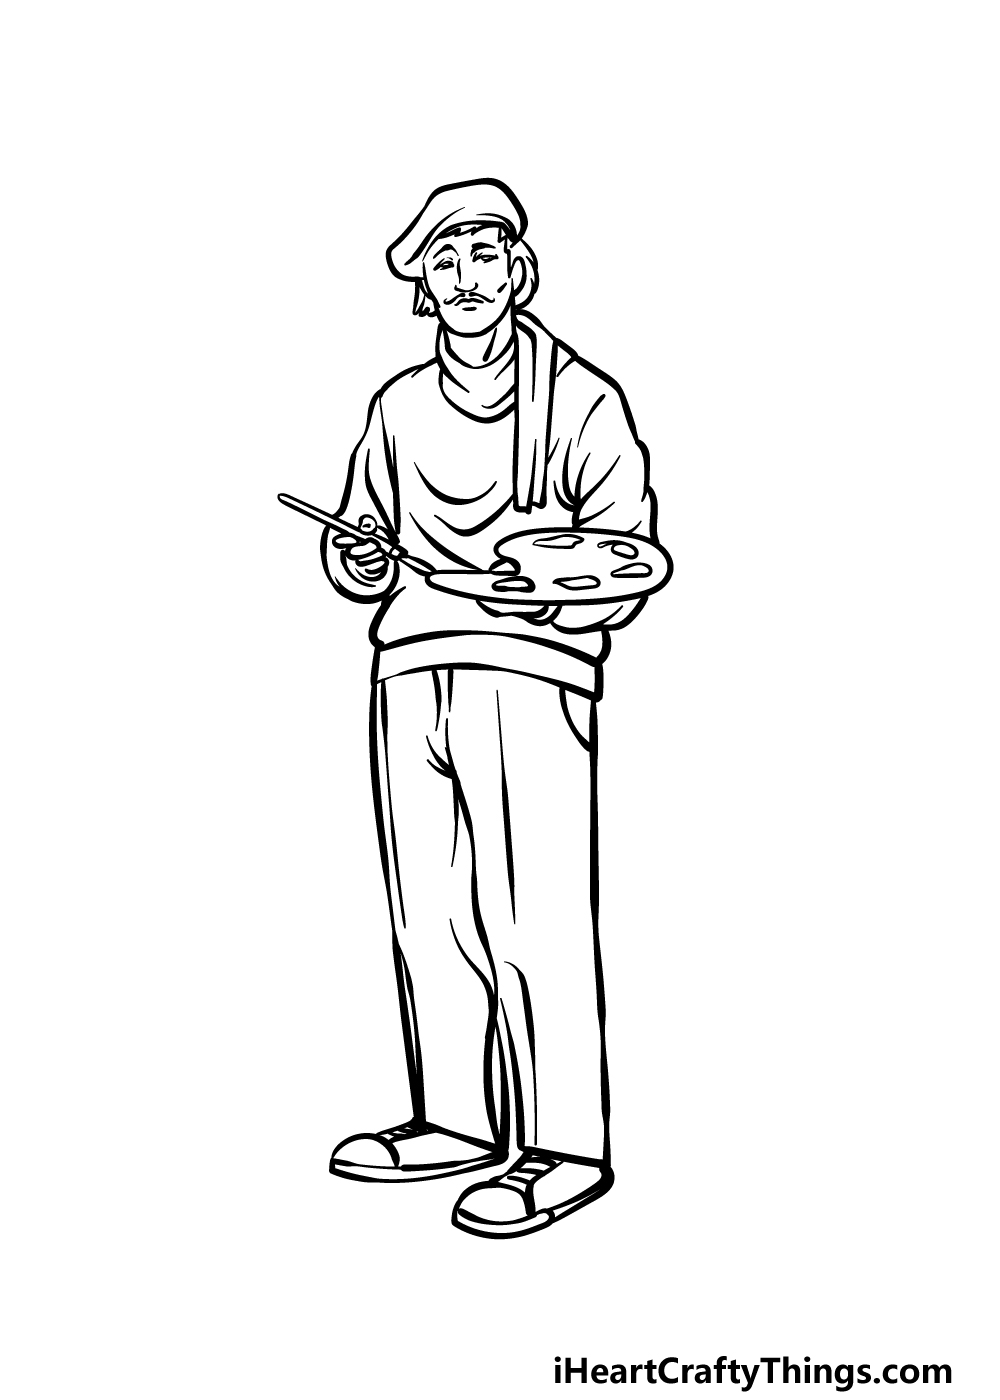
To conclude all of the outlines in this guide on how to draw an artist, we will finish up by adding his shoes. You can use some rounded lines to create his simple shoes at the base of his trousers as we did in our reference image.
Once you have drawn his shoes, you don’t have to stop there! You could also add some of your own ideas and extra details.
One fun idea would be to draw the artwork that he is working on. You could do this by drawing a rectangle on an easel and then creating whatever you think he may be working on.
What kind of painting do you imagine this artist could be working on? We hope you will show us when you complete this drawing!
Step 6 – Finish off your artist drawing with color
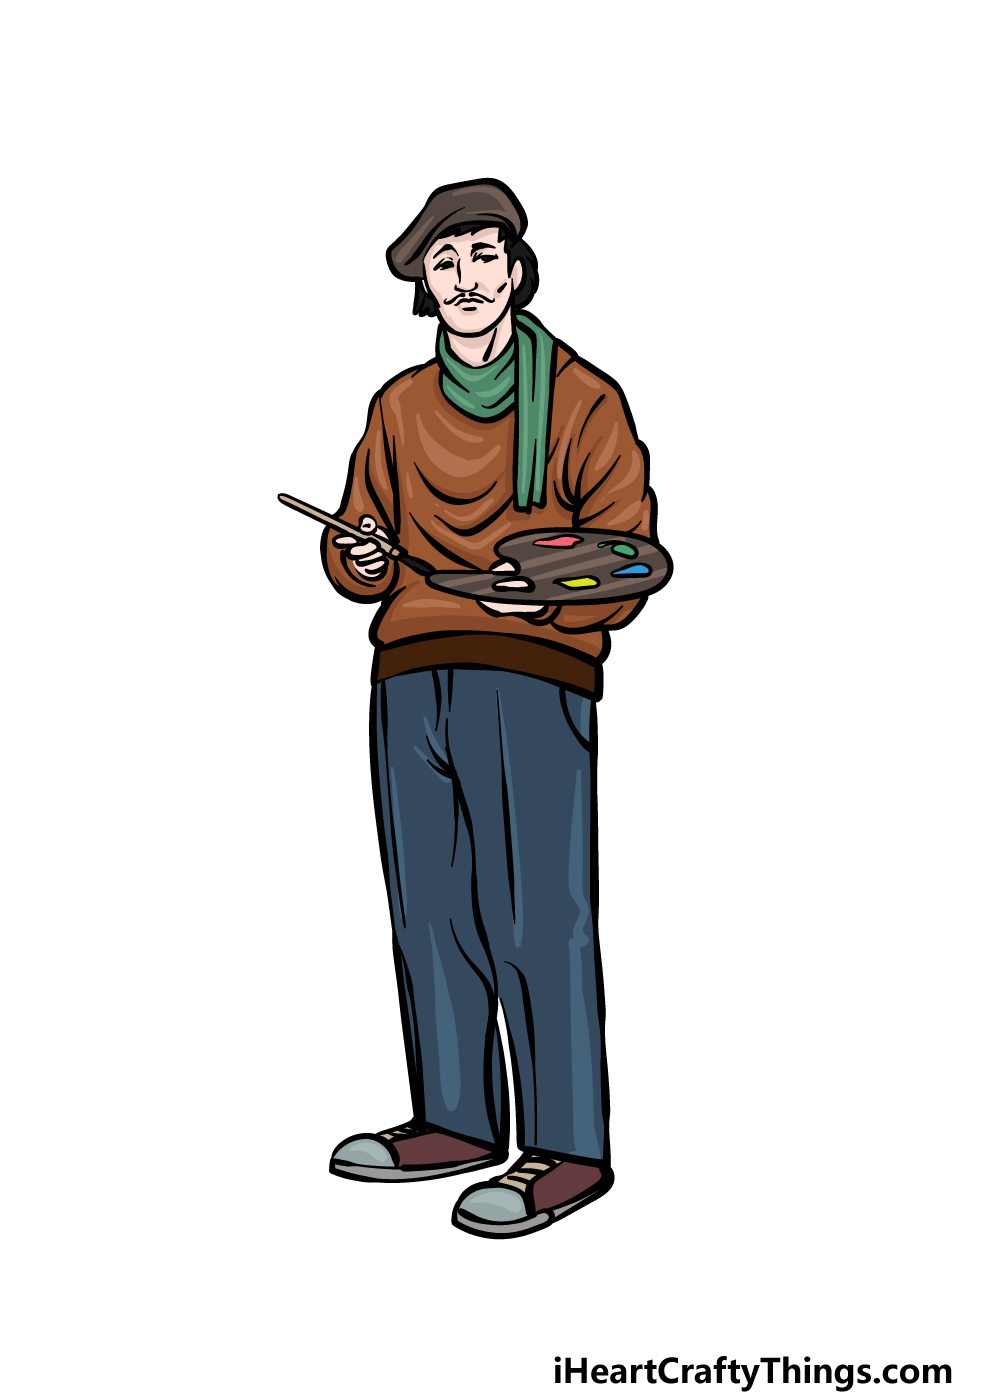
You’re ready to add some color to this artist drawing in this final step of the guide. In our reference image, we kept the colors of his clothing a bit more muted.
We used browns for his hat and sweater while using green for his scarf and blues for his pants.
You could go for some similar colors in your own image, but you could also use entirely different ones if you prefer! Often when an artist is painting, they will get quite messy in the process.
If you have some mediums like acrylic paints, you could add some splotches of paint to his outfit to really finish off the look of a hardworking artist!
What colors and mediums will you choose to finish off this artist?
4 More Ways To Make Your Artist Drawing Unique
Create some fun art as we make your artist sketch look even better!
This drawing of an artist was based on a classic representation of an artist, but you could customize how he looks in a few ways. For example, you could change the way he is dressed.
By changing a few of his clothing details, you could make his style appear more modern or possibly even more old fashioned. This would depend on the era of art that you are most inspired by.
What kind of clothing could he be dressed in?
Another way you could customize this artist would be by changing his facial appearance. He isn’t based on anyone in particular in this image, but you could make him look like someone specific.
He could be based on yourself or maybe someone that you know, for example. That would be a fun way to customize him, but you could also base the artist on a famous artist from history.
He could look like Van Gogh or maybe someone like Da Vinci. Who would you use as a model for this artist?
Another way you could make this artist drawing more distinct would be by showing what he is working on. You could start this process by drawing a canvas near him.
Then, you could fill the canvas outline with some kind of picture. This could be a unique picture of your own design.
If you made him look like a real artist, then you could recreate one of their artworks in this canvas.
Every artist needs a workshop or an area where they can create their art. This one is no exception, so we think it would be great to add a background to your artist sketch.
Many artists will have a really messy workspace, so you could go for that approach and add loads of details. Or, maybe you would prefer to have a neat and ordered workspace for this artist.
What kind of workspace would you like if you were this artist?
Your Artist Drawing is Complete!
That brings you to the end of this guide on how to draw an artist.
When it comes to art, it’s unusual to focus on the creator instead of the artwork, so it was a fun twist to create an artwork featuring an artist!
This was a detailed picture that we prepared, but as long as you take it slowly and work through all of the steps we laid out then you will nail it in no time.
When you have completed this picture, there are loads of ways that you can take it even further.
We mentioned how you could draw the artwork he may be working on as one idea, but what else can you think of to add to this portrayal?
If you enjoyed unleashing your inner artist during this guide, then we have plenty more drawing guides to test your drawing skills on our website.
We will be bringing new ones out soon, so definitely keep checking in to make sure you don’t miss out!
It would be lovely to see how your artwork turned out, so please share your finished artist drawing on our Facebook and Pinterest pages. We look forward to seeing the result of your hard work!