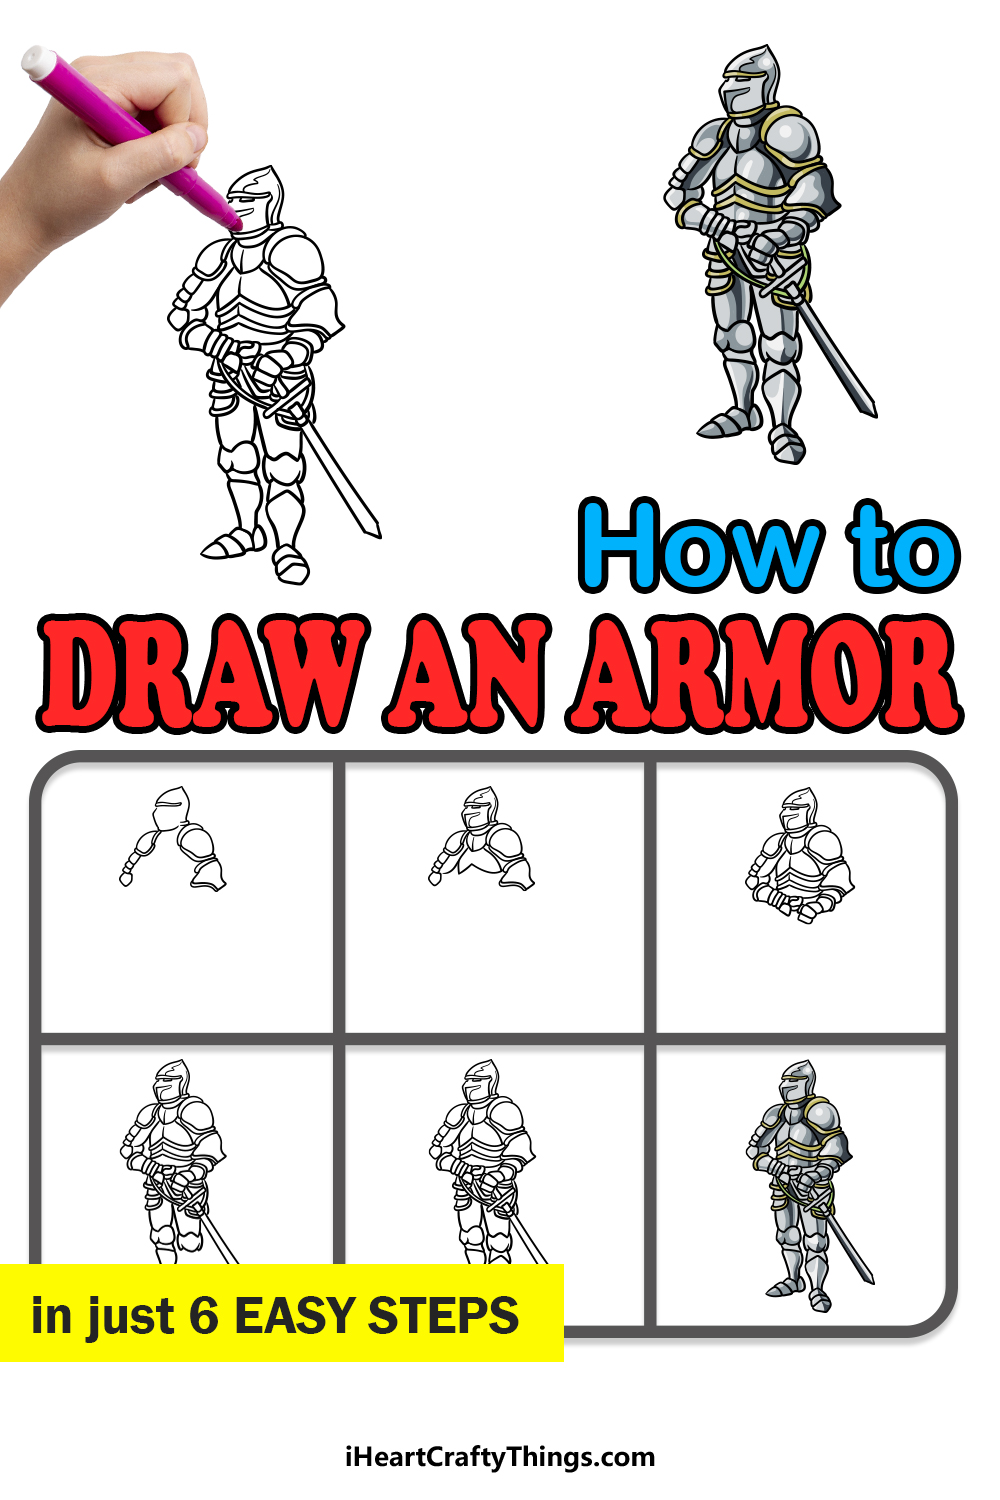
Knights in shining armor are a common fixture in many of our favorite classic tales and stories, and for good reason.
They represent adventure, bravery and chivalry, and they also have some cool armor as well! It’s fun to imagine what fantastic adventures these knights may have gone on, and learning how to draw armor can make these fantasies into a visual reality.
This guide you’re about to do will show you everything you need to do just that.
We hope you have a grand drawing adventure with this step-by-step guide on how to draw armor in just 6 easy steps!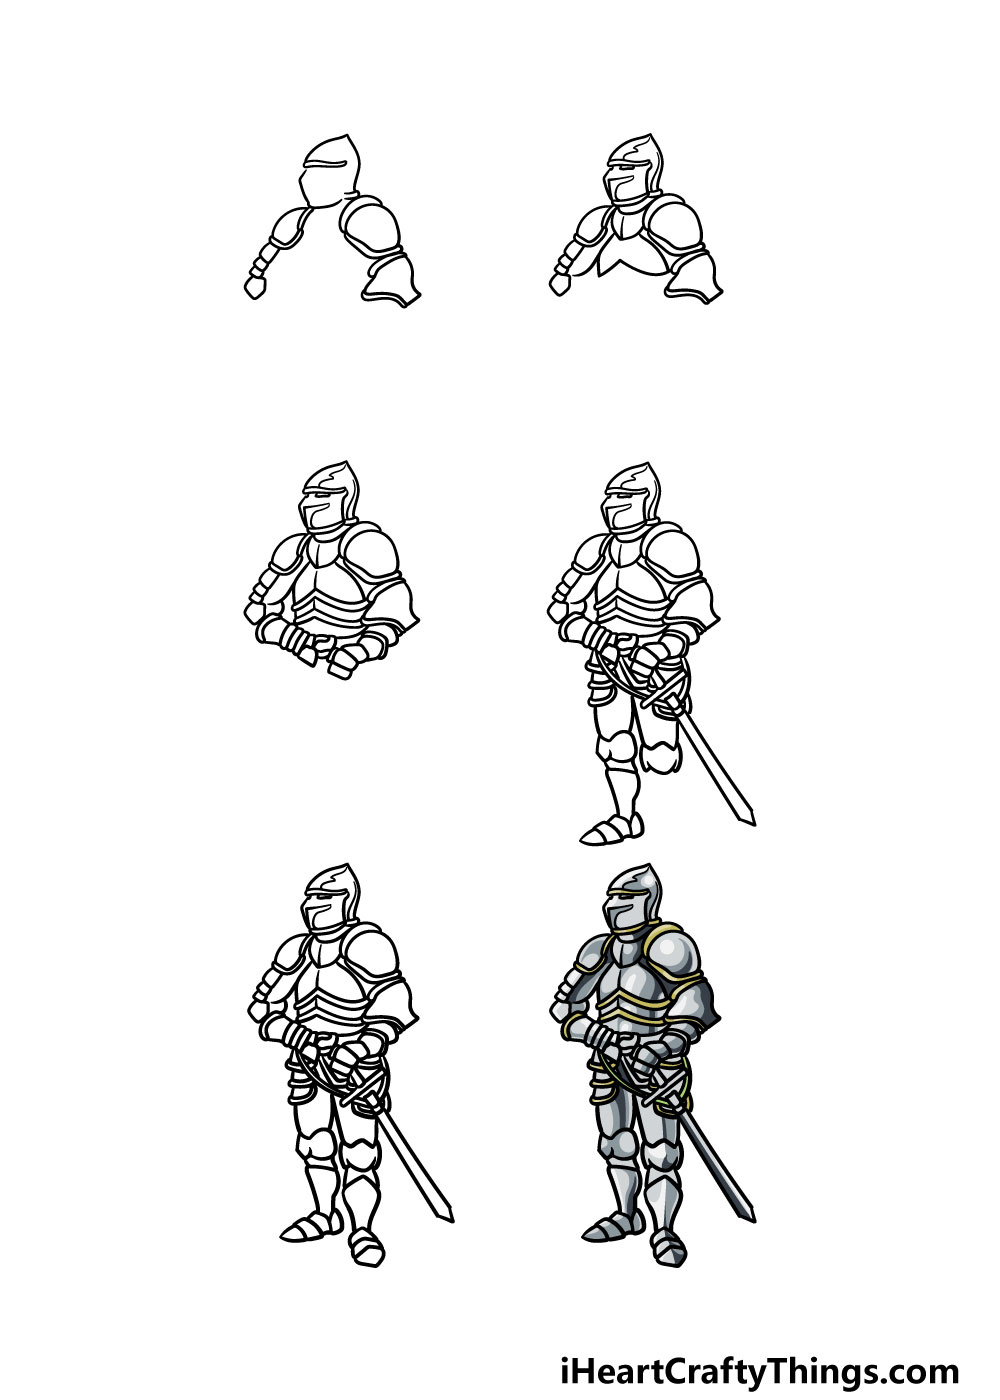
How to Draw Armor – Let’s Get Started!
Step 1
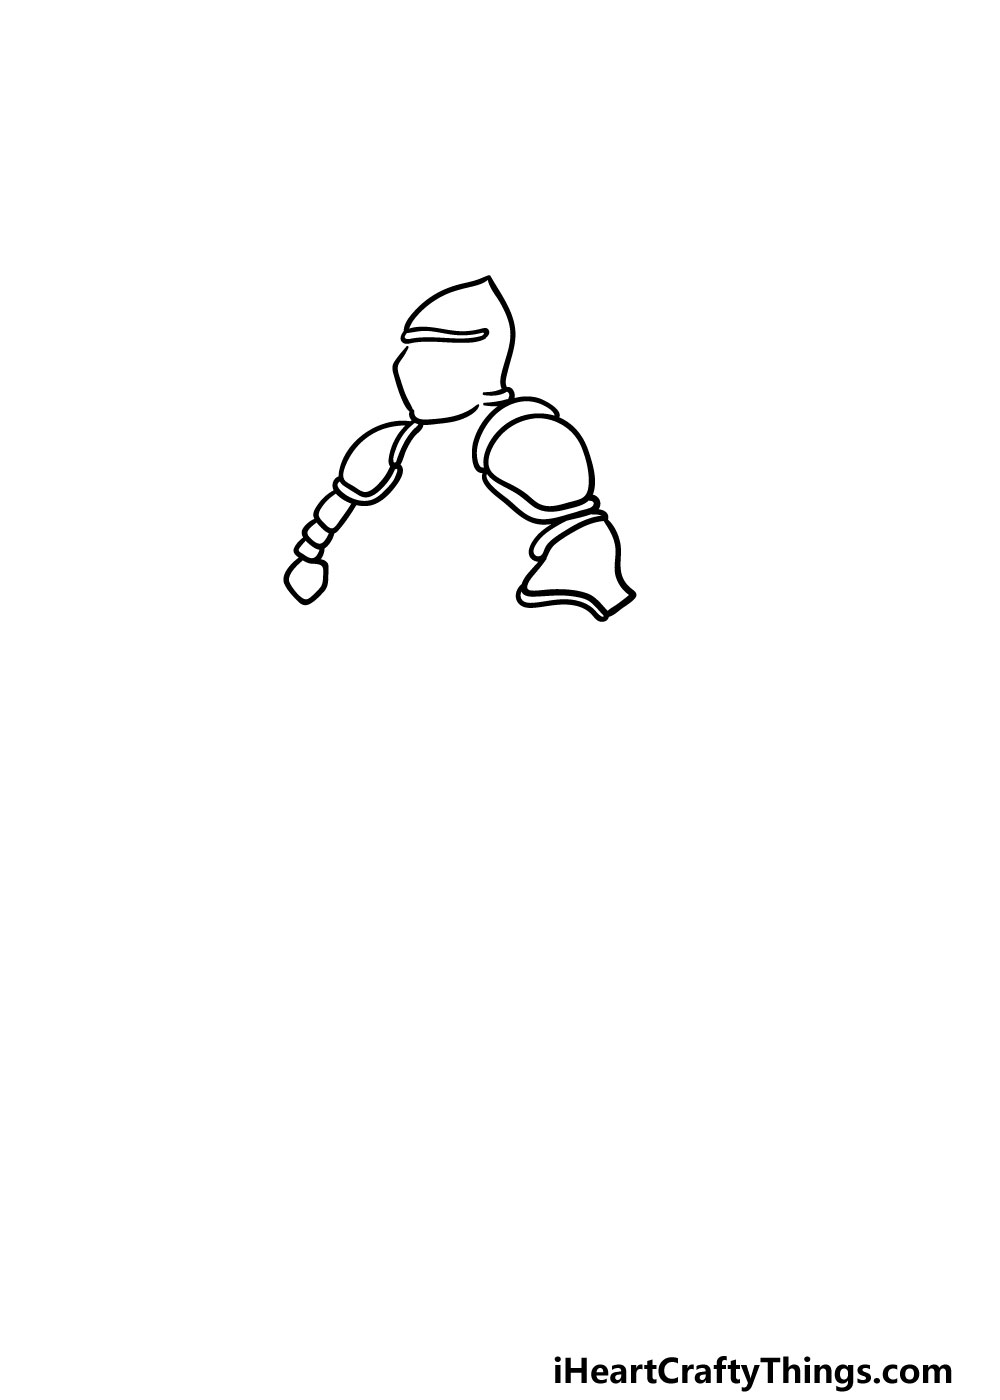
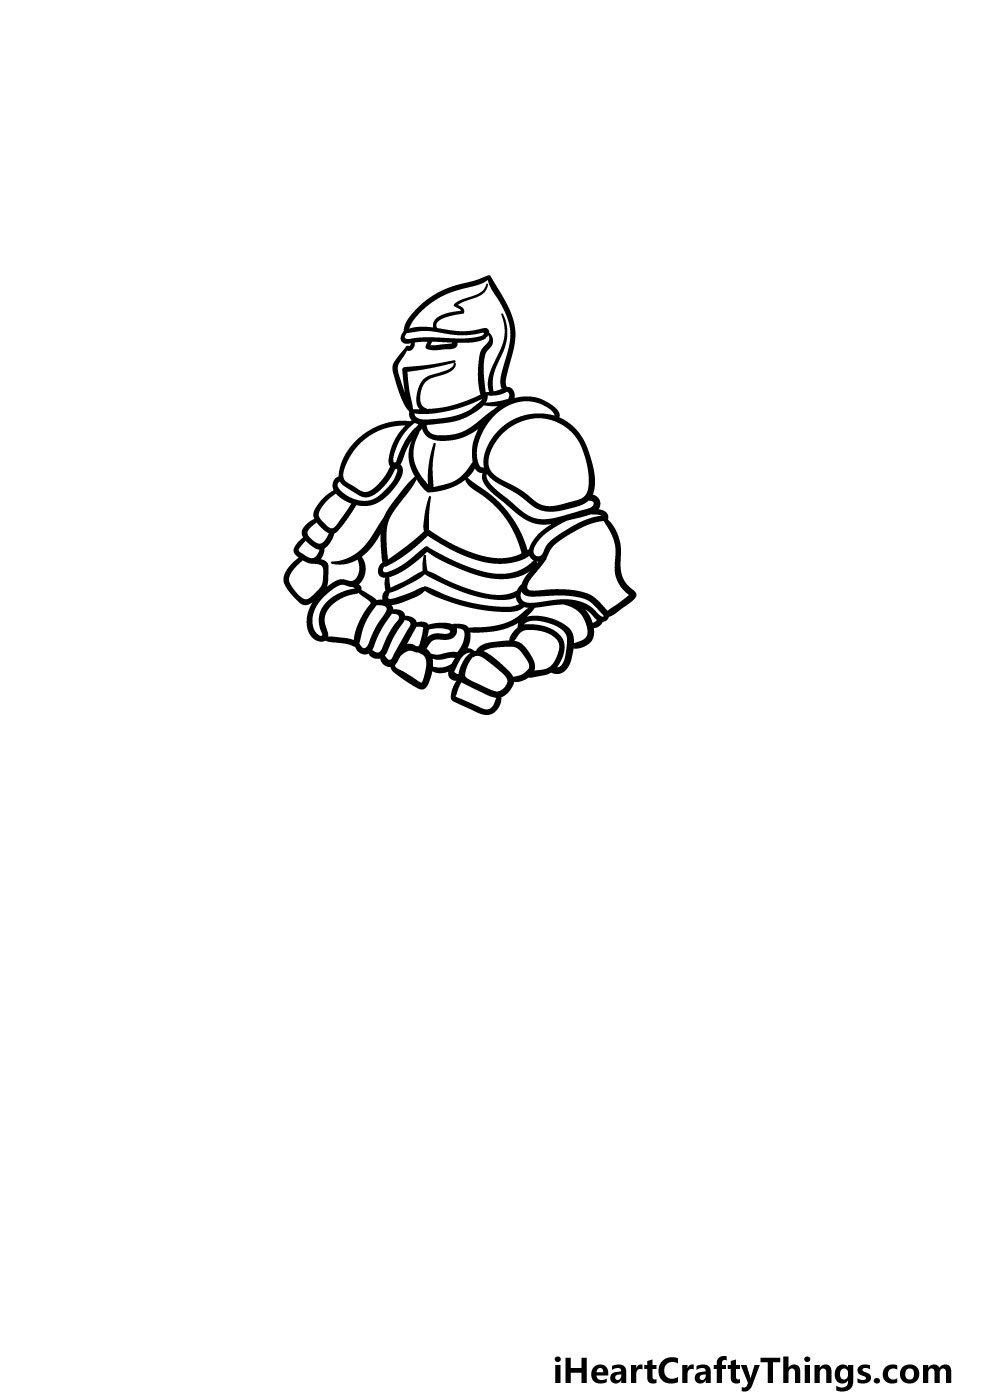
There are a lot of intricate details in this guide on how to draw armor, so we shall take it slowly step by step to make sure you don’t get lost! We will start with the outline of the upper portion of the armor.
The helmet will be the best place to start, and it has quite an unusual design. It has a sharp tip leading to the rounded, domed head. That will then lead to the small, thin shape that will make up the visor.
We will be adding more detail to the helmet soon, but for now we will move on to the shoulders.
These will be drawn with some more rounded shapes, and they will lead into the first segments of the arms.
As mentioned, these details could get a bit tricky so be sure to take it slowly and follow the reference image closely as you draw!
Step 2 – Add some detail to the helmet and chest
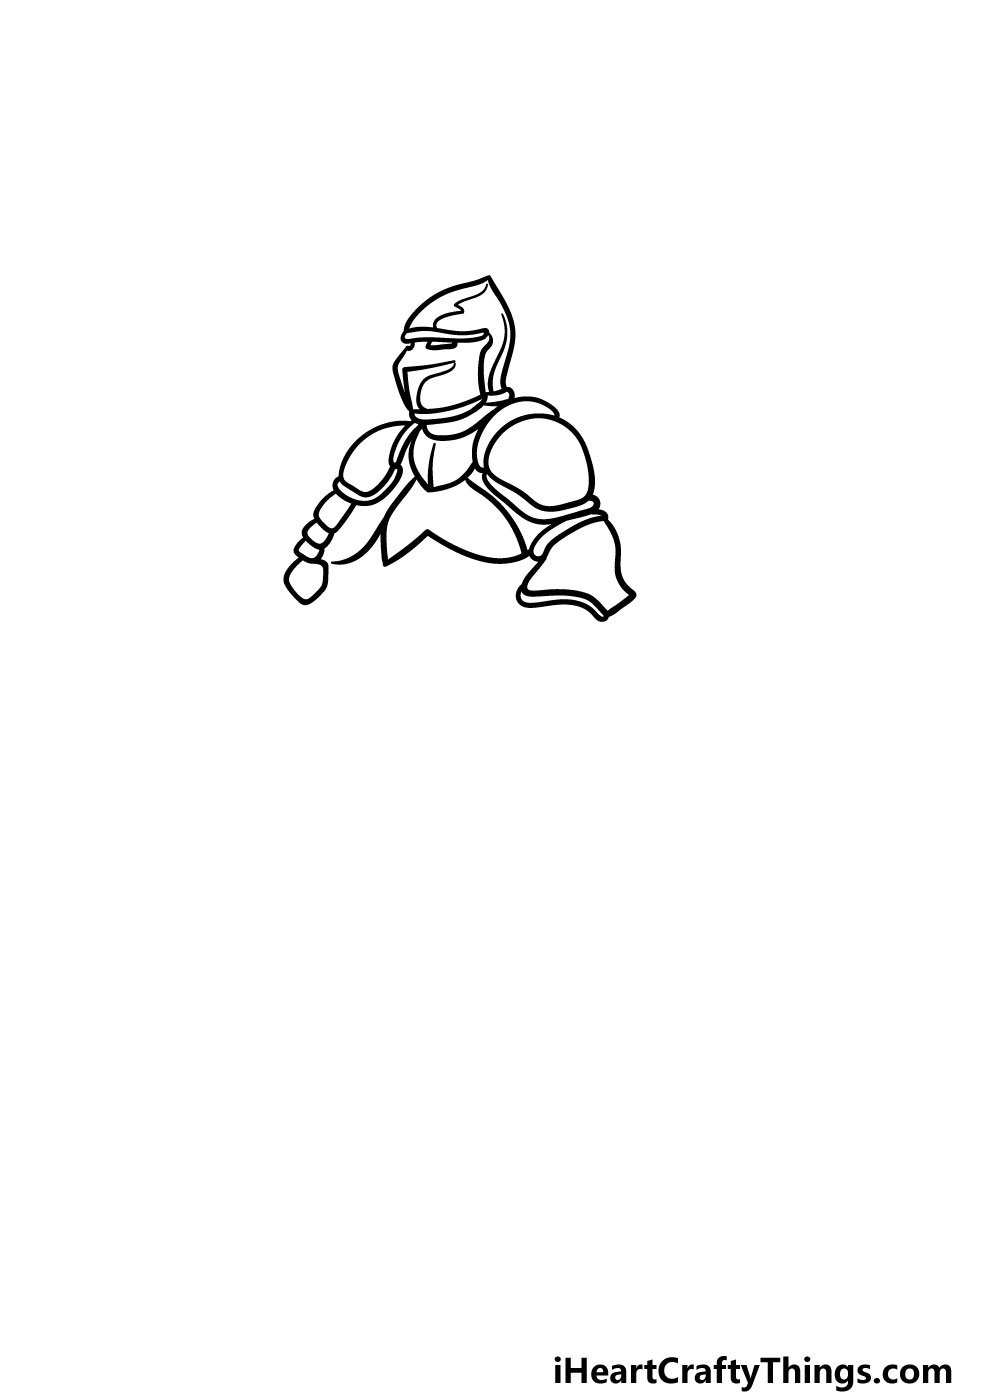
In this second part of your armor drawing, you will be adding be some detail to the helmet and chest of the armor.
First, you can add some wavy lines throughout the helmet for some reflection detail. Then, use some small rectangle shapes on the visor for the eye holes.
Then, we will be using some more curved lines on the chest for the plates of armor there to finish off this step.
Step 3 – Next, you can draw the rest of the arms and more of the chest
We will finish off the arms and add more detail to the chest in this part of our guide on how to draw armor.
We will start with the arms, and you will be using several curved segments to create the forearms and hands of the arms.
Then, you can use some more curved lines to add some more sections to the waist of the armor to finish off this step nicely.
Step 4 – Draw the start of the legs and sword next
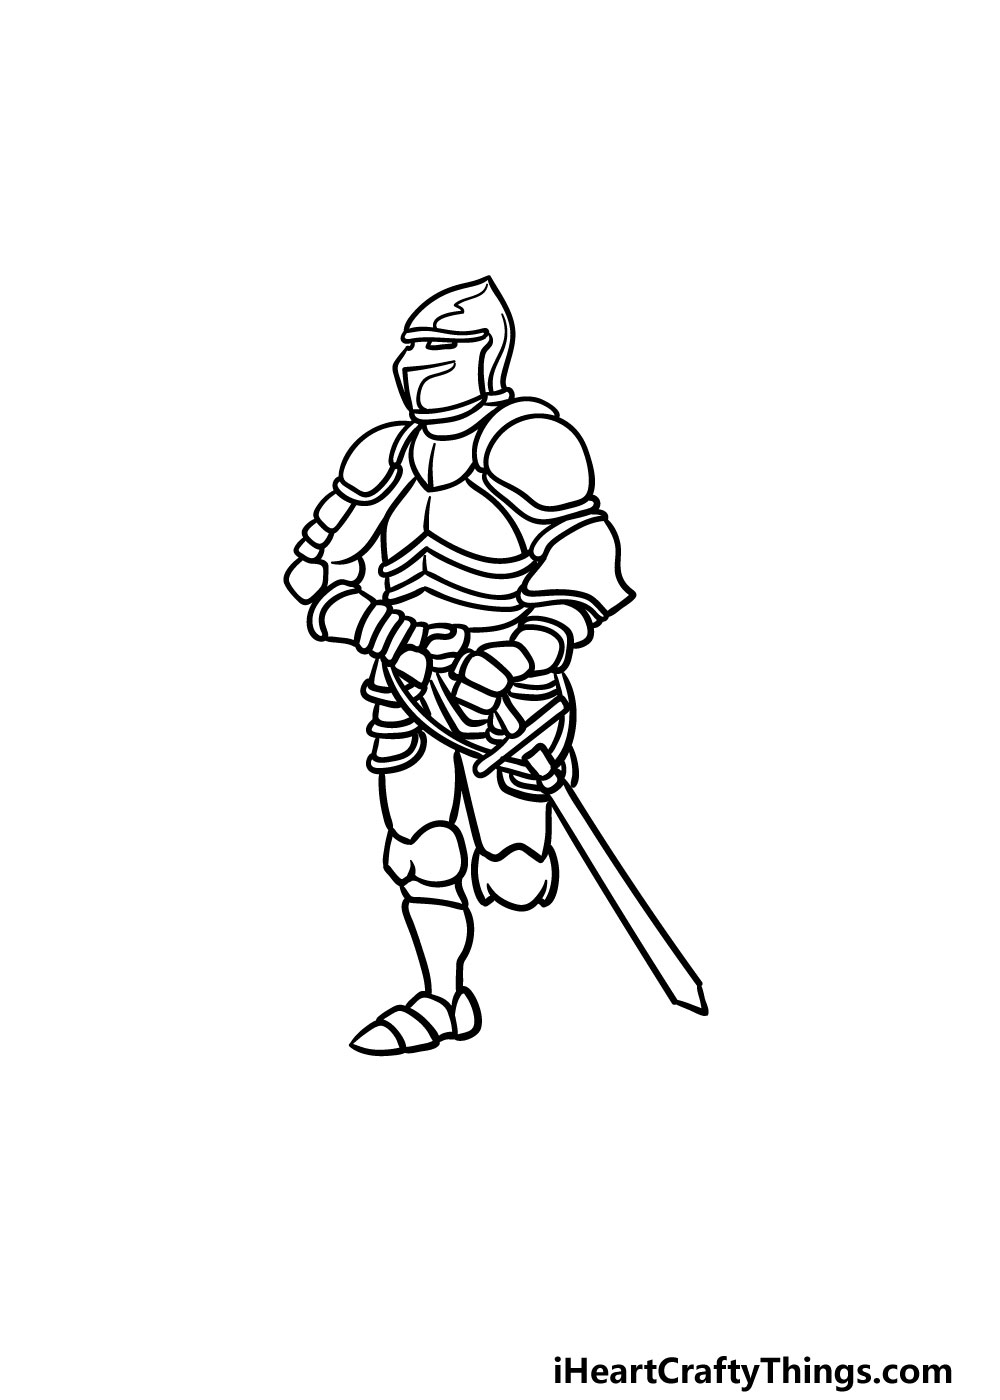
There will be a lot to draw in this part of your armor drawing, but remember that there is no rush, so take it slow as you draw!
First, we shall draw the sword in its hilt at the knight’s hip. This will be drawn using lots of straight lines, as shown in the reference image.
Then we can start to draw the legs. There will be several smaller armor plates covering his hips that you can draw using some curved and wavy lines.
Then, his legs will be drawn with several segments, which you will also draw with a combination of curved and straight lines.
This first leg will then end in the foot which will also have a few segments to it. Once you have it looking as it does in our reference image you’re ready to add some final details in the next step!
Step 5 – Now, you can add some final details to your armor drawing
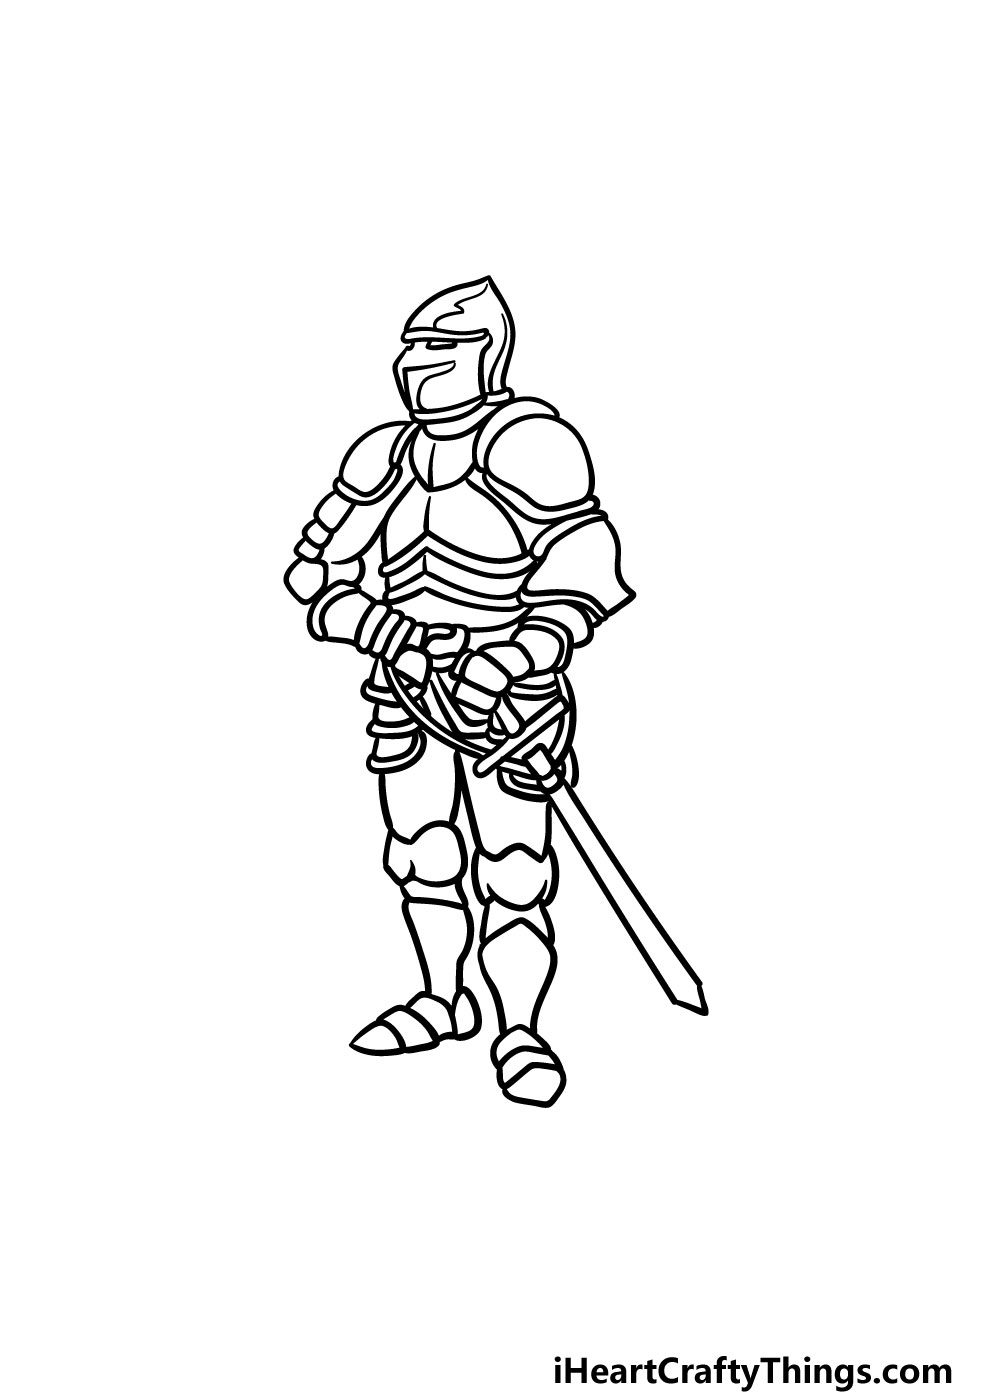
This knight is already looking awesome! It will be time to add some color to it soon, but first we have a few final details to add in this step of our guide on how to draw armor.
First, we will be finishing off the leg on the right. This shin and foot will look very similar to what you drew in the previous step, except they will be at a slightly different angle.
That will do it for the elements of our guide, but you can add some details of your own if you would like to!
It could be fun to draw a background for this knight or even create a horse for him if you’re feeling ambitious. How will you finish off this armor drawing with your own final touches?
Step 6 – Finish off your armor drawing with some color
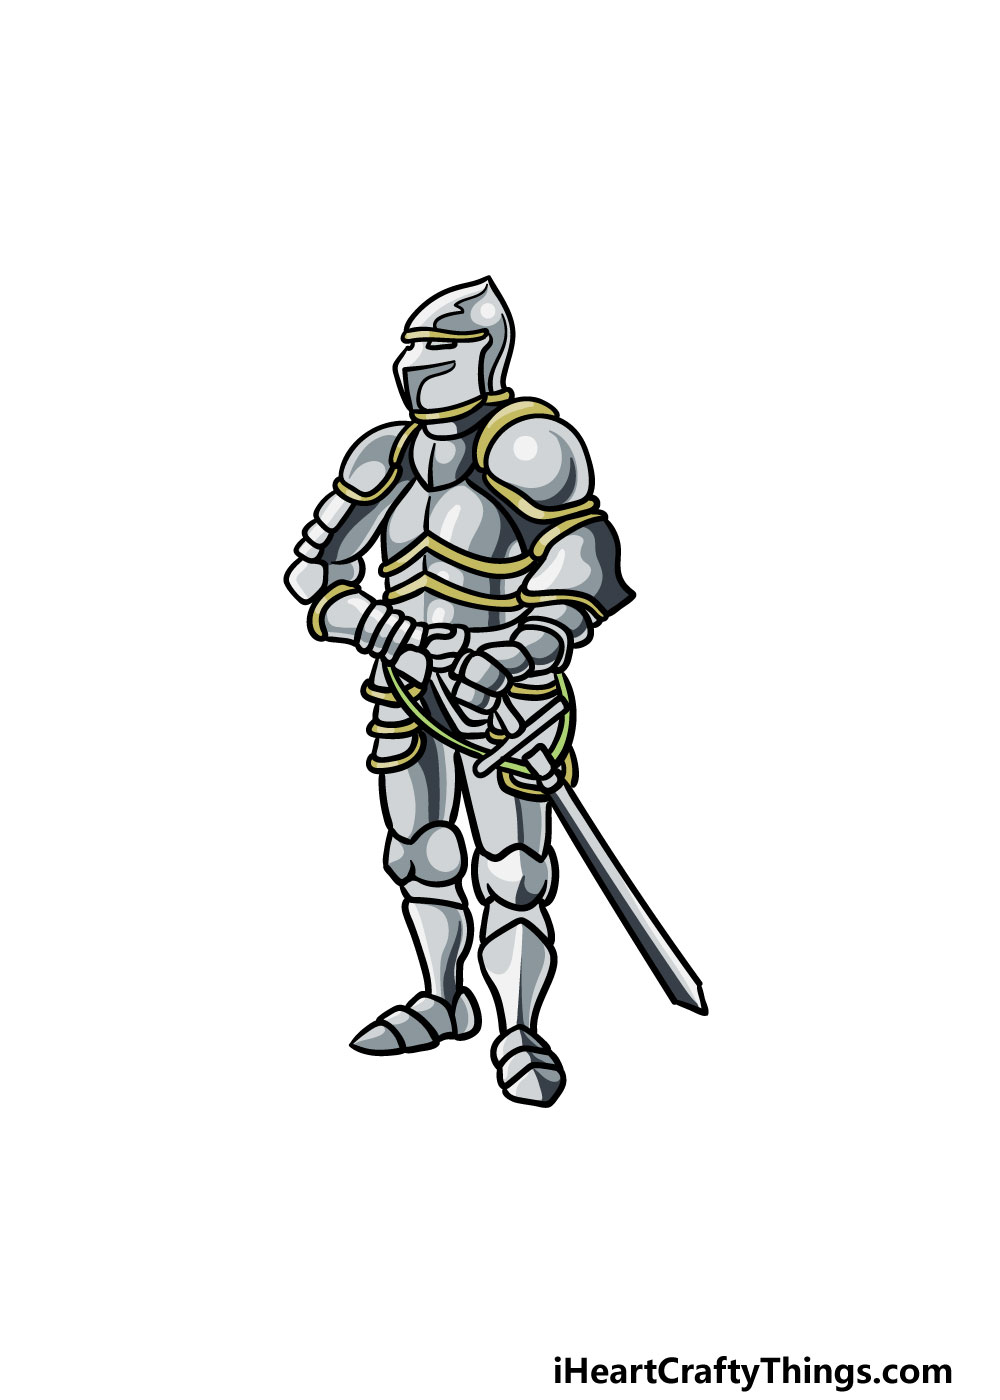
You may think that since armor is made of metal that there may not be many options for how you can color in this armor drawing. Luckily, that’s not necessarily the case!
There are lots of ways that you can get creative with your colors for this picture. We used greys with hints of yellow for our image, but you should feel free to use any of your favorite colors for the details of this drawing.
You could also add some brighter colors to the background or any other elements that you may have drawn for some more variation.
You can also experiment with your various art tools and mediums to make the colors have whatever vibrancy you may want for them. How will you finish off your amazing armor drawing?
4 More Ways To Make Your Armor Drawing Unique
Suit up for some amazing tips for your armor sketch.
This drawing of armor that we created in this guide already looks amazing, but it is mostly metal.
Often there would be extra elements to armor, and you could add some to this one.
For example, there could be a cape or other material over some areas of the armor. Or, there could be a feathery red tail coming from the top of the helmet.
What are some other things you could add to this armor to make it look more dynamic than it already does?
Knights are often portrayed as fighting alone, but in history they would often fight alongside fellow knights. Now that you know how to draw this suit of armor, you could add more knights beside him.
These could be drawn by following the steps of the guide again, and then you could alter a few details.
The poses could also be unique for each one to make each knight a completely distinct character.
What kinds of poses would you portray?
Once you have your armor drawing looking as you want it, you could make more of a scene by adding a background. This could be as simple as the countryside or as hectic as a battlefield.
The knight could be venturing into an intimidating dragon’s lair or a tunnel. There are so many opportunities for cool details and settings that you could use!
Can you think of some cool settings that would work for this image?
In legends, knights would face off against beasts and monsters of legend. Adding this kind of adversary to your armor sketch would be a great way to make it even more exciting.
As we alluded to in our previous tip, a dragon would be a good classic monster to start with. This is one of many you could go for, however.
This would also be a chance for you to get really creative and design a brand new type of monster for this brave knight to face off against.
Your Armor Drawing is Complete!
That brings you to the finale of this guide on how to draw armor! You worked very hard on this guide and really had to get in there with some finer details and elements, so you should be very proud of your picture!
Whenever you take on a difficult subject, it can be made easier and more fun when you break it down into smaller steps as we did in this guide.
Now you get to take over and show us what you can do with your own details, elements and color choices! We can’t wait to see what epic adventures you create for this knight.
Then, when you’re ready for more awesome drawing guides you can visit us on our website! We have tons of guides and upload new ones frequently for you to enjoy.
We would also love to see your awesome armor drawing once it’s done! When you’re ready, please be sure to share it on our Facebook and Pinterest pages for us to enjoy!