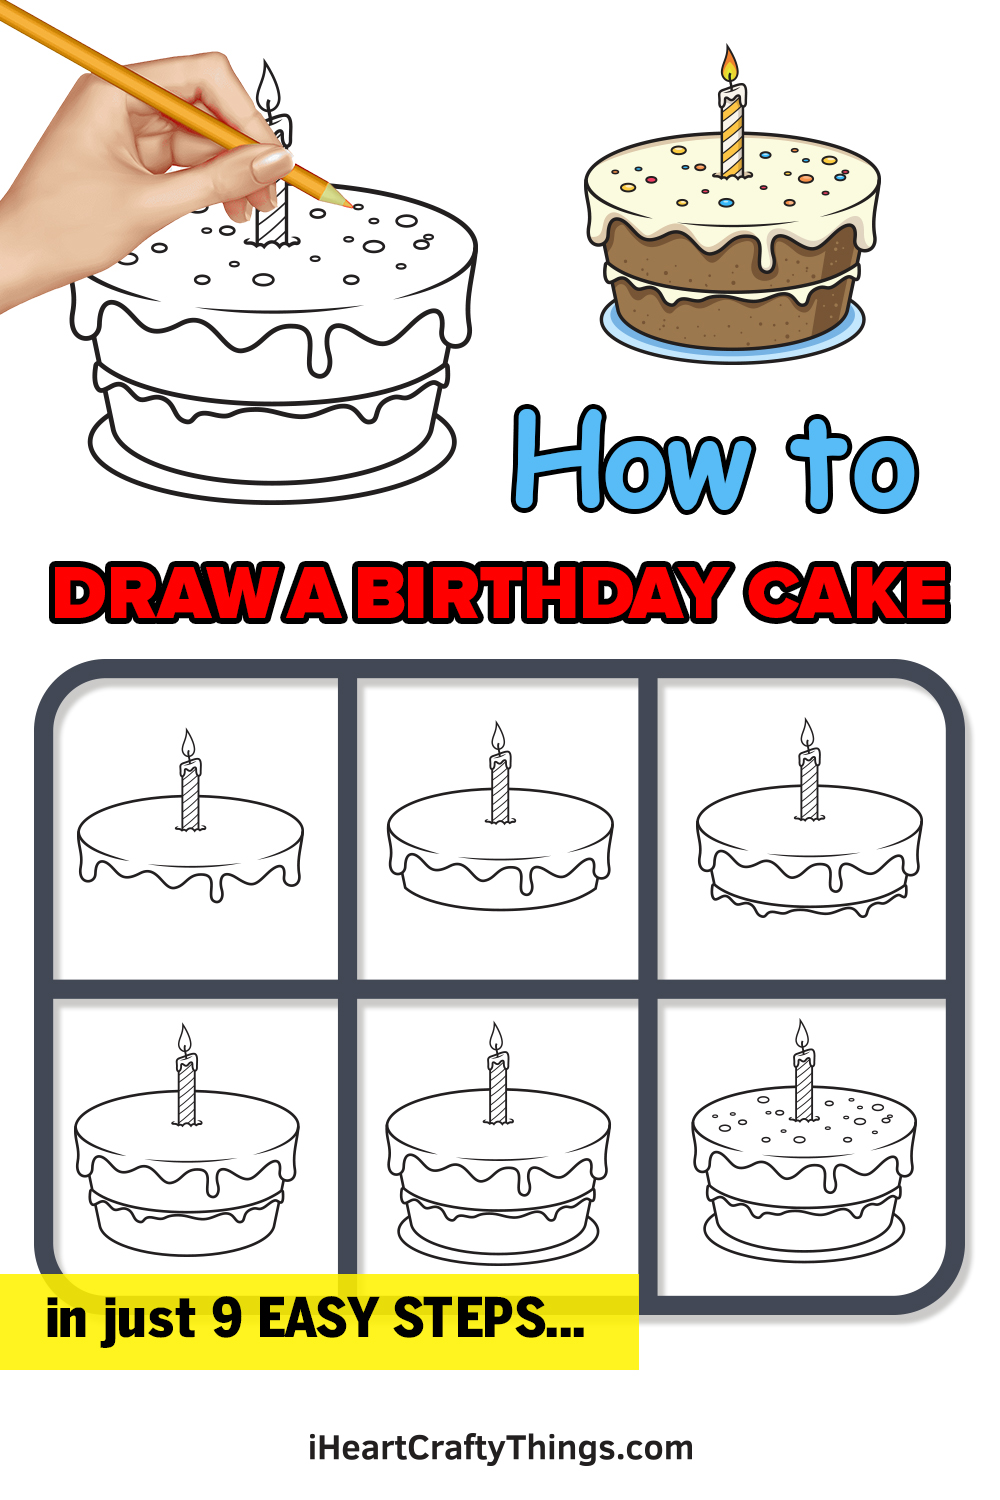
If you want to learn how to draw a birthday cake, then this guide is perfect for you. You can design a tasty cake no matter whether it’s your birthday or not!
Having a birthday cake is a cherished tradition in many cultures around the world. What’s not to like? You get a birthday and a tasty treat!
Everyone has their favorite kind of birthday cake even though we all know that chocolate cake is the best! Okay, I’m joking about that (sort of) but it’s still fun to imagine your perfect birthday cake.
By working through this guide, you will not only find out the simplest way to make this drawing but also be free to customize it to make your own perfect cake.
You could even draw a background to show where you would like to have your ideal birthday party!
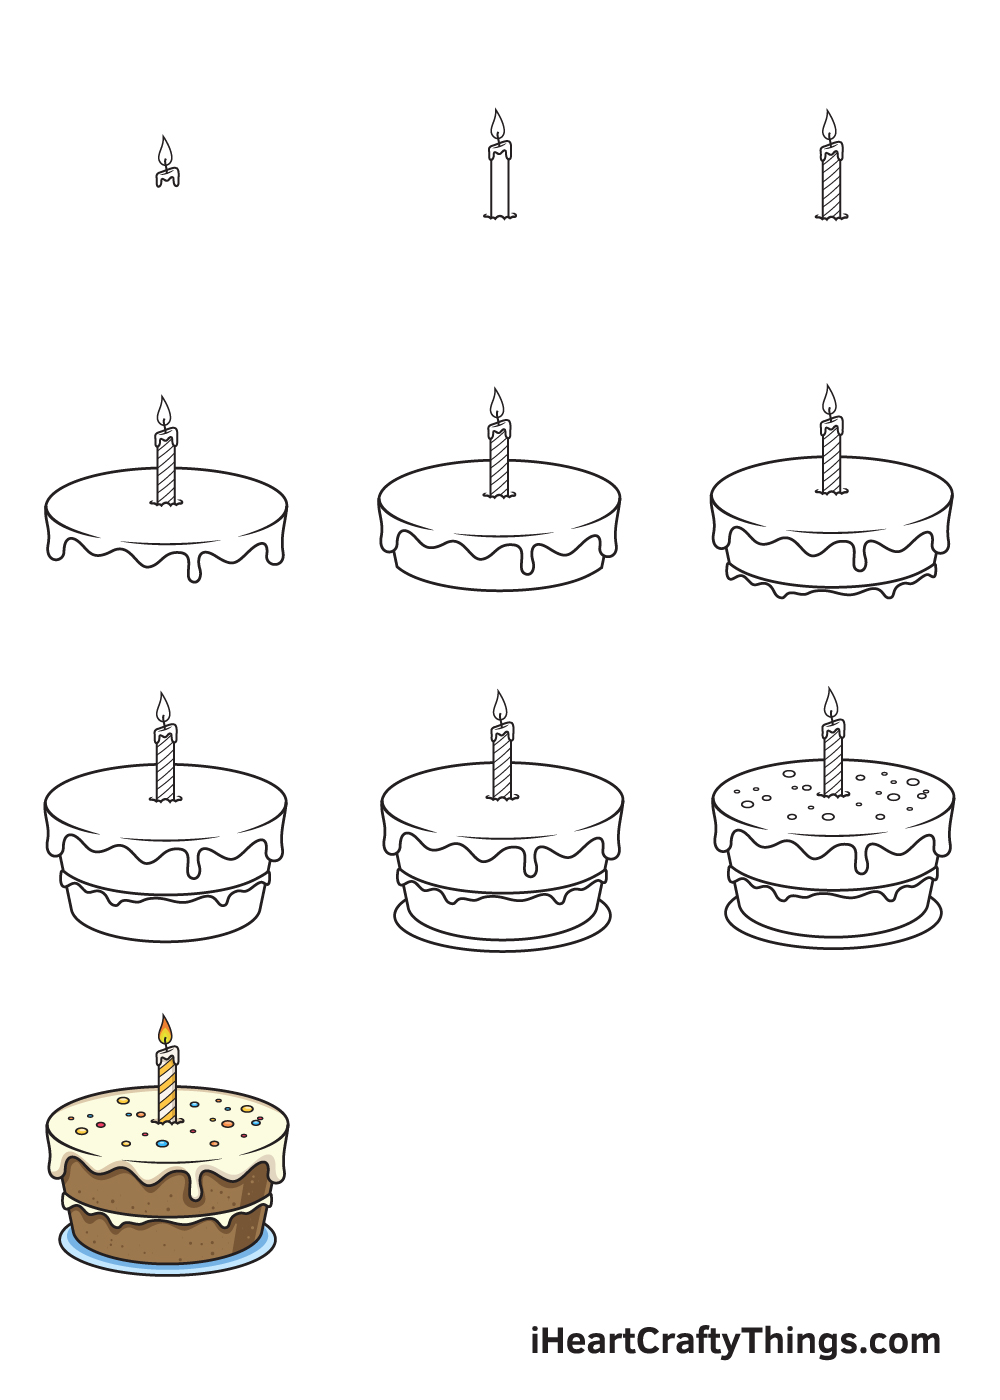
Watch These Steps On How To Make A Birthday Cake Drawing
How to Draw a Birthday Cake – Let’s get started!
Step 1

Starting from the top of your paper, draw a tiny droplet shape to create the flame of the candle. Afterwards, add a short vertical line at the bottom of the flame. Then, from the tip of the candle wick, draw a diagonal line with a drip shape at the bottom to create the melted candle wax effect.
Drawing from the top to the bottom gives you enough space for customization. For instance, while this tutorial is for a 2-layered birthday cake, you can create as many cake layers as you want—how exciting is that?!
Step 2 – Draw the Candle Wax and its Flame

Draw two parallel horizontal lines from the tip of the dripping candle wax. Then, draw an uneven, curved horizontal line at the bottom of the candle. This will create the illusion that the candle is pressed into the cake, as it naturally should.
Step 3 – Add Patterns on the Candle
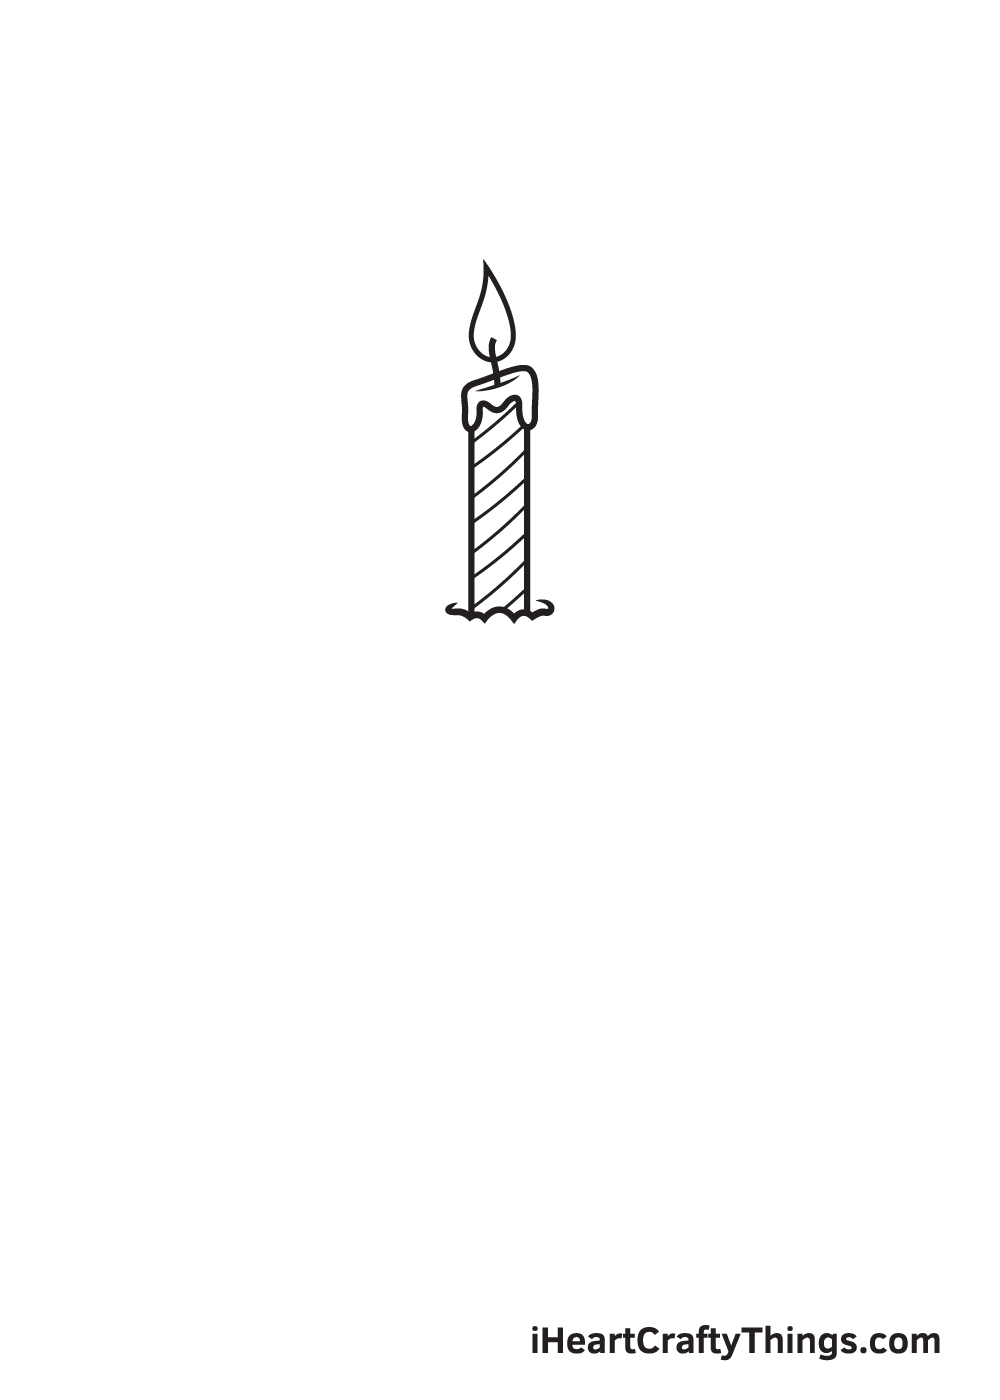
Now, it’s time to add patterns and textures to the candle. You can easily achieve a realistic and creative looking candley by simply drawing parallel diagonal lines across the candle
Birthday cake candles come in a wide range of shapes and designs. So, you can opt to follow the pattern in this illustration or customize the appearance of the candle however you like.
Step 4 – Draw the Frosting of the Cake
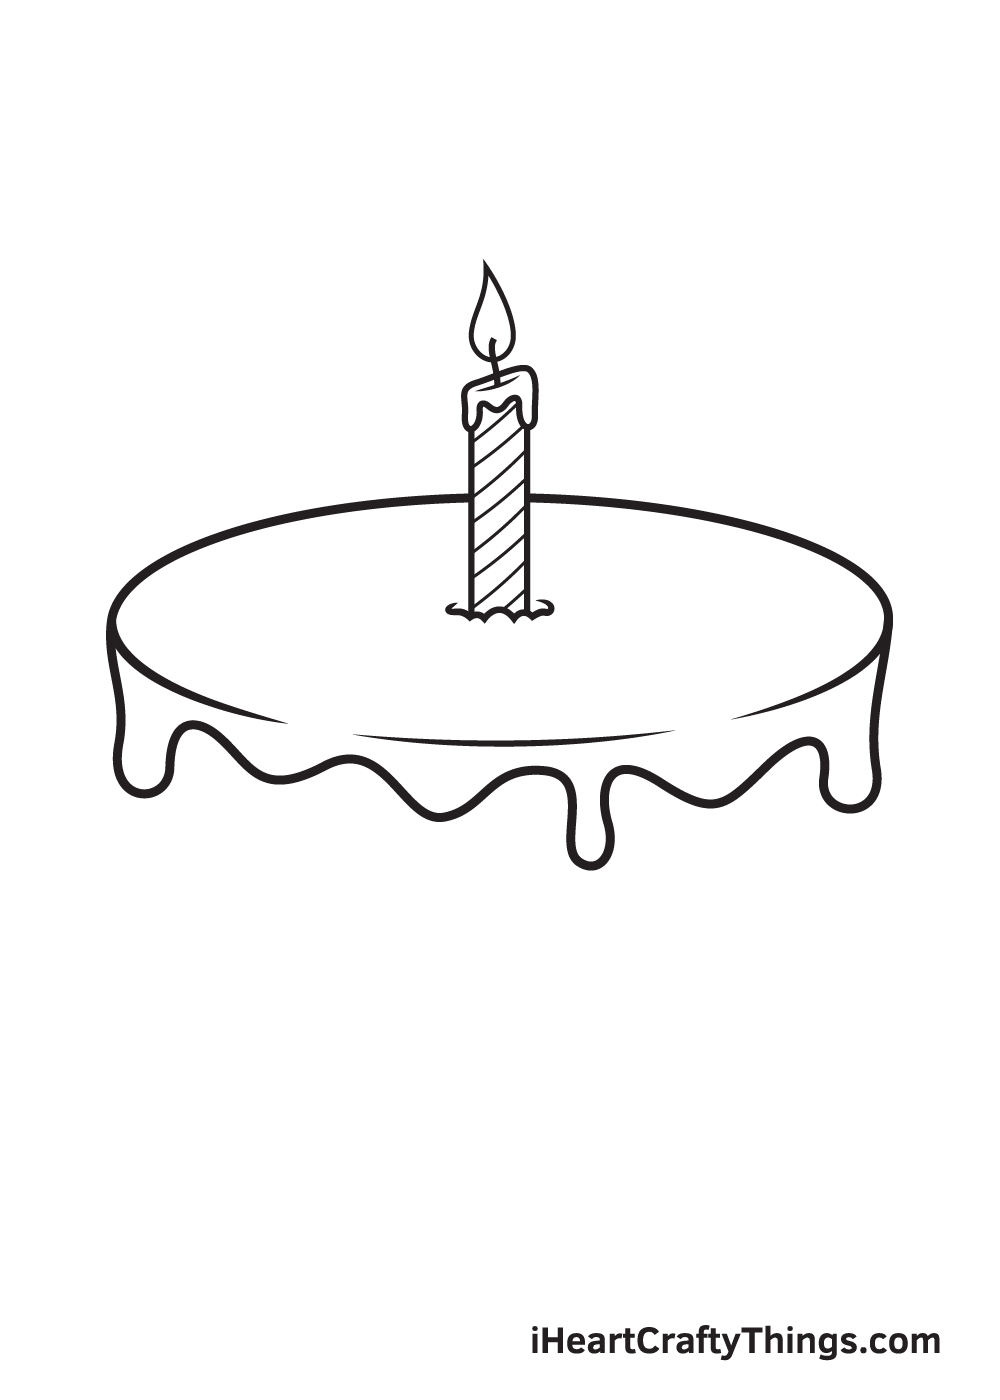
At the bottom of the candle, draw a sideways oval shape, as shown in the illustration. The end point of the candle must be positioned in the very middle of the oval shape. Then, at the bottom of the oval shape, create a dripping frosting effect by drawing a continuous curved line in various sizes.
Don’t stress over the uniformity of the curves in the dripping effect. As a matter of fact, the more uneven it is, the more realistic it looks.
Step 5 – Next, Add the Top Layer of the Cake
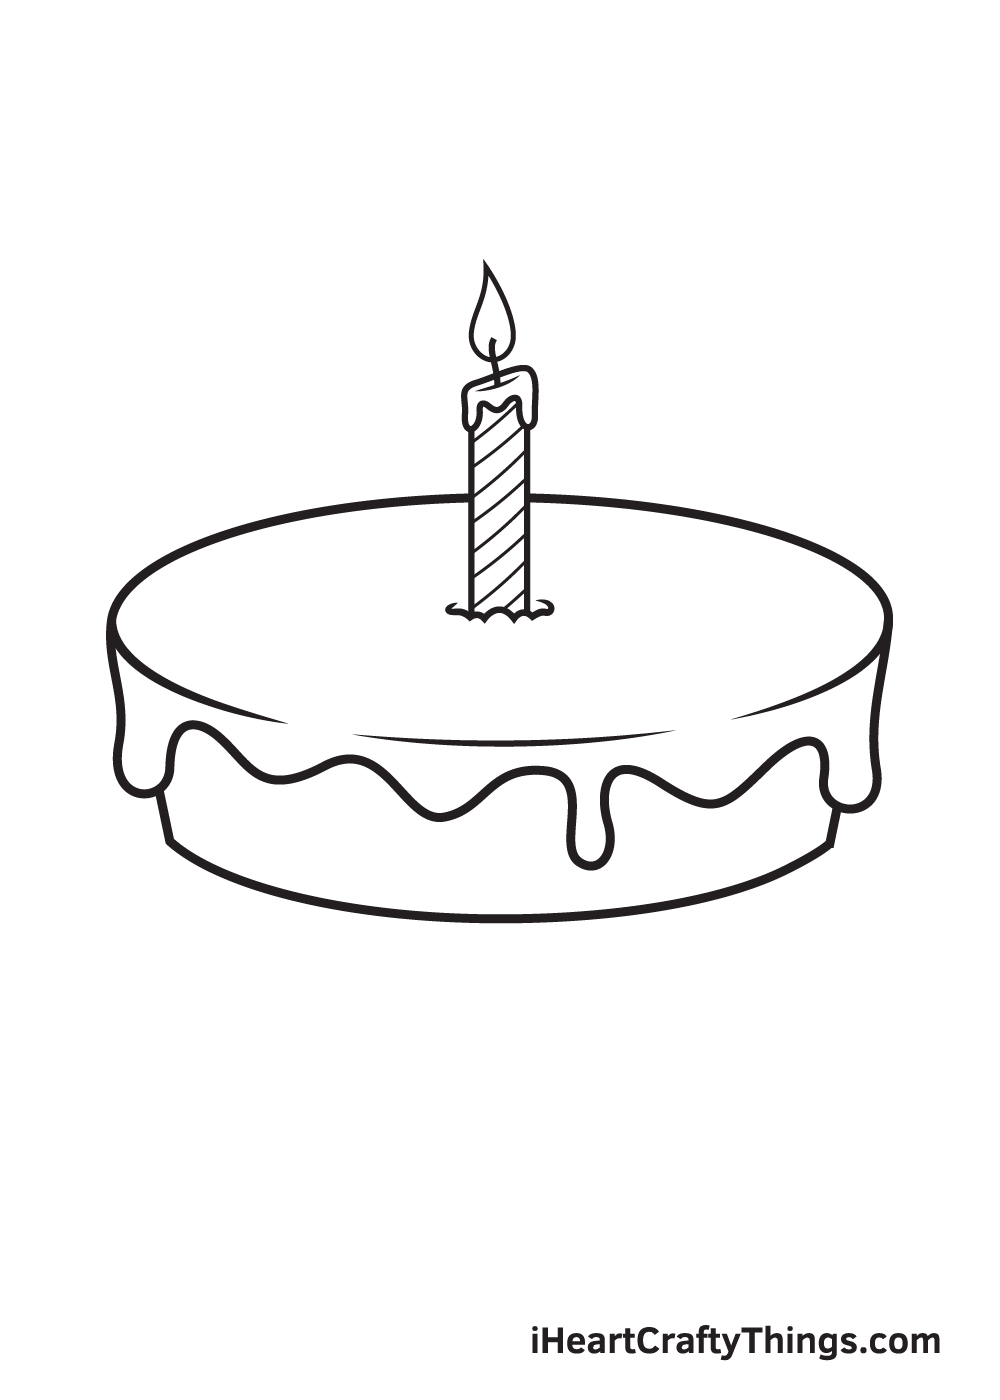
Now that you have drawn the frosting, it’s time to draw the topmost cake layer. Draw two short diagonal lines on both ends of the frosting and connect them together with a curved horizontal line.
Step 6 – Draw Another Frosting
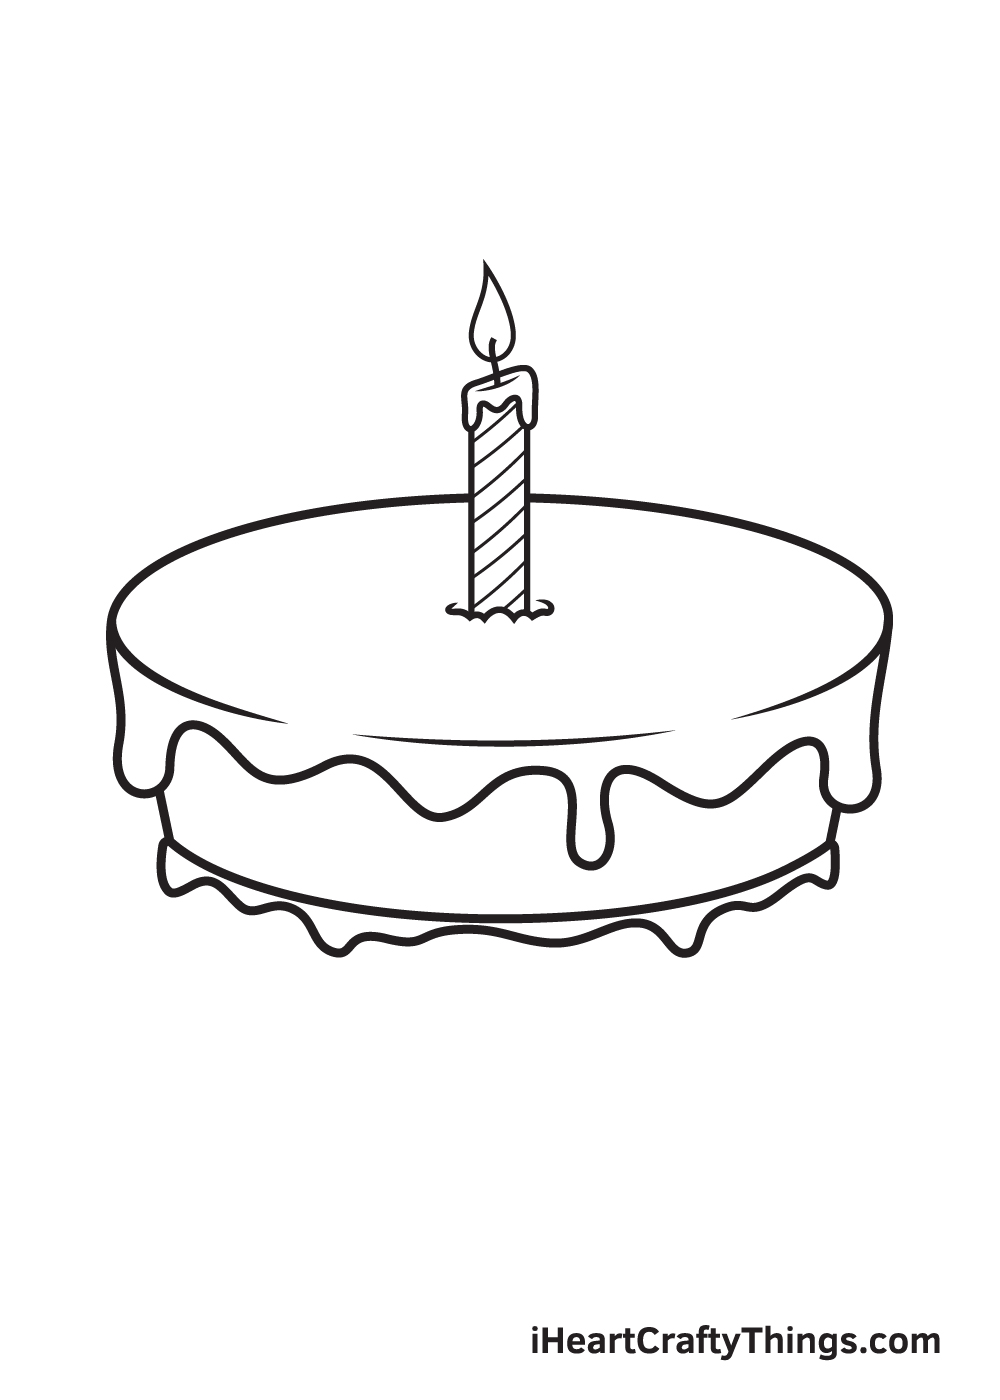
Right underneath the first layer of the cake, draw another dripping effect. This time, however, the dripping frosting should be slightly smaller than the one at the very top.
Step 7 – Then, Add the Bottom Layer of the Cake
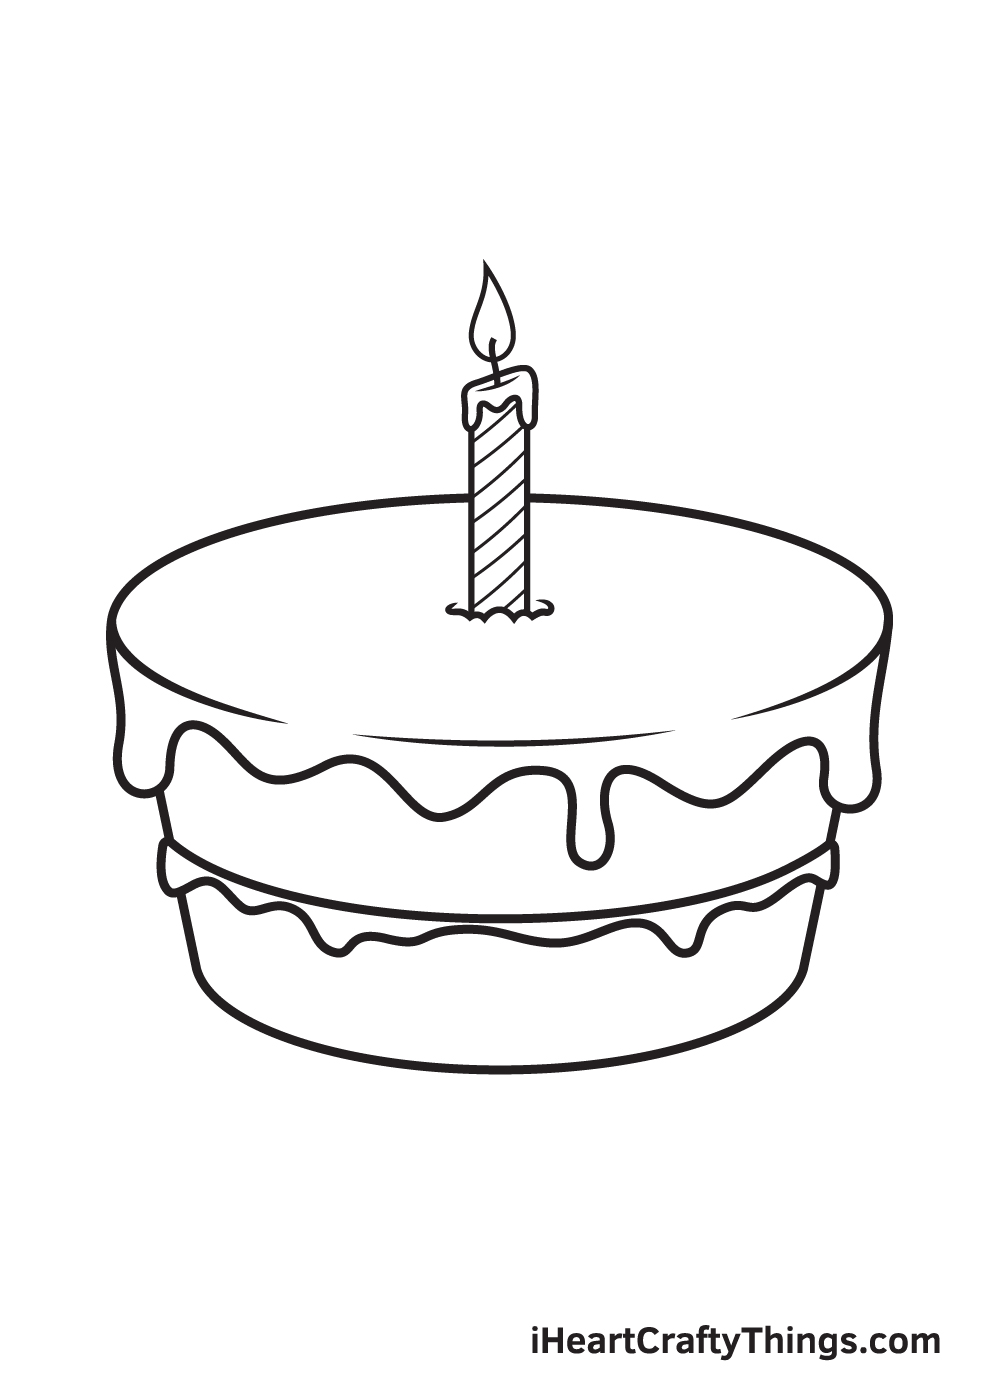
Beneath the second layer of dripping frosting, draw another layer of cake similar to the fifth step. Again, the second layer of cake should be a bit smaller than the topmost layer.
Step 8 – Draw the Plate Underneath the Cake
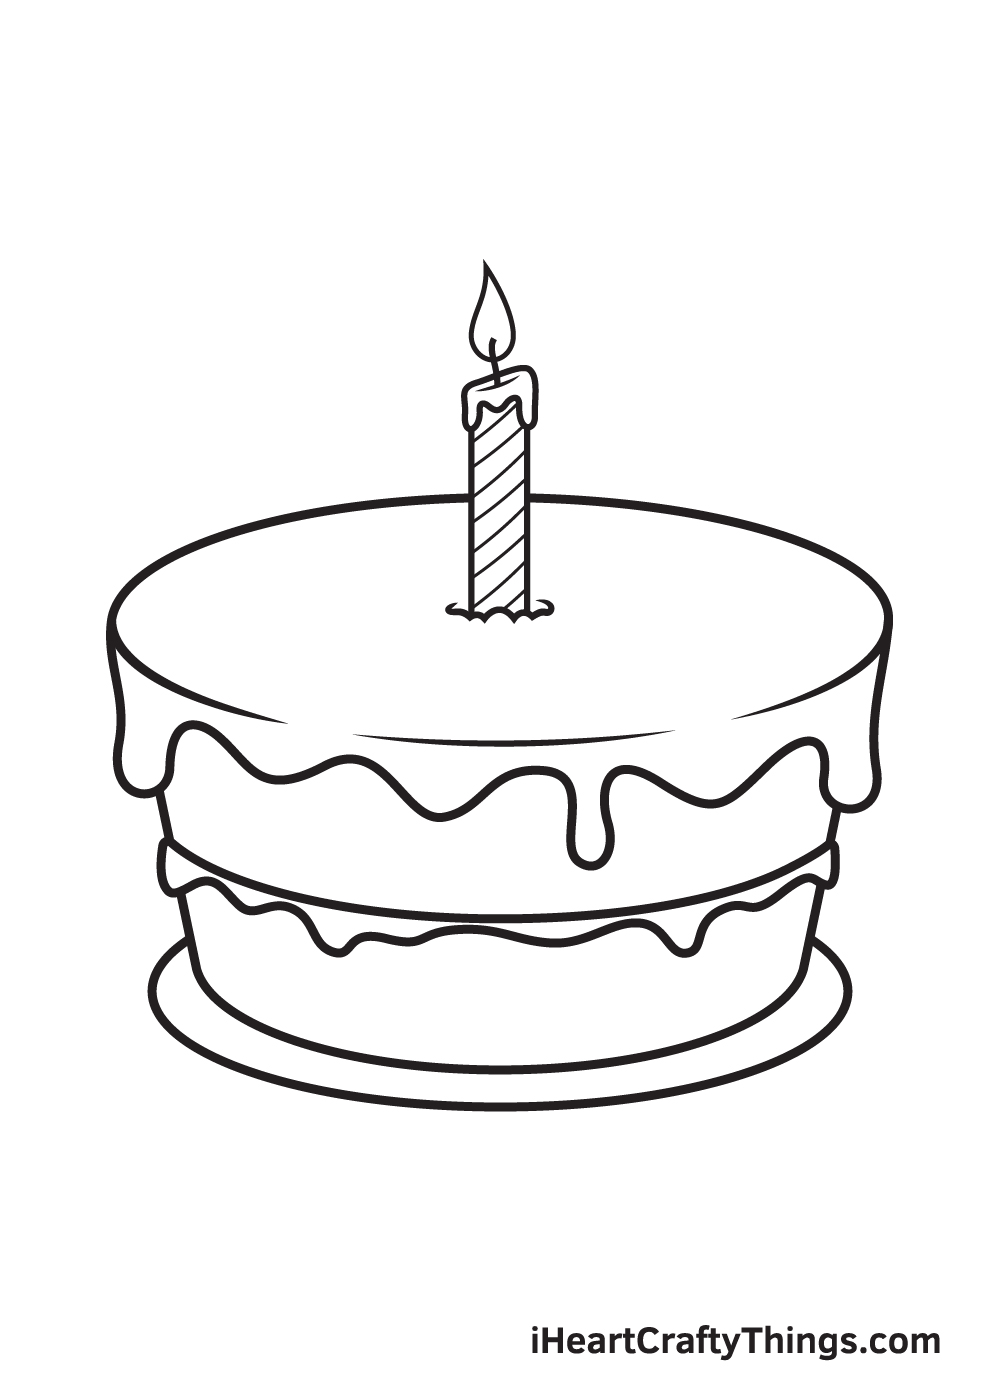
At the bottom of the base of the birthday cake, draw another sideways oval to create the cake plate. When drawn correctly, it should appear like the birthday cake is placed on top of the plate.
Keep in mind that the rear part of the plate must not be visible as the cake itself is covering it.
Step 9 – Add the Sprinkles on Top
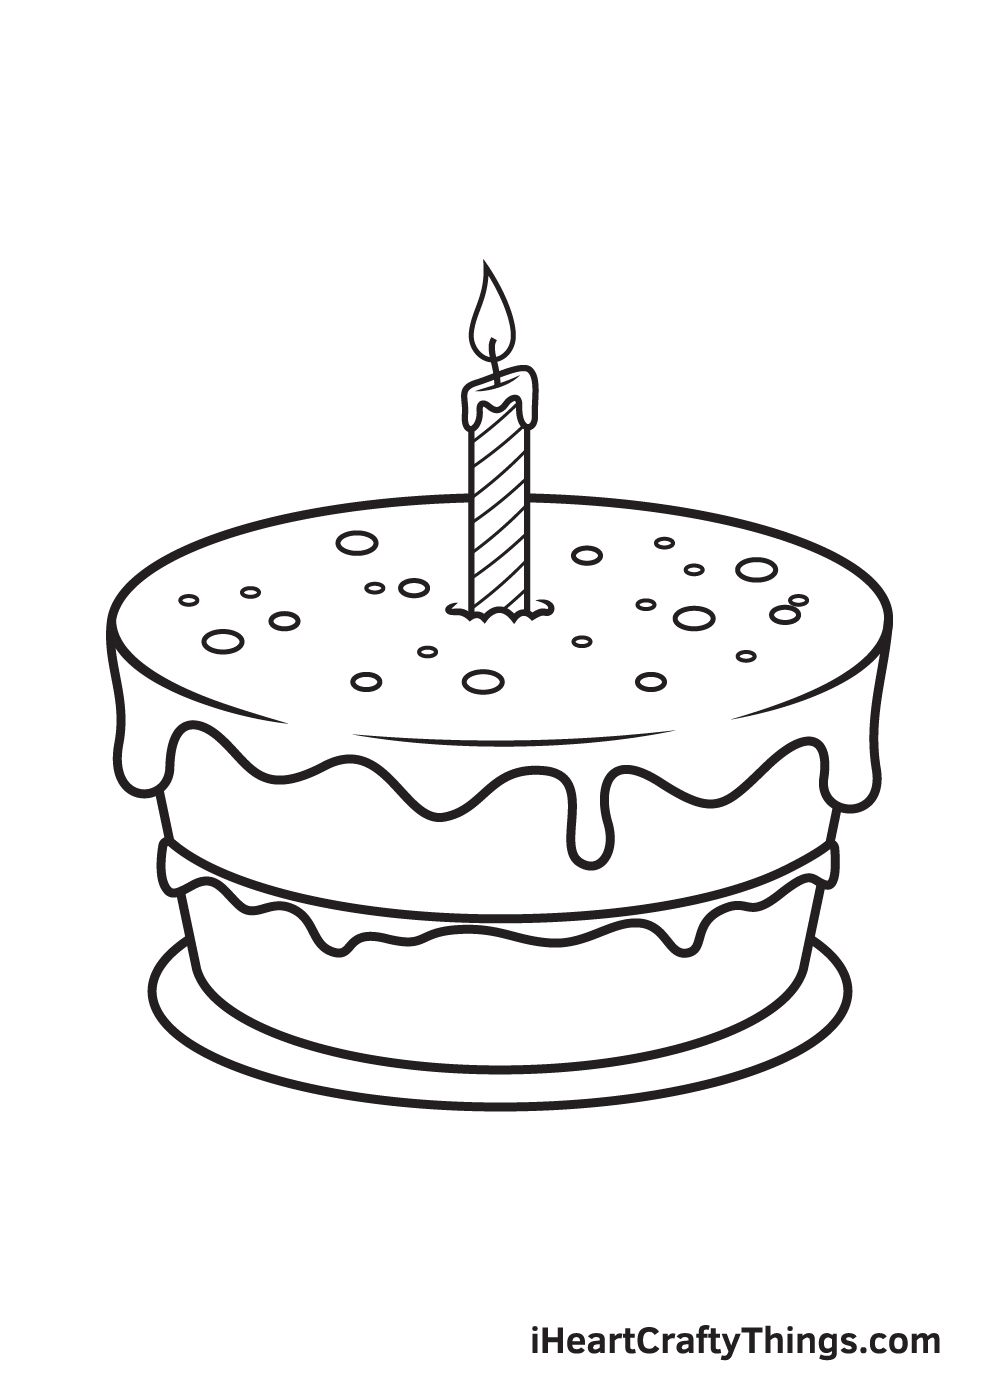
A birthday cake wouldn’t be complete without a dash of colorful sprinkles on top. So, of course, we will be adding sprinkles on top of our birthday cake to complete the look! And of course, you can put as many or as few sprinkles as you want!
Did you know that sprinkles come in a wide range of shapes and sizes? The kind of sprinkles that you see in this illustration is called jimmies, which are tiny sugar strands in short rod shapes.
There are also sprinkles in the form of spheres, flat circles, and crystals. Don’t hesitate to draw whichever kind of sprinkles you like!
Here, you can see the birthday cake is nearly finished! The only thing it’s missing is a splash of multiple colors to complete your artwork!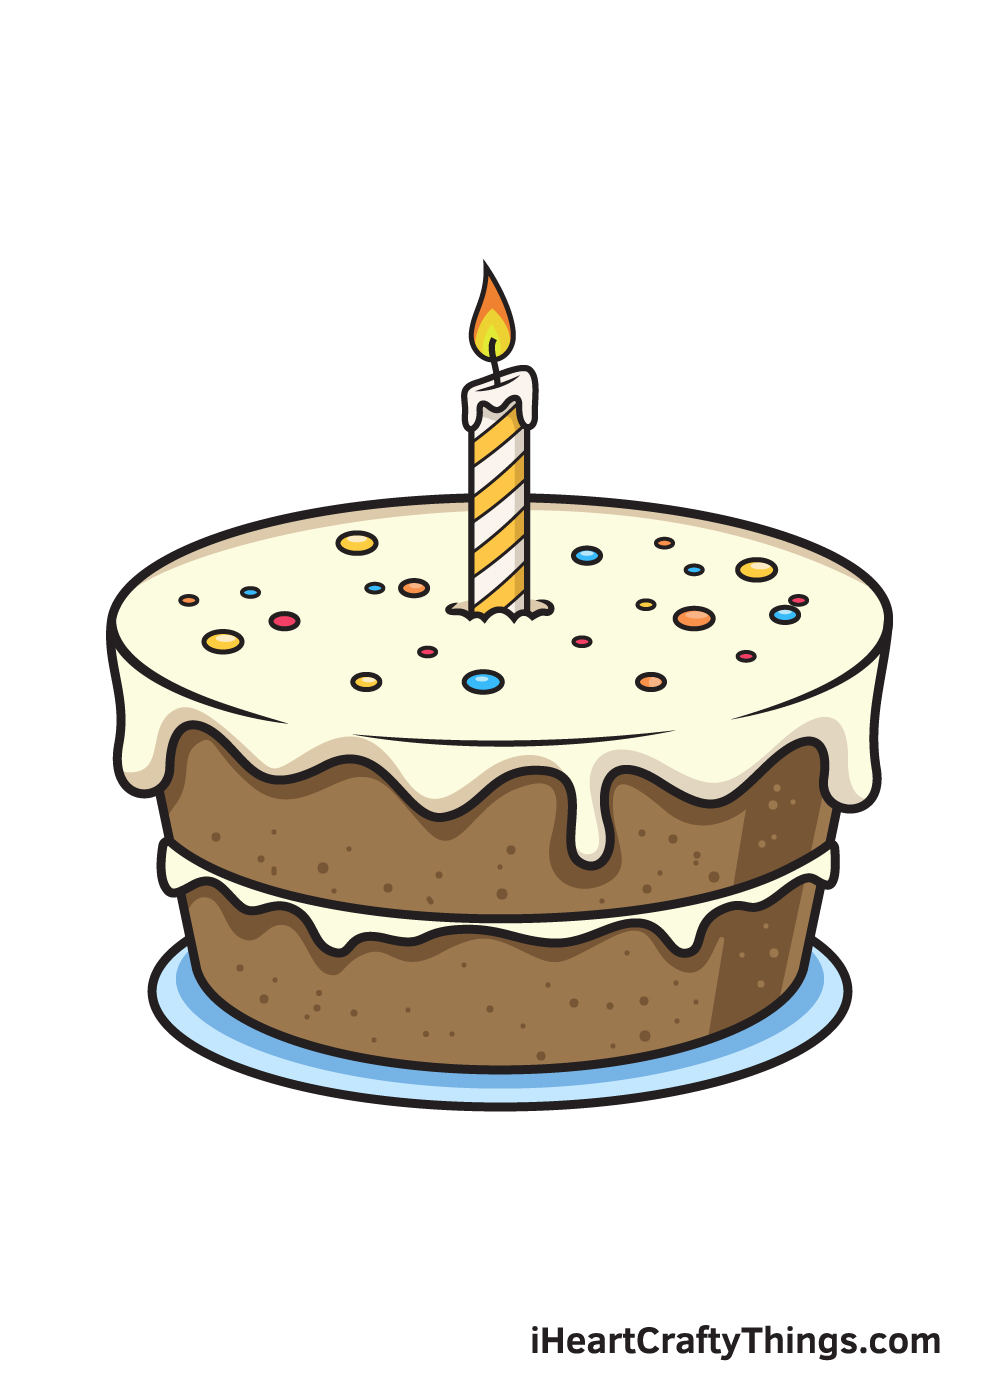
Finally, here is the most exciting part—filling in the colors for your awesome drawing! This is the part where you can show off your artistic skills and your ability to mix and match various colors.
Don’t forget to differ the colors of the sprinkles from the frosting to make it stand out. You can even use more than one color for the sprinkles and the frosting to make your artwork more vibrant!
Birthday cakes come in a wide range of shapes, colors, and flavors. This gives you a lot of opportunities to style and design your birthday cake drawing. It’s all up to you! Remember, your imagination is boundless—take advantage of it by all means!
Bonus: Try Out These Extra Ideas To Add Color To This Drawing
We just covered a few ways that you could bring some color to this birthday cake drawing, but we didn’t want to stop there! We will soon have a few more ways you can add to the drawing, but there are more possibilities to cover.
First of all, picking the colors you use is just a part of the creative process. You can also play around with the art tools, mediums and craft supplies you use.
For example, let’s say you’re portraying the icing of the cake. It would look good if you used regular coloring mediums like colored pens and pencils.
However, this would probably make the colors flat, when you could also have them have a bit more depth. One way you could do this would be to use thick layers of paint.
If you used something a bit thicker like acrylic paint, then you could apply thicker layers without it running. Even if it does run a bit, you could still make it look like it’s icing!
Using wool or other crafts could also make the icing have some more depth. When it comes to the sprinkles, you have many crafts that could be used.
Some beads would be perfect to use as sprinkles, and it would make them look real! Using glitter over a thin layer of glue would also be a good way to give the appearance of sparkling sprinkles.
Using stickers and other special glues could further add some depth to the various details. You can also make your birthday cake drawing as colorful or as muted as you like, it’s up to you!
Now that we have covered some of the ways you could color it, we have a few more ideas on how you can add to the drawing.
4 More Ways To Make Your Birthday Cake Drawing Unique
Celebrate this special day with these tips on how to make your birthday cake look amazing!
When a birthday cake is being enjoyed, it will often have many other foods, beverages and decorations to go with it. These would be perfect to add to your birthday cake drawing!
These could include anything from small cupcakes and bowls of candy to balloons, banners and confetti. This is all about creating your very own birthday scene!
You should definitely add everything you would like to see at a real party so we can see what a party planned by you would look like!
Another way to make this drawing of a birthday cake more unique would be to add some extra elements to create a scene. For instance, you could draw a slice cut out of it.
This would show that someone is already enjoying it, but it would also give you a chance to show what the cake looks like inside. What kinds of fillings and layers do you think this cake would have?
If you’re feeling extra creative and ambitious, you could also add some humans to this scene that we are creating. This would be a great way to really build a party around this birthday cake sketch.
If you were to do this, you could use some of your family and friends to base the characters on. They don’t have to be super realistic, and you could portray them in a cartoon style.
Who would you invite to this particular birthday party?
When you have the hang of the design of this birthday cake drawing, you could also change the style of the cake.
You could do this by adding more layers, adding different icing or by putting different toppings on it.
These could include fruits or candies or even some crazy candles! You have a great opportunity to design the birthday cake you’ve always dreamed of here.
What kind of theme would you choose for this cake? We would love to see how you decide to finish it off!
Your Birthday Cake Drawing is Complete!
We hope you enjoy this step-by-step tutorial on how to draw a birthday cake. With this guide, you can surely draw and color a birthday cake along with its complex features and elaborate details in no time.
And the most fun part is, you can customize its flavors and play with various colors as much as you like! While you’re at it, why not try using different coloring tools as well?
Once you’ve finished your masterpiece, we’re certain you must be feeling very proud of yourself—as you should be!
Completing this birthday cake drawing is definitely fulfilling. Make sure to show off your work of art and share it on our Facebook page and on Pinterest. We’re sure it looks amazing!
We can’t wait to see your colorful birthday cake drawing!
Here Is A Fun Birthday Cake Drawing To Inspire You!
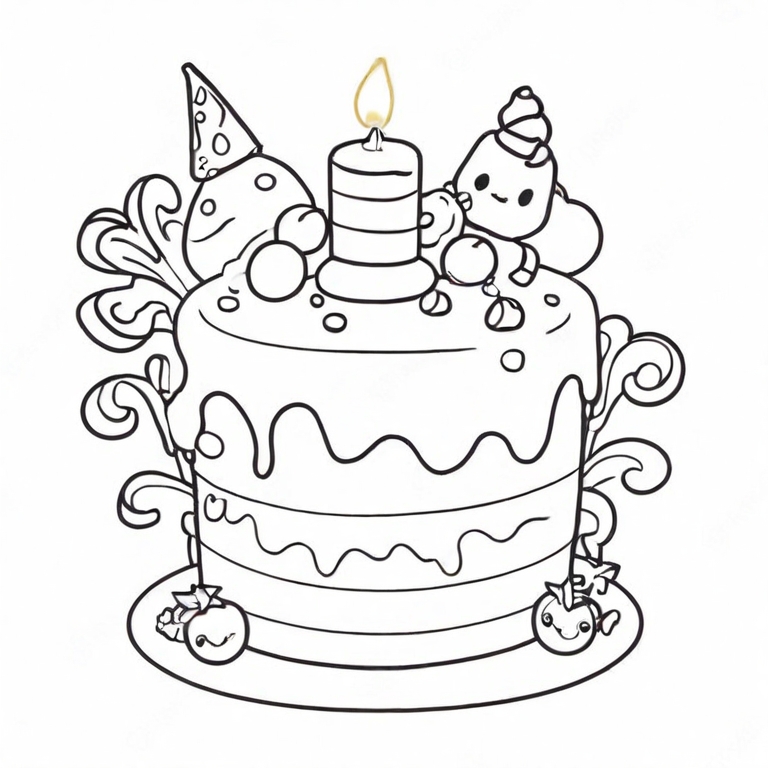
A birthday is something to really look forward to, as you get to enjoy presents, gifts and time with family and friends. The birthday cake is an important feature in many cultures, and now you can design your own.
We got you started with the steps in the guide, but to give you some extra inspiration we asked our artist Freddy to make this beautiful fun birthday cake drawing for kids.
This cake is packed with details and flourishes that make it a sight to behold, and it also makes the cake look delicious! This is your chance to unleash your inner baker as you make your own cake.
You can add a lot of details and flourishes of your own, or you could keep it as it is if you love the design. It’s up to you, so what will you choose?
