Disney Studios have been one of the primary forces in animation production for decades, and they have released many blockbuster hits in their time.
One of the more recent examples of this would be the 2013 film Frozen.
This charming film took the world by storm because of its amazing songs, interesting characters and a story that took some unexpected turns.
Thanks to this popularity, it has gained a sequel and many other appearances in other media. Learning how to draw Anna from the film is a great way to celebrate this modern classic!
This is the tutorial for anyone who loves this friendly and brave character.
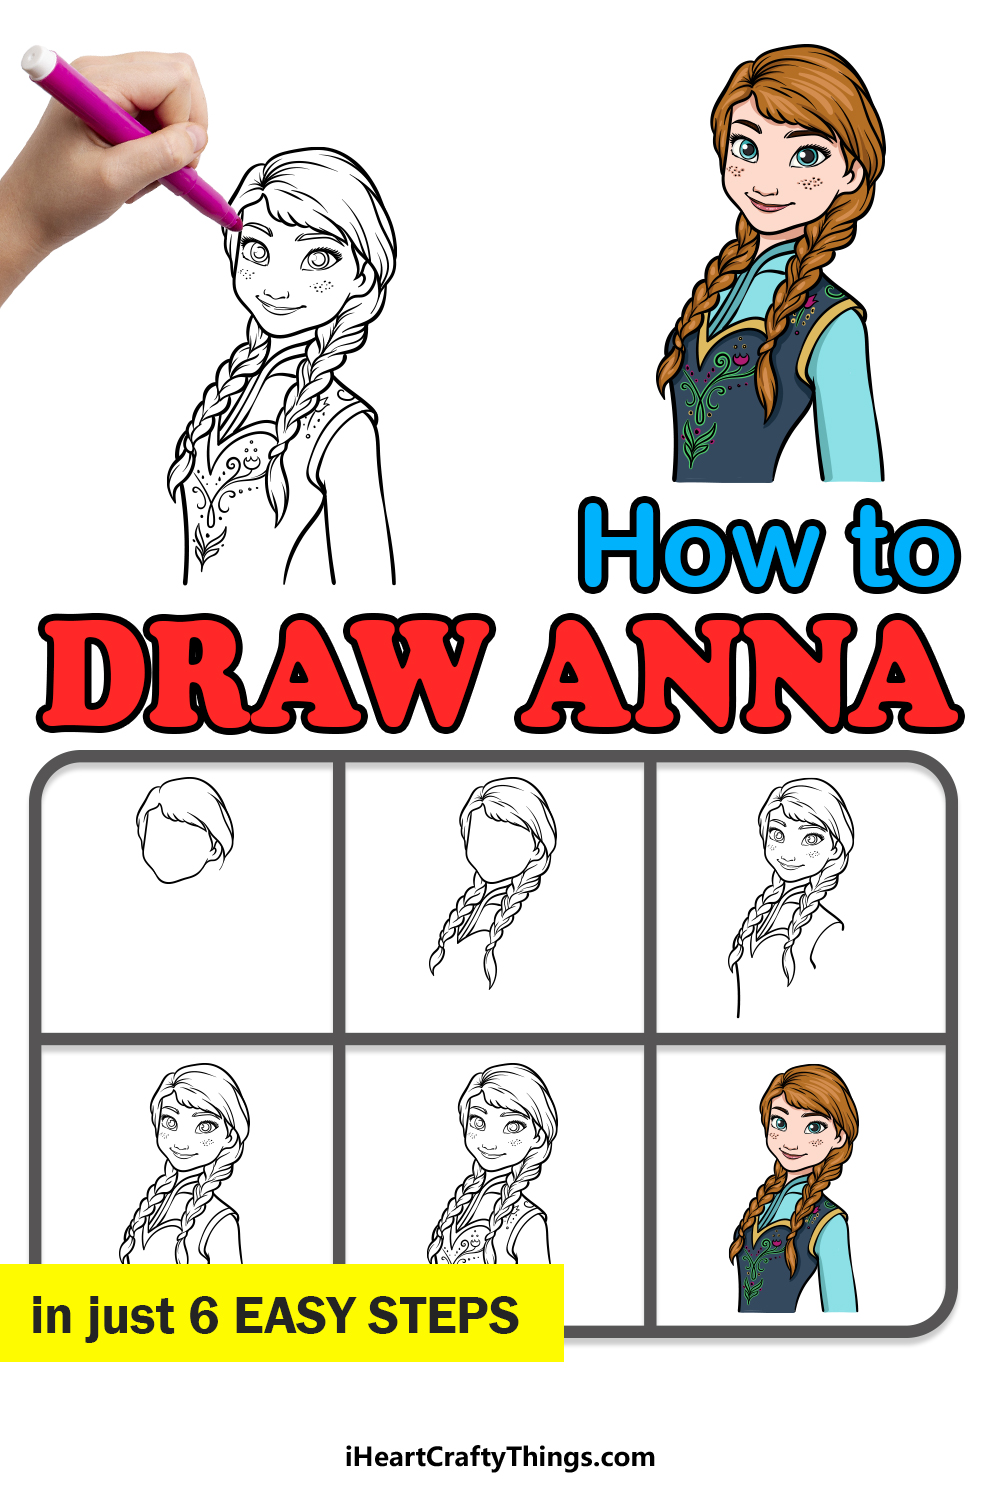
We hope that this step-by-step guide on how to draw Anna in just 6 steps will provide you with lots of drawing fun!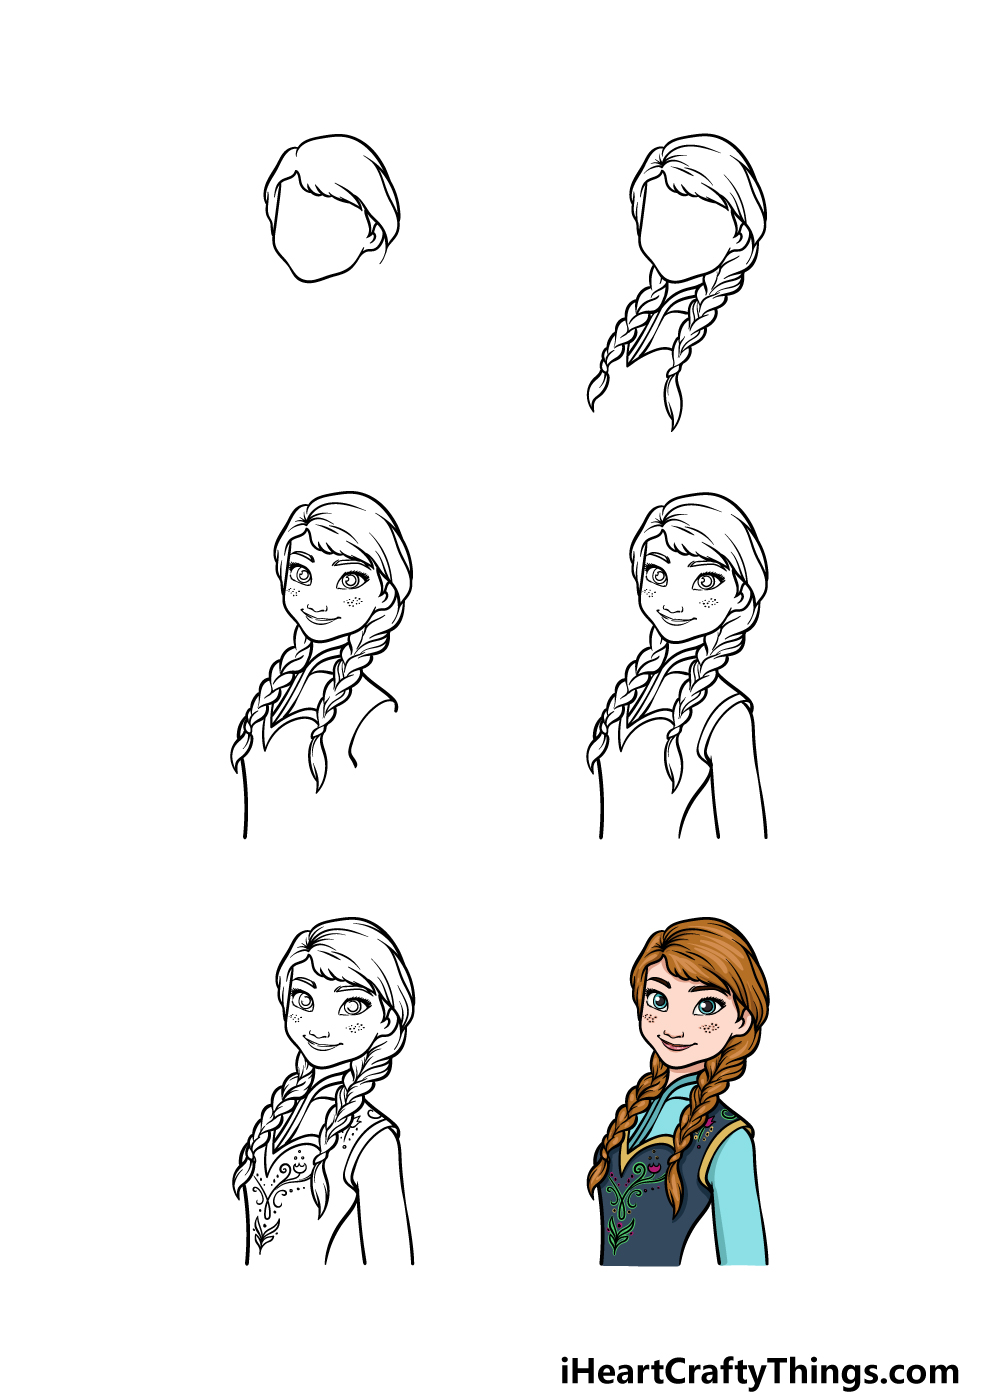
How to Draw Anna – Let’s Get Started!
Step 1
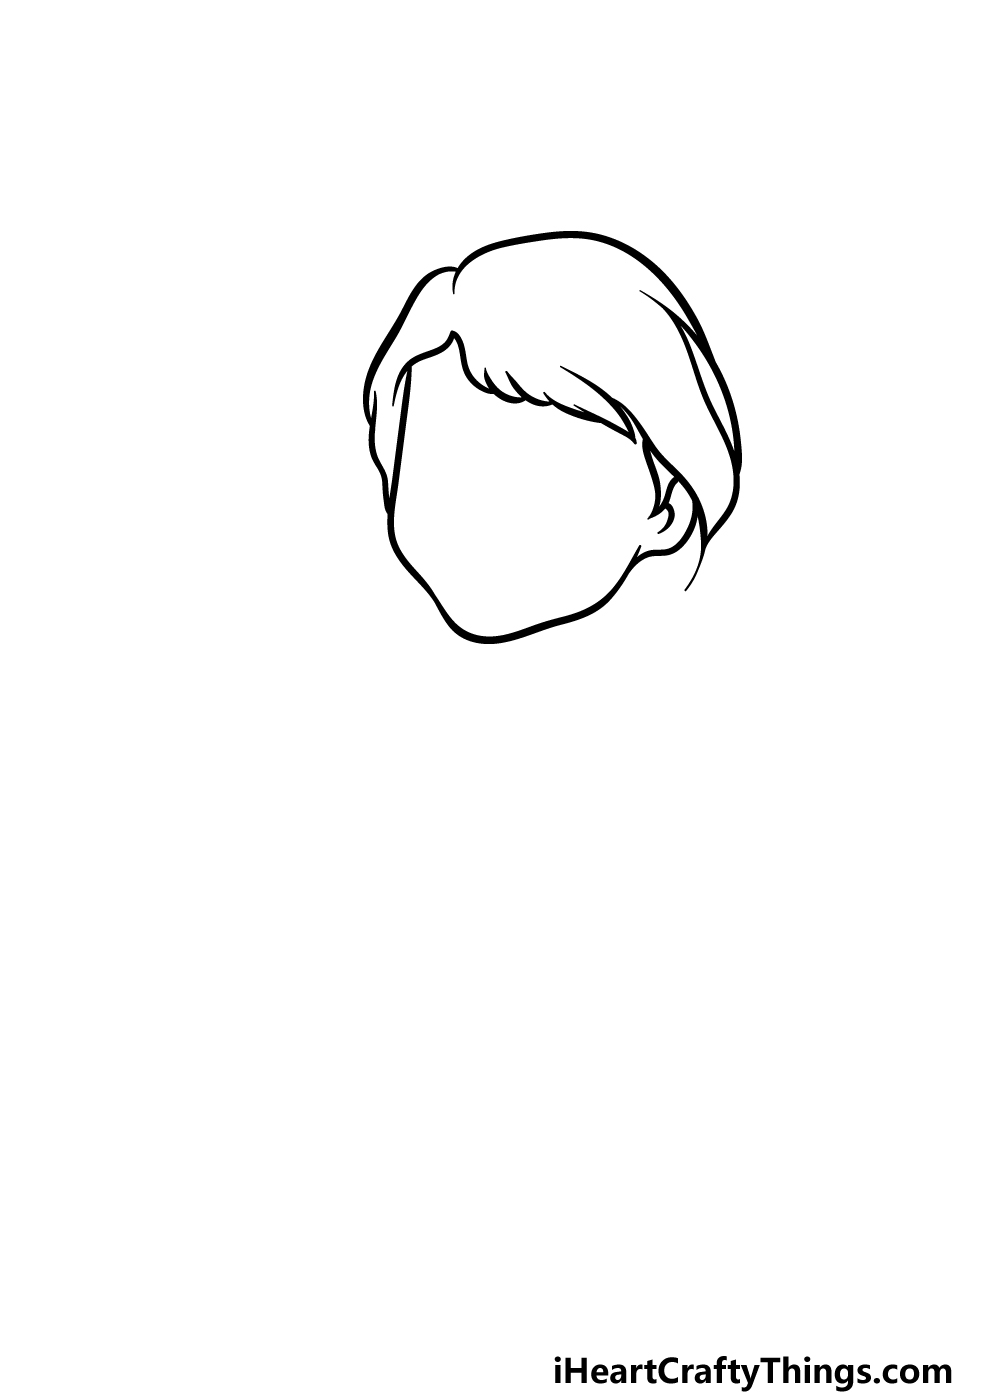
To begin this guide on how to draw Anna, we will begin with her face and hair outline. Let’s start with her face outline.
There is quite a distinctive style to her face that helps her to fit into the style of the film.
You can draw this outline using a curving line, and you may want to try and replicate it exactly as it appears in the reference image.
Then, we can start to draw the outline for her hair. This outline will be drawn with lots of smaller curved lines connecting to one another for the fringe at the top of her face.
There will then be some more curved lines for the top of the hair outline, and this portion will be a lot less smooth than her face outline was.
You will then be able to move on to step 2!
Step 2 – Now, draw some more of her hairstyle
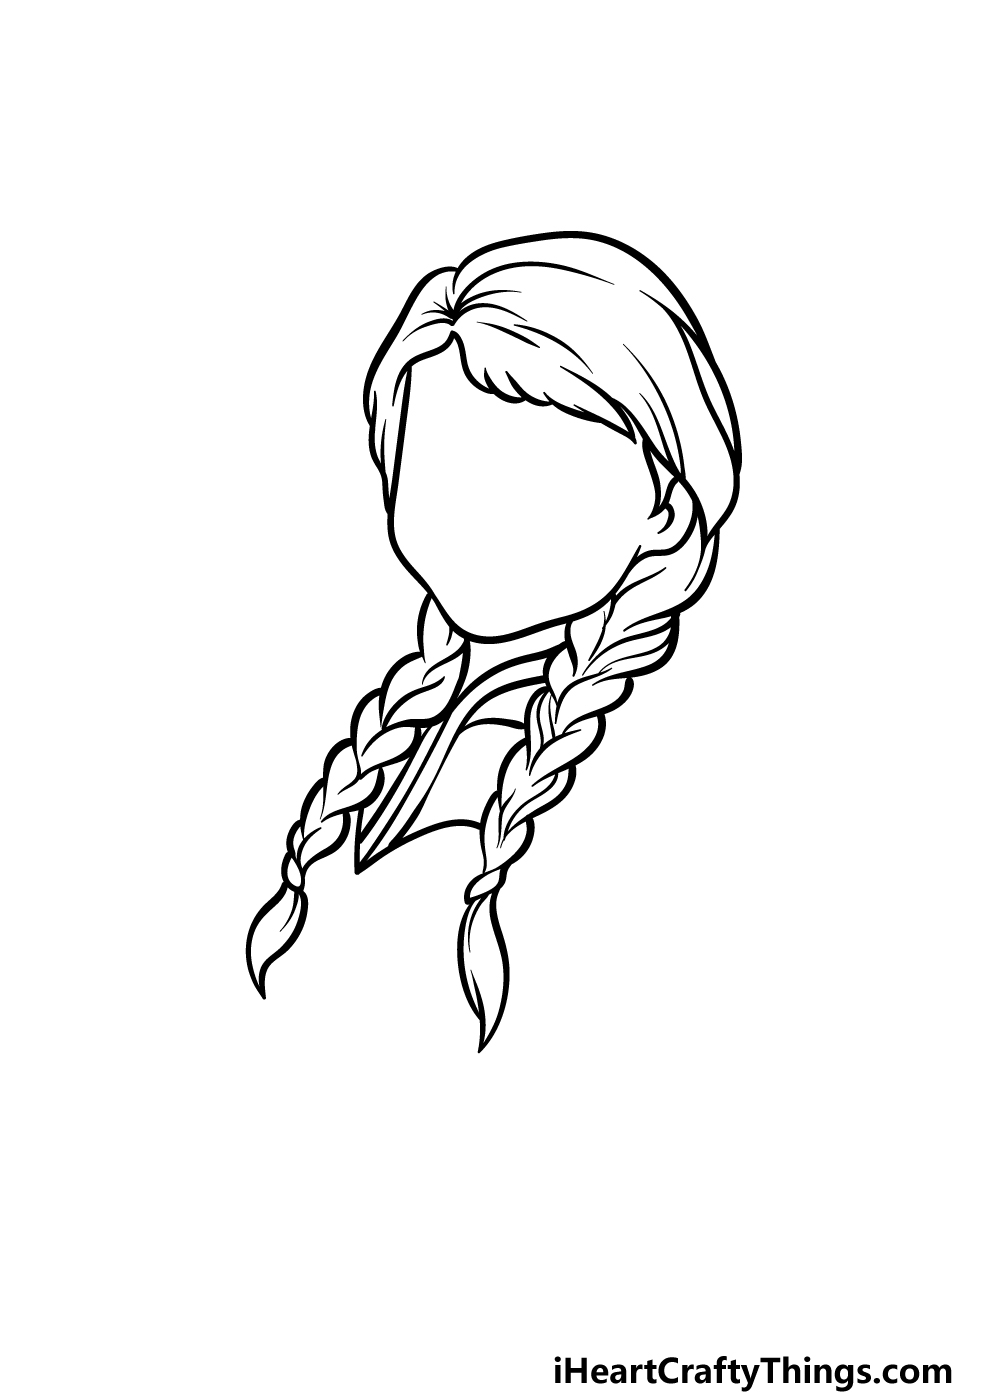
One of the most recognizable aspects of Anna’s designs are the large, braided pigtails that drop over her shoulders.
These can be a little tricky to draw, so as you add them to your Anna drawing you’ll want to try and take it section by section while closely following the example image.
Each section of the braid will be drawn using some curved lines that connect to each other in a way that makes it look like twisting hair.
Add some pointy hair sections at the base of the braids to show where they’re tied up, and then finish off this step by drawing the opening of her top between the braids.
Then it will be time to move to step 3.
Step 3 – Draw her facial details and more of her body
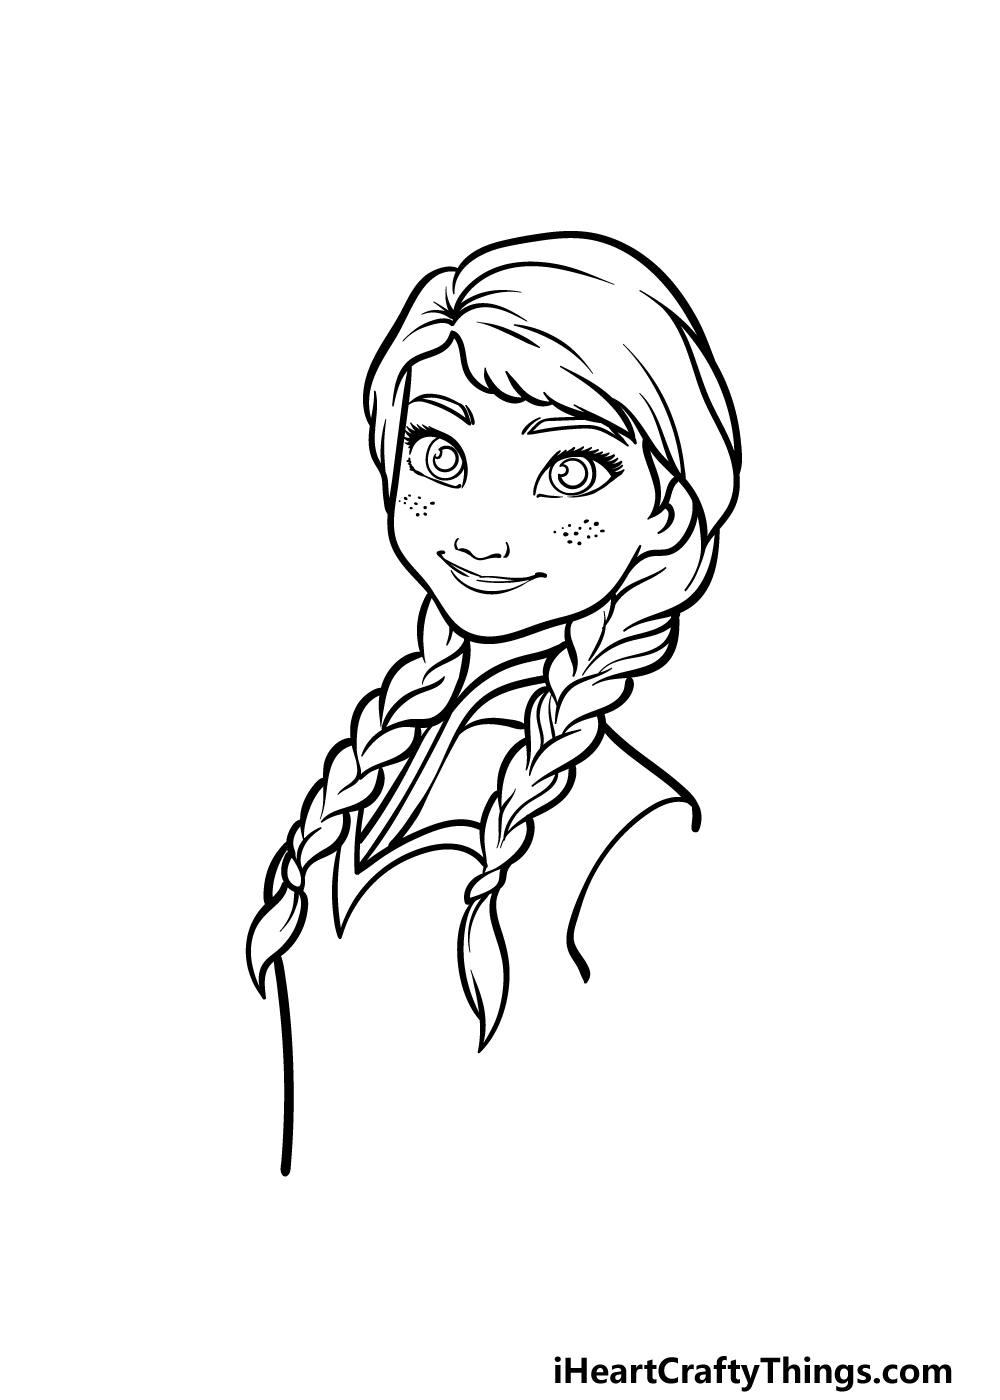
This third part of our guide on how to draw Anna will show you how to draw her facial features. She has a rather expressive face, and in this image she’s looking quite confident.
You can draw her eyes as some fairly large, rounded shapes, and then add some small circles for her pupils.
She will also have some large eyebrows above the eyes that help to enhance her expression.
Then, her nose will be drawn using some simple lines, and then her thin, smiling mouth will go beneath.
You can then finish off her face by adding some freckle dots and eyelashes around her eyes.
To close off this step, draw some more curved lines for her shoulders and chest.
Step 4 – Next, draw her back and the start of her arm
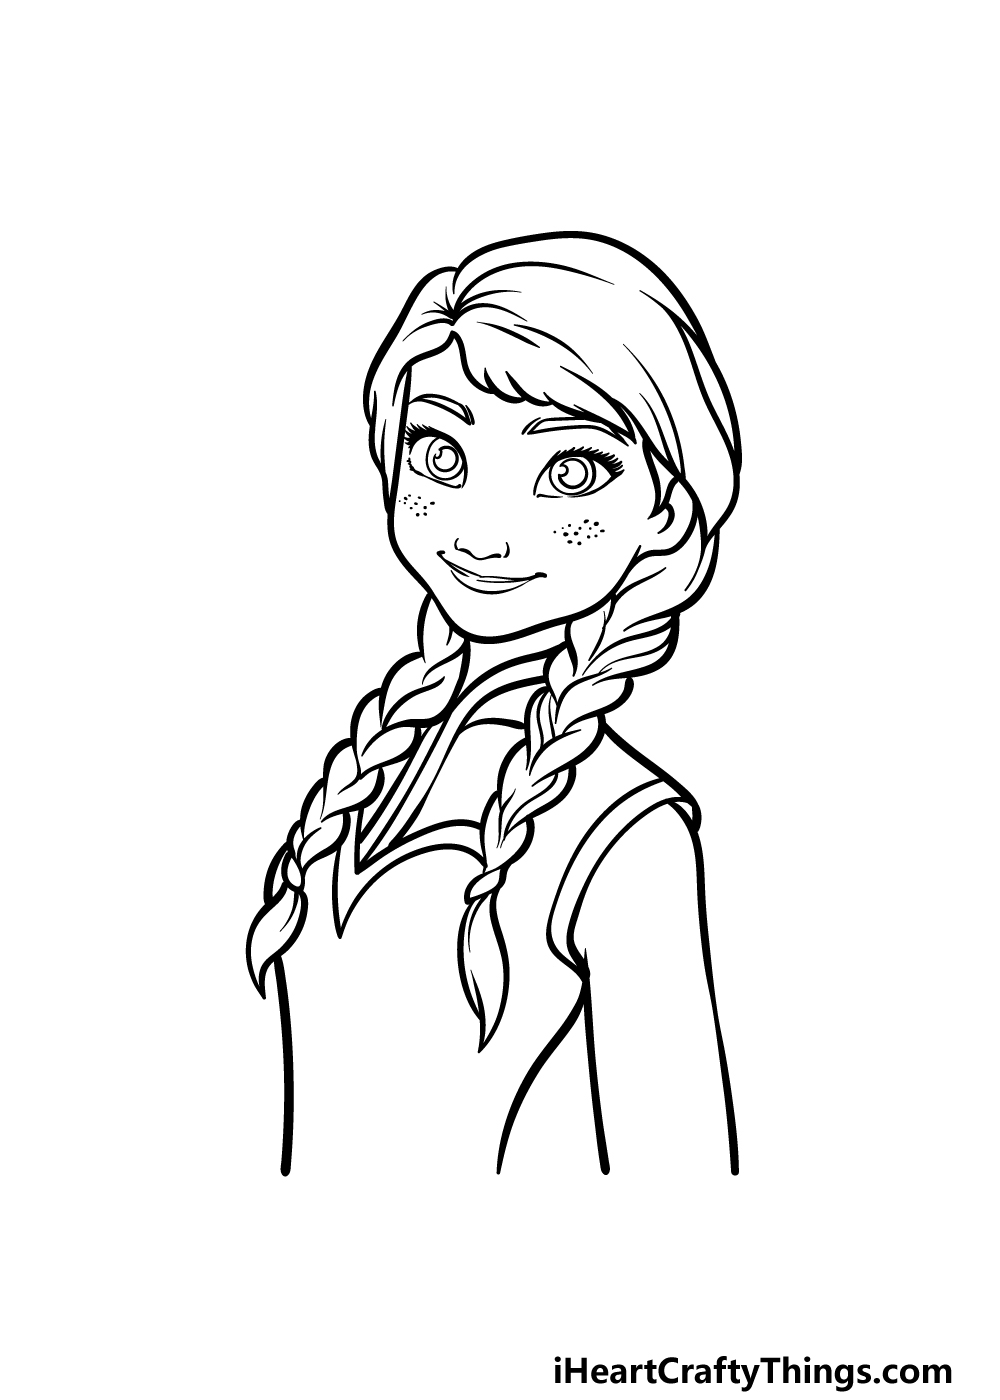
Now you’re ready to finish off the final outlines of your Anna drawing before we move on to some smaller details in the next step.
Start this by drawing a curved line for her back, and try to angle it in such a way as to give her a thin waist.
Then, draw two more lines coming down from her sleeve opening for the arm of her top. Then you’ll be ready for those final details as we proceed to step 5!
Step 5 – Add the final details to your Anna drawing
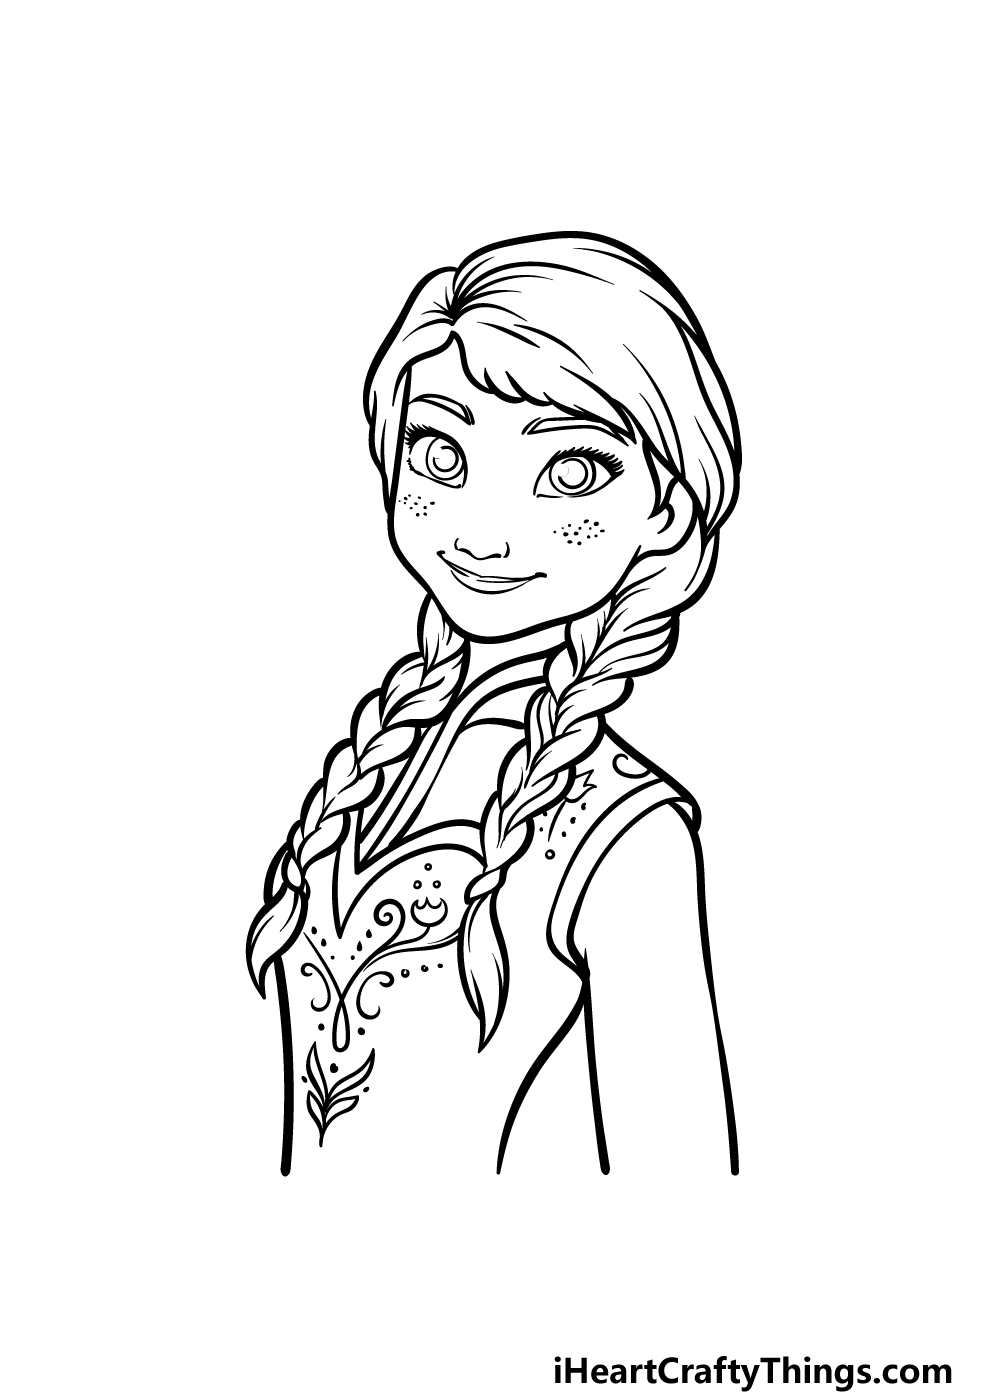
It’s almost time to bring this picture to life with some colors, but first we will finish off some subtle touches and details in this step of our guide on how to draw Anna!
First, we will be drawing some line details inside of her hair outlines to make her hair look more textured.
Next, we will focus on her clothing. Her clothes have a pattern on them that evokes the Scandinavian setting of the story.
You can represent these details by drawing some simple yet elegant floral designs on her chest and shoulders.
Before you move on, you could also add some extra elements of your own! These could be anything from a background to more beloved characters from the films.
How will you finish off this wonderful Anna drawing?
Step 6 – Finish off your Anna drawing with color
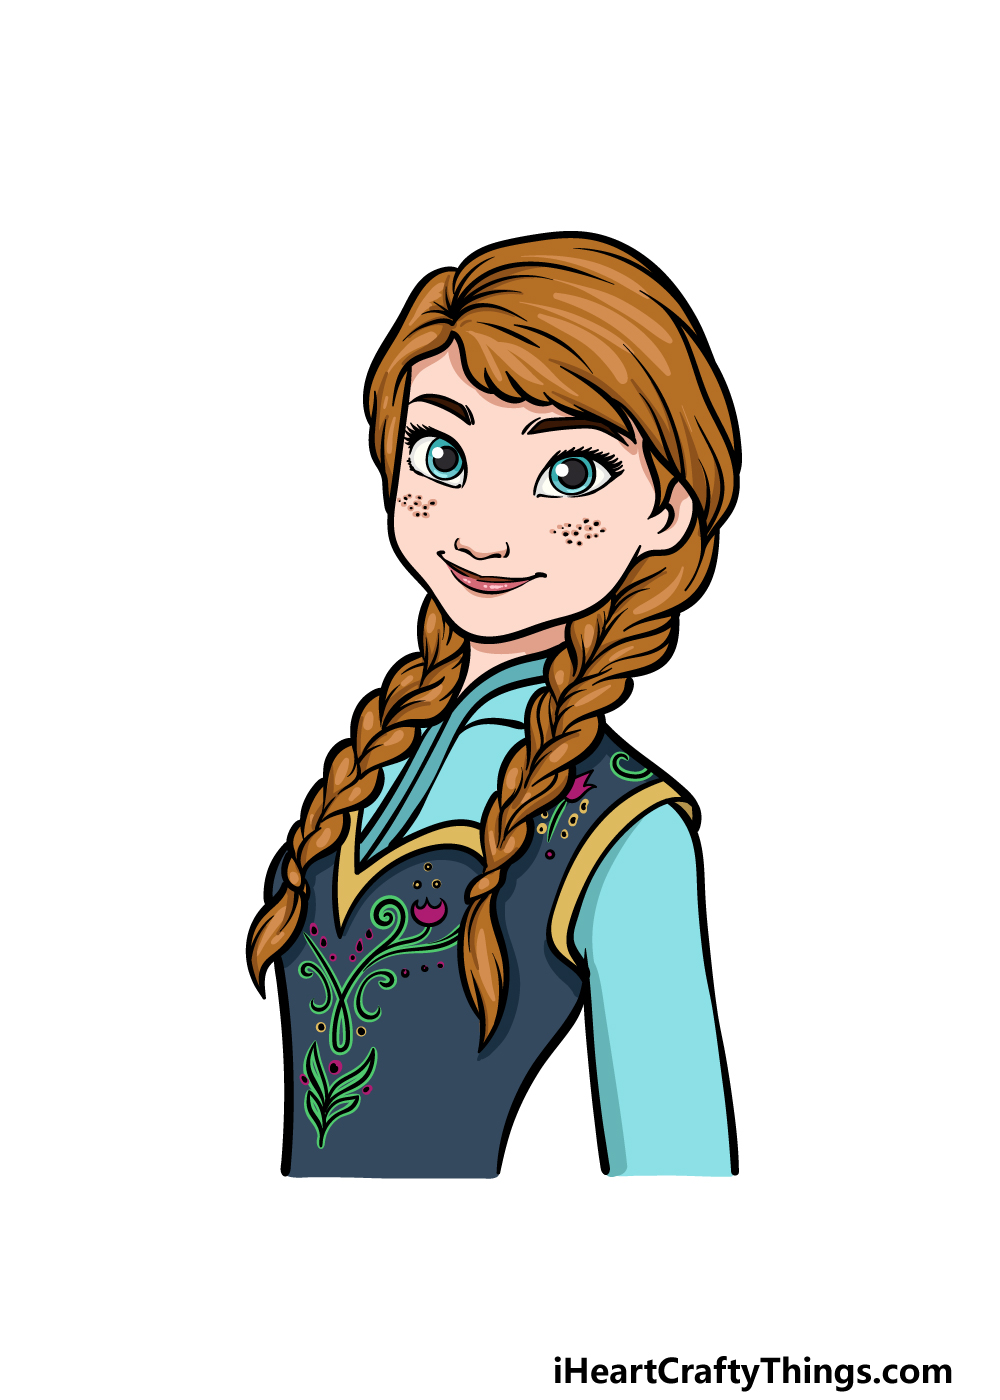
In this final step of your Anna drawing, we will be finishing it off with some color! In our example image, we tried to represent the colors she is seen with in the first film.
That means that we used a reddish-brown for her hair and then some blues with warmer highlights for her clothing.
You could go for these same colors for your own rendition, but you should also feel free to use unique color choices if you prefer!
Will you go for her classic color scheme or will you create a unique look for Anna?
Here’s how you can make your Anna drawing even better…
Create magical artwork as we make your Anna sketch even better!
This drawing of Anna shows just a portion of her character design. If you wanted to make it even more complete, you could finish off the design by drawing some more of her character.
This could be a bit of a challenge, so you may want to look up some pictures of Anna online or use the film itself.
This way, you could also create some cool poses to replicate your favorite moments from the movies!
A big part of the movies would be the relationship between Anna and her sister Elsa. For that reason, it would be great to add Elsa to the image.
If you stuck to the design as it appears in our example, then you could also just draw a portion of Elsa. if you took our suggestion and added more to Anna’s design then you could do so for Elsa as well.
What kind of pose would you draw these sisters in? This Anna drawing shows her in her famous outfit from the first film.
This is not the only outfit she has worn in the series, however, so you could make a variation by drawing different outfits you like from the films.
There are so many to choose from, so you could draw a few different takes on the character if you can’t decide. It would also be fun to design a brand new outlook for Anna to show off!
What kind of outfit do you think would suit her?
Finally, if you wanted to add a background to your Anna sketch you would have so many locations from the movies to choose from.
These could include the cold landscapes from the first film to give it an icy feeling. The second film features more vegetation and warmer environments, so this could also be a great background.
Or, you could take Anna on a new adventure and design a new location to show what your idea for a Frozen 3 would be!
Your Anna Drawing is Complete!
This character is one of the most beloved that Disney has ever created, and we hope that you had a great time recreating her in this guide on how to draw Anna!
It can be a bit challenging recreating the detailed style of most Disney films, but hopefully this guide showed you that it can be fun and easy when you know what to do.
Now that you have completed the drawing, remember that you can keep the fun going by adding your own details and ideas!
We spoke about a few that you could go for, but you should feel free to add your own creative ideas as well.
This guide is one of many more that we have for you on our website, so be sure to check in often to catch the guides that we frequently upload!
You can also show off your amazing Anna drawing by sharing your finished drawing on our Facebook and Pinterest pages. We can’t wait to see it!