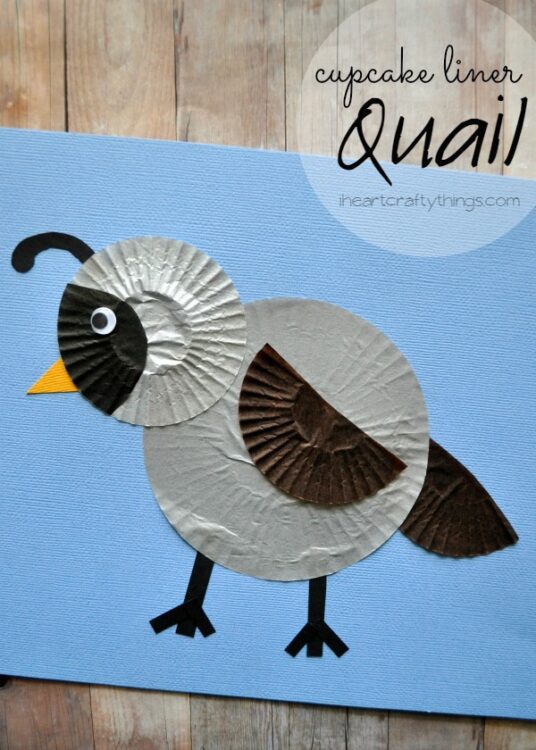
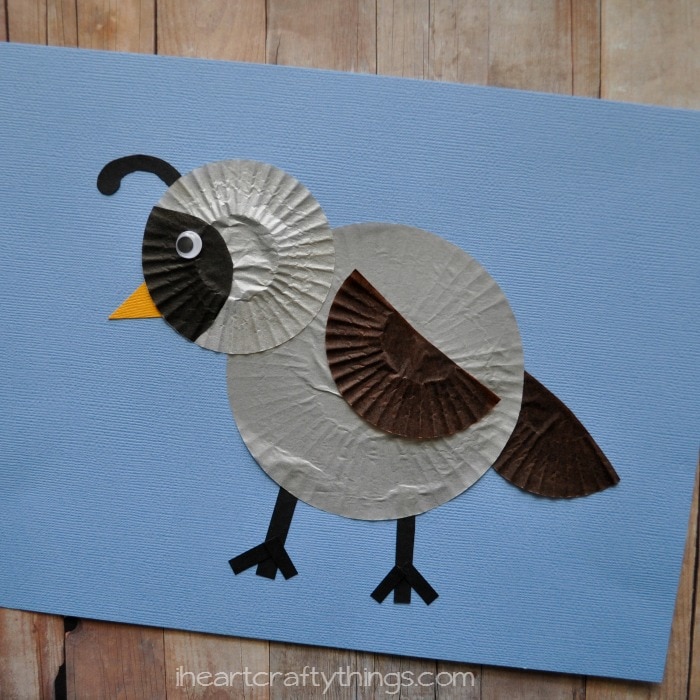
I love birds! Of all the crafts we’ve made over the years, we have definitely made a lot of birds! One kind we hadn’t made yet was a Quail and I decided it was time to remedy that. This Quail craft would go along perfectly if you are learning about the letter Q, or simply just for fun because you love birds like me.
Supplies you will need:
- 1 gray regular-sized cupcake liner
- 1 gray, black and brown mini cupcake liner
- black and yellow cardstock paper
- 1 googy eyes
- scissors
- glue
Tutorial:
1. Make a body
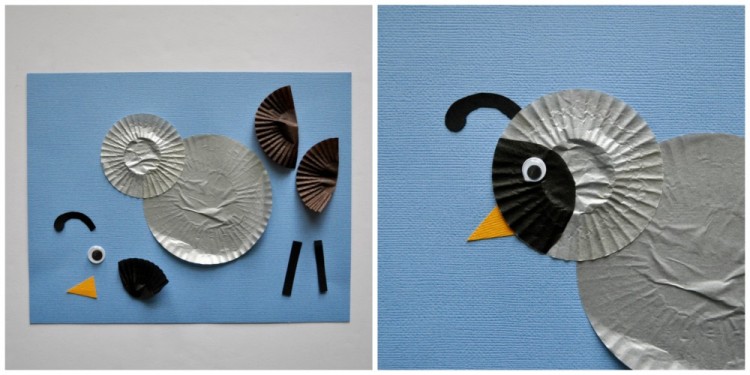
Start by gluing on your gray regular sized cupcake liner as the body and the mini gray cupcake liner as the head.
2. Make beak, feather & glue an eye
Cut out a U-shape out of the mini black cupcake liner and glue it onto the face, along with the googly eye. Also, cut out a yellow beak and the black feather for the top of the head and glue them onto your bird.
3. Glue on wings
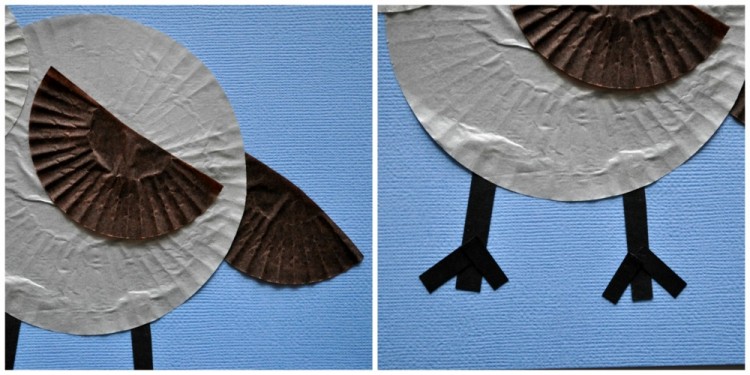
Cut your brown mini cupcake liner in half and glue one on the body as a wing and glue the other one at the end of the body for the tail feather. I peeled my gray cupcake liner up a bit to tuck it under and then applied more glue.
4. Finish with adding legs
Glue the black strips onto the bird for legs and two small black strips for the feet.


