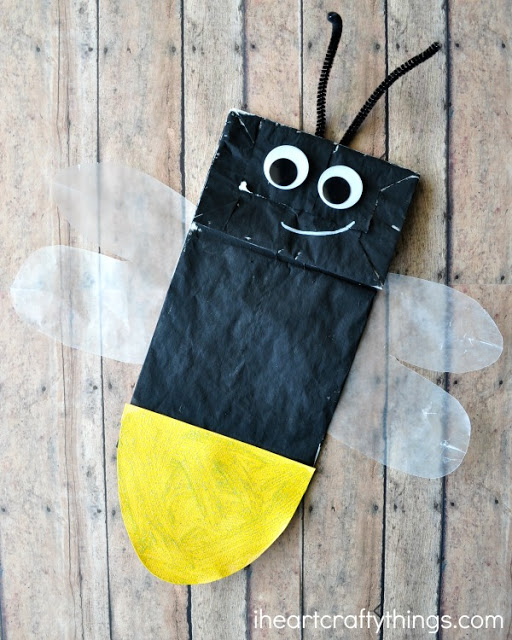
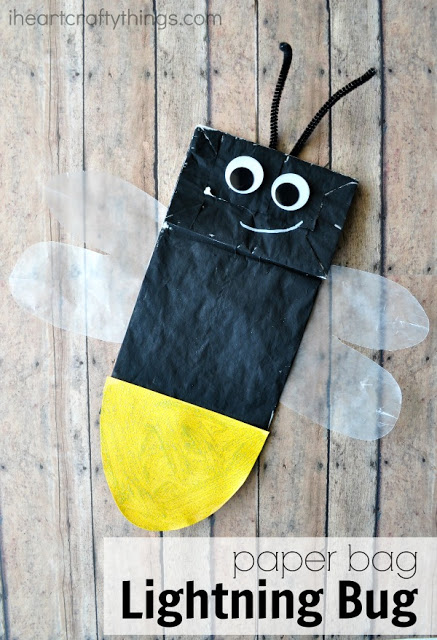
Although I’ve never actually seen a lightning bug in real life, I love making lightning bug crafts! Pretty funny huh? Seeing a lightning bug is definitely on my bucket list though so in the mean time, I’m going to keep on crafting them in anticipation for seeing the real thing. Ha! Our latest is this adorable Paper Bag Lightning Bug Kids Craft. It’s super simple to make and it’s perfect as a summer craft or when learning about bugs or insects.
{This post contains affiliate links for your convenience. Read our Disclosure Policy for more information.}
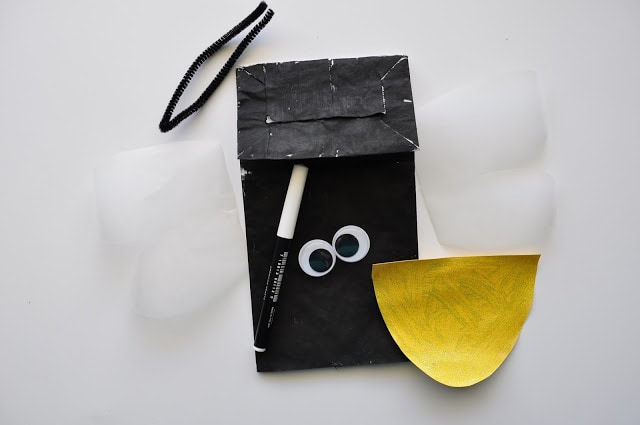
Supplies needed:
- paper lunch bag
- black paint
- wax paper
- yellow cardstock paper
- glitter glue (optional)
- googly eyes
- black pipe cleaner
- white chalk marker
- glue
- scissors
Tutorial:
1. Paint your paper bag
Start by cutting 1-2 inches off of your paper bag and then paint it black. Set it aside to dry completely.
2. Cut & paint bug end
Cut an oval shaped bug end out of your yellow cardstock paper and paint it with glitter glue to make it extra sparkly. Set it aside to dry.
3. Make wings & antennae
Cut two wing shapes out of your wax paper. Bend your pipe cleaner in half to make an antennae. We ended up cutting about an inch off of each end of the pipe cleaner.
4. Glue all parts to a bag
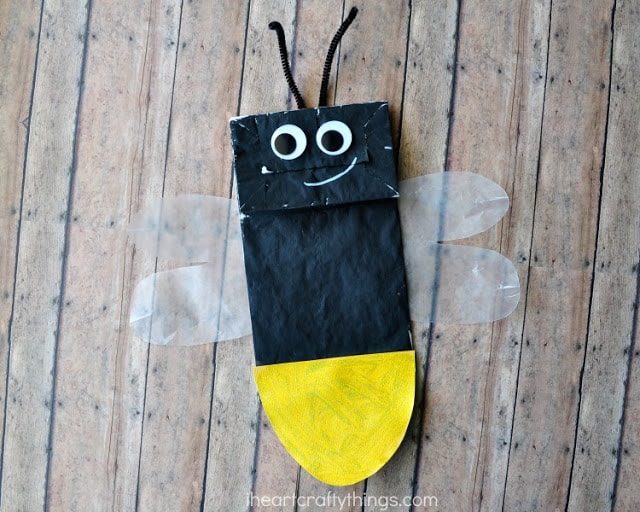
Assemble your lightning bug. Glue the yellow lightning bug end at the bottom of the paper bag. Glue the wax paper wings on each side of the lightning bug on the front of the side flaps of the bag. Glue the pipe cleaner onto the back of the paper bag. We also secured it in place with some tape.
5. Glue eyes & draw mouth
Finish your lightning bug by gluing on your googly eyes and drawing a mouth with your white chalk marker.
Once the glue is dry you can play with your paper bag lightning bug as a puppet, or use it as a puppet to bring to life some lightning bug books.


