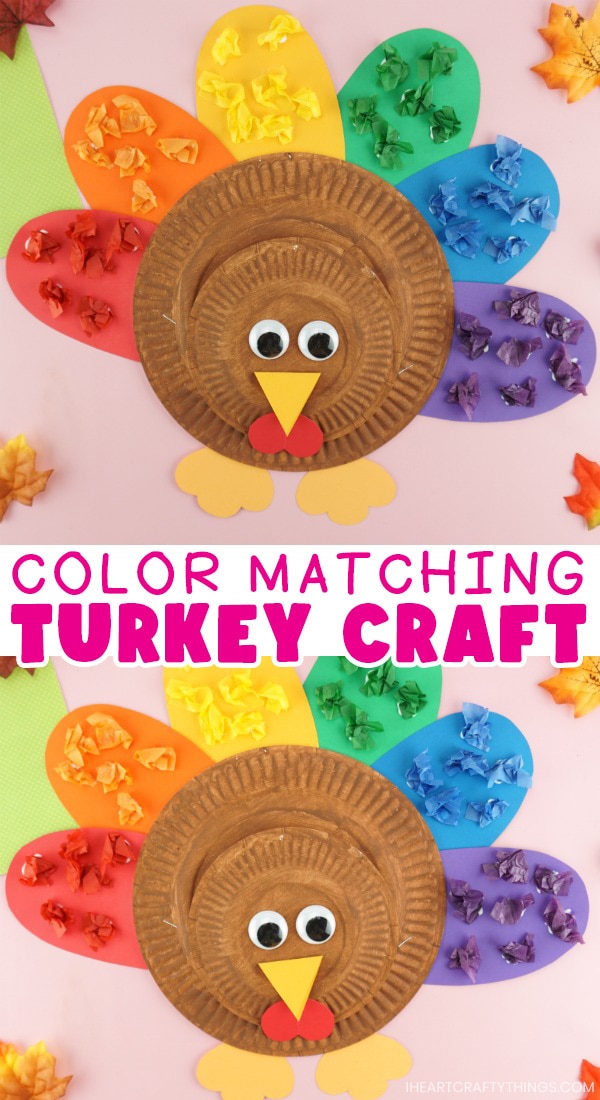
Looking for a fun way to incorporate learning about colors with your preschooler this Thanksgiving? Your little ones will love the color matching aspect of this fun kids turkey craft.
Thanksgiving is one of my favorite holidays! I have such fond memories of being with my siblings and all us pitching in on making a delicious Thanksgiving feast. It’s also one of my favorite holidays for crafting with kids.
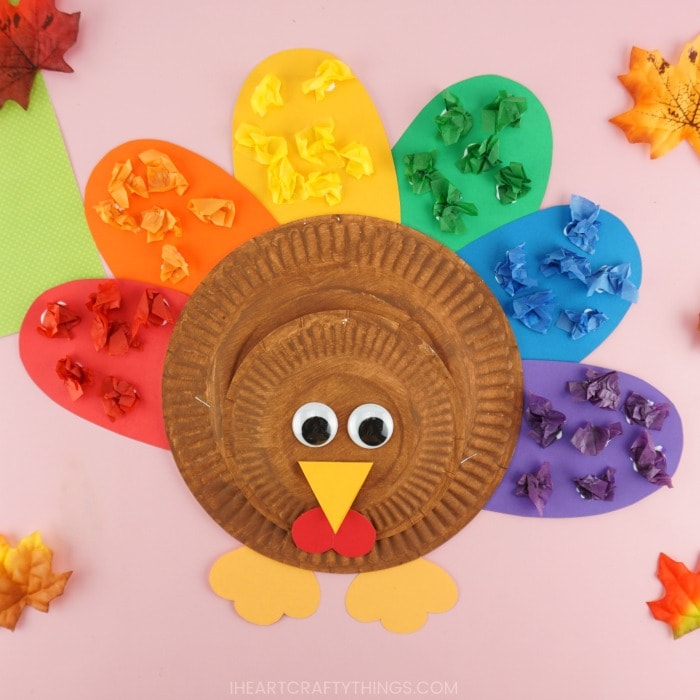
There are so many fun children’s books about Thanksgiving that we enjoy reading every year and along with them we love making turkey crafts. Today we’re sharing a cute and colorful kids turkey craft that incorporates colour matching as a learning activity for little ones.
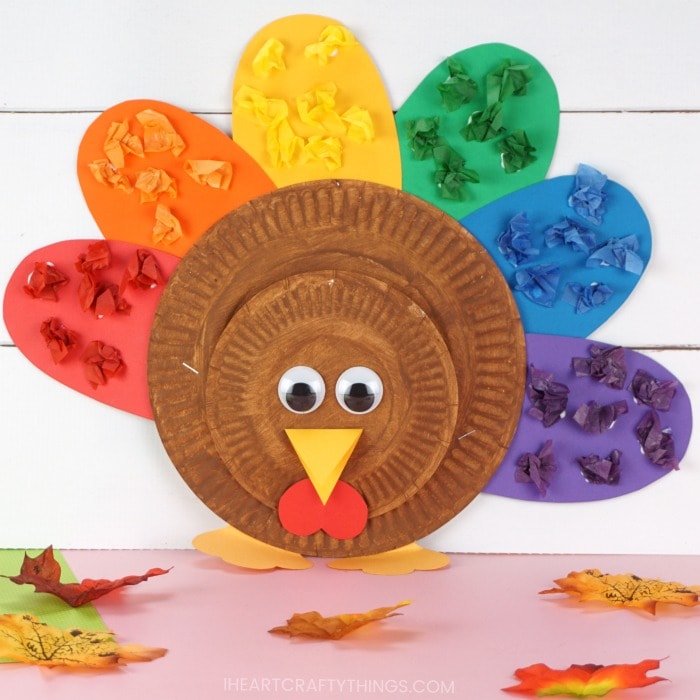
How to Make and Use this Color Matching Kids Turkey Craft
Read our easy step-by-step instructions below for how to create this kids turkey craft and then how to use it as a color matching activity for preschoolers.
Make sure to watch our video tutorial inside this post before get started too.
Supplies needed:
This post contains affiliate links to the products mentioned. Read our disclosure policy for more information.
- regular sized paper plate
- small sized paper plate
- brown paint
- paint brush
- 2 large googly eyes
- red, orange, yellow, green, blue and purple cardstock paper
- red, orange, yellow, green, blue and purple tissue paper
- stapler
- scissors
- glue stick
- school glue
Tutorial:
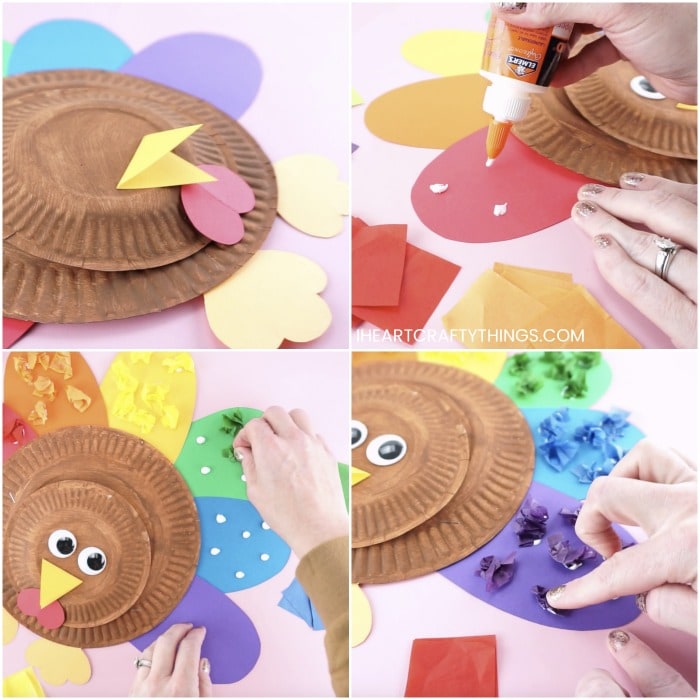
1. Paint your plates brown
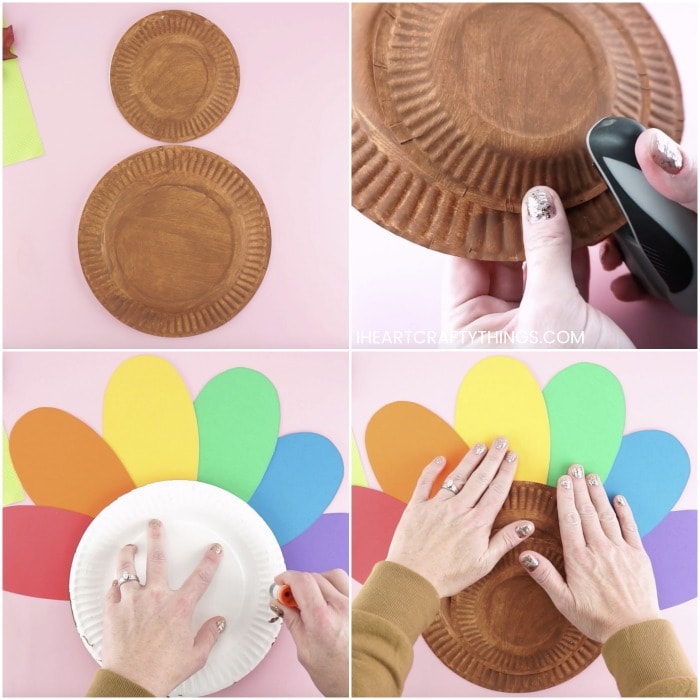
Start by painting the bottom of both the large and small paper plate with brown paint. Set them aside and let them dry completely.
2. Cut out all shapes
While the brown paint is drying on your paper plates, cut out a feather shape from your red, orange, yellow, green, blue and purple cardstock paper.
I cut one out and then used it as a pattern to cut the rest of mine out. You will also need to cut out a beak, snood and feet from your left over red, orange and yellow paper.
3. Glue two plates together
After your paper plates have finished drying, staple the small paper plate onto the bottom of the large paper plate to create the turkey head and body.
4. Add coloured feathers
Lay each of the colored feathers around the paper plate turkey in a rainbow arrangement: red, orange, yellow, green and purple. When you are satisfied with the placement of the feathers, turn your paper plate turkey upside down and add a generous amount of school glue along the top half of the paper plate rim.
Then place the paper plate down onto the rainbow feathers to glue them in place. As an alternative, you could also staple each of the feathers around the paper plate.
5. Add eyes, beak, feet & snood
Glue the two large googly eyes, beak, snood and turkey feet onto your turkey craft.
Now it’s time for preschoolers to enjoy the color matching activity on their turkey craft
6. Prepare tissue paper
Lay out red, orange, yellow, green, blue and purple tissue paper squares for your preschooler to use.
7. Glue tissue paper
Children place a dot of glue on a feather and choose a matching square of tissue paper to scrunch up and place on their glue dot.
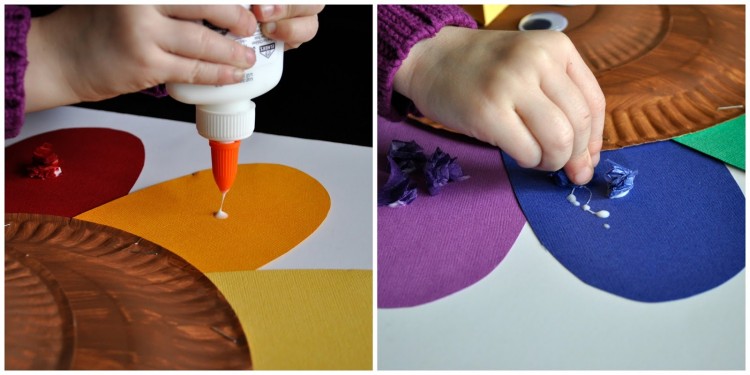
8. Add as many tissue paper as you want
Continue adding glue dots and matching the correct tissue paper squares onto the feathers to make them as full as you want.
For toddlers, adults can add the glue dots for them and the child can scrunch up the tissue paper and place them on the correct dot of glue.
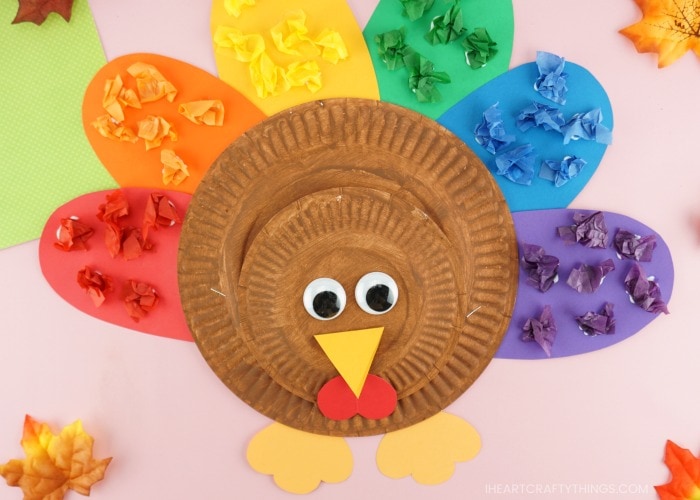
Not only did your child create a darling kids turkey craft to display for the Thanksgiving holiday but they got some color learning and matching practice in too. Win-Win!
