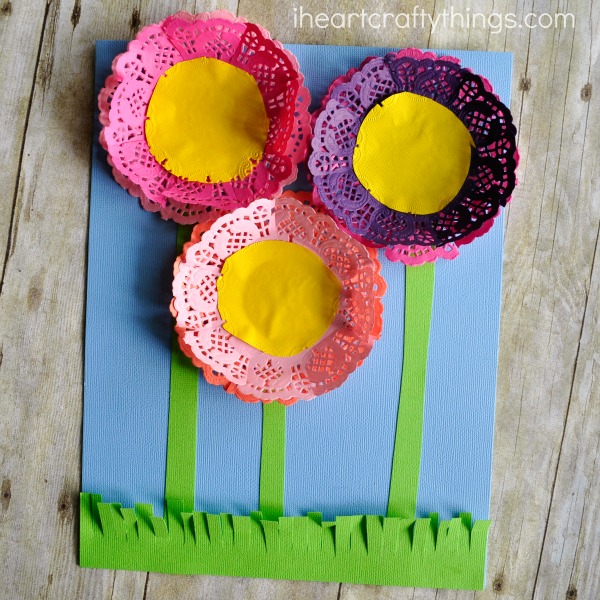
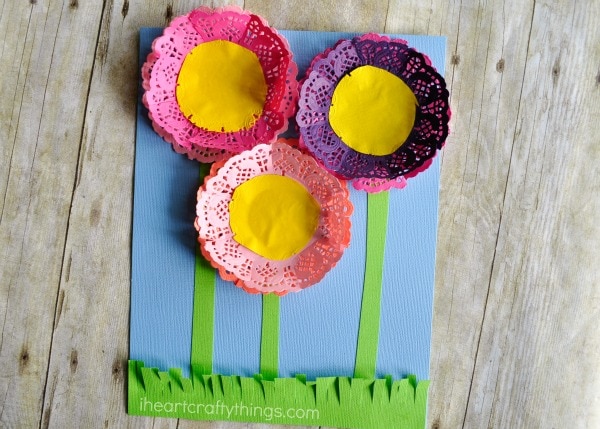
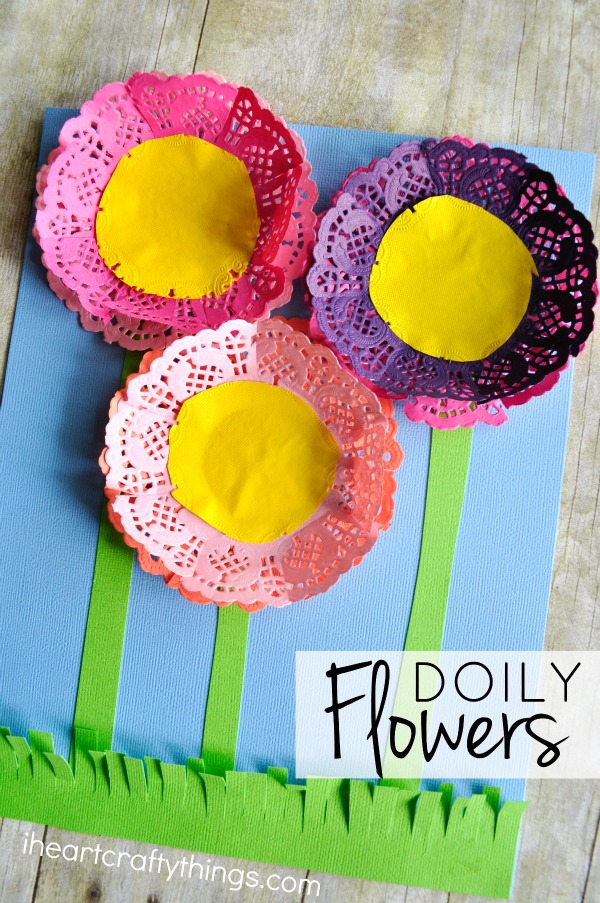
These colorful paper doily flowers are simple to make and the end result is stunning and perfect to display in the home. It’s also a great craft for little ones to work on scissors skills.
Even though Valentine’s Day is over don’t put those paper doilies away just yet. It’s the perfect time to get ready and excited for spring by making a pretty flower craft.
Read our step-by-step instructions below for how to make this fun spring flower craft.

Supplies needed to make Paper Doily Flowers:
This post contains affiliate links to the products mentioned. Read our full disclosure policy for more information.
- colorful mini doilies
- blue and green cardstock paper
- scissors
- glue
Instructions for making a colorful spring flower craft
1. Cut slits around each doily and glue them onto cardstock
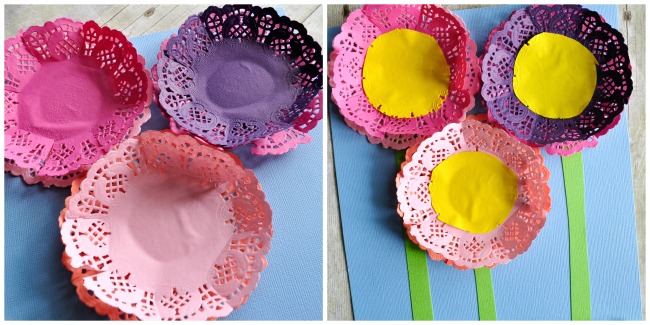
Start by cutting slits around each of your doilies. We used 2 doilies per flower to add extra color and depth to the craft. Add some glue to the back of your doilies and glue them onto your blue cardstock paper, layering two per flower.
Bend the sections up around each of the doilies to make them stand up off the page.

2. Cut out circles and glue them in the center of flowers
For the center of our flowers, we cut out the center of yellow doilies and glued them onto the flowers. If you don’t have yellow doilies you can use yellow cardstock or construction paper.

3. Cut out flower stems and grass strip, glue all onto the craft
Cut flower stems out of your green cardstock paper and glue them onto your flowers. Then cut a strip of green for grass at the bottom of your paper. Cut slits along the edge of it and glue it onto your paper.


