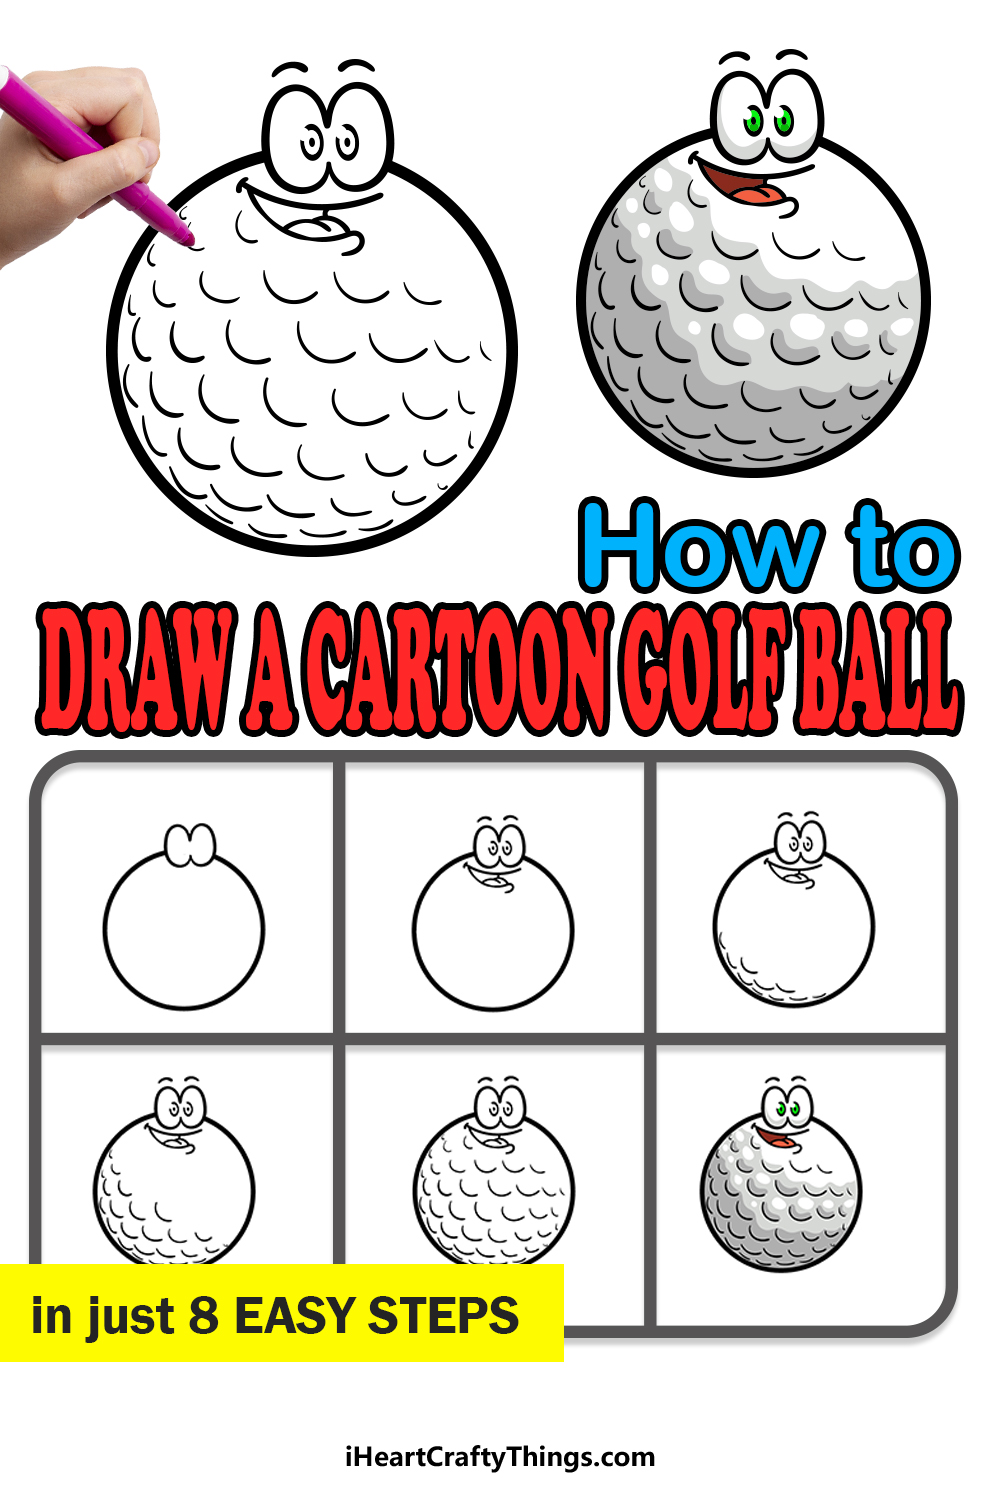
Golf is one of the most popular sports in the world, and that is true whether you’re talking about playing or watching it!
It’s a game that takes a large amount of skill to play, and it can be equally thrilling and relaxing at the same time.
Many people like to create art featuring their favorite sport, and learning how to draw a cartoon golf ball is a great way to show your love for the sport!
That’s exactly what we’re here to do in this guide, and by the end of it you will have a really great portrayal of the famous golf ball design.
So get ready for an artistic hole-in-one as we begin this step-by-step guide on how to draw a cartoon golf ball in just 8 fun and easy steps!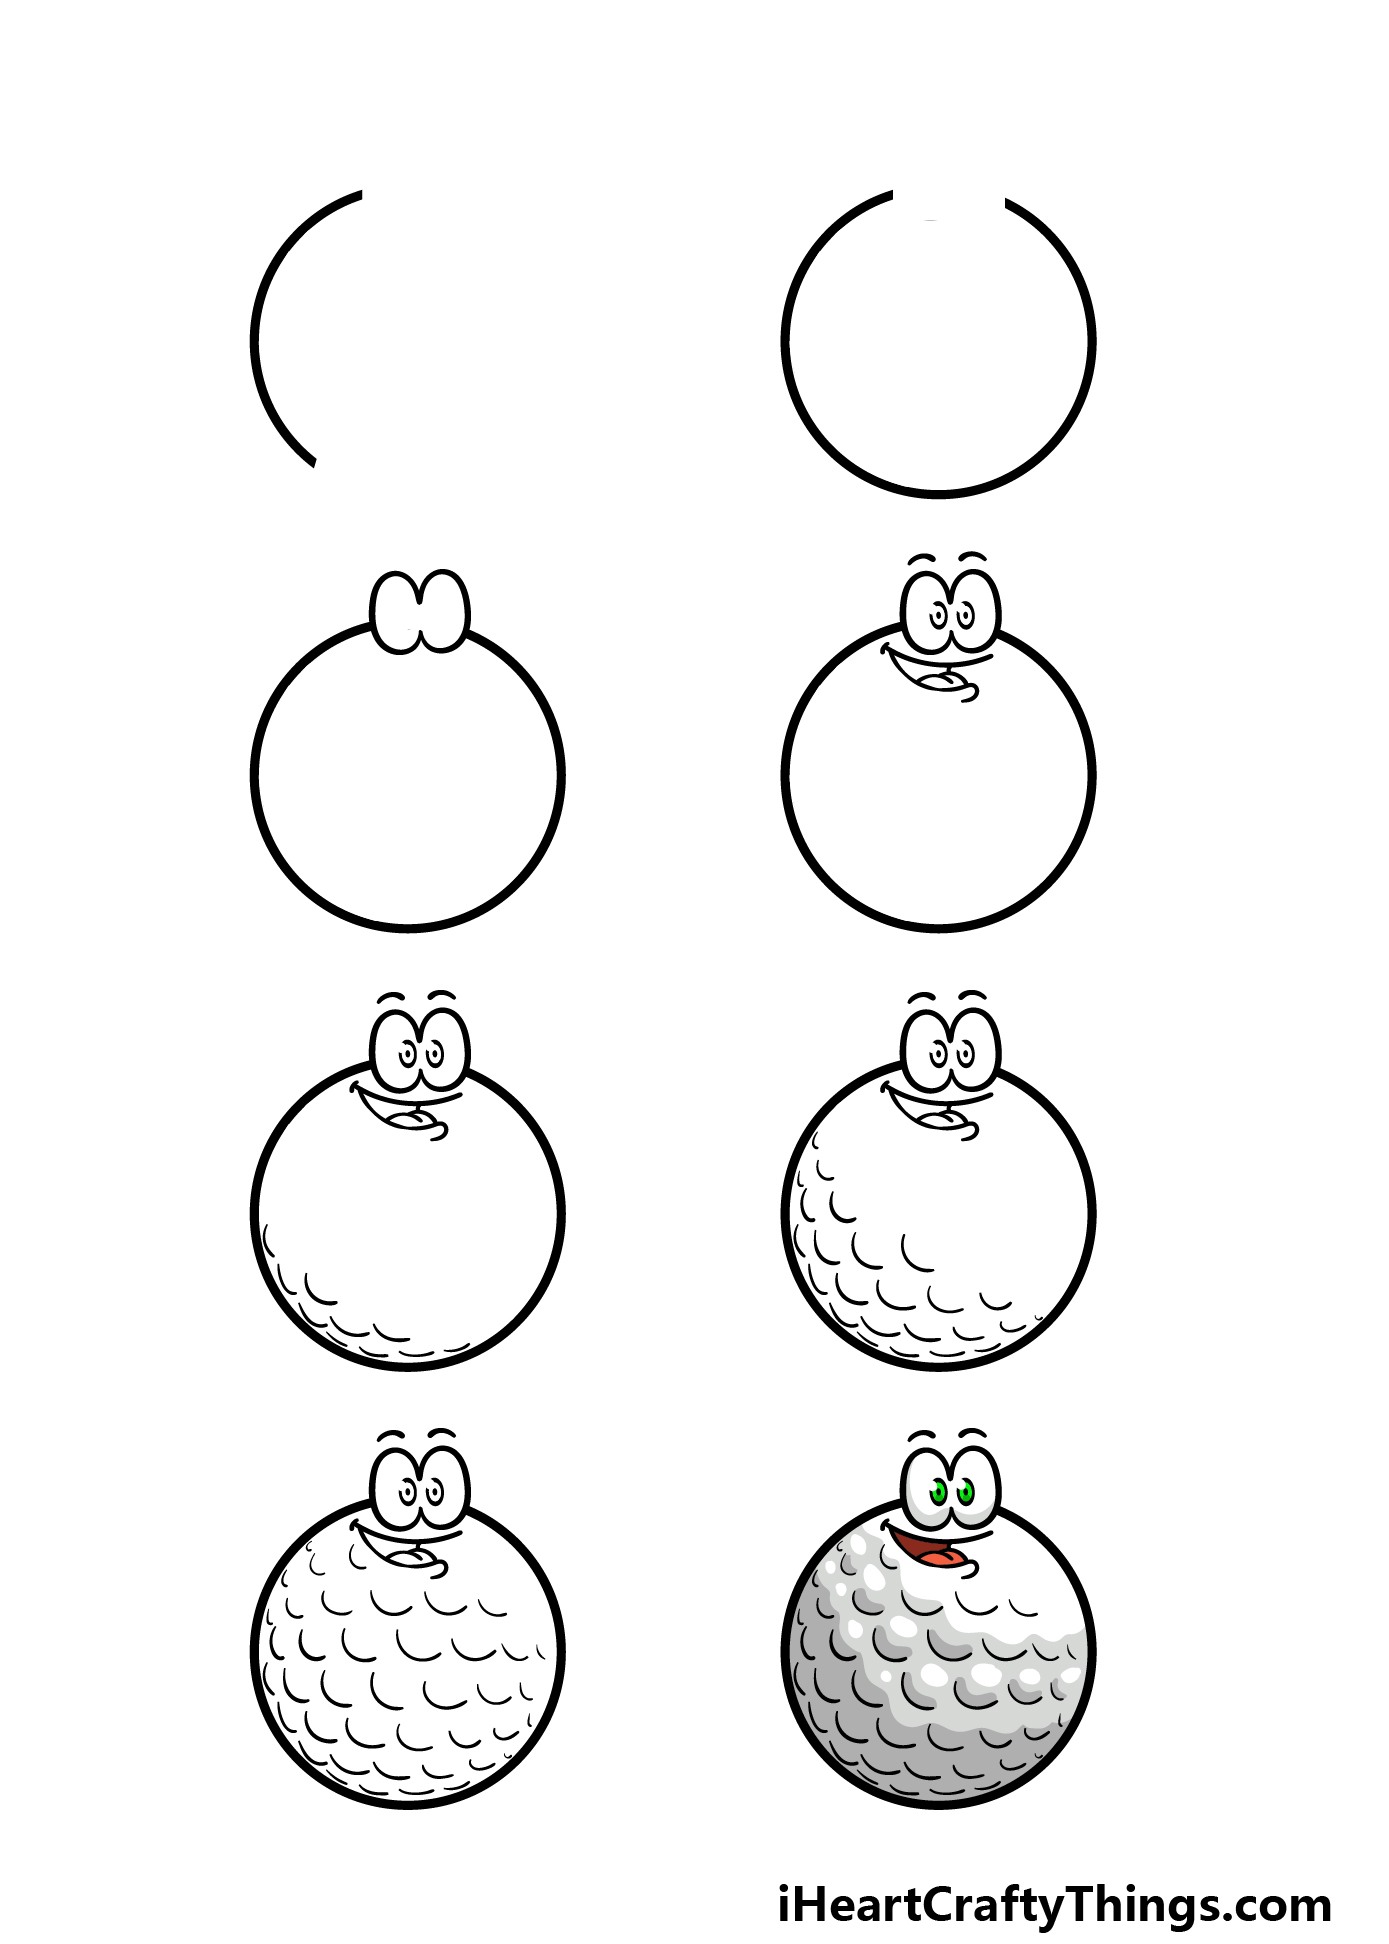
How to Draw A Cartoon Golf Ball – Let’s get Started!
Step 1
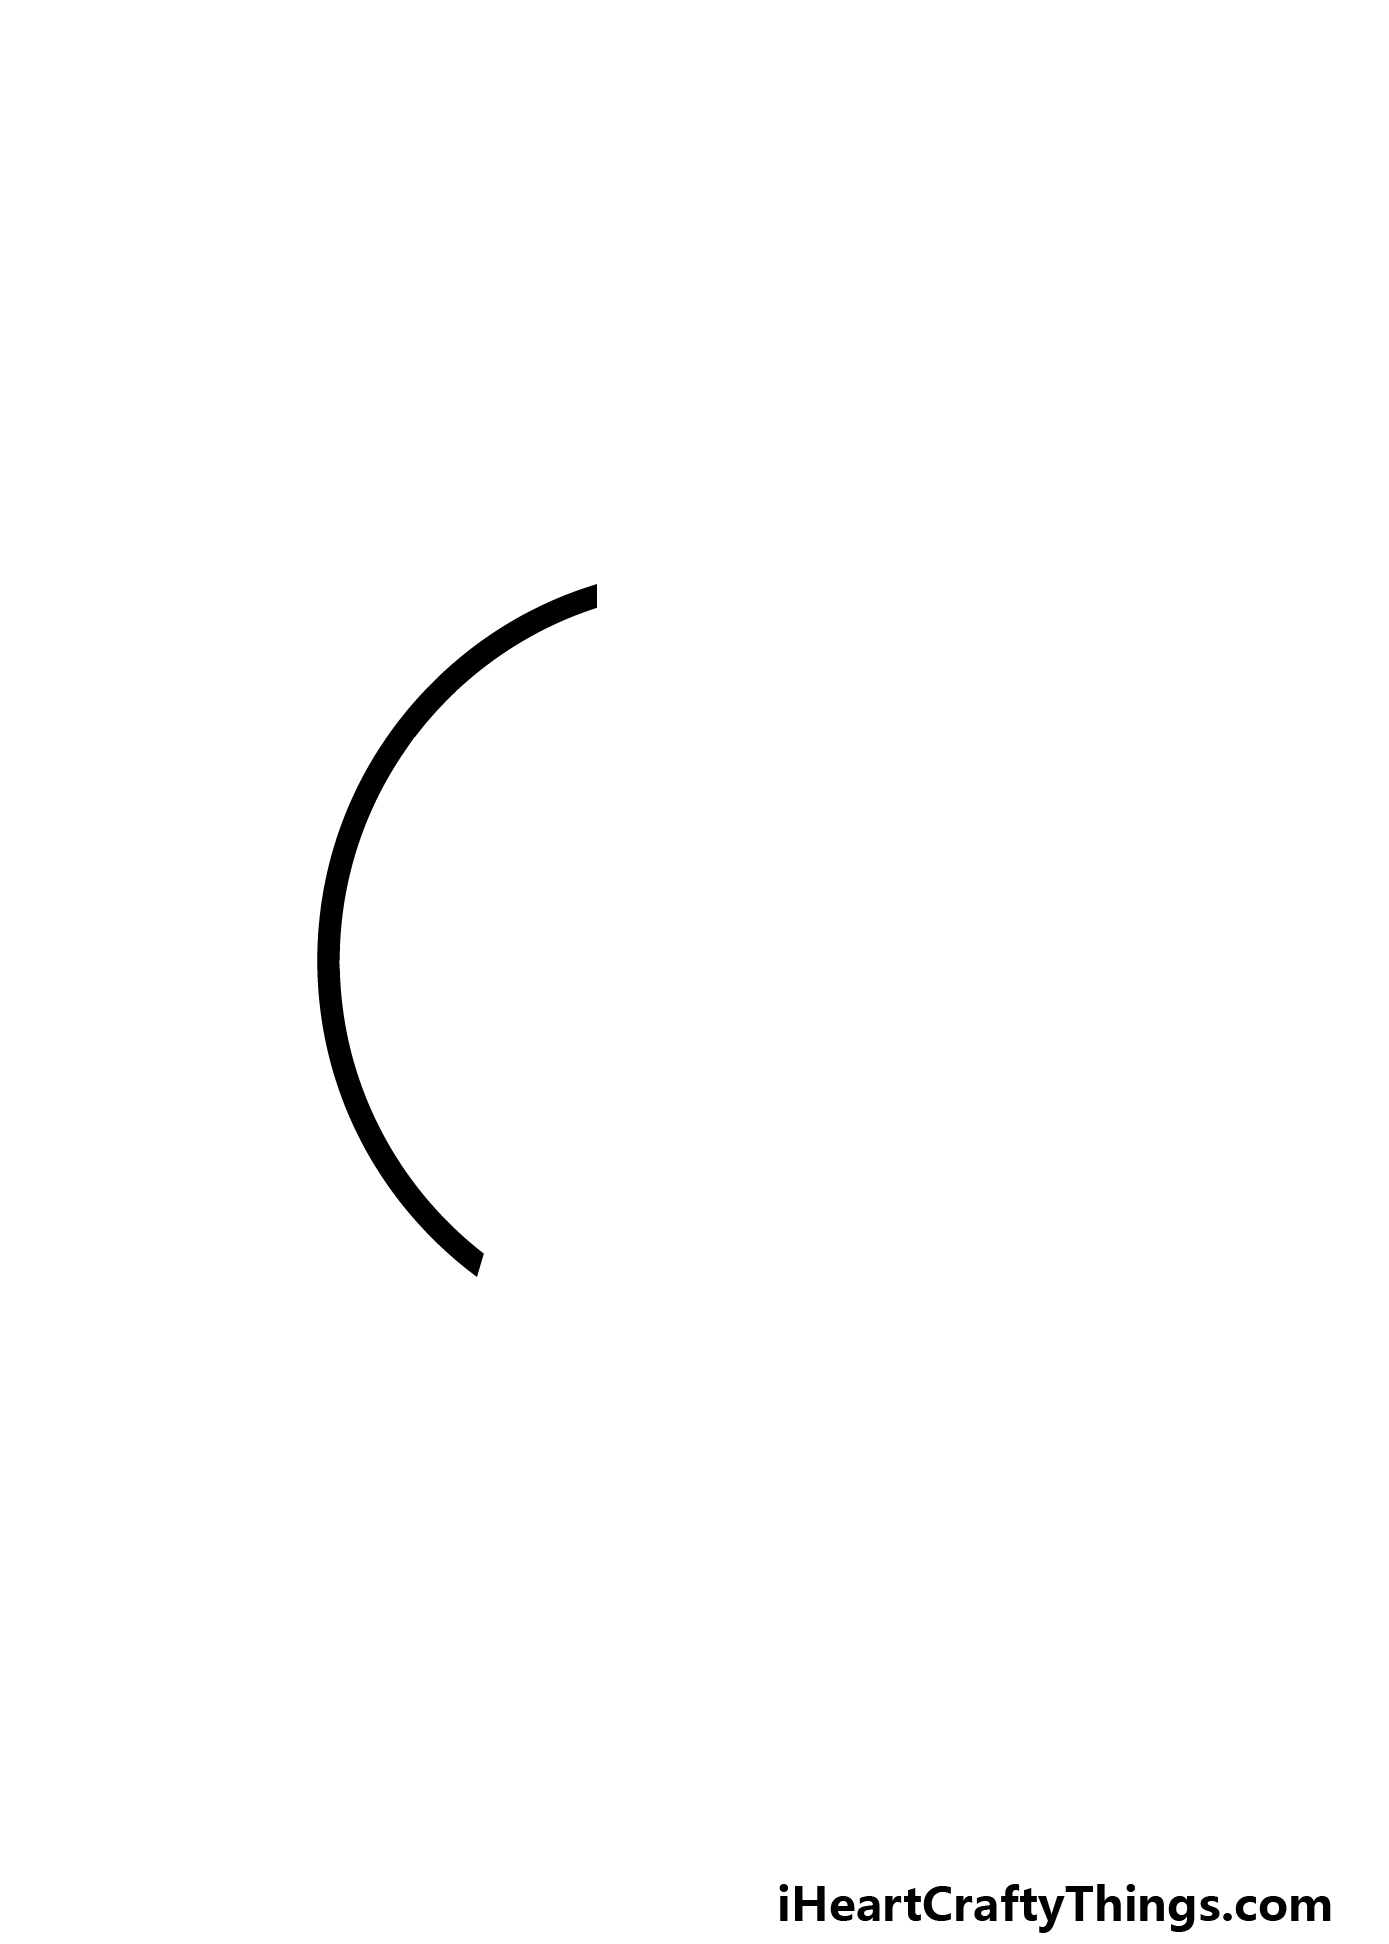
In this guide on how to draw a cartoon golf ball, we will be drawing everything based around a simple, circular shape.
As you can see in later images, we will not be using a perfect circle for this drawing, but instead one that is very slightly squished in.
We will draw this circular shape in stages, but to make things easier for yourself, you may wish to draw a rough version of the circular shape using a pencil.
Then, using your pen, you can draw the first section of the shape. This will go on the left side, and it will be rather thick. Once this first portion is drawn, we can continue to the second step!
Step 2 – Next, draw the rest of the circle
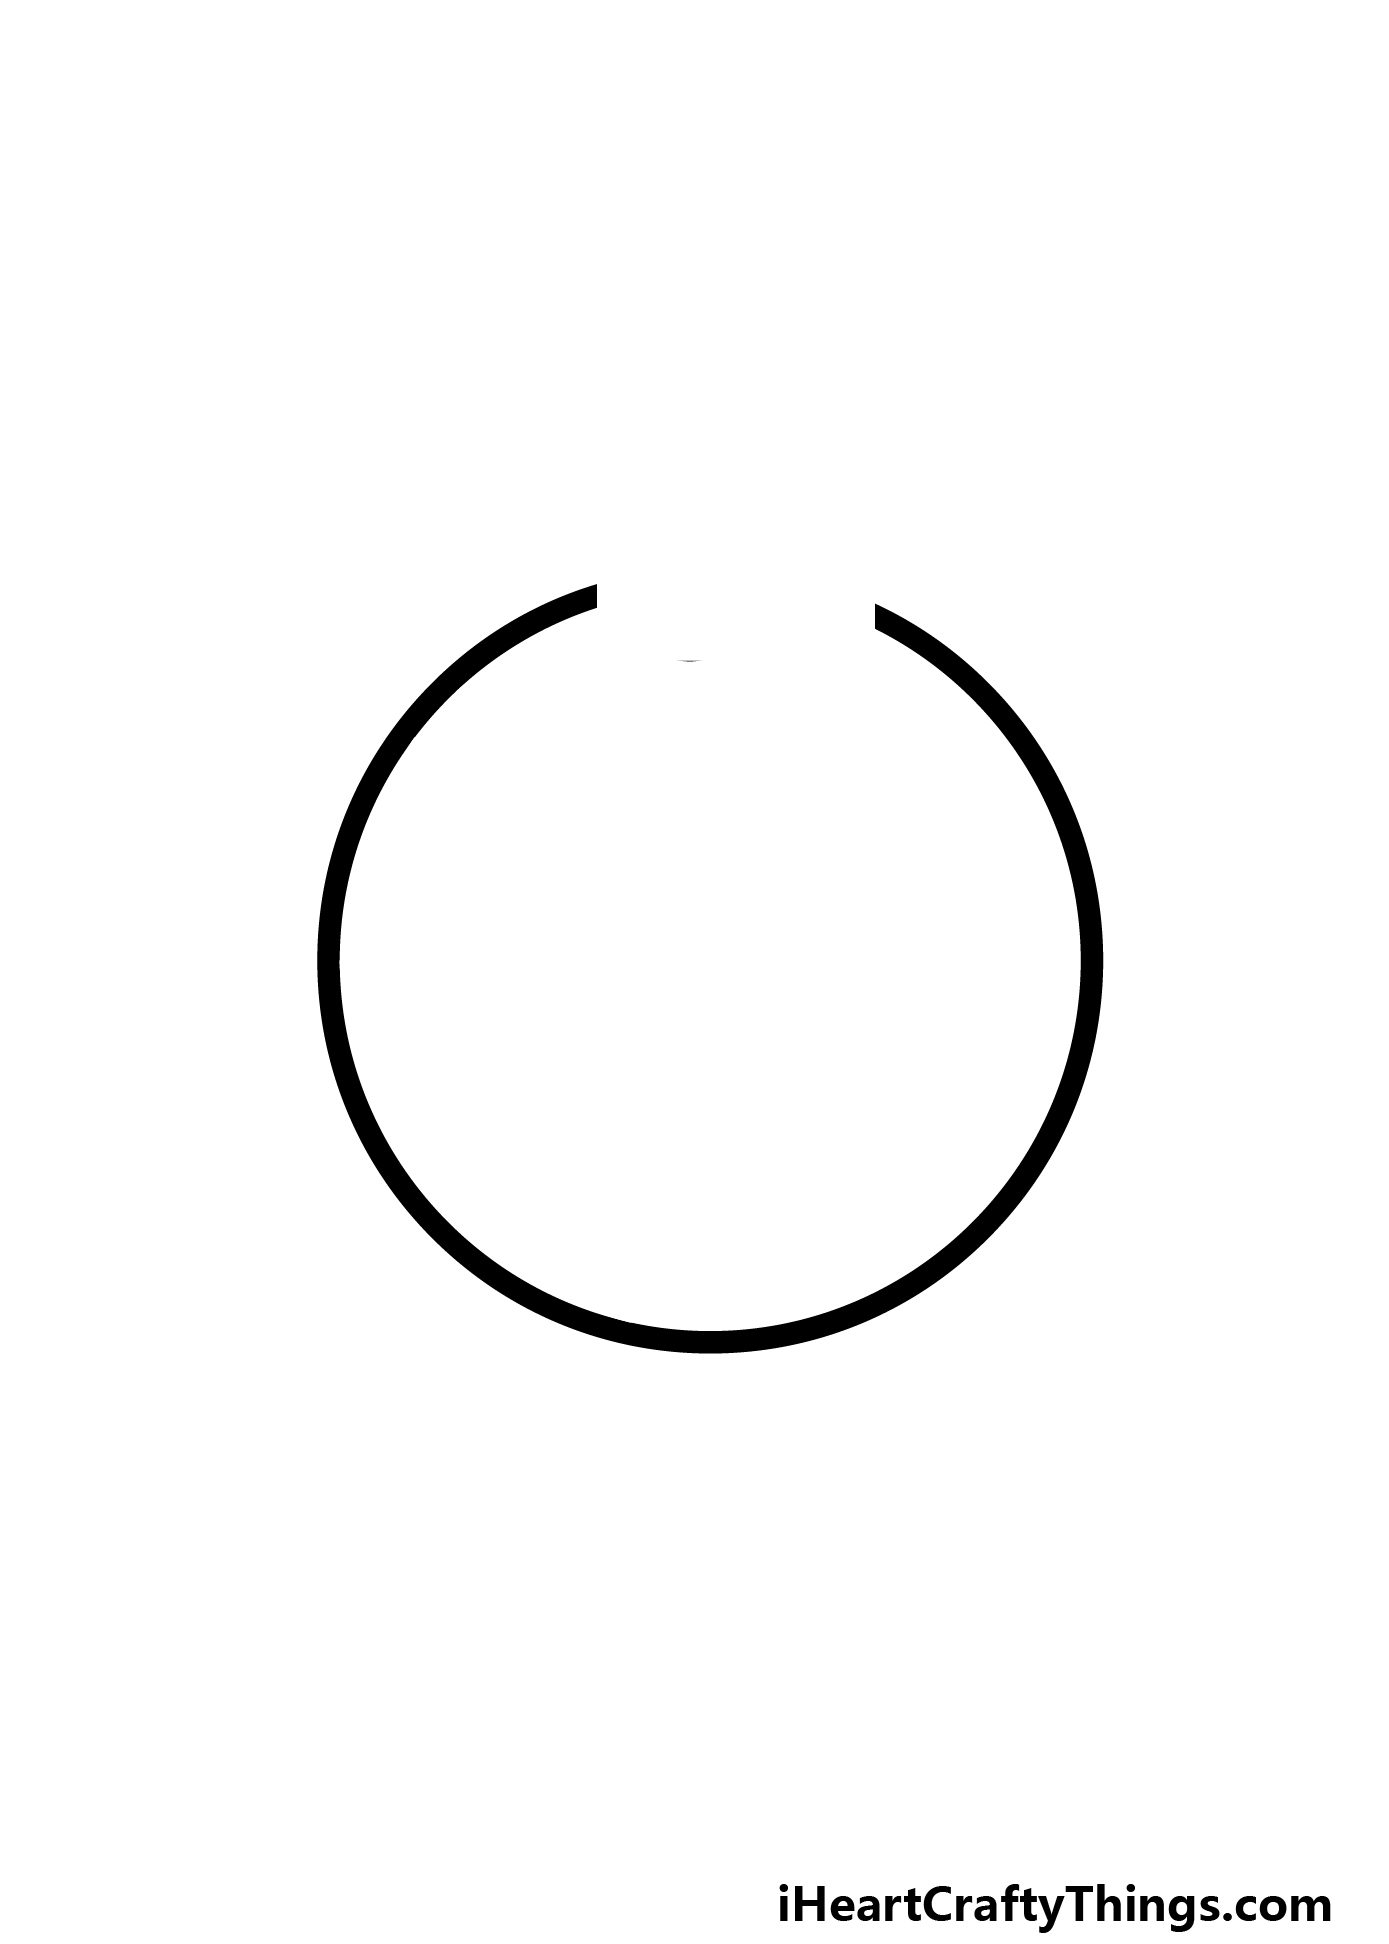
Now that you have begun the circle for this cartoon golf ball drawing, we will draw the rest of the outline in this step.
If you drew a pencil guide, then carefully follow the line with your pen. Try to make it as smooth as possible, but don’t worry if it’s not perfect!
As you can see in the reference image, there will be a gap at the top of the ball. This will be where the eyes will go later, but we will save that for step 3!
Step 3 – Now, draw the eye outlines
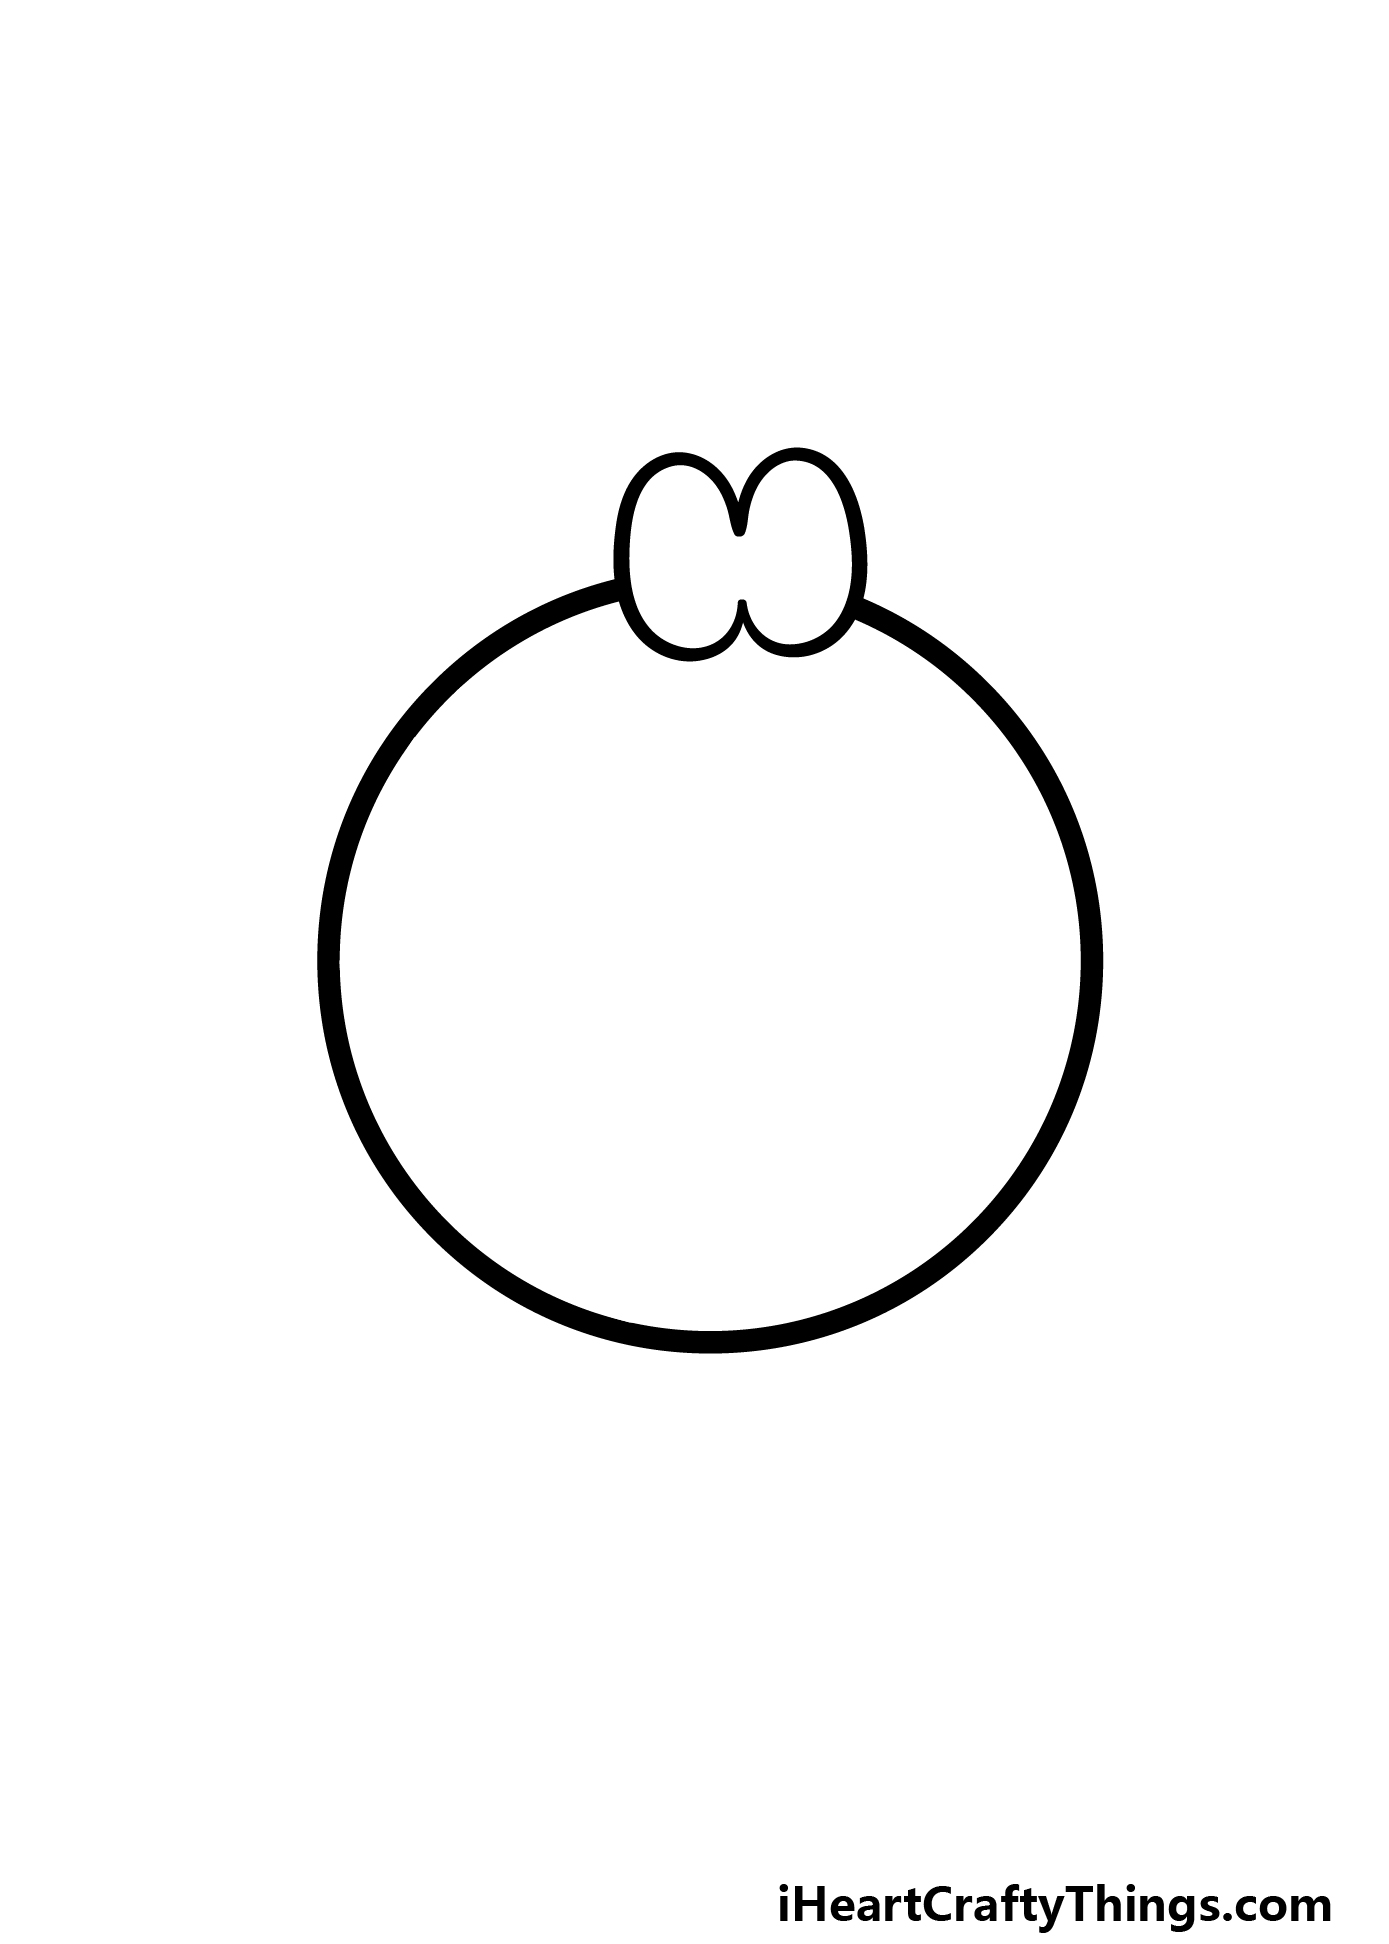
The cartoon golf ball we are drawing in this guide is not just any golf ball! Instead, this one will have some fun facial features to set it apart.
As mentioned in the previous step, we will be drawing the eyes in this step. These will be drawn using two oval shapes that connect to one another.
There will be a gap where they connect with each other as well.
Once these outlines are drawn, you will be ready for some facial details on the next step!
Step 4 – Next, draw some facial details
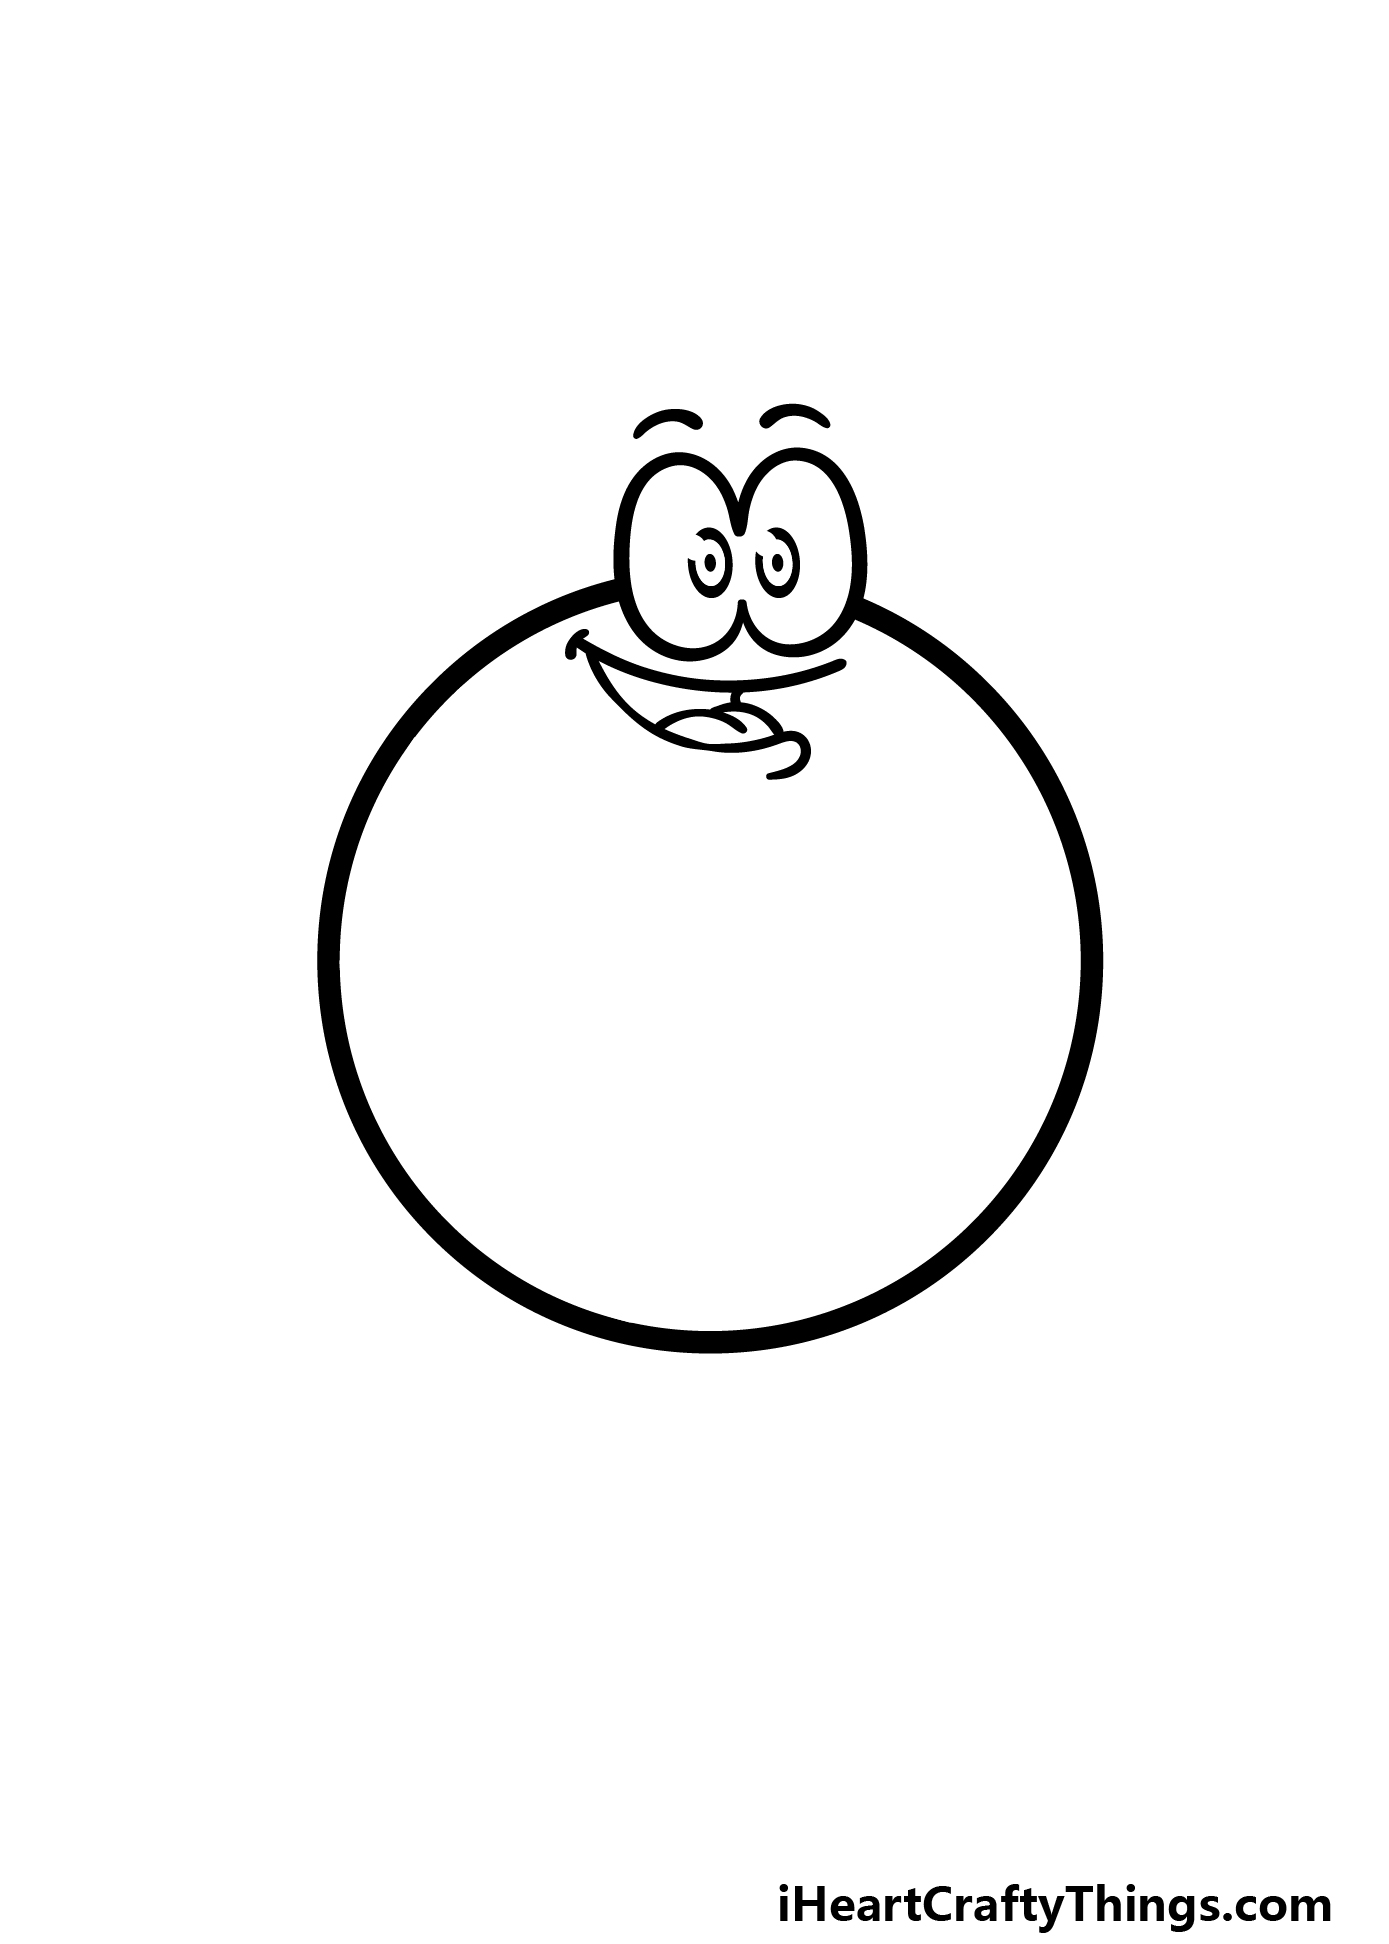
As we mentioned in the previous step of this guide on how to draw a cartoon golf ball, this next step will be focused on adding some facial details to the image.
First, draw some small oval shapes into each half of the eye. These will each have a small dot inside and a gap at the upper left corner.
Then, we will have some small, curved eyebrows floating above the eyes. Finally, draw a curved line for the smiling mouth, and then add an open portion with a tongue showing inside of it.
That’s all, and then we can continue!
Step 5 – Now, draw the texture for the ball
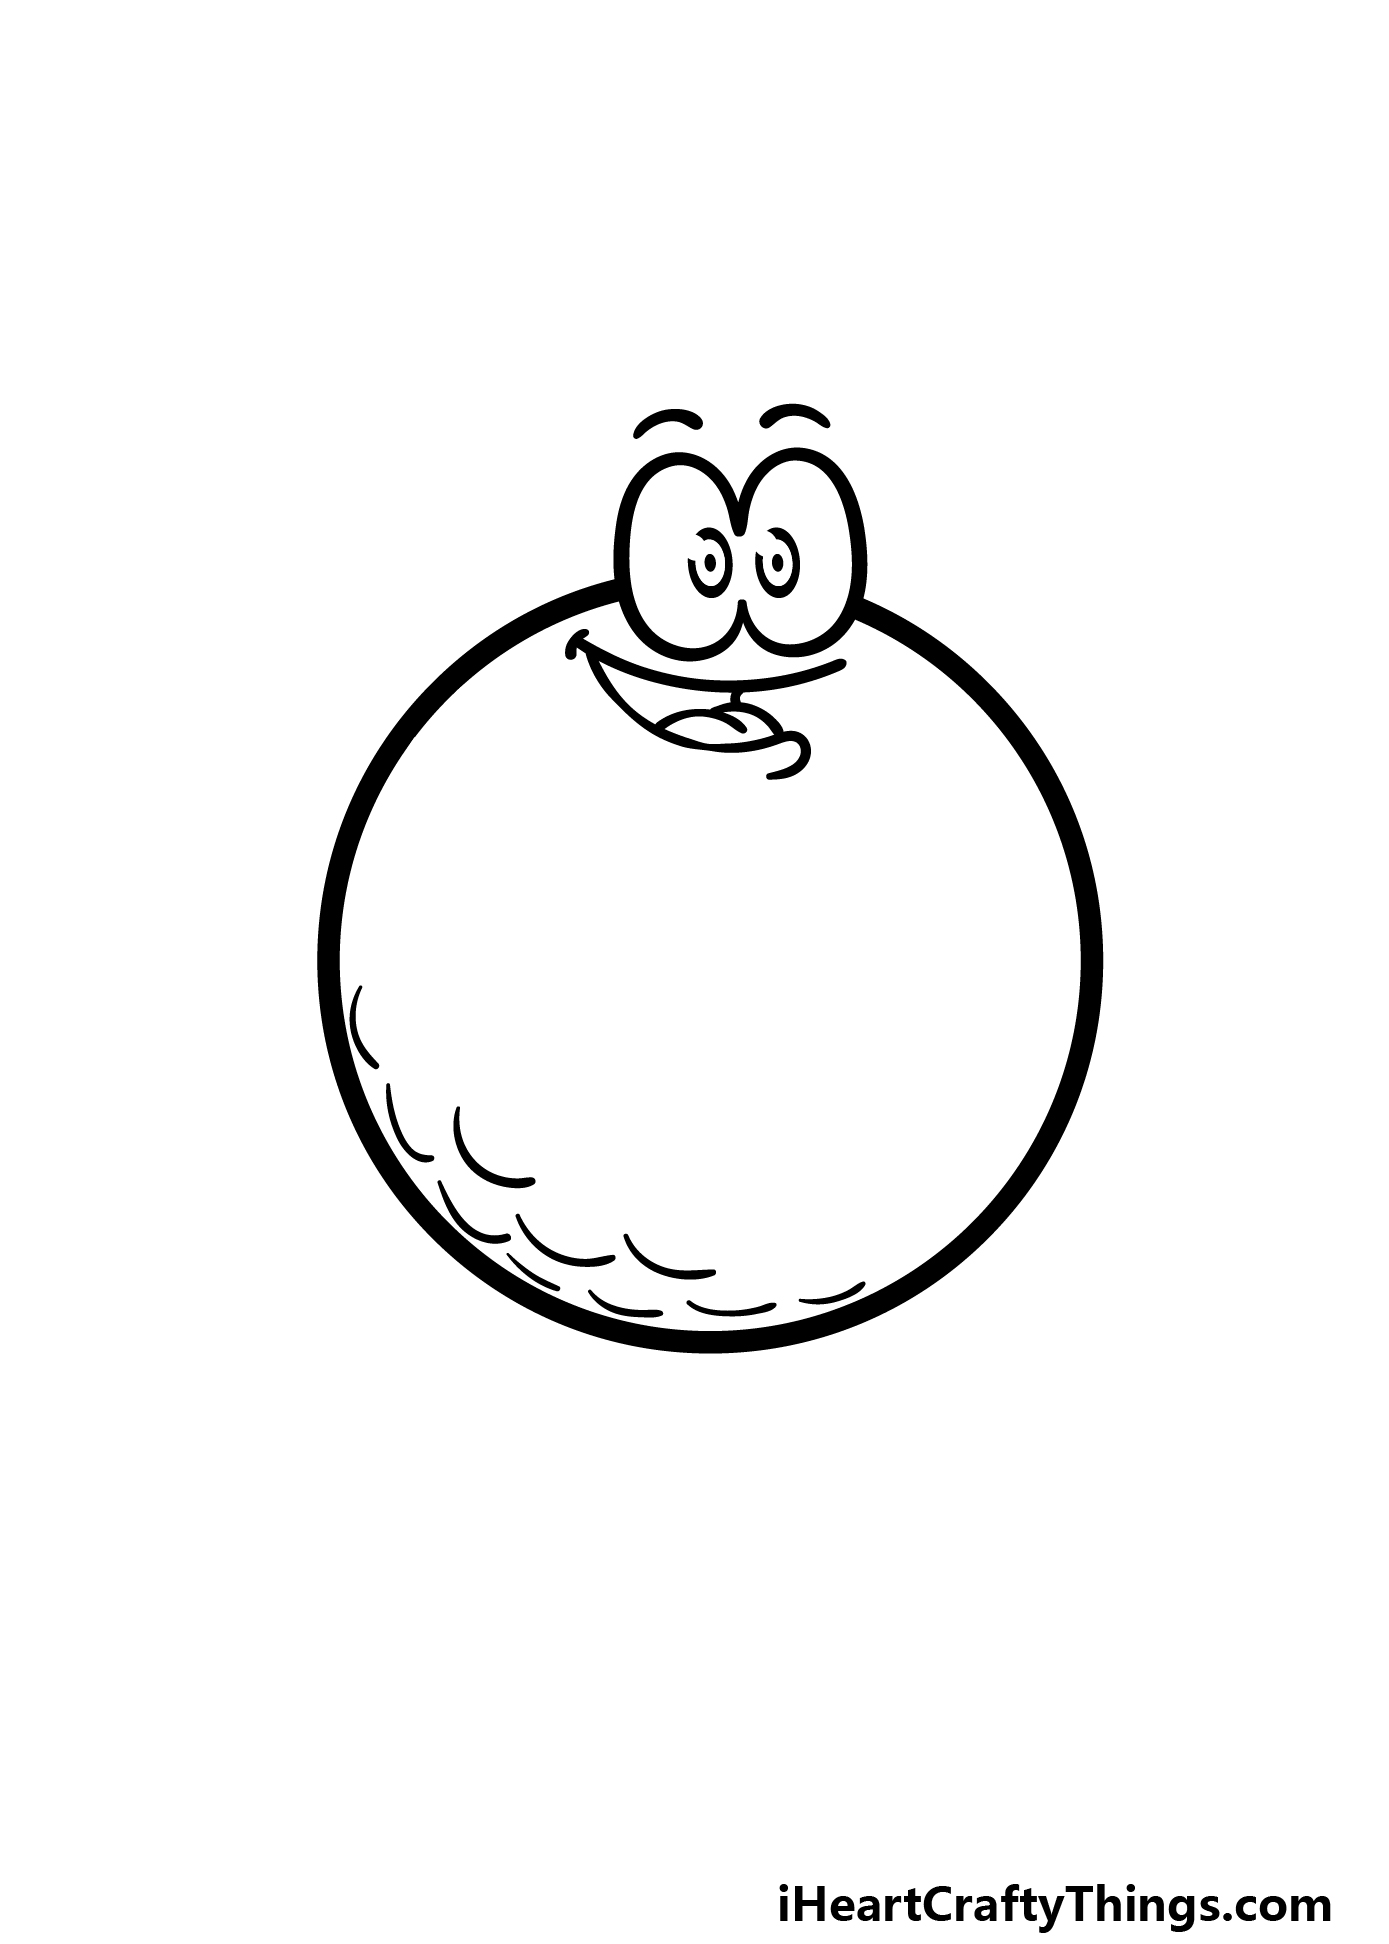
Golf balls have a distinctive dimples texture on the surface, and we will start drawing that texture now.
This is a feature of the drawing that can require a bit of patience, so take it slow and don’t worry about rushing yourself!
To draw this texture, we will be drawing rows of small curved lines near the lower left-hand portion of the ball.
We will keep adding more of this texture as we go, so let’s keep going!
Step 6 – Next, draw another section of texture details
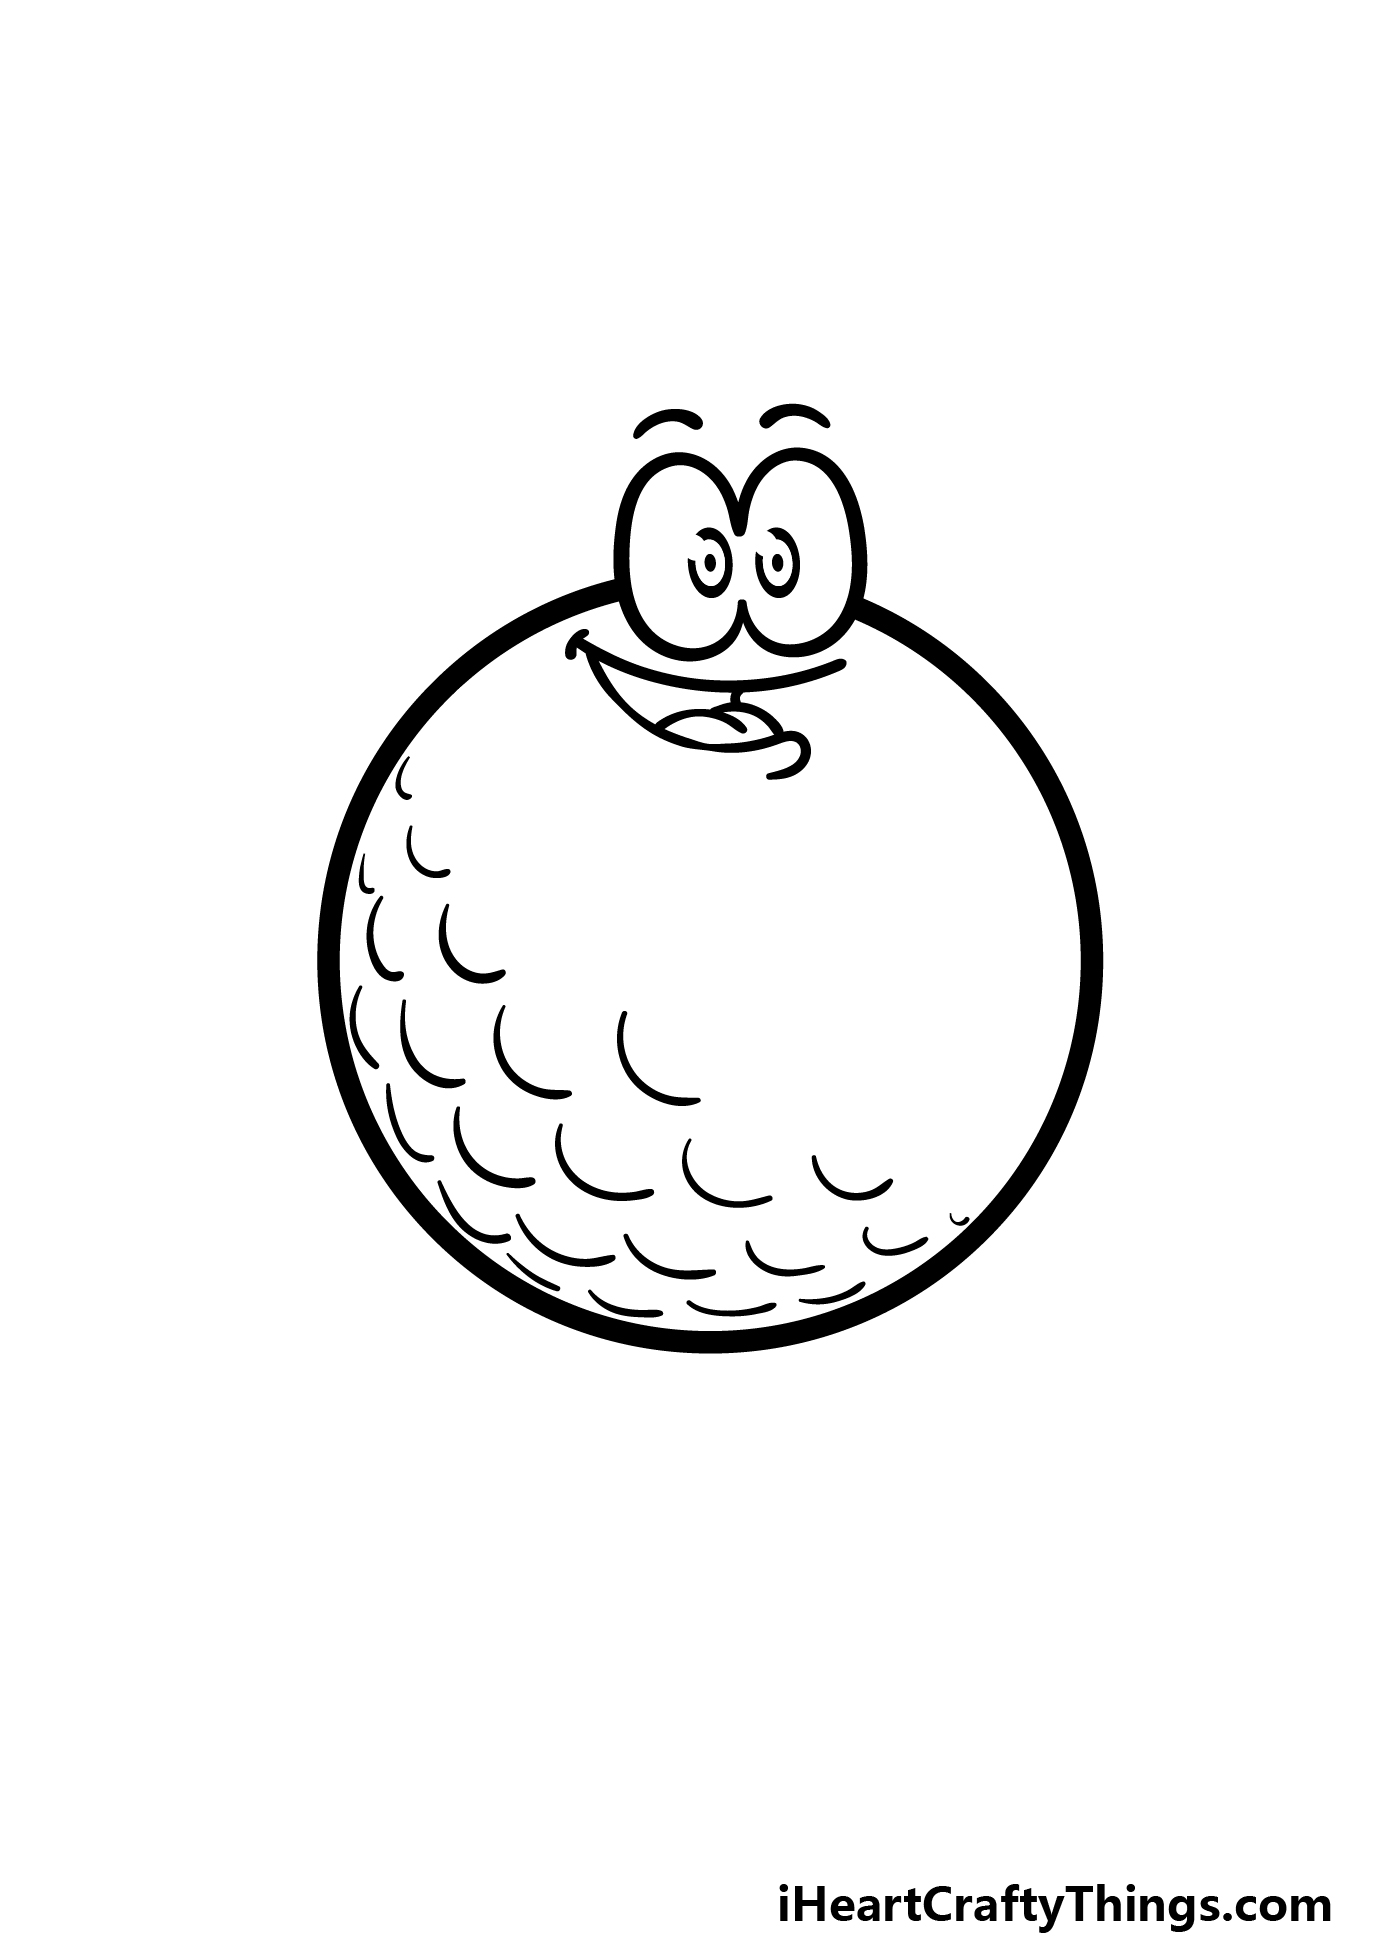
This part of your cartoon golf ball drawing will be focused on adding more of those dimple details that you started in the previous step.
These ones will extend towards the center of the ball. As shown in the reference image, they will get slightly larger depending on their positioning, but not by much.
You will then be ready to finish off these details in the next step of the guide, and we will also take care of any final touches!
Step 7 – Next, draw the rest of the texture detailing
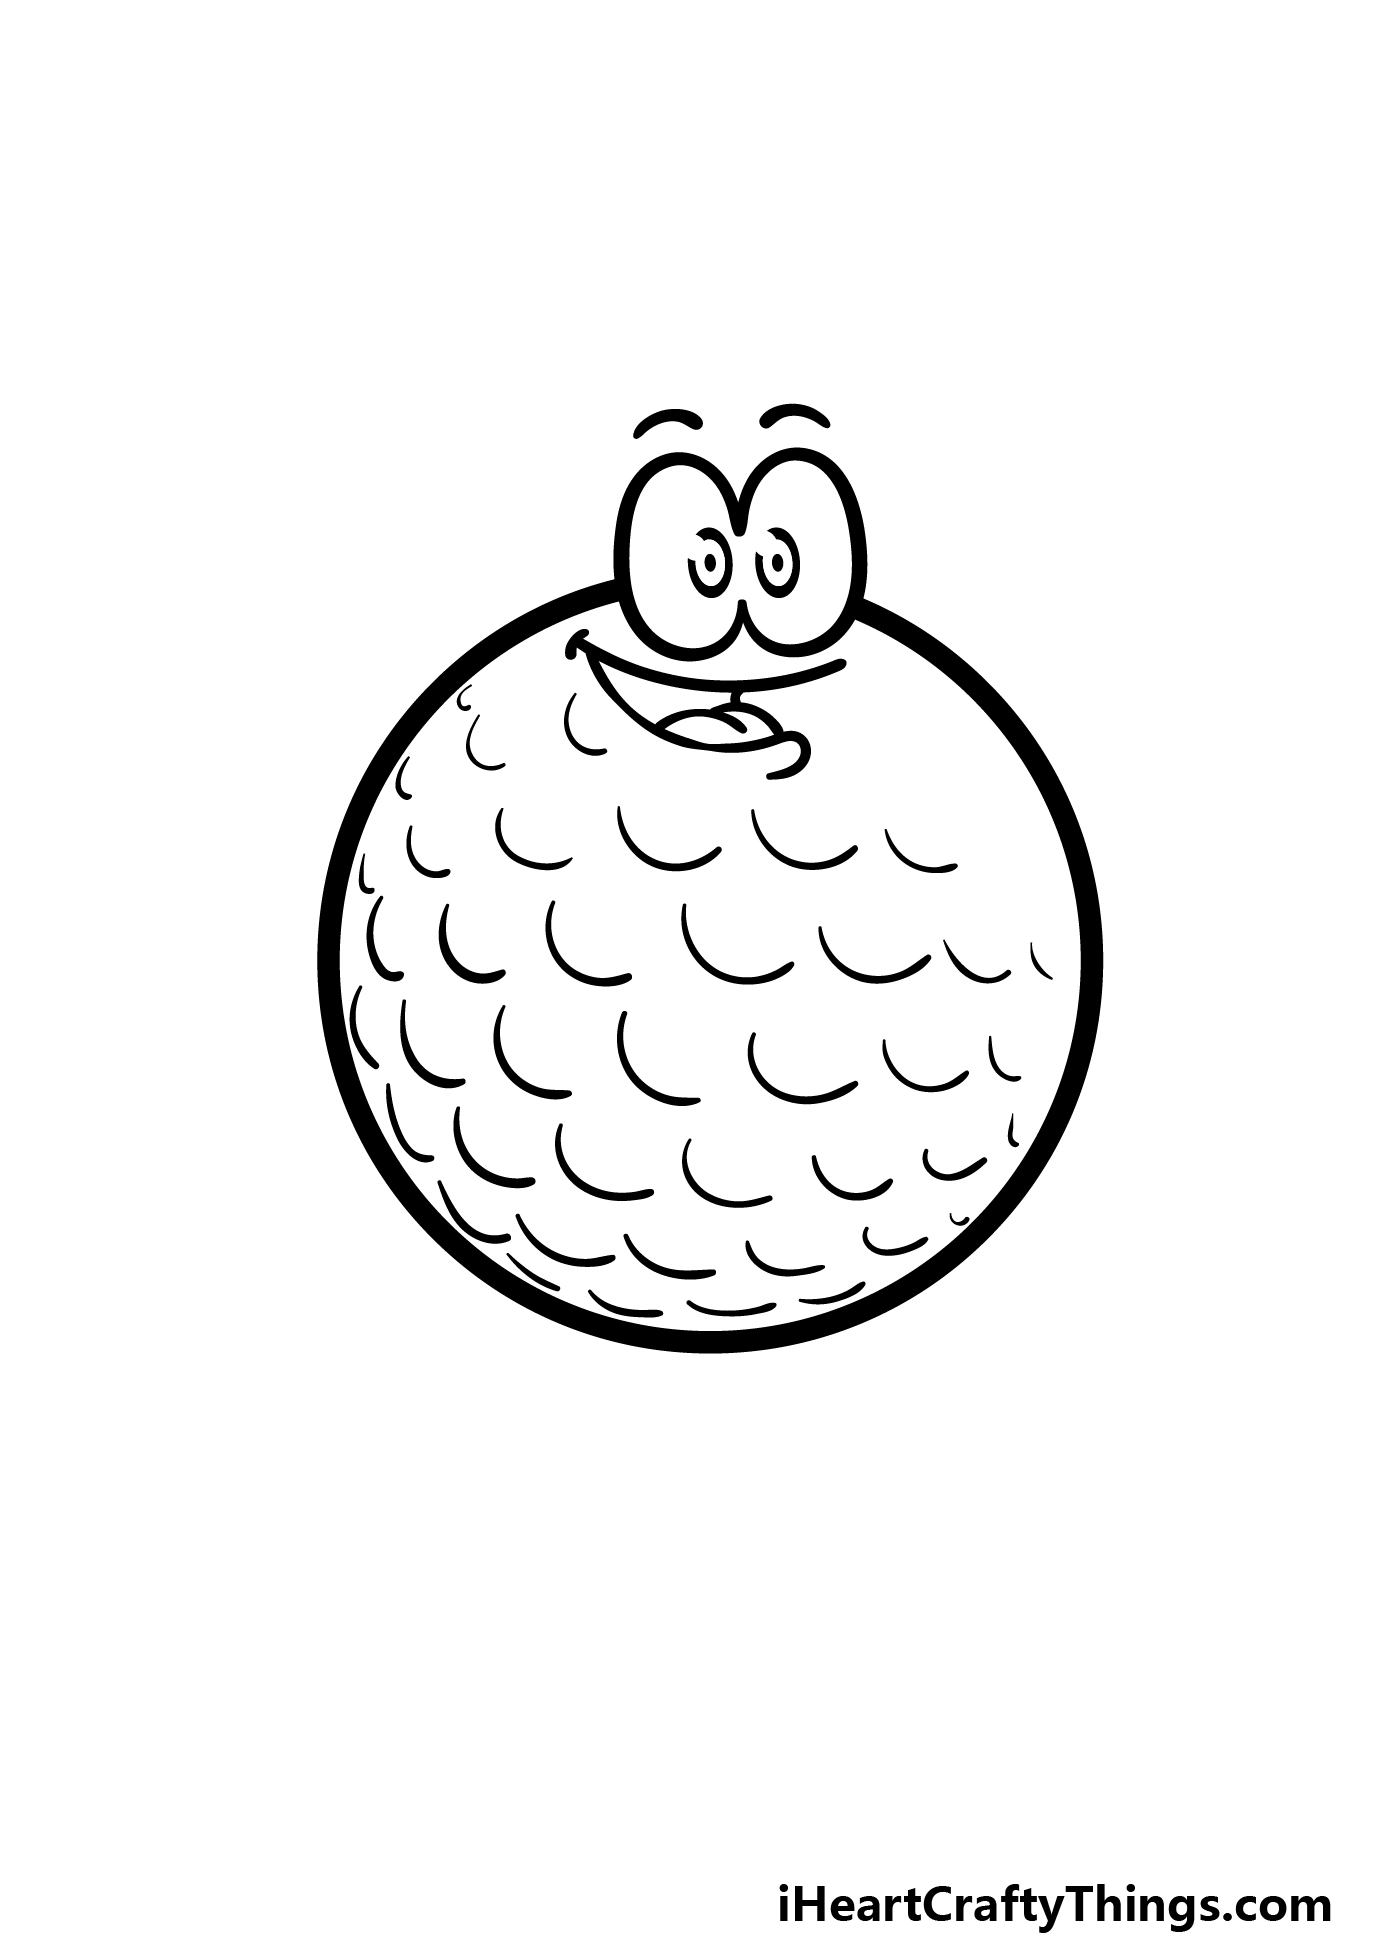
Before getting to the final step of this guide on how to draw a cartoon golf ball, we will finish off the final details in this part.
To do this, simply draw some more rows of curved lines onto the surface to fill the rest of the space. You can also add some details of your own to take this even further!
Drawing a golf-themed background could be a lot of fun, but what kinds of backgrounds can you think of?
Step 8 – Now finish it off with some color
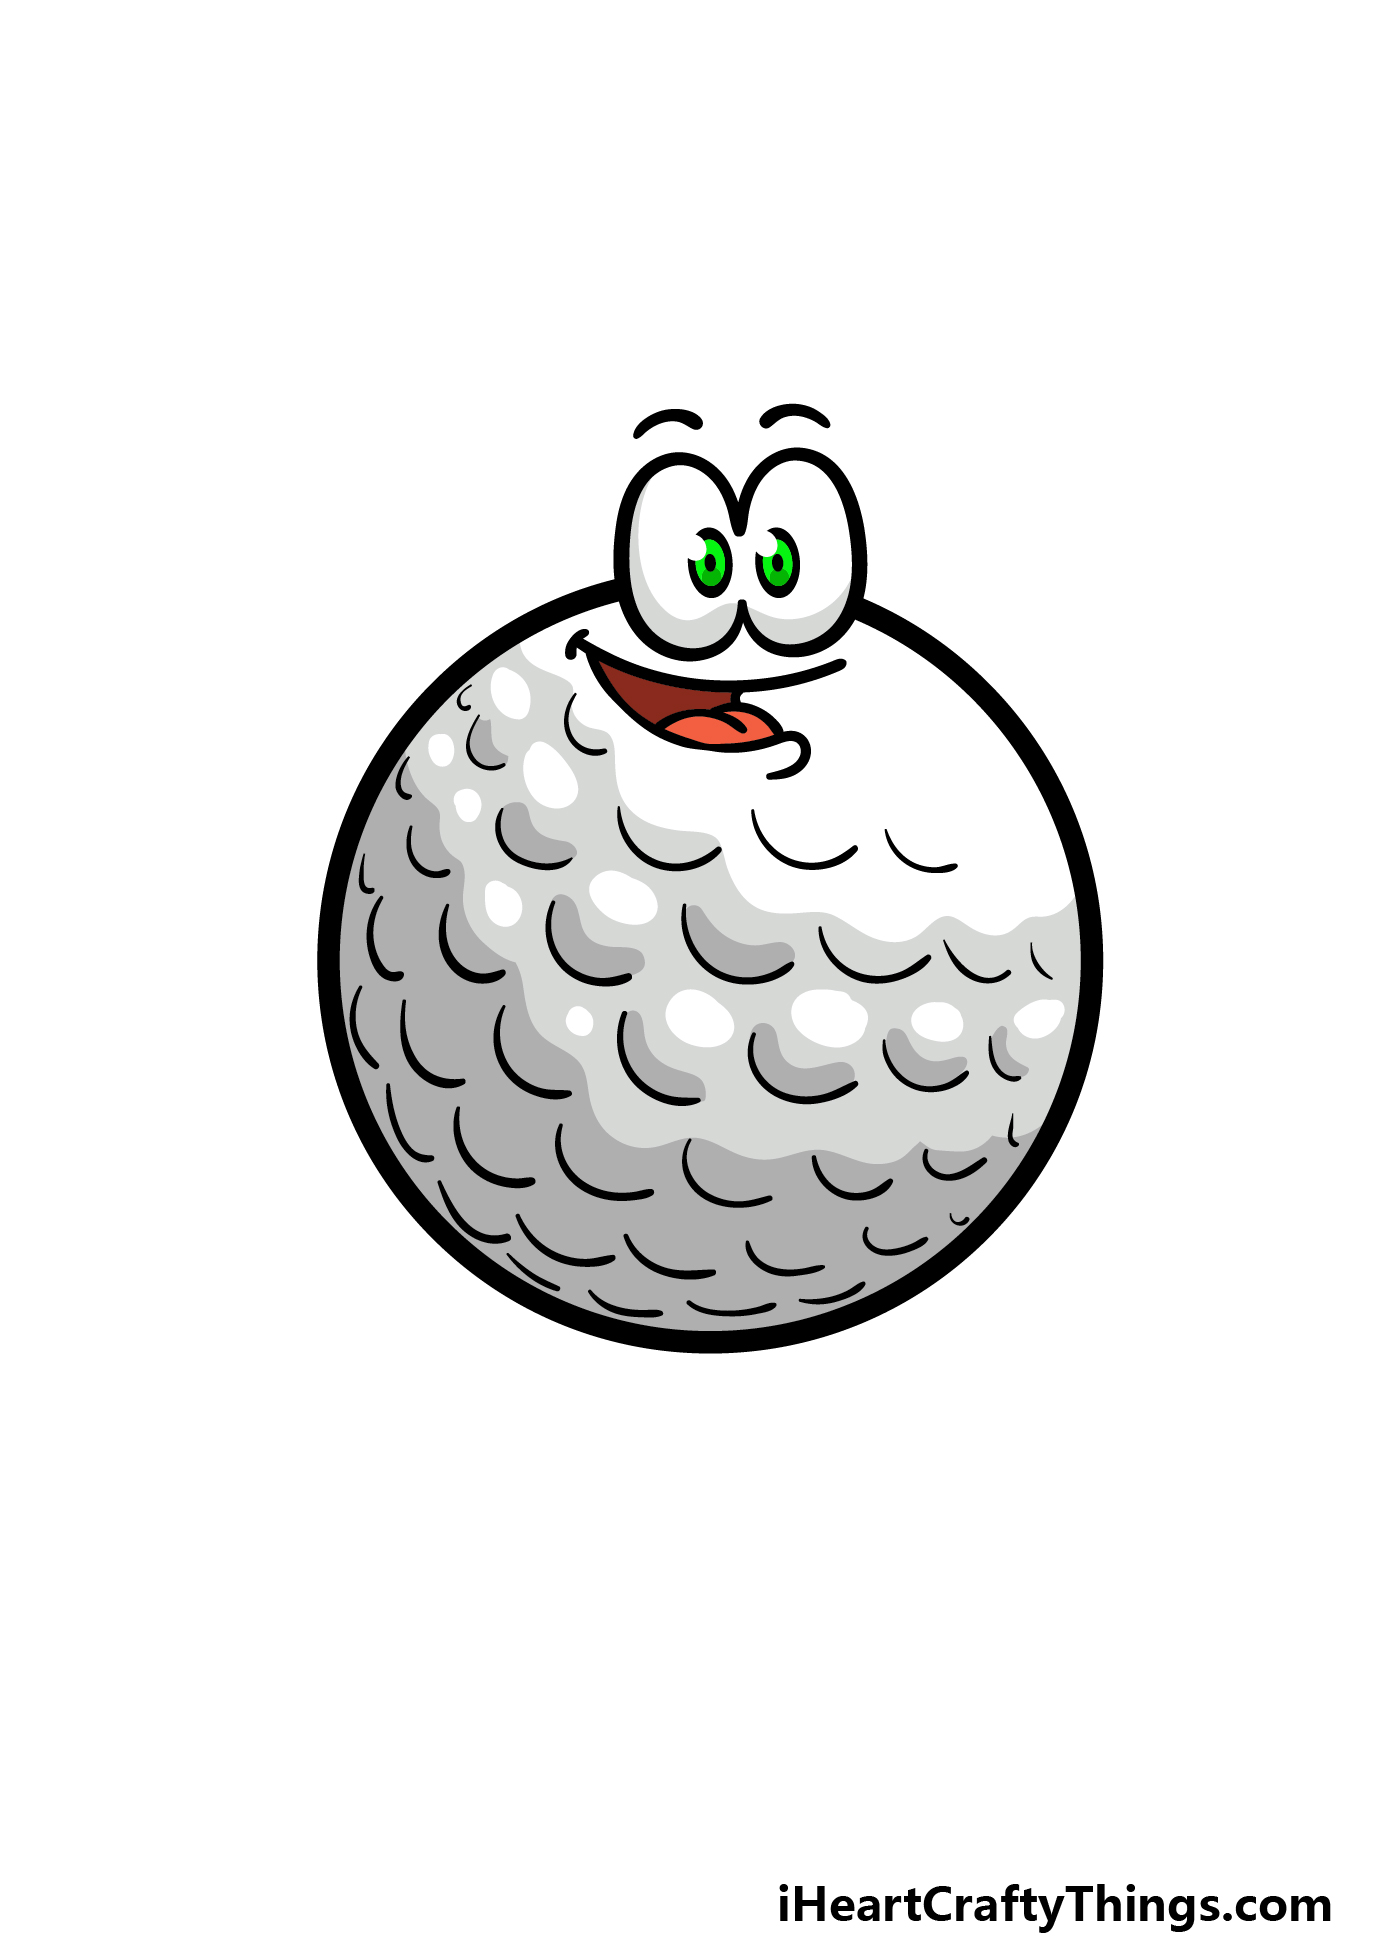
For our example of this cartoon golf ball drawing, we kept the colors looking a bit more muted and low-key.
We used shades of greys for the surface of the ball while leaving some areas white. Then, we added a nice splash of color by using some bright green for the eyes.
These colors are just a suggestion, so now it’s up to you to show how you think this ball should look! What colors, art tools or mediums came to mind when you saw this picture?
5 Tips To Make Your Cartoon Golf Ball Drawing Even Better!
Tee up for more fun as we explore more ways to improve your cartoon golf ball sketch!
This drawing of a cartoon golf ball has a fun facial expression on it, but this could be changed to create a different mood for the drawing.
This cartoon golf ball is probably about to get hit with a golf club, so maybe its facial expression could look more horrified.
What sort of facial expression would you like to portray here?
In the previous tip, we mentioned a golf club about to hit this cartoon golf ball. That would be a fun detail to add to the drawing!
If you want the scene to be zoomed in, then you could merely show the tip of the club as the player prepares to hit the ball. How much of the golf club would you show?
When you have decided on the facial expression of the cartoon golf ball and decided whether to add a club, you could draw more of the ground surrounding it.
This could be as simple as adding a few blades of grass around the cartoon golf ball. You could also add a detail such as a golf tee beneath the ball to finish it off.
So far, we have spoken about this cartoon golf ball drawing in the context of it being on the ground. You could easily make it look like the ball is flying through the air!
You wouldn’t need to change much on the cartoon golf ball itself, and this would depend more on how you decide to draw the background. Adding some motion lines would help as well.
Finally, one other way of taking this cartoon golf ball sketch in a new direction would include removing the elements that make it cartoony.
Apart from the face, this is a fairly realistic portrayal of a golf ball, and removing the face would allow you to draw a more true-to-life portrayal.
The rest of the scene could follow suit with this realistic approach, too.
Your Cartoon Golf Ball Drawing is Complete!
This guide on how to draw a cartoon golf ball is now complete, and you have a really fun picture to show for it!
There was a really cool portrayal of a golf ball to draw here, and as long as you follow the steps we know you will overcome any challenges.
If you’re ready for more drawing challenges, you can find many more drawing guides on our website to enjoy!
We would love to see your finished cartoon golf ball drawing, so please share it o our Facebook and Pinterest pages for us to see when it’s complete!