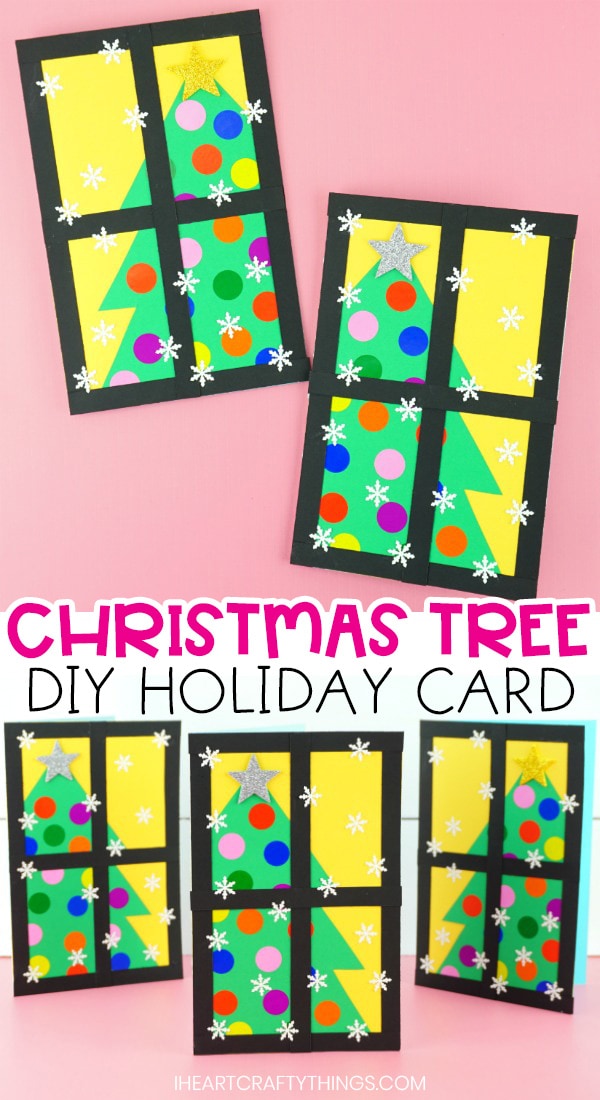
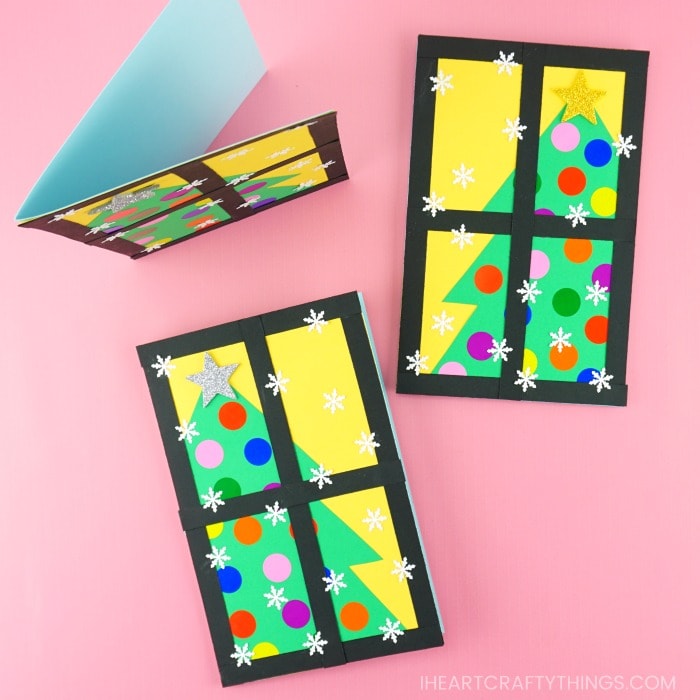
Homemade greeting cards are the perfect way to make family and friends feel extra special this holiday season. This Christmas tree card is super simple for kids and adults to make and it is sure to brighten someone’s day.
I love when I’m driving through my neighborhood at night during the holiday season and see beautifully decorated Christmas trees shining through big front windows. It’s a picturesque, perfect scene for Christmas, and that’s why it was the inspiration behind our easy to make Christmas tree cards.
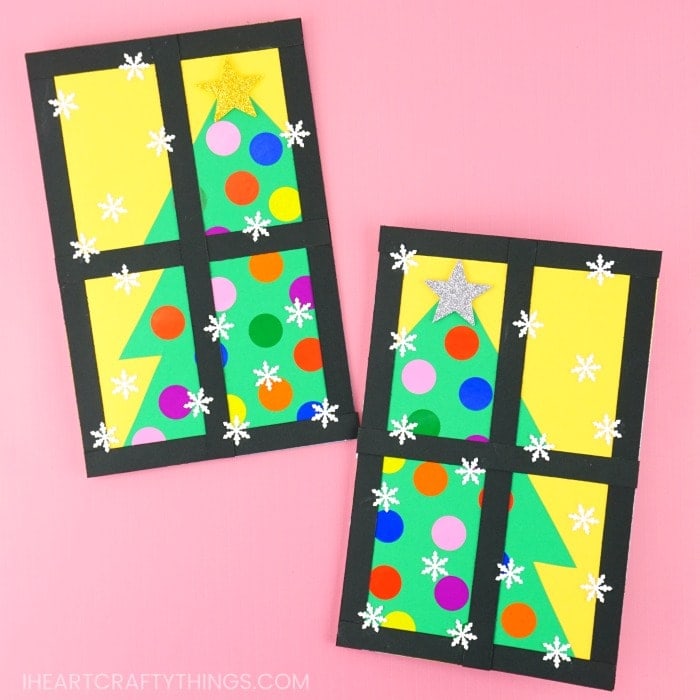
We’ve made crafting this gorgeous Christmas card simple for kids of all ages with our card template, which you can find linked below in the supplies list.
I really love the addition of colored circle stickers for tree decorations because it gives the card an extra pop of color. Are you ready to add this beautiful Christmas craft to your to-do list?
Get ready for an afternoon of fun with your kids making this gorgeous, easy-to-make Christmas tree card.
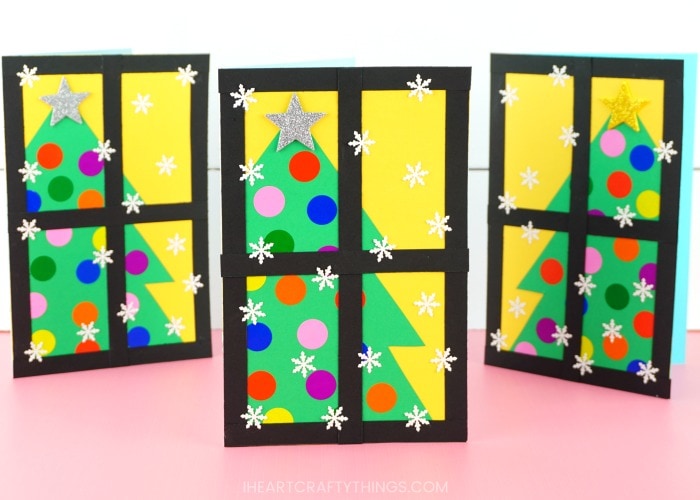
Read our simple how-to instructions for making these beautiful homemade Christmas cards below, and make sure to catch our full video tutorial near the bottom of this post.
Supplies needed to make a DIY Christmas Card:
- Christmas tree card template <—– Get your Template HERE
- light blue, yellow, green, black and white cardstock
- circle stickers
- glitter star stickers
- small snowflake paper punch
- scissors
- glue
Instructions for making a Christmas tree card
1. Print and cut out Christmas tree and window pieces
Download and print out the Christmas tree card template. Use the template to cut out the Christmas tree piece on green cardstock and the window pieces on black cardstock.
2. Fold light blue cardstock in half
Fold your light blue cardstock in half and crease it in the center to create a card.
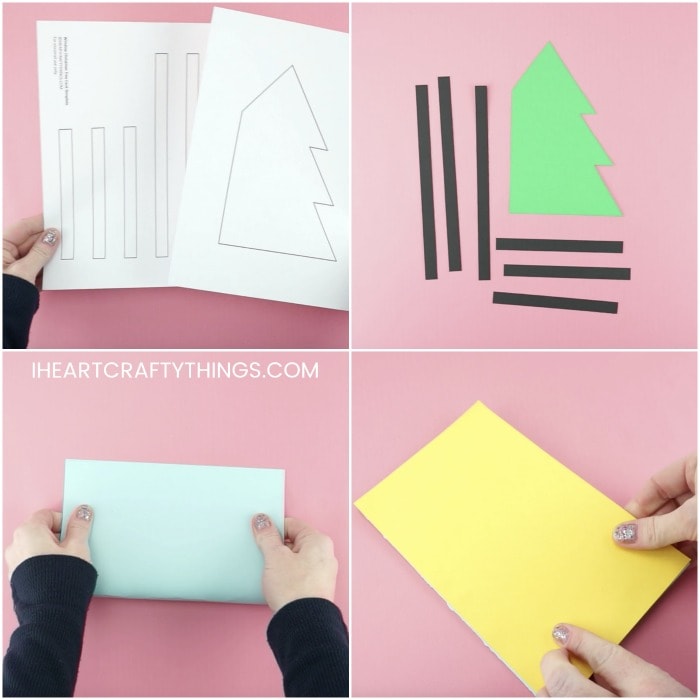
3. Cut out yellow rectangle and glue it on the front of card
Cut a rectangle from yellow cardstock that is 8 1/2-inches by 5 1/2-inches. Glue the yellow rectangle on the front of your greeting card.
4. Glue Christmas tree
Glue the Christmas tree template on the bottom corner of the front of your card.
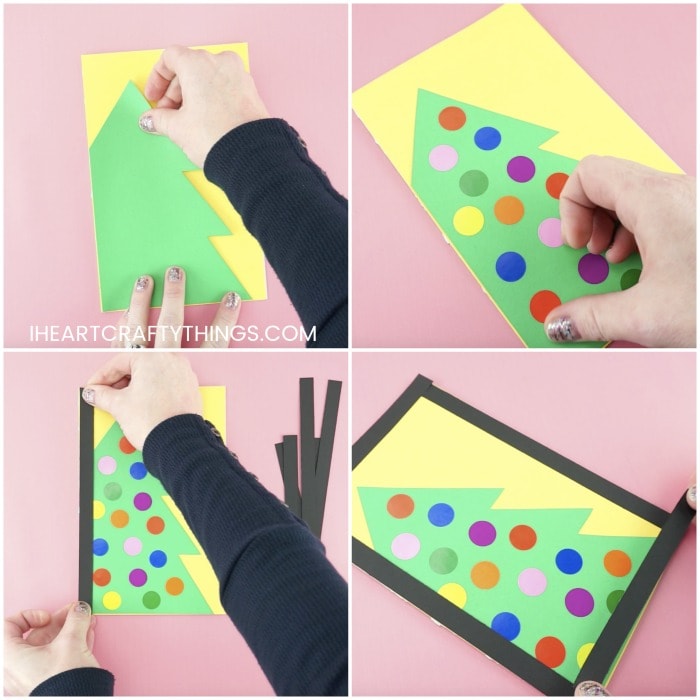
5. Decorate Christmas tree with stickers
Decorate the Christmas tree with colored circle stickers.
6. Glue window frame on the front of card
Add glue on the back of the window frame pieces and place them on the perimeter of the front of the Christmas card. Add glue on the two remaining black rectangle window frame pieces and glue them in the center of the card in a t-shape to complete the window frame.
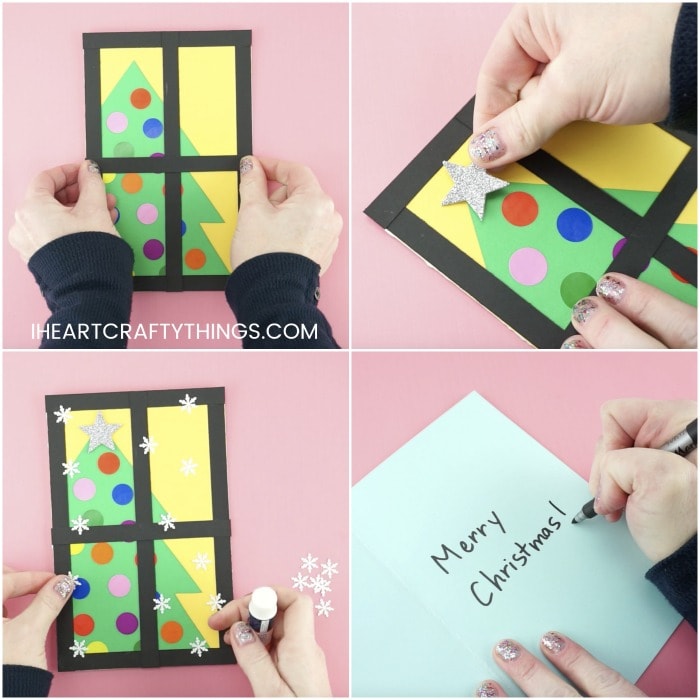
7. Add star at the top of Christmas tree
Place a glittery star sticker at the top of the Christmas tree.
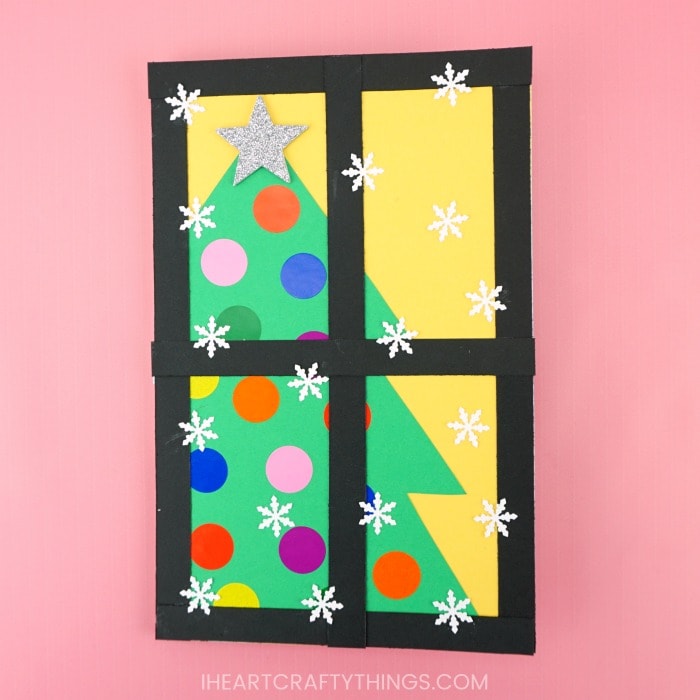
9. Cut out snowflakes and glue them around the front of card
Use a small snowflake punch to cut out about 10-15 snowflakes from white cardstock paper. Glue the snowflakes around the front of the tree card. Make sure to glue some of the snowflakes touching the black window frame to achieve the look of it snowing outside the window.
Video Tutorial: Step-by-Step Guide for making a Christmas Tree Greeting Card
Before you get started making your card, watch the video below for a step-by-step guide on how to make our easy DIY Christmas tree card.
Find more Christmas crafts and easy paper craft ideas by browsing the categories at the top menu bar of our website.
