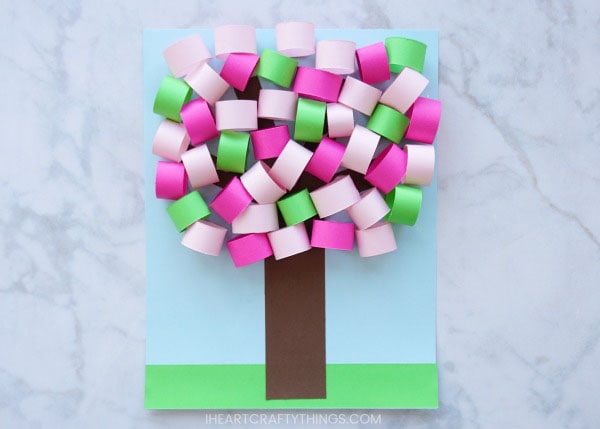
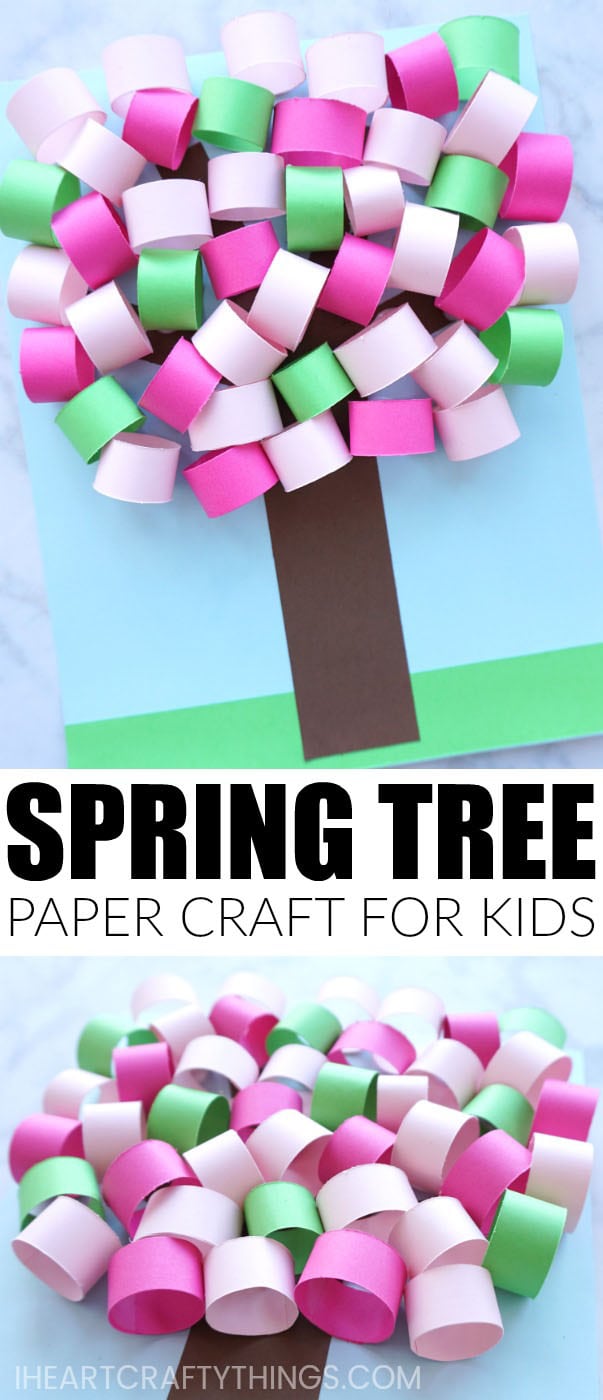
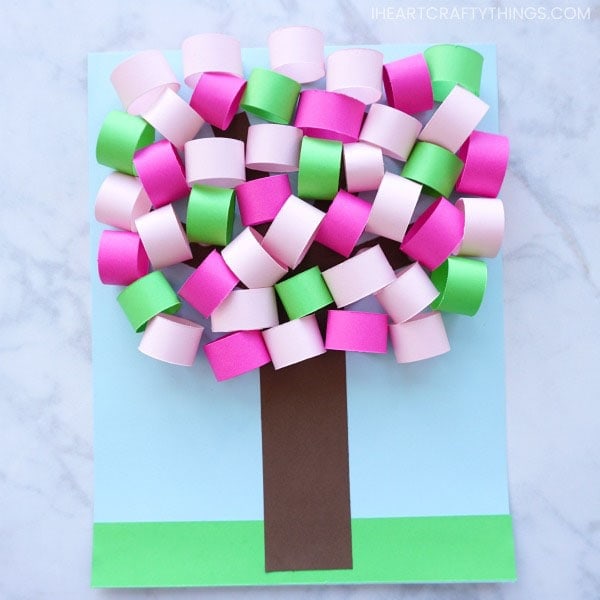
This 3D Spring paper tree craft is a great way to celebrate the beginning of the spring season. The beautiful light and dark pink colors mixed with the green is reminiscent of pretty cherry blossom trees that come to life every spring. If you are excited for the beautiful colors of spring to make their appearance next month, grab some colorful cardstock and have fun creating this gorgeous 3D spring paper tree craft today!
Supplies:
Spring Paper Tree Craft Instructions:
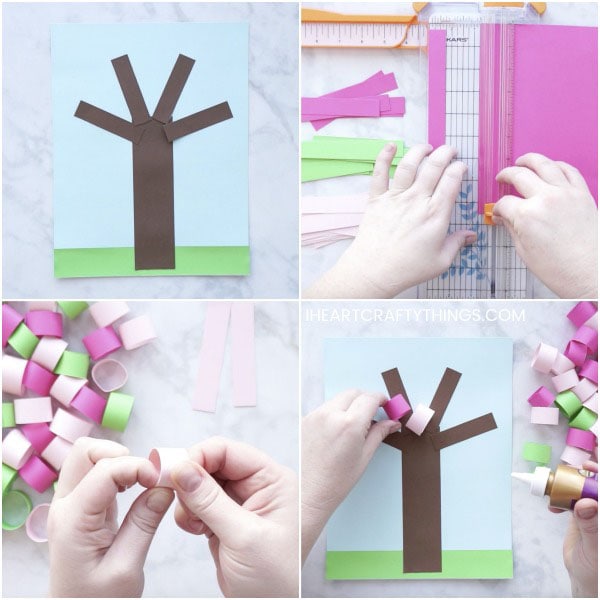
1. Cut out grass, tree trunk, tree branches and glue all onto cardstock
Cut out a rectangle from your light green cardstock for grass. Glue it onto the bottom of your light blue cardstock. Then cut out a tree trunk and branches from your brown cardstock and glue them onto your light blue cardstock.
2. Cut out 40-50 colored paper strips
Use a paper cutter to cut out strips of pink, dark pink and light green cardstock that are 3/4-inch by 4 1/4-inches. You’ll need anywhere from 40-50 of these paper strips.
3. Fold and glue all paper strips into circles
Use your glue stick to add some glue to the end of a paper strip and then fold it into a circle, gluing the two ends together. Continue folding and gluing all of the paper strips into circles.
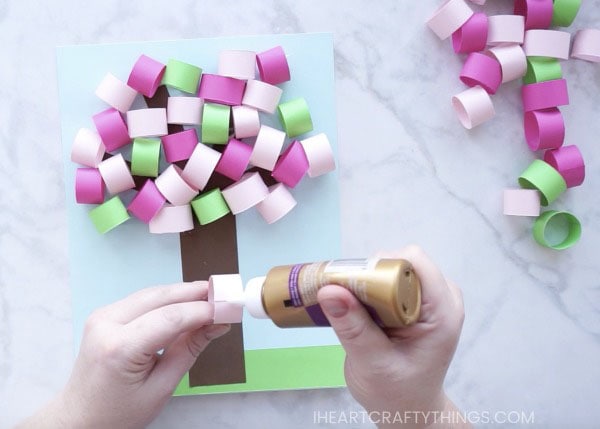
4. Glue circles around all of tree branches
Add a dot of Tacky Glue onto the bottom of a paper circle and then glue it onto the branches of your spring tree. Continue adding glue to each paper circle and then glue them around all of the branches of the spring paper tree craft. Once you have filled up your spring paper tree craft with paper circles, allow the glue to dry completely.
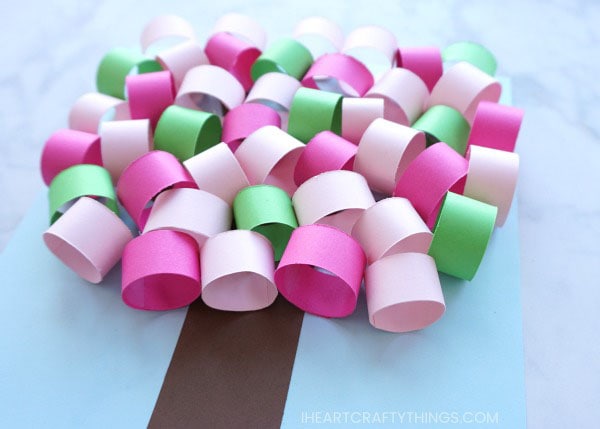
The pretty mixture of pinks and green popping off the page is a lovely reminder of how gorgeous the colors of spring are. Hang up your beautiful paper tree craft for everyone to enjoy all season long.
