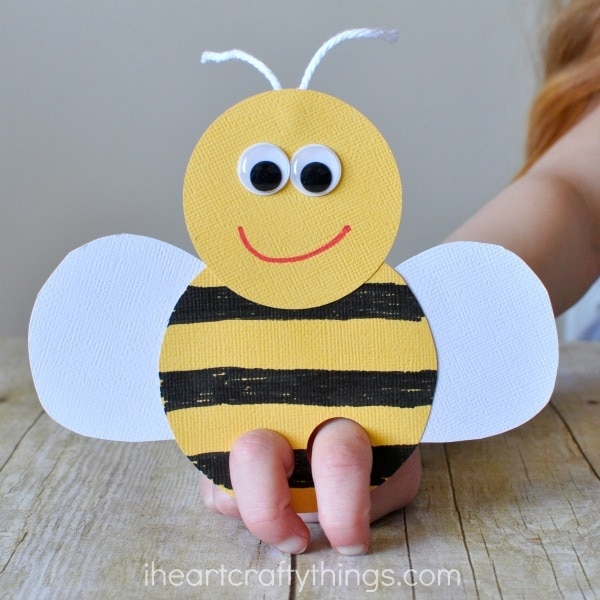
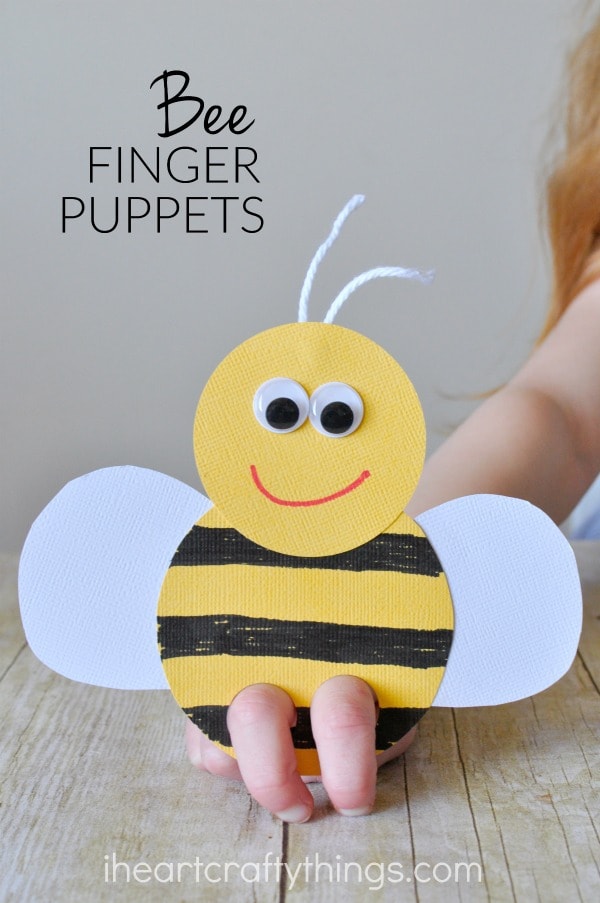
It’s clear we have a new favorite kind of craft in our house…finger puppets! Each new day brings new ideas for fun critters we want to make and our latest bee finger puppets are soooo super adorable that you are going to want to immediately turn off your computer and go make them with your kids.
These cute bee puppets scream spring time and cuteness and what can I say, they need to go on your very immediate to-do list. Keep reading for an overdose of adorableness when you see how ur ladybug finger puppets.

This post contains affiliate links to the products mentioned. Read our disclosure policy for more information.
Supplies needed to make these finger puppets:
- yellow and white cardstock paper
- 3/4-inch circle punch
- googly eyes
- white string
- black and pink marker
- glue
Instructions for making this fun bee craft
1. Cut out bee pieces
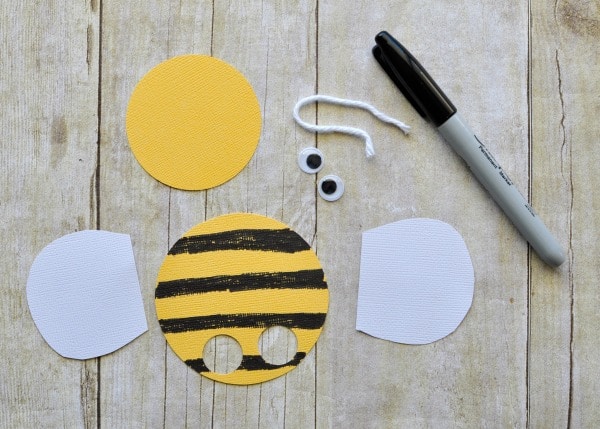
Start by cutting out the pieces you’ll need for your bee finger puppet. You’ll need a 2 1/2-inch circle, a 3-inch circle cut out of your yellow cardstock paper and 2 wing shapes cut out of your white cardstock paper.
2. Cut out two holes in large circle, draw black stripes
Draw black stripes on your larger circle. Then use your 3/4-inch circle punch to cut out two holes at the bottom of it, in alignment with your black stripes.

3. Glue all pieces together to make bee body
Glue the smaller yellow circle onto the black-striped yellow circle, making sure the finger holes are at the bottom of the large circle. Then glue your white wings on the sides of your bee body.
4. Add eyes and antennae, draw smile
Glue your googly eyes onto your face and use your pink marker to draw a smile. Lastly, fold your string in half to make a V and glue it onto the back of your bee head for antennae. You might want to add a piece of tape to help secure the antennae in place until your glue dries.


