


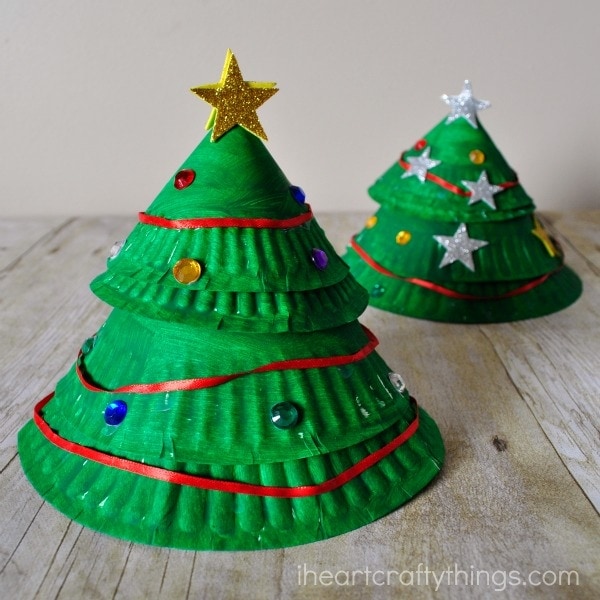
It’s no secret that we love paper plate crafts. They are so versatile, especially when it comes to making Christmas crafts. We used the fun texture of the outside rim of the paper plate as inspiration to make this fun layered Christmas tree craft.
This post contains affiliate links for your convenience. Read our full disclosure policy for more information.
Supplies you will need:
- 2 small paper plates
- 2 regular paper plates
- green paint
- stapler
- scissors
- glue
- foam star stickers
- acrylic gems
- ribbon
Directions:
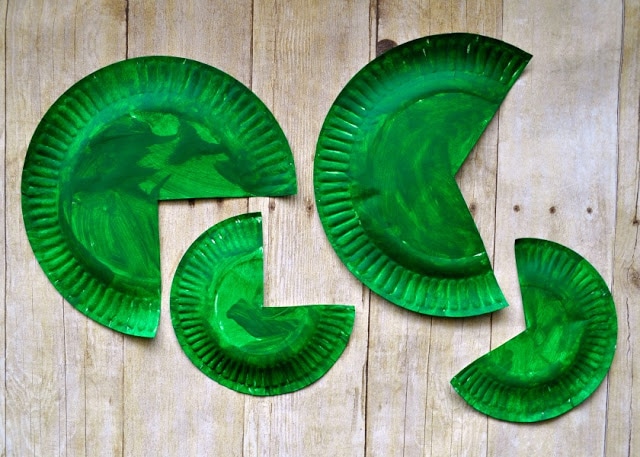
1. Cut out part of each paper plate and paint all plates green
Cut out one-quarter from one of your regular sized paper plates and one of your small paper plates. Cut out one-third from the other regular sized paper plate and small paper plate. Paint all of your paper plates green.
2. Form paper plates into cones and staple them shut
When your paint is dry, form your paper plates into cones and staple them shut. Kids might need assistance with this part.
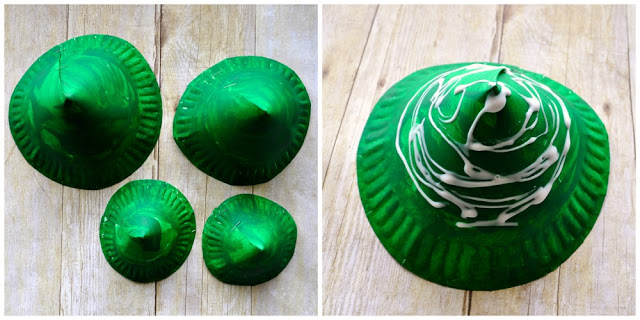
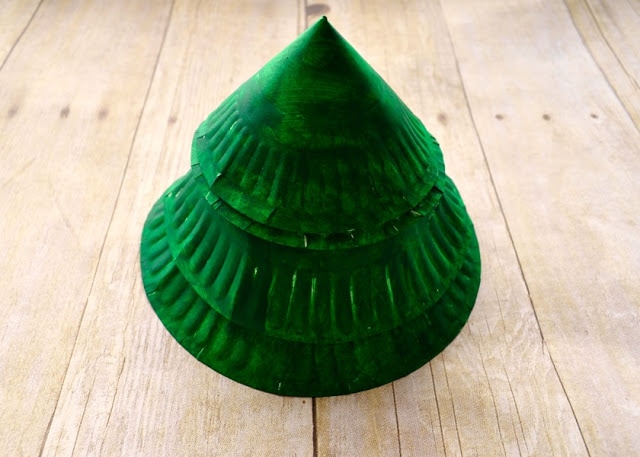
3. Layer cones on top of each other and glue all together
Put a generous amount of glue on the top of the largest cone and then layer the next sized cone onto it. Add glue onto the top of that cone and then layer the next cone. Continue until all four cones are layered on top of each other.
4. Decorate Christmas trees with ribbon, acrylic gems and star foam stickers
Decorate your Christmas trees with ribbon, acrylic gems and star foam stickers. To add the ribbon, add dots of glue around the tree in a circle, and then add the ribbon around the tree. For the star at the top of the tree we pressed two stars together.
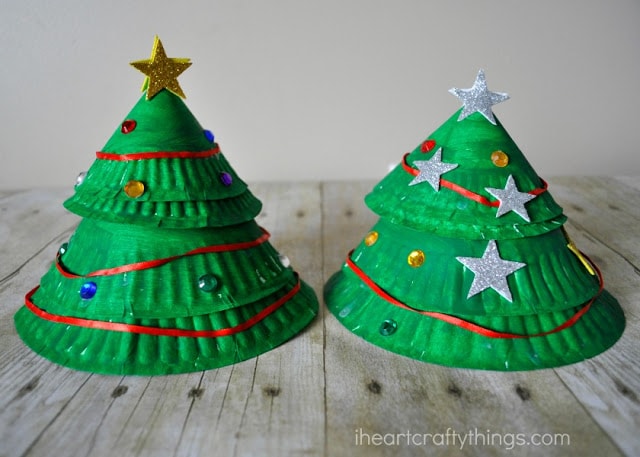
I love how they all turn out differently shaped and uniquely decorated. You can use anything you have to decorate the trees like buttons, pom poms, stickers or sequins.
