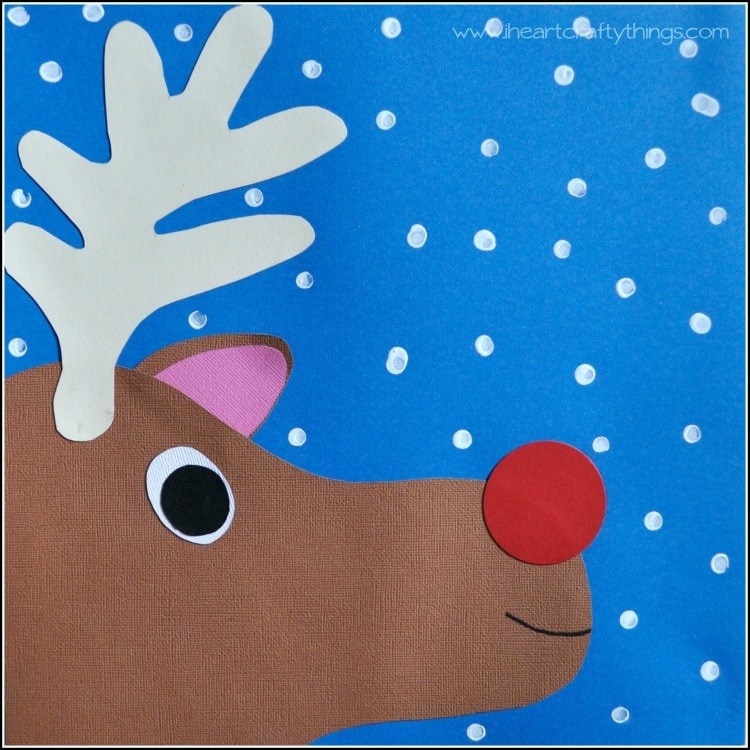
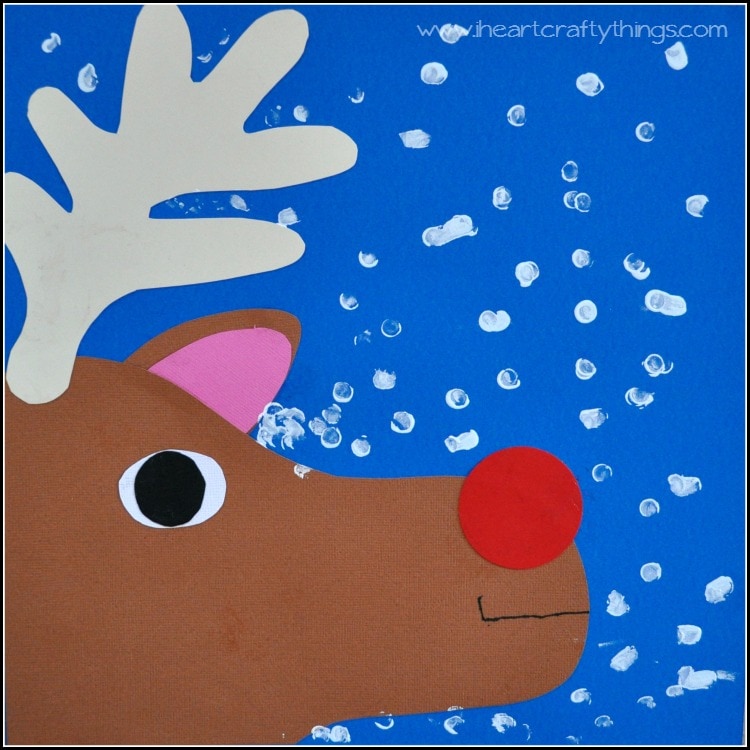
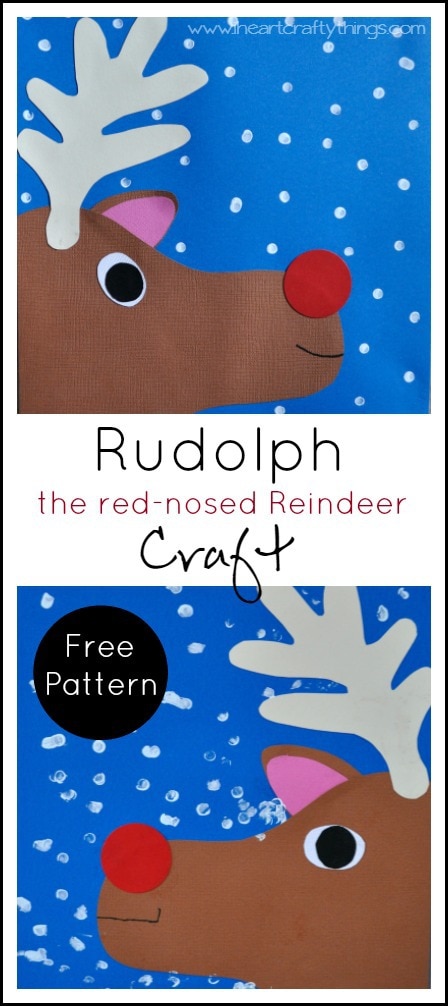
We can’t seem to get enough of Rudolph the red-nosed Reindeer lately. He is such a fun and jolly character! Today we decided to make Rudolph standing out in the snow. I think it turned out so cute. So lets get started with our Rudolph paper craft for kids.

This post contains affiliate links to the products mentioned. I Heart Crafty Things is a participant in the Amazon Services LLC Associates Program, an affiliate advertising program designed to provide a means for sites to earn advertising fees by advertising and linking to amazon.com.
Supplies:
- blue, brown, cream, red, pink, white and black cardstock paper
- Rudolph pattern template
- scissors
- glue stick
- black marker
- white paint
- small paper plate
- pencil with a good eraser
Instructions:
1. Print out & trace your pattern
Print off the Rudolph pattern, cut out the pieces, and use them to trace the pieces on all of your cardstock paper. Have your child cut out all the pattern pieces.
2. Glue pieces to a paper
Use your glue stick to glue all the pieces down on your 12 inch by 12 inch blue cardstock paper.

3. Draw a mouth
Using black marker draw a mouth on your Rudolph.
4. Paint the snowflakes
Pour a small amount of white paint on small paper plate. Dip the eraser of your pencil into the paint and then stamp it onto your paper to make snowflakes. Continue doing this to add as many snowflakes as you would like. Let the paint dry completely.


