My family has a few long road trips planned this summer and let’s face it… the kids get bored! Although we allow the luxury of some electronics during long car rides, I also try to come prepared with a few fun learning activities to keep them entertained.
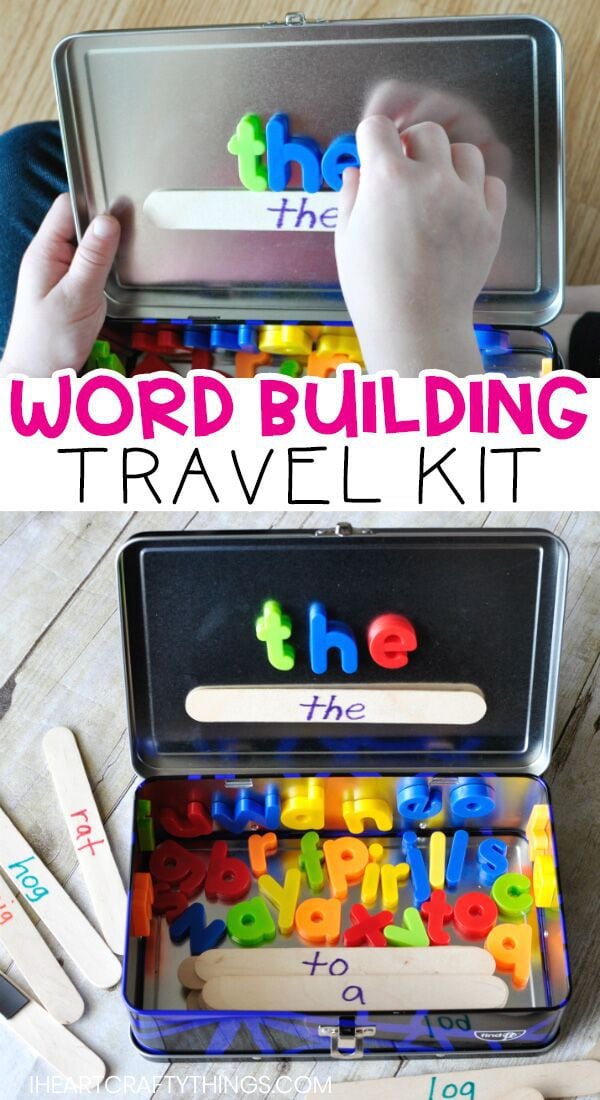
This Word Building Activity Travel Kit is one of my favorite ways to incorporate learning into travel with young children.
The best part is you can customize it with sight words, color words, word families, or whatever your child is currently learning!
This post contains affiliate links to the products mentioned. Read our disclosure policy for more information.
Supplies Needed for this Kit:
- Metal pencil box (or lunch box)
- Jumbo craft sticks
- Permanent markers
- Lowercase magnetic letters
- Magnetic tape
- Hot glue gun
Step-by-step tutorial:
1. Get a pencil or lunch box
Start by gathering all of your supplies. Find a pencil box, we used the metal one. I’ve included a link above where you can buy them on Amazon, but a metal lunch box will work as well.
2. Write words on jumbo craft sticks
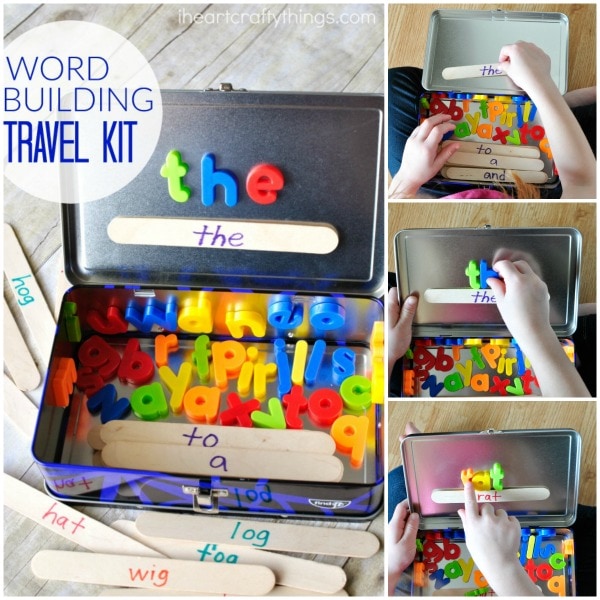
Use permanent markers to write words on the jumbo craft sticks. I made a few different sets of words for this word building activity. I started with basic sight words and CVC words, as well as word families for -at, -ig and og, but you can literally customize it however you like… number words, animals, days of the week, etc. This is a great way for early readers to build vocabulary and improve spelling.
3. Glue magnetic tape to each stick
Use a hot glue gun to attach a small piece of magnetic tape to the back of each stick. Even though the magnetic tape has adhesion on the back, I recommend using a hot glue gun as an extra precaution. Magnets are extremely dangerous for children if swallowed, so using the hot glue will help reduce the risk of them falling off.
4. Put everything inside the box and you are ready
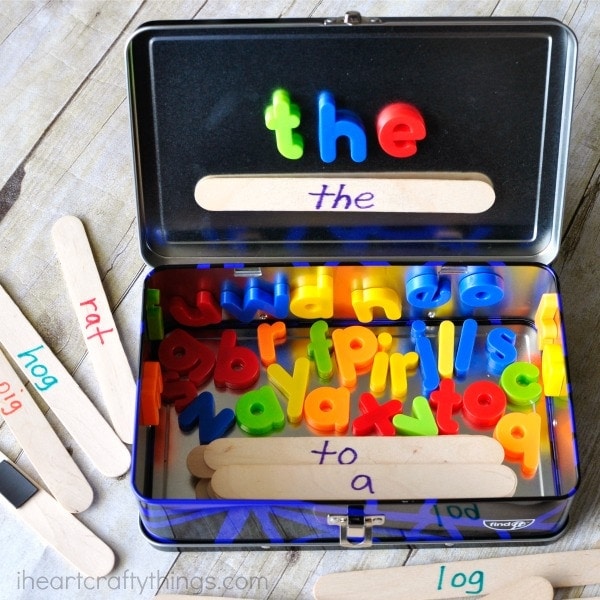
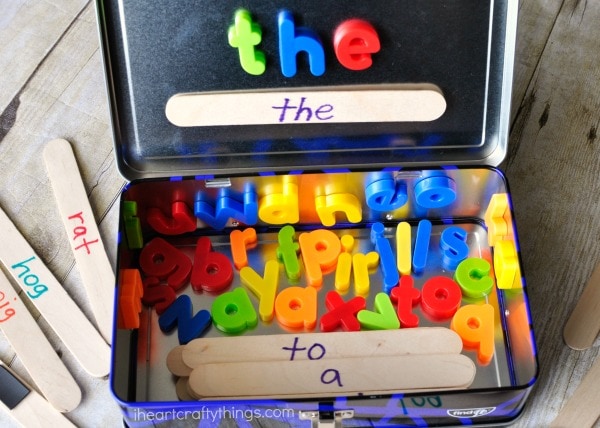
Place the finished words in the metal pencil box, along with a set of lowercase magnetic alphabet letters. Now the Word Building Activity Travel Kit is all ready for play!
Playing with the Word Building Activity Travel Kit:
There are lots of different variations of this word building activity. The simplest way is to choose a word out of the pile that you want to build. Place the craft stick onto the top section of the metal pencil box. Then build the word by finding each of the corresponding magnetic letters and place them in order above the word.
Spend some time saying each letter sound and blending them together to sound out the word if you are able. If not, simply name the letters and any corresponding alphabet sounds you do know! Continue working your way through the craft sticks, building all of the words.
This travel kit can also be used with a pair of children as a Reading Guessing Game. One person holds the craft stick covering up the letters and reads the word aloud. The other person spells the word secretly inside the metal box. When they finish, each person reveals their word to see if they match!
Another alternative word building activity is to have one person read the letters slowly, one at a time, off of a craft stick. The other person builds the word in the metal box, letter by letter. As soon as they think they know what word they are spelling, they can shout it out. The person with the word stick should show them if they guessed correctly.
The great thing about this Word Building Activity Travel Kit is that it can be used in so many ways, with a variety of ages and stages, in pairs or independently!
It’s a great way to get in some hands-on word work and it isn’t even limited to road trips! Try bringing it along to a doctor’s appointment or a restaurant to keep the children entertained and learning while you wait!
A quick organization tip – if you make multiple sets of words, try keeping all of the different word types in different sandwich baggy. Label them clearly and then each time you pull out this travel kit, your child can choose a different bag to work with for a little variety!