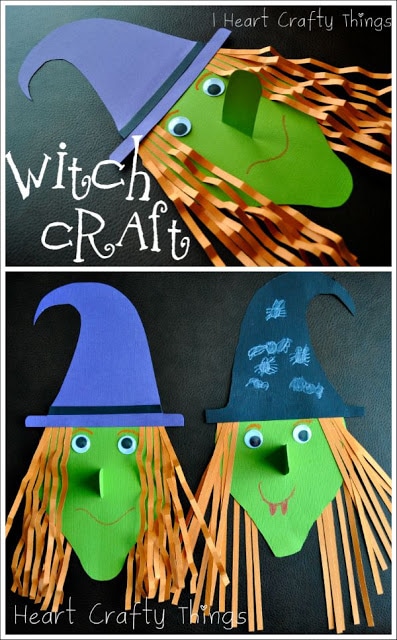
After attending our annual Witch Scavenger Hunt, we read Big Pumpkin and then made this craft as a perfect compliment to both activities. My son’s witch turned out awesome!
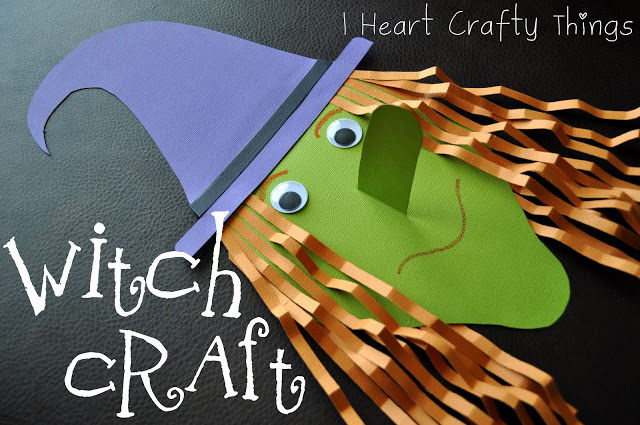
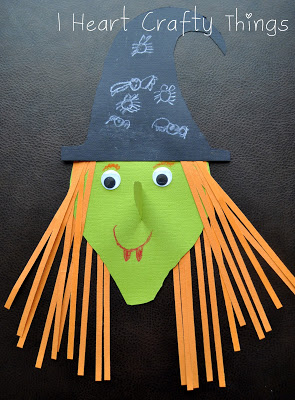
The best part of course is her fun nose!!
Supplies you will need:
- Witch Paper Craft Template
- Green, black, purple and orange cardstock paper
- large googly eyes
- scissors
- craft knife (Must only be used by an adult)
- crayons
Directions:
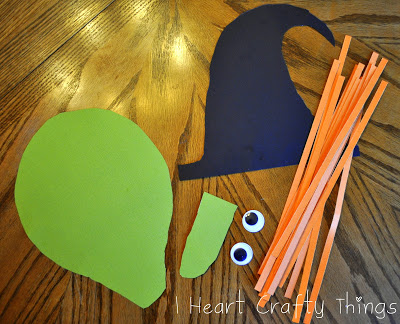
1. Download template and cut out witch parts
Download our witch craft template HERE. I drew a template for a witch’s head and nose on our green paper and a witch’s hat on black paper and my son cut them out. I also used an old shredder to make the small orange strips for the witch’s hair. You can just cut small orange strips from your orange paper yourself though.
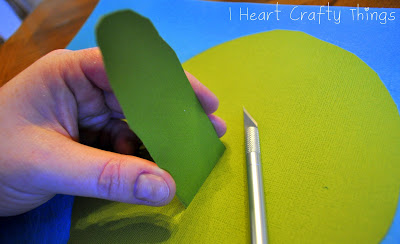
2. Make slit on witch face
The nose requires an adult to help attach it. Hold the nose up to the face where you want it attached and use a craft knife to make a slit on the face alongside the nose.
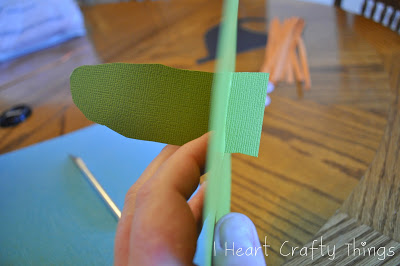
3. Push nose through the slit
Push the nose through the slit in the paper.
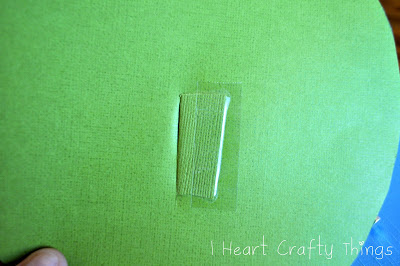
4. Use tape to secure nose in place
Fold the paper back on the back side of the face and use tape to secure it in place.
5. Add eyes and hair
After the nose is in place, my son glued on his googly eyes and glued hair to the front of his witch.
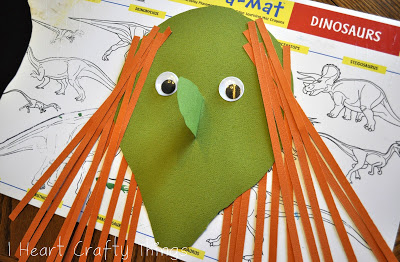
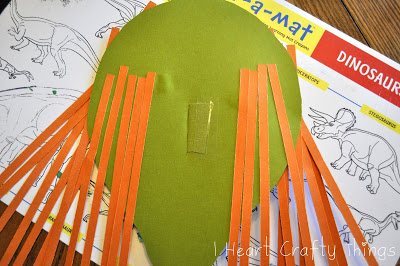
6. Glue hair to the back as well
Make sure to glue some hair to the back of the witch as well.
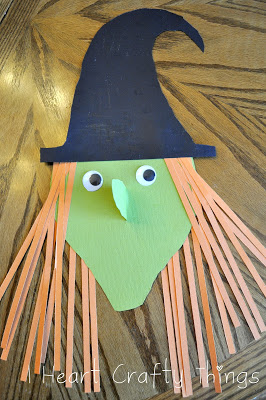
7. Add hat
Glue the hat onto your witch.
8. Draw eyebrows and mouth, decorate hat
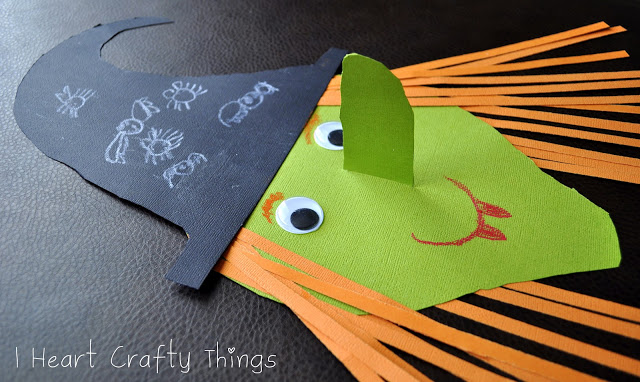
We used oil pastels to draw eyebrows and a mouth onto our witch. Crayons obviously would work too. I just like how bright the oil pastels are. In the Big Pumpkin Book, the Witch has designs drawn on her hat and cloak, so my son decided to draw spiders and bats on his hat.
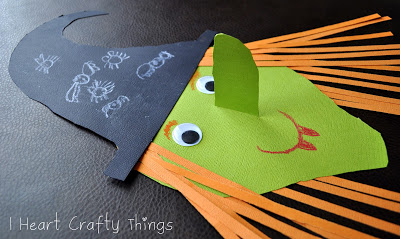
I crinkled up my orange paper to make the hair on my witch curly like in the book. Such a fun craft!!
