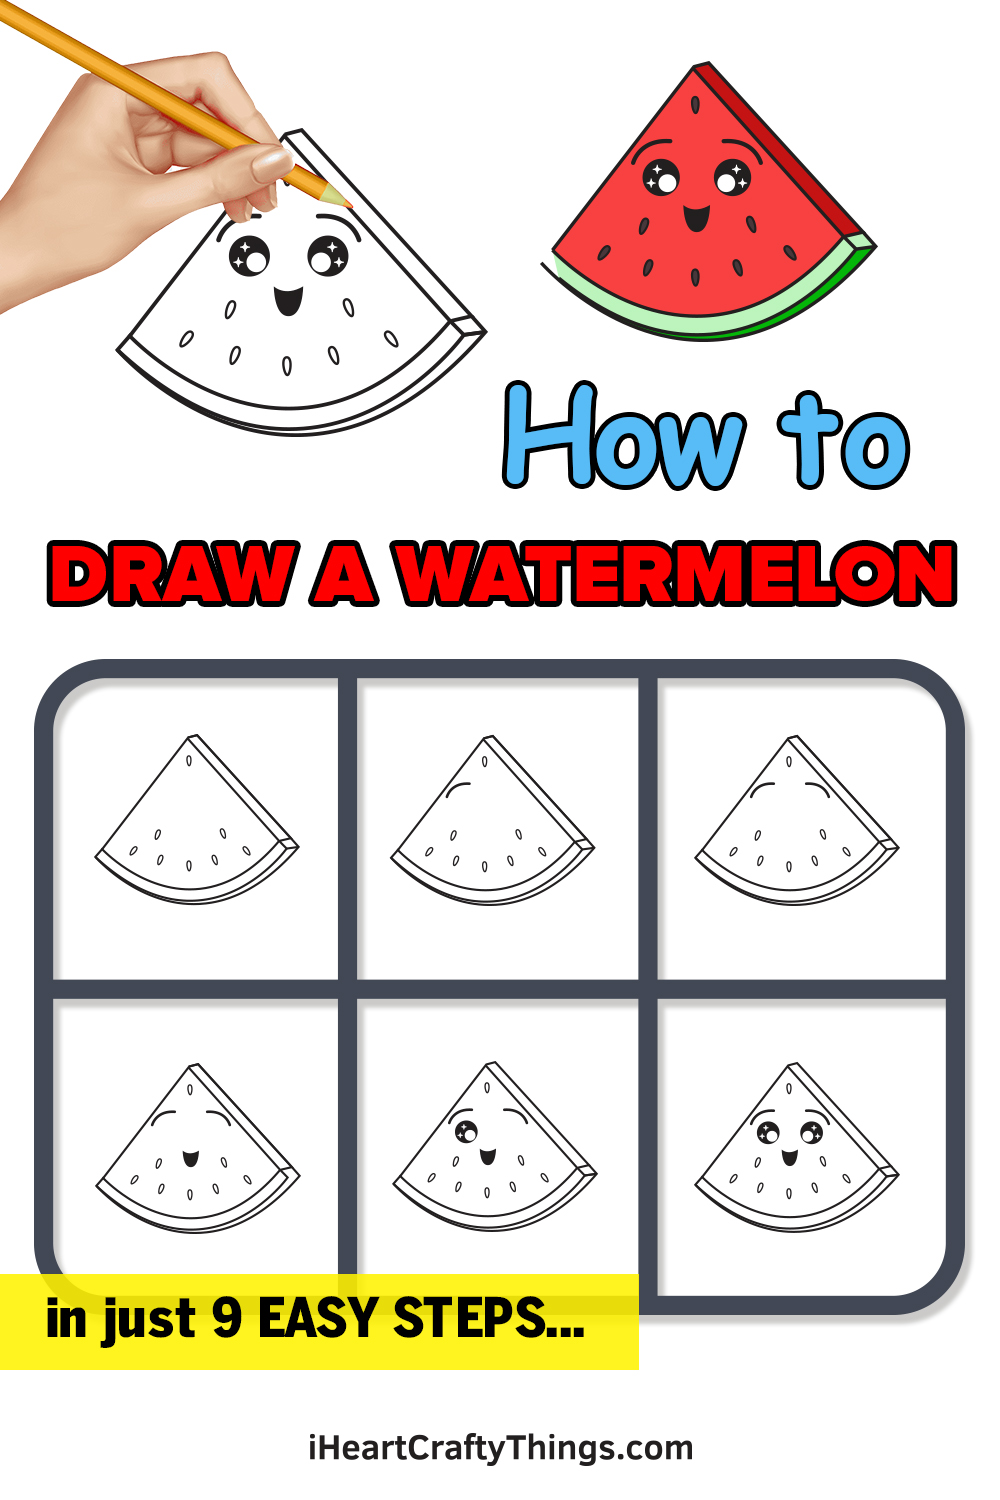
This tutorial will make it easy for kids of all ages to learn how to draw a watermelon. You’ll love the process of recreating this cute cartoon character, so keep reading on.
Watermelons are one of the most refreshing fruits you can enjoy on a hot day. Their flavor is also often used in many kinds of food and treats as it’s just so delicious.
As if that wasn’t enough, they also look beautiful with their green rinds and bright red innards. In this tutorial, we will be seeing the easiest way to make a slice of watermelon.
For extra fun, I added a little face on it that you can enjoy drawing as well! Once you have the hang of it, you could even change the facial expression, create a background or draw other fruit in a similar style.
Let’s begin and see how fun it is!

Watch This Guide On How To Make Your Watermelon Drawing
How to Draw a Watermelon – Let’s get started!
Step 1
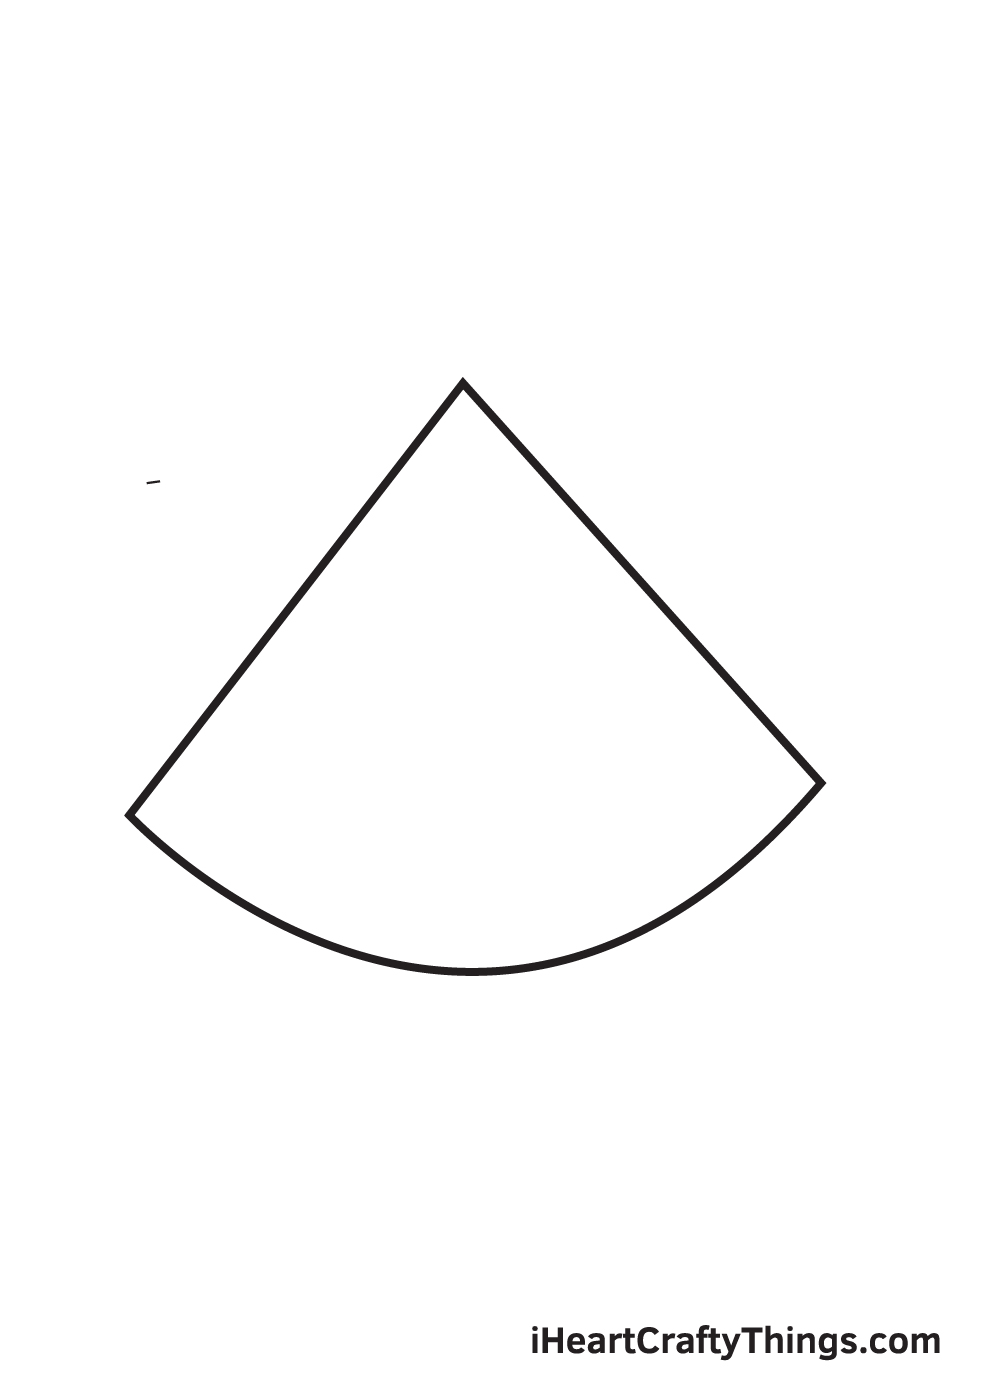
Start by drawing a triangle shape with a round bottom. This forms the outline of the shape of the watermelon.
As you can see in the illustration, the outline of the watermelon is slightly off-center. It is a bit more on the left side, and that’s okay!
This leaves sufficient space for the dimensions of the watermelon, which we’ll be drawing later on.
Step 2 – Create the Shape of the Watermelon
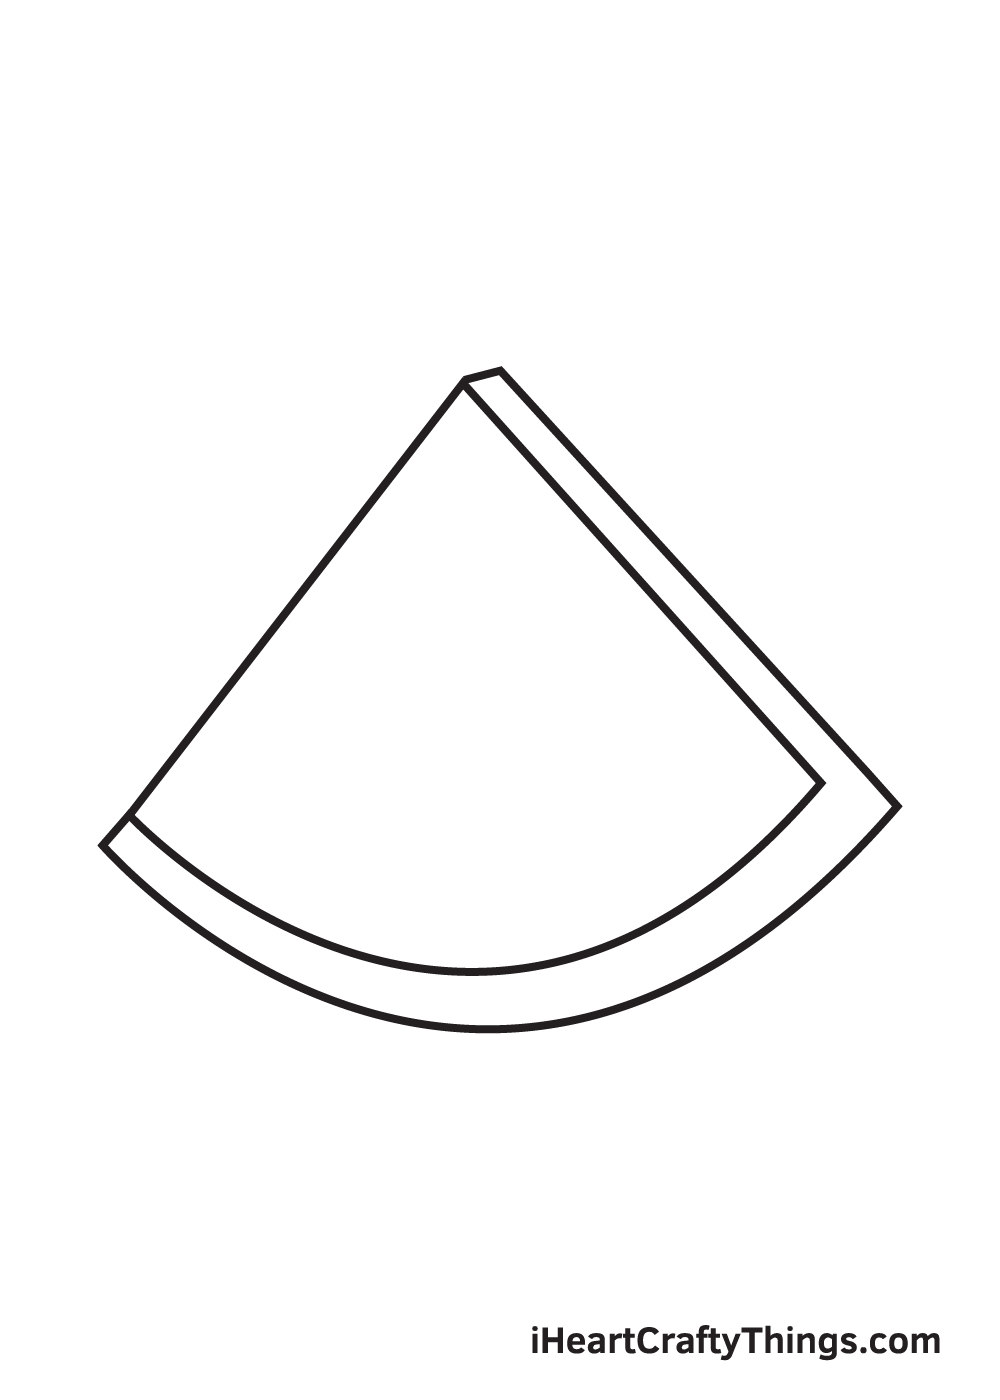
Expand the shape of the watermelon by creating the dimensions on its right side. Simply draw a diagonal line with a curved line at the bottom parallel to the outline that we drew in the previous step.
Keep in mind that only the right side and the bottom part of the outline should have dimensions, leaving out its left side flat.
Step 3 – Add the Dimensions of the Watermelon
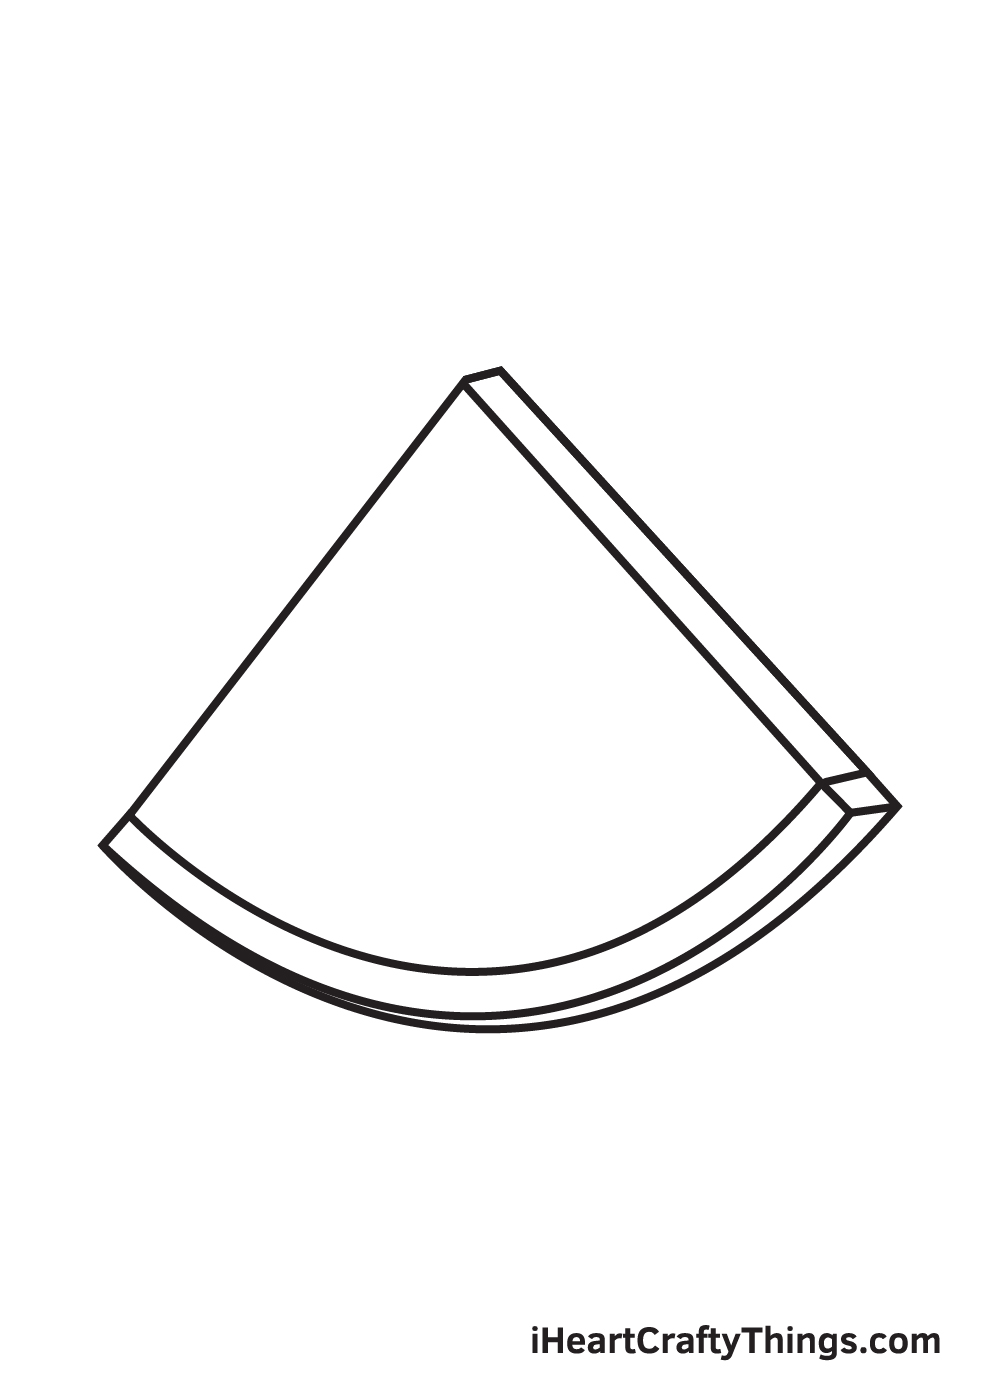
Draw a curve near the edge of the curved line that we drew previously. Don’t forget to add a tilted square shape on the corner on the right side.
This creates the illusion of dimensions, making the watermelon appear 3D and realistic!
Step 4 – Next, Draw the Watermelon’s Seeds
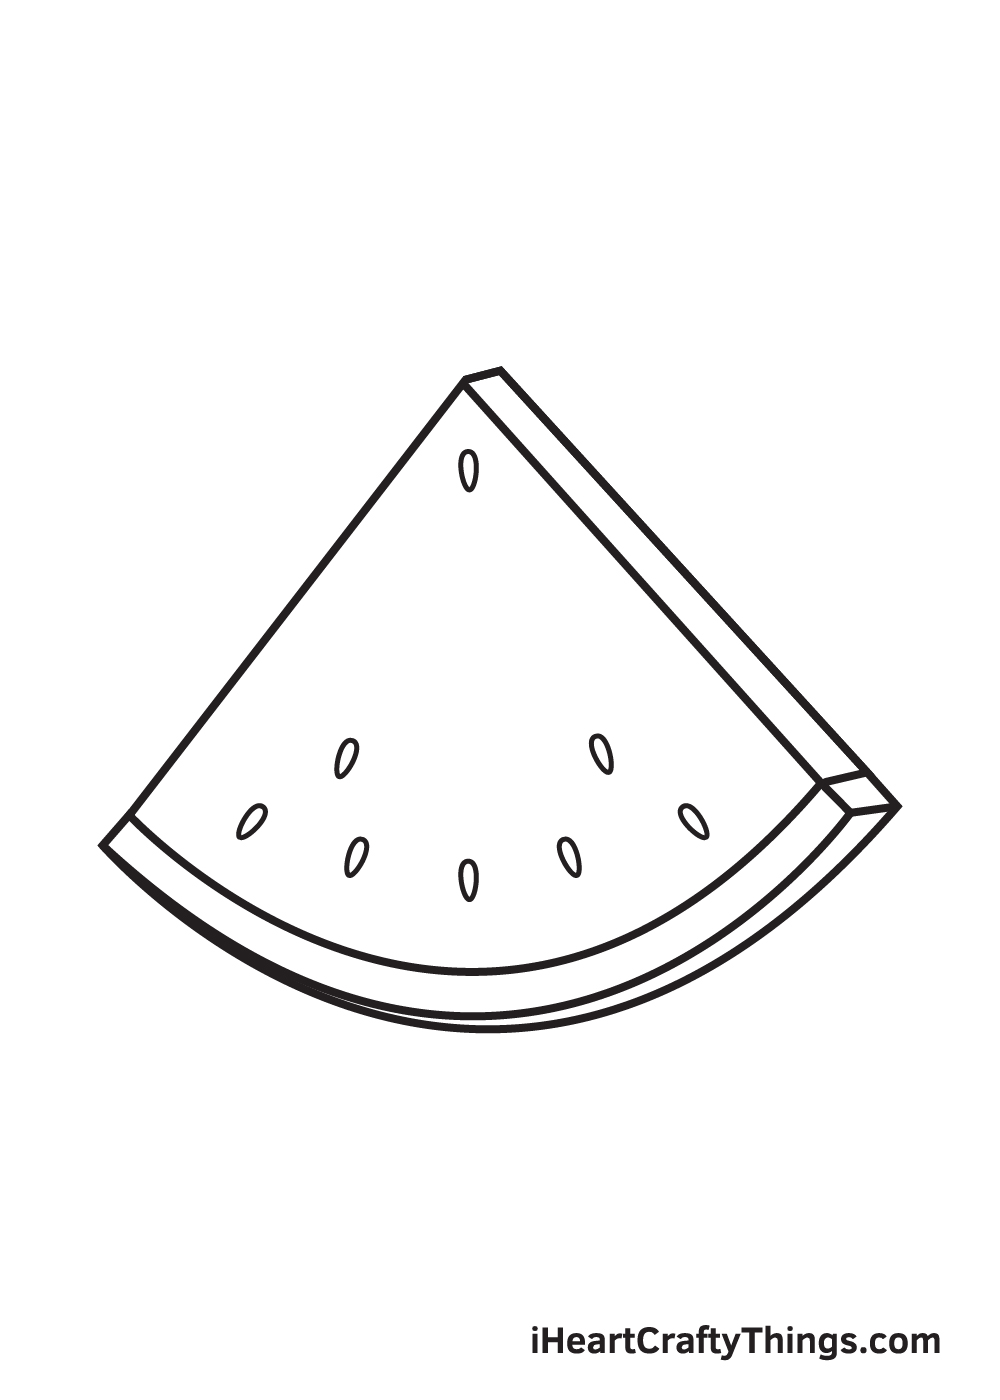
Add the seeds scattered all over the surface of the watermelon. The seeds can be formed by simply drawing a tiny standing oval shape with a pointed bottom edge.
Keep drawing the same shape on the watermelon until you reach the desired amount of seeds. That means, you can make as many—or as few—seeds as you want!
Make sure to leave out enough space in the middle for the watermelon’s facial features, which we’ll be drawing in the following steps.
Step 5 – Afterwards, Draw the Left Eyebrow
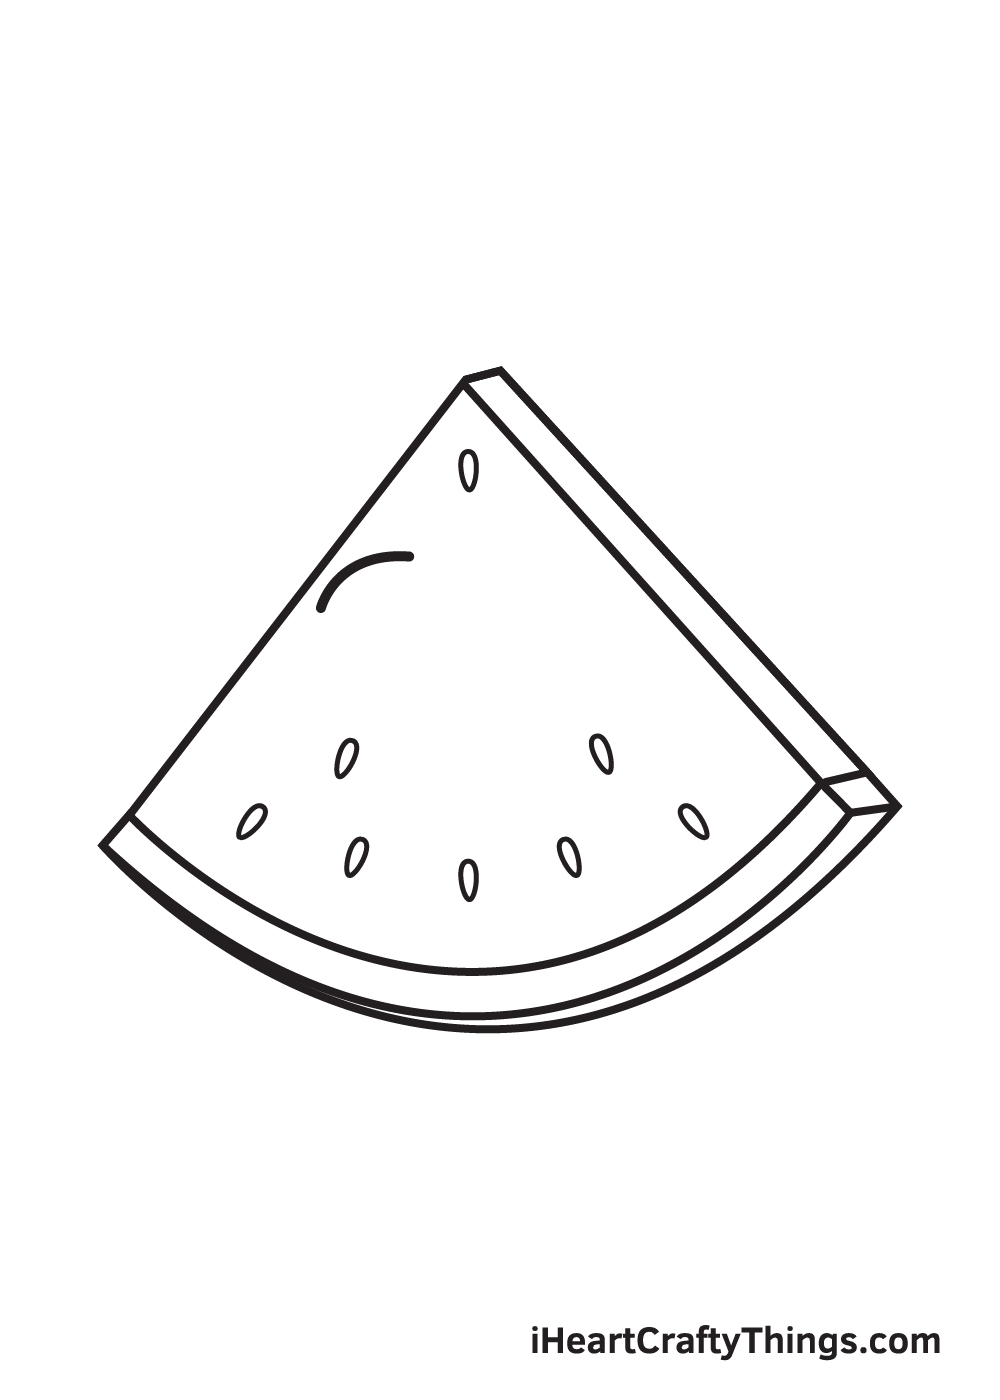
Draw a curved line on the left side of the middle part of the watermelon.
This forms the arched left eyebrow.
Step 6 – Complete the Watermelon’s Eyebrows
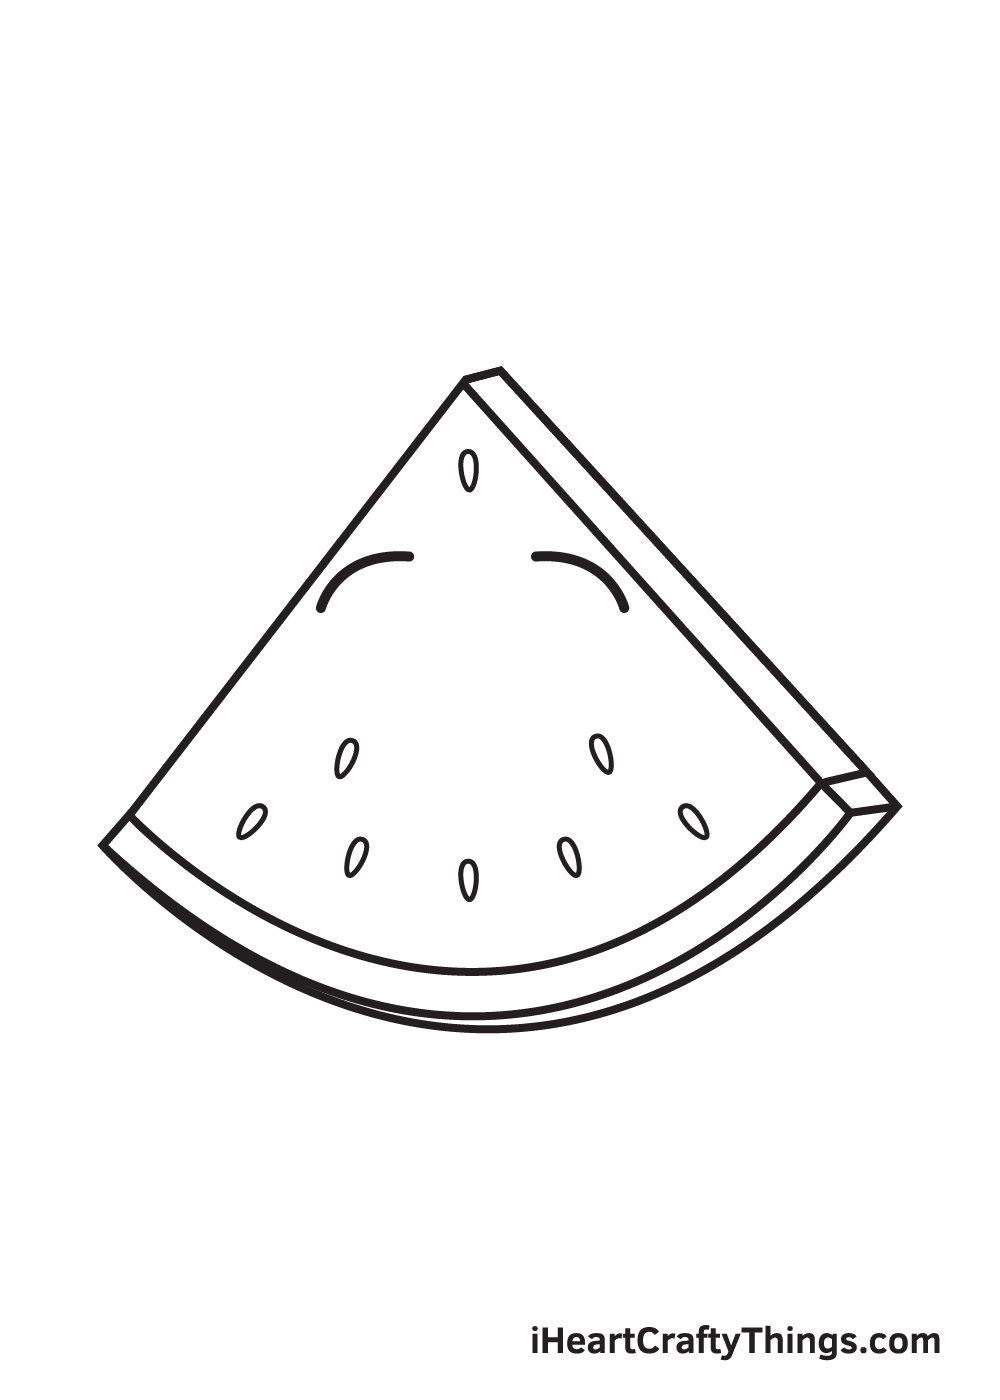
Repeat the previous step on the opposite side of the watermelon’s “face”. This creates the right eyebrow of the watermelon, thus completing its pair or arched eyebrows.
Try to make the eyebrows as uniform and aligned as possible.
Step 7 – Put a Wide Smile on the Watermelon
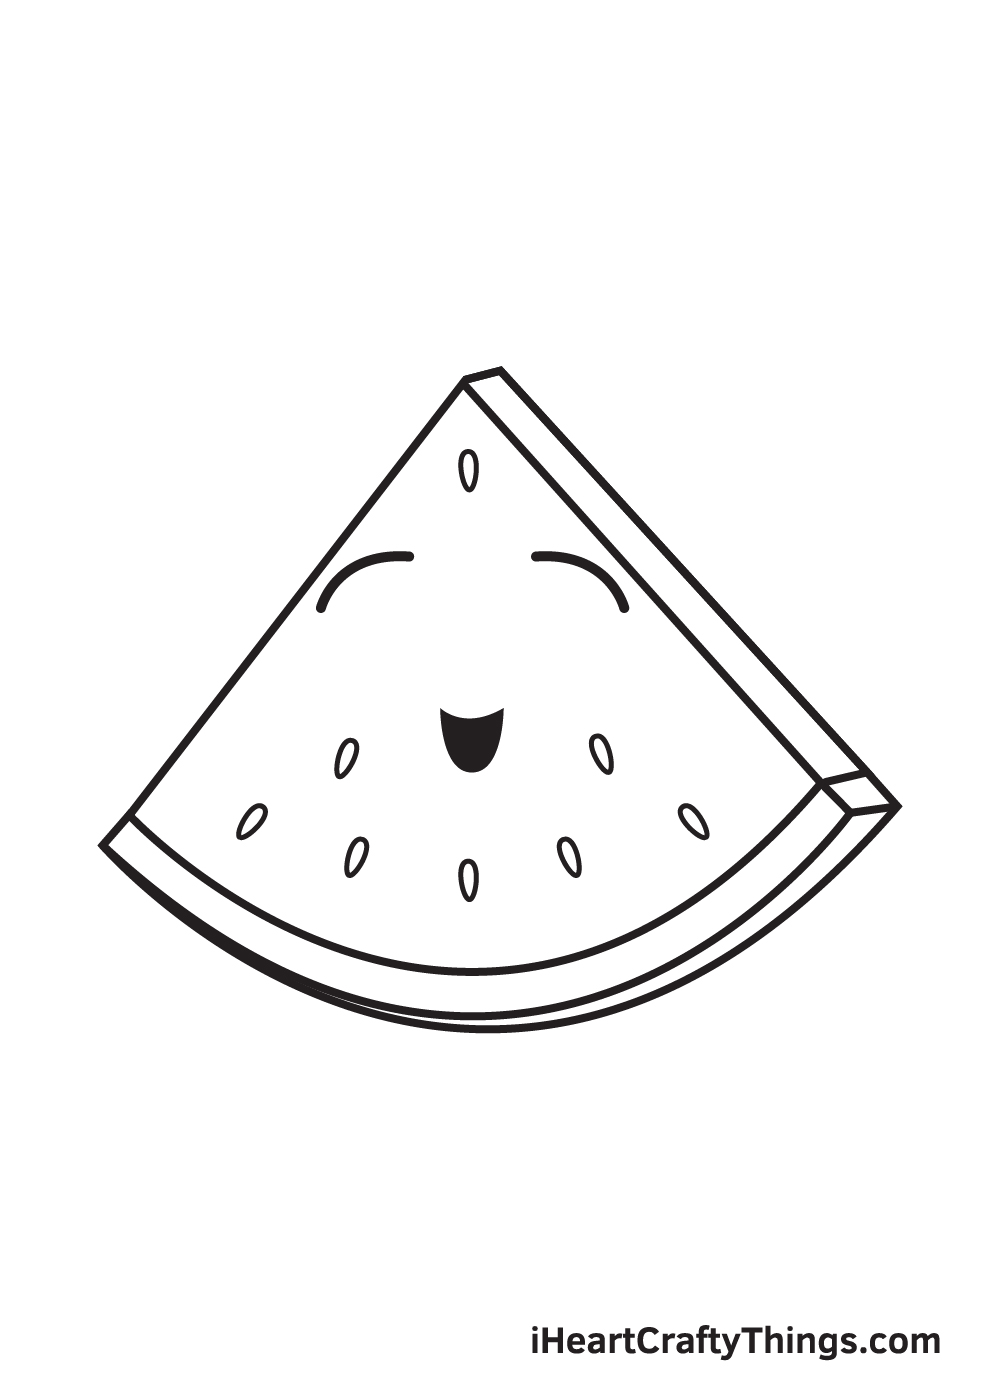
Draw a U-shaped curve at the bottom of the watermelon’s “face”. Then, draw a slightly curved line right above the U-shaped curve we drew just now.
This closes off the figure and finalizes the huge grin of the watermelon.
At this point, the watermelon in your drawing should now look extremely happy!
Step 8 – Next, Draw the Watermelon’s Left Eye
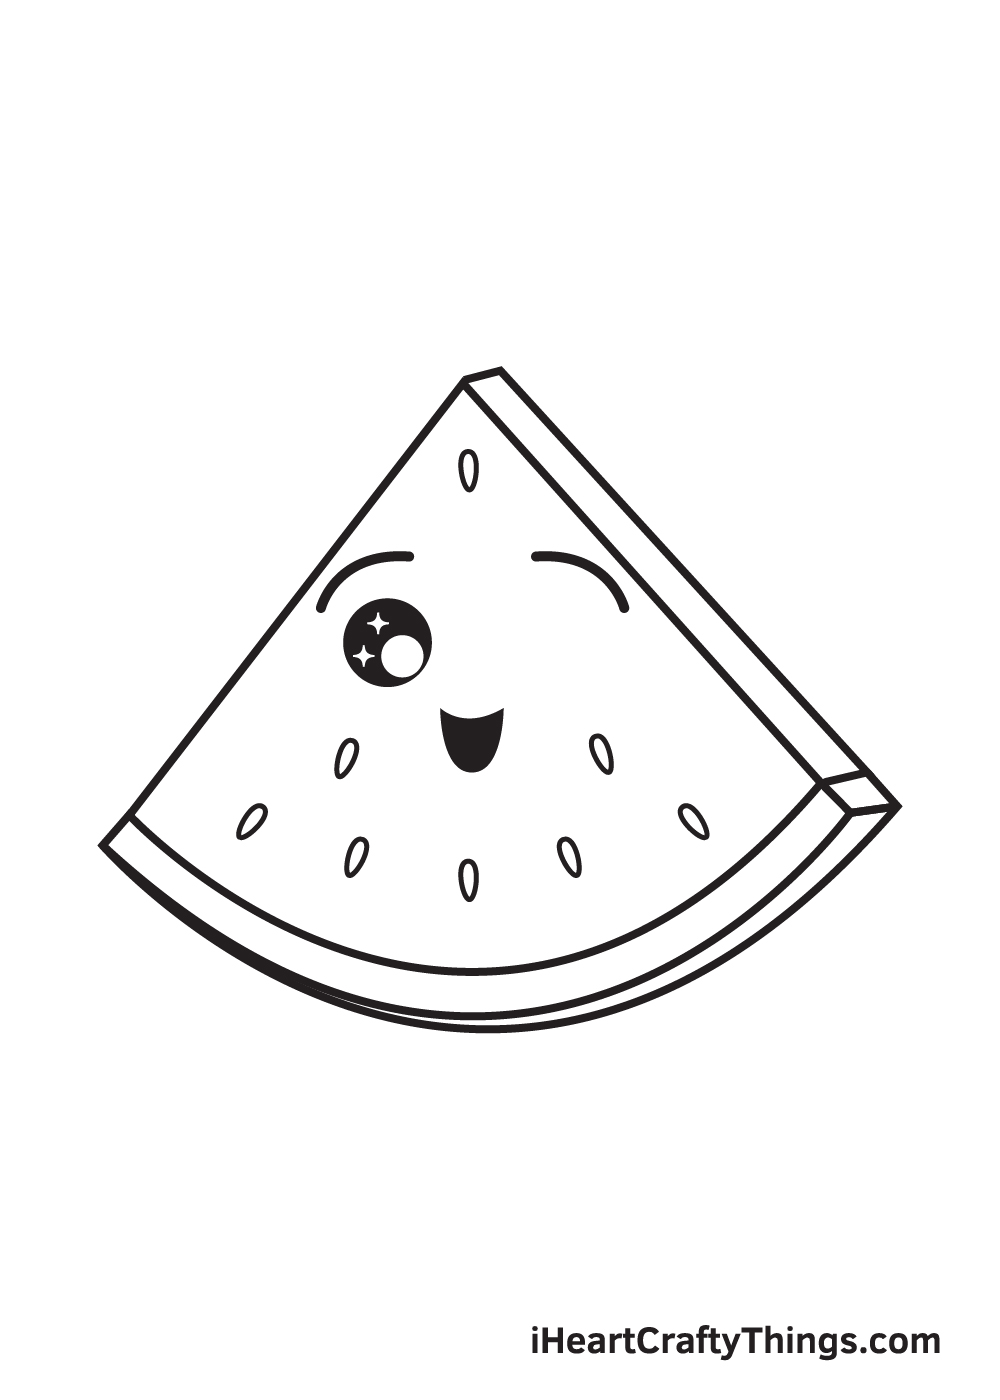
Draw a perfect circle shape right underneath the left eyebrow. This outlines the left eye of the watermelon.
Then, draw a small circle and two diamond or star shapes within the eye. Afterwards, shade the entire eye while leaving out the figures inside unshaded.
This creates a dramatic “sparkling eyes” effect, making the watermelon look even more adorable!
Step 9 – Finalize the Watermelon’s Both Eyes
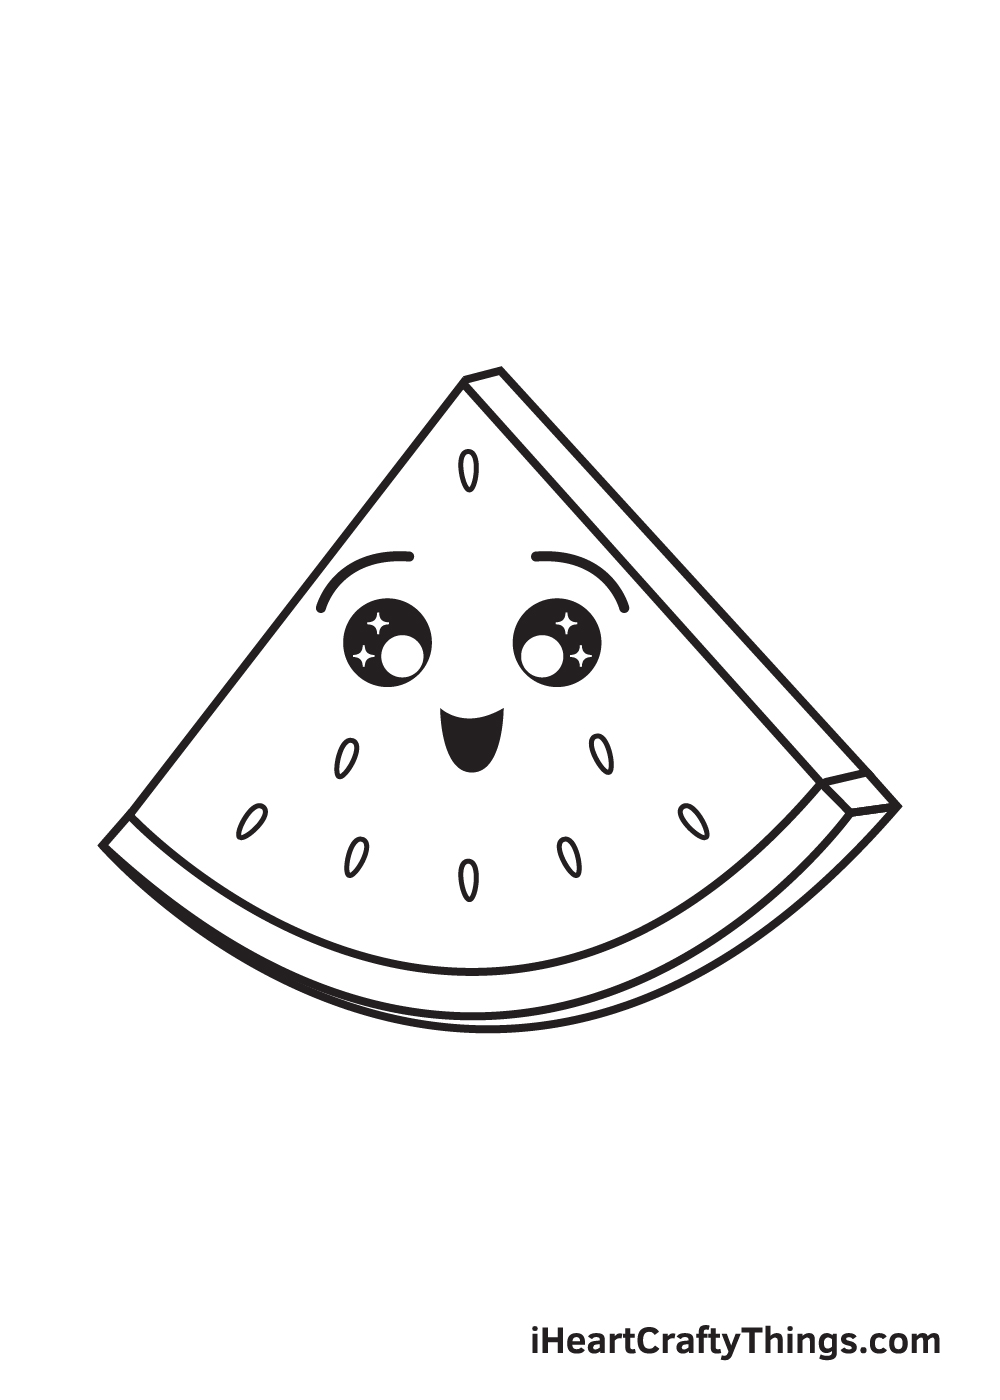
Repeat the previous step underneath the opposite eyebrow to create the right eye. After finishing this step, both the left and the right eye of the watermelon should now be complete!
And there you have it—an adorable, happy-looking piece of watermelon! All it’s missing is a splash of colors to make it colorful! Imagine how beautiful this artwork would be with vibrant colors!
Now that we’ve successfully drawn a watermelon, it’s finally time for the most exciting part, which is coloring the drawing!
Take this opportunity to showcase your artistic skills, especially your ability to mix and match various colors!
As we all know, watermelons have dark green rind and pink flesh on the inside. You can opt to color the watermelon exactly how they look like or use a unique set of colors!
We recommend doing the latter so you can further customize your artwork and make it vibrant!
Enjoy playing with colors and watch as the watermelon ultimately comes to life!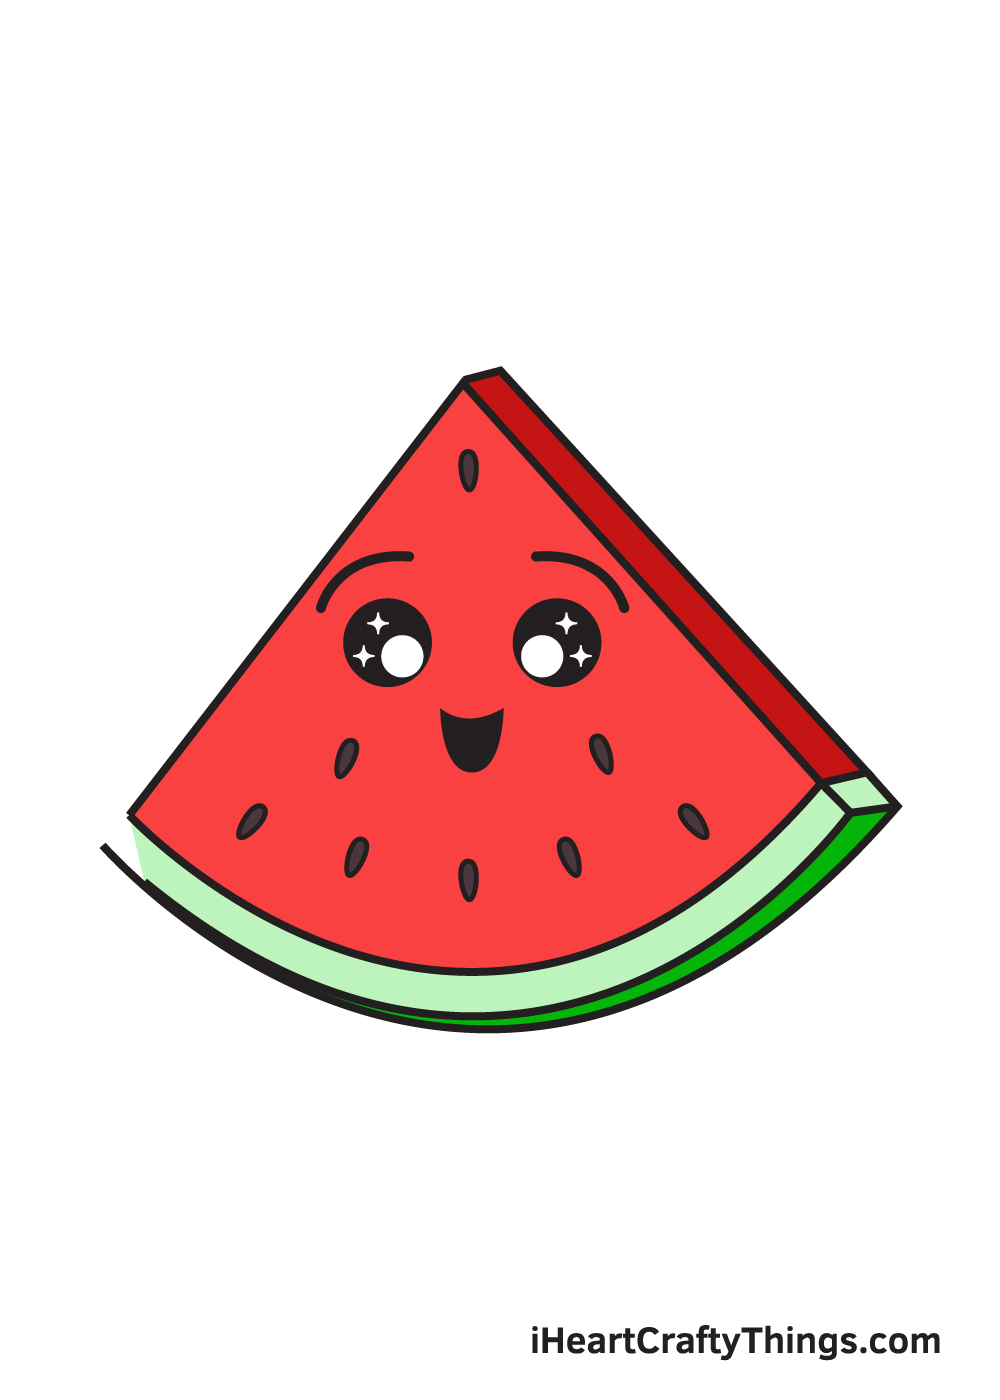
Try Out Some Fun Art Tools And Mediums To Color This Watermelon
We love the colors that were used for this watermelon drawing, and something that is cool about this drawing is that you could get away with either bright or subdued colors.
Which approach you choose is up to you, but what mediums and art tools could be used to achieve either approach? This can be discovered through experimenting, but we wanted to get you started with some ideas.
Let’s say that you wish to make the colors bright and vibrant, there are many different mediums that would do the job. If you want to use paint, then acrylic paint would be a good mix between being easy to use and still bright.
Colored pens and markers can be brilliant for this as well, as you can get some bright, almost neon shades from the colors. Using some crafts like stickers or craft paper can also help to bring out the colors.
Those are a few ways to make the colors bright, but what about a more subdued approach? You could make the colors much milder by using watercolor paints.
These paints can take a bit of getting used to, but they’re brilliant for softer colors. Just remember that you should be using a lot of water with these paints to get the full effect.
If that’s not working for you, then you may want to rather try some colored pencils, as these also have a milder effect on the colors. Using mostly light colors and then adding highlights with brighter mediums can also look great.
You can also experiment on a spare piece of paper in order to get a feel for what the colors will look like before applying them to the final image.
4 More Ways To Make Your Watermelon Drawing Unique
Create some juicy artwork as we make your watermelon sketch even more incredible!
We made such a cute cartoon version of this fruit for the watermelon drawing we created together.
One way you could make the drawing look even more unique would be by going with a different style.
There are quite a few ways that you could do this! For instance, maybe you would like to make the watermelon look more realistic.
You could use some photos of real watermelons to help you get the details right.
You could also make it look even more cartoony and stylized if you like, as it all depends on your preference.
No matter what type of style you choose for this drawing of a watermelon, you could also create a background to match.
It would be advisable to match the style of the background to the watermelon, but it doesn’t have to.
Once you know what style you would like for the background, you can then have fun choosing what kind of setting you would like to create! What are some background ideas you have for this picture?
On a hot day, watermelon is the perfect juicy treat to enjoy. You will often have other tasty treats alongside it, and you could show what you would like to enjoy with this watermelon!
This could include cold beverages or other fruit you could have alongside it. This is the perfect chance for you to show us what your ideal Summer setup would be as you try to stay cool.
The colors we used for this watermelon sketch are bright and vibrant, and it looks amazing! You may want to use this look for your own watermelon, but don’t be afraid to use others.
The colors you choose don’t have to be realistic, and you could create a cool and stylistic take on the design.
The colors you choose are just a part of it, as you can also have fun with the art tools and mediums you go for.
Your Watermelon Drawing is Complete!
Hopefully, you have fun drawing a watermelon with this step-by-step drawing tutorial.
What kind of fruit would you like to learn how to draw next? Let us know and we’ll do our best to create a drawing tutorial for it!
All of our drawing tutorials are 100% free for you to use during your drawing activities.
We are uploading new content on our “How to Draw” catalog regularly, so remember to keep checking back to continuously enjoy brand-new drawing tutorials.
As soon as you finish drawing and coloring the watermelon, don’t forget to take a picture of your artwork!
You must be proud of yourself for finishing such a masterpiece, so make sure to share it on our Facebook page and Pinterest!
We’re excited to see your delightful watermelon drawing!
Here Is A Watermelon Drawing To Inspire You!
Is there any fruit more refreshing than a watermelon? On a hot day, a watermelon is always the perfect snack to enjoy because of this.
This watermelon drawing for kids was done by our artist Amanda to help you with your own drawing. You can see that she turned this iconic fruit into a cute cartoon character.
She did this by giving it a simple yet adorable face, and this can be customized and changed easily. Doing so would allow you to really be creative and make your own character.
It could also be fun to keep the design as is though! If you do that, then maybe you could also add some background elements and add some more cartoon characters as well.
What are some other fruits and foods you could reimagine in a similar cartoon style to this watermelon?