Norse mythology contains some of the most epic and incredible stories ever created.
Passed down from generation to generation, this belief system contained many incredible gods and mortals performing amazing feats.
Perhaps the most famous is the god of thunder, Thor.
Wielding his famous hammer, named Mjölnir, he took part in many stories and has since seen a resurgence thanks to his Marvel comic appearances.
It can be a lot of fun to learn how to draw Thor’s hammer, as it is possibly the most recognizable aspect to him.
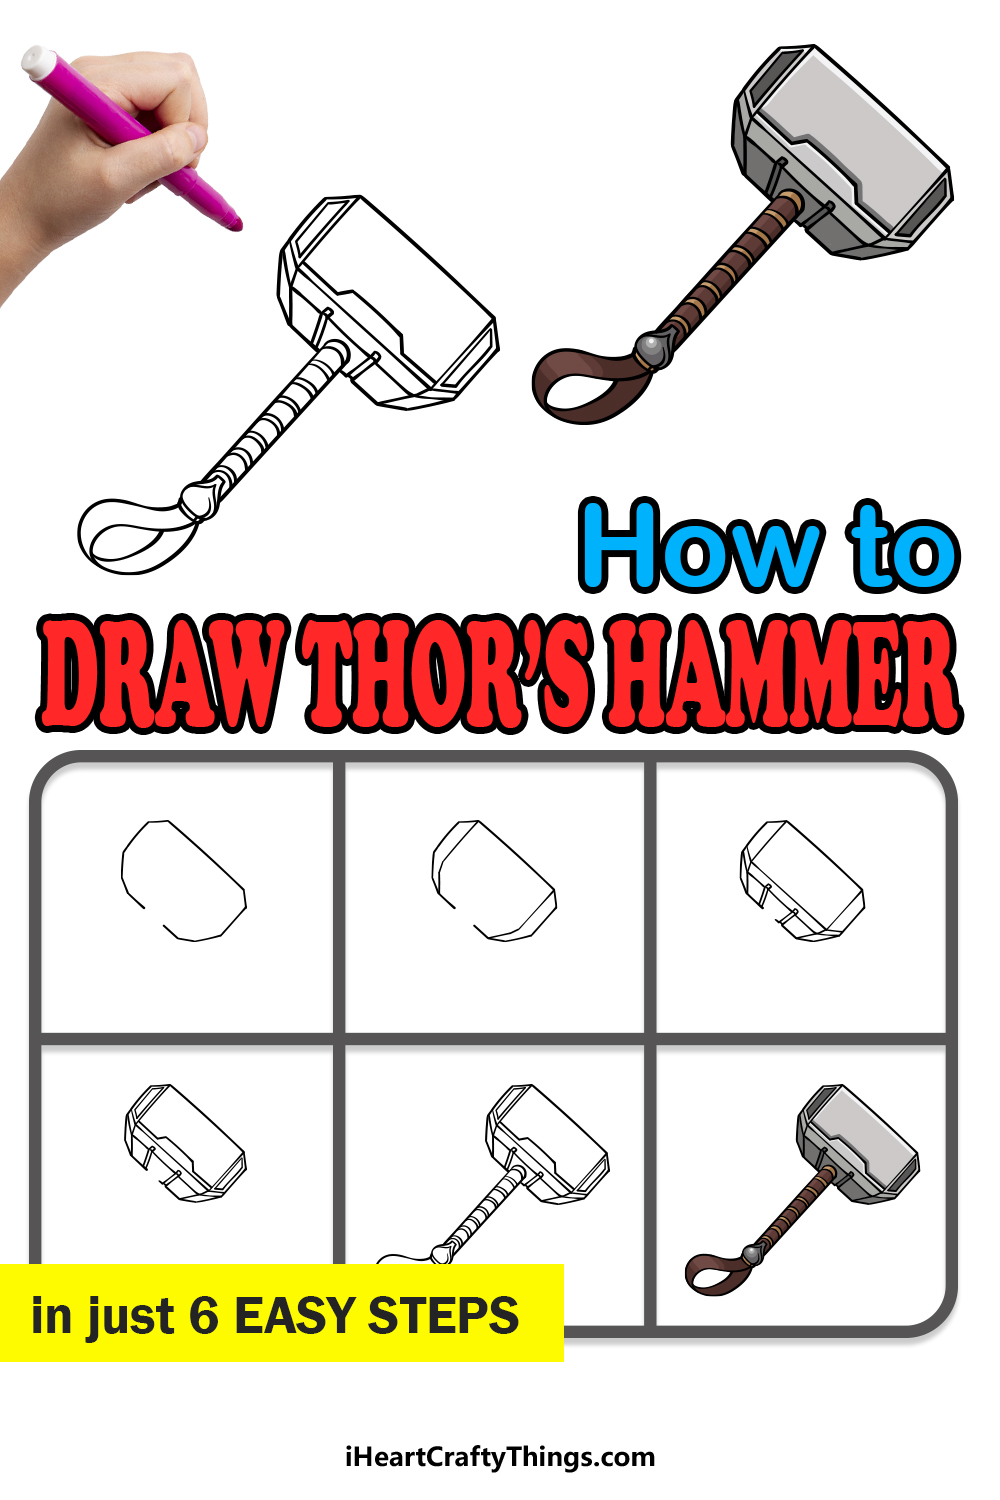
If you want to know how to recreate this famous weapon, you’re in the right place!
Our step-by-step guide on how to draw Thor’s hammer will show you how it can be done in no time.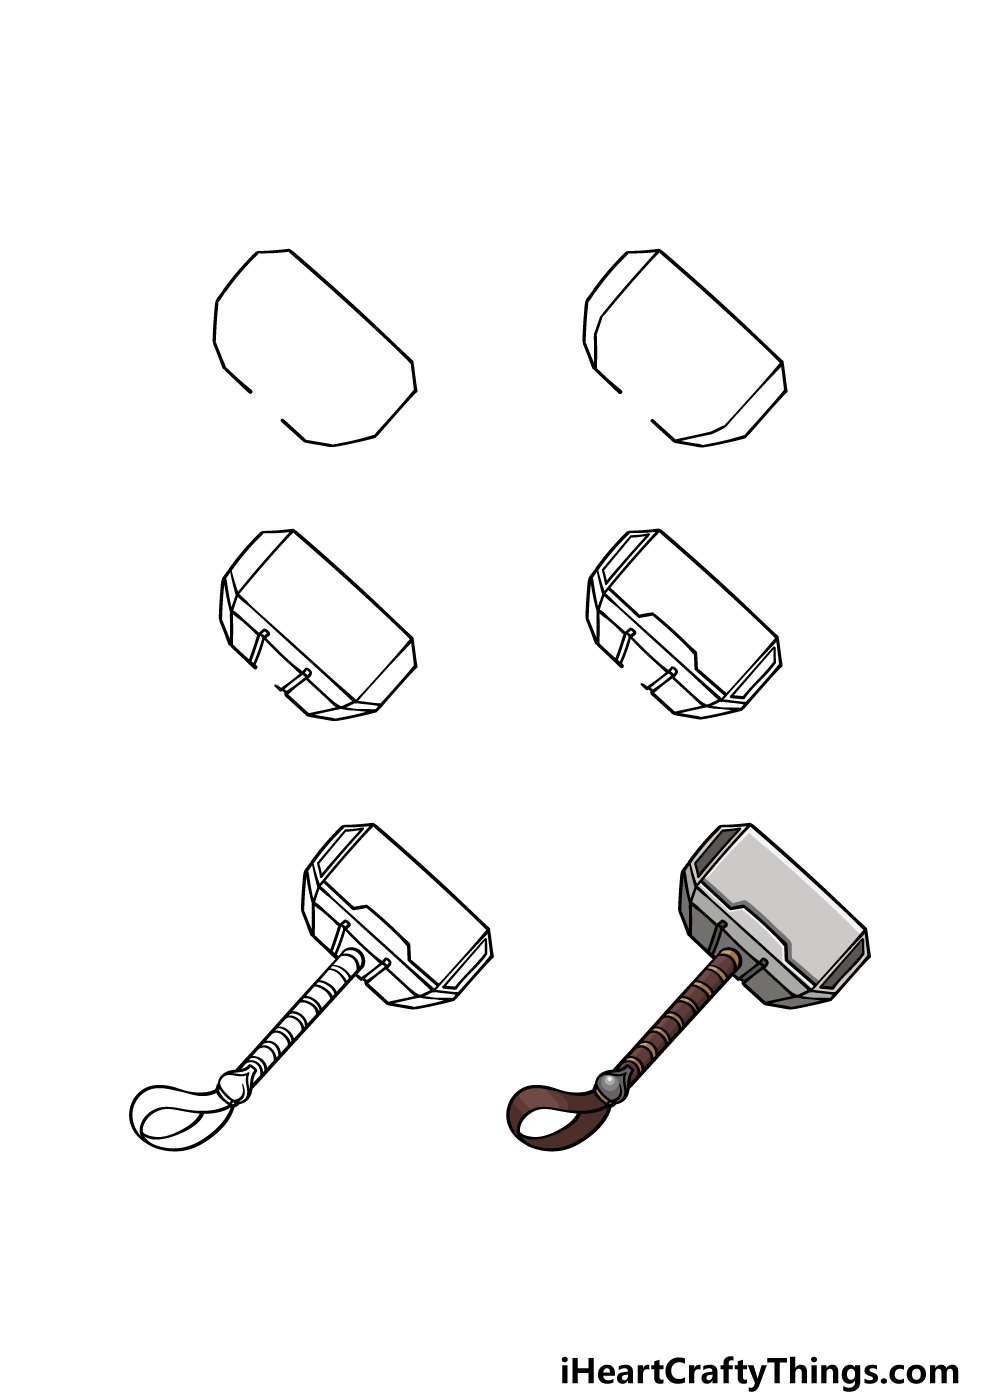
How to Draw Thor’s Hammer – Let’s Get Started!
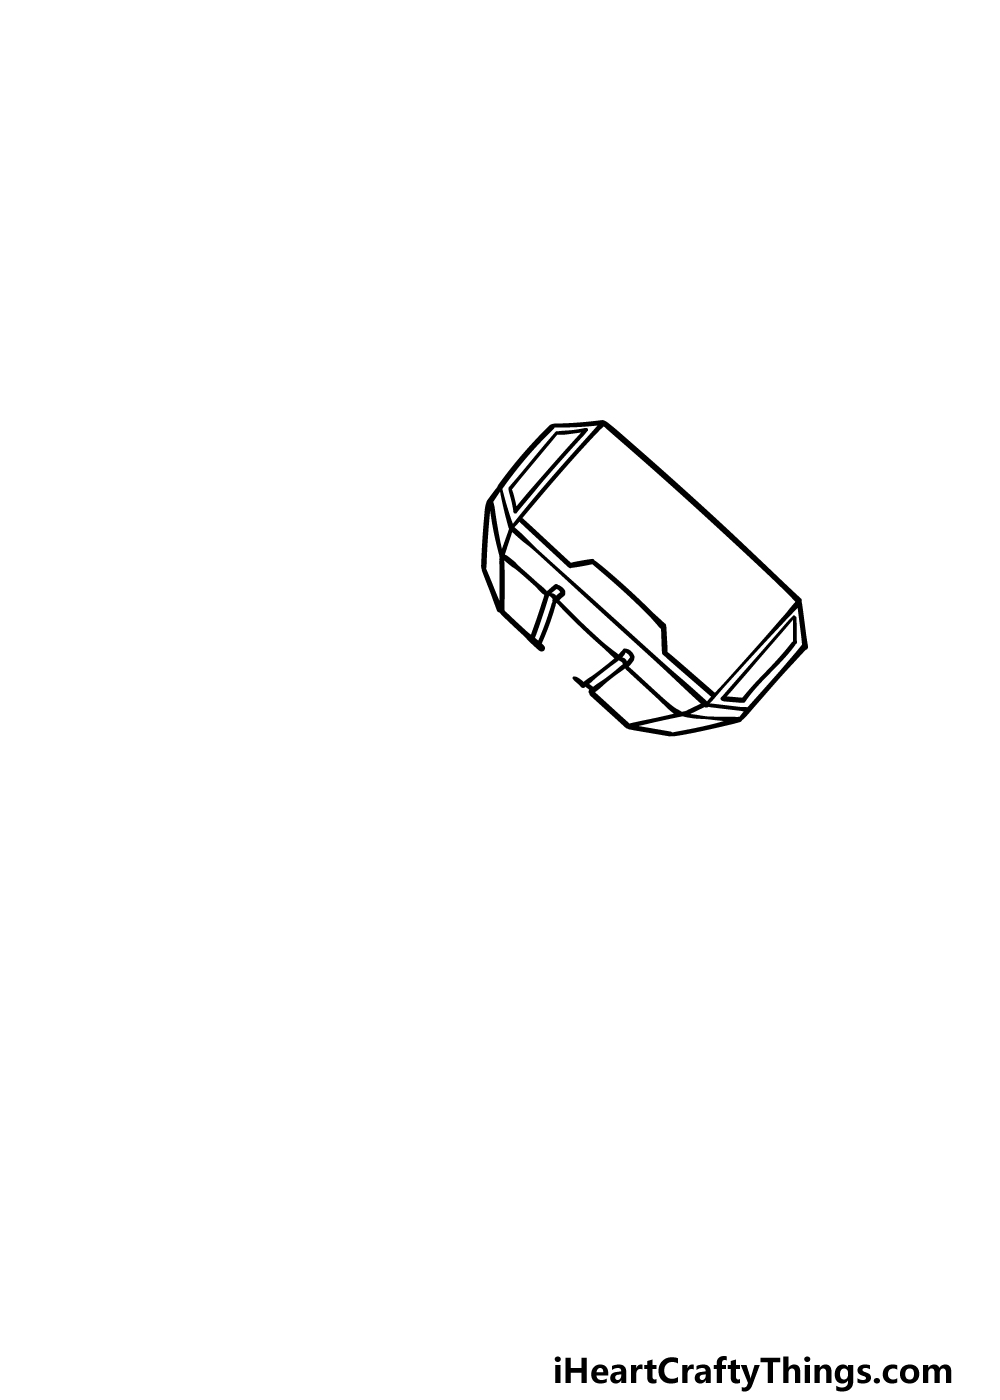
Step 1
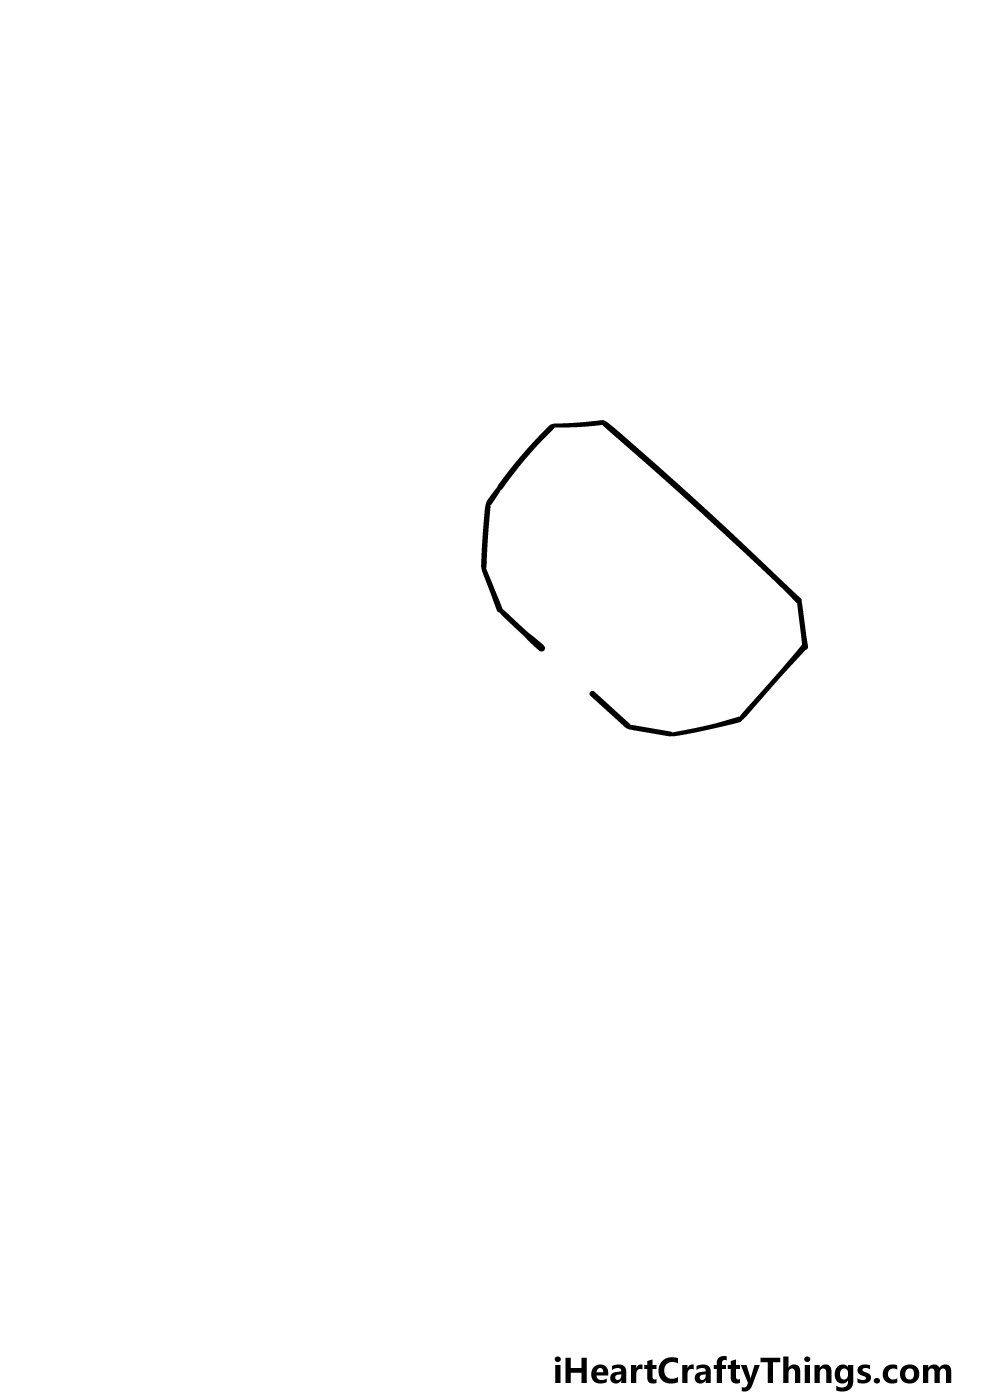
To kick off this guide on how to draw Thor’s hammer, we shall start with the outline for the head of the hammer.
This part of the weapon will be quite angular, and in order to achieve this look we will be using multiple straight lines to draw the edges of the outline.
You may want to use a ruler for this guide, as it will help the outline to look more angular. With that in mind, use a long line for the very top of the hammer.
Then, refer closely to the reference image as you draw some more straight lines for the sides of the hammer.
It will round off to the base of the hammer, but you should be sure to leave a small gap at the base. This is where we will add the handle of the hammer in a future step.
Step 2 – Now, draw some details for the hammer

For this Thor’s hammer drawing, we will be trying to give it some depth by adding multiple surfaces onto the hammer.
We shall start drawing some of these surfaces in this step. These next detail lines will be drawn on the sides of the hammer.
By drawing these lines, you will be showing how the edges of the hammer slope into the sides.
Then you will be ready to add some more angles onto the surface of the hammer, so when you’re ready we can proceed to the next step!
Step 3 – Next, draw some details for the base of the hammer
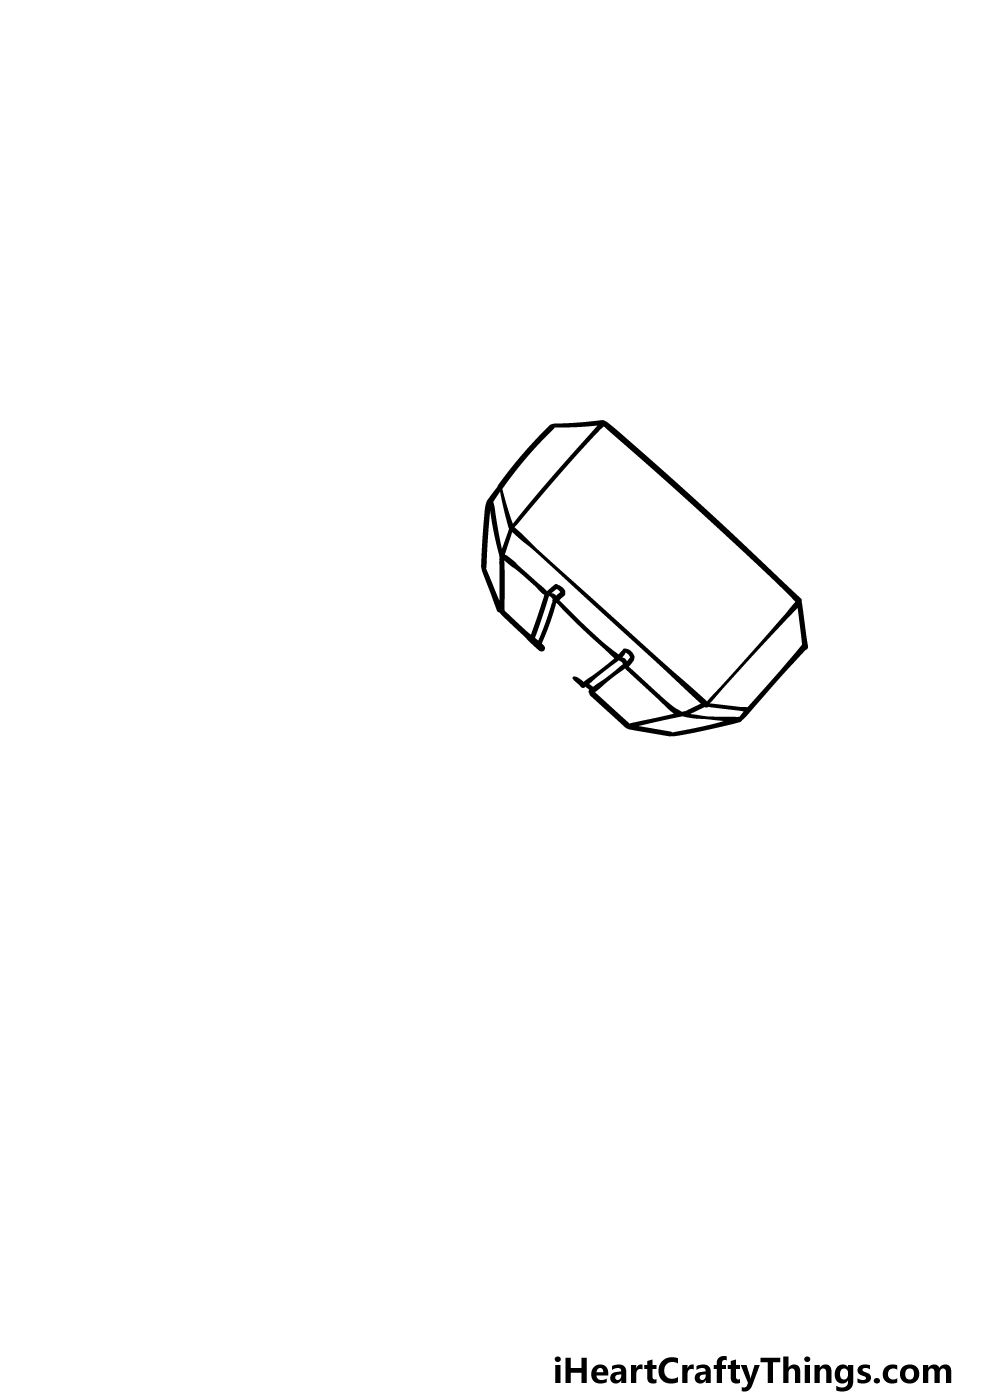
Because of the angle that the hammer is sitting at, we will be able to see the bottom edge of it. That is the part that we will be drawing in this step of our guide on how to draw Thor’s hammer.
Start by drawing some more straight lines across the body of the hammer. Then, we shall draw some thin shapes to the bottom for some grooves on the base of the hammer.
Try your best to add the lines that we depict in our reference image, and then we can continue to step 4!
Step 4 – Now, draw the final details for the head of the hammer
You will be drawing the handle of your Thor’s hammer drawing soon, but first we have some final details to add in this step.
Draw some more angular lines across the head near the base to get started with these details.
Once those lines are drawn, we shall then be adding some angular shapes into each of the sections at the far ends of the hammer.
That’s all there is to it in this step, and in the next one we shall be adding some final details and elements.
Step 5 – Add the final details to your Thor’s hammer drawing
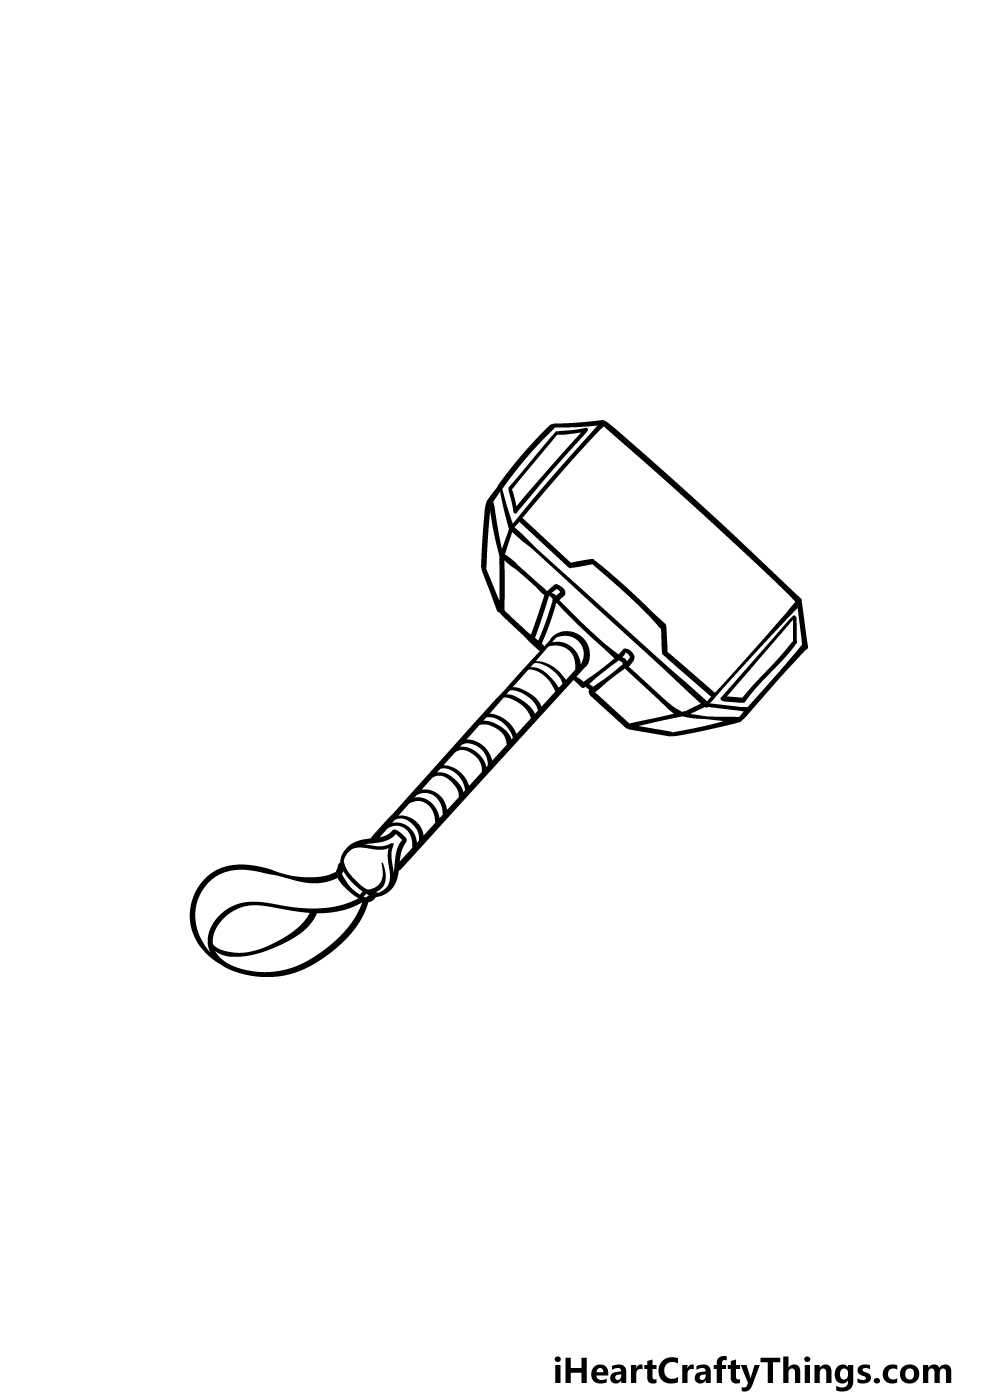
You’re almost ready to start coloring your artwork in, but first we have a few final details to add in this fifth step of our guide on how to draw Thor’s hammer.
This weapon would be difficult to wield without a handle, so we had better add one now! The outline of the handle can be drawn with some straight lines.
It will end in a rounded portion, and then you can use some curved lines for the strap of the handle.
Finally, finish off this handly by drawing some lines across it to make it look as if it is bound in leather.
Once this handle is drawn, you will be ready to color it in! Before you move on to the final step, you can also add some details of your own.
Perhaps you could even draw Thor holding the hammer, or maybe it could be hanging at his belt.
How will you finish off this drawing?
Step 6 – Finish off your Thor’s hammer drawing with color
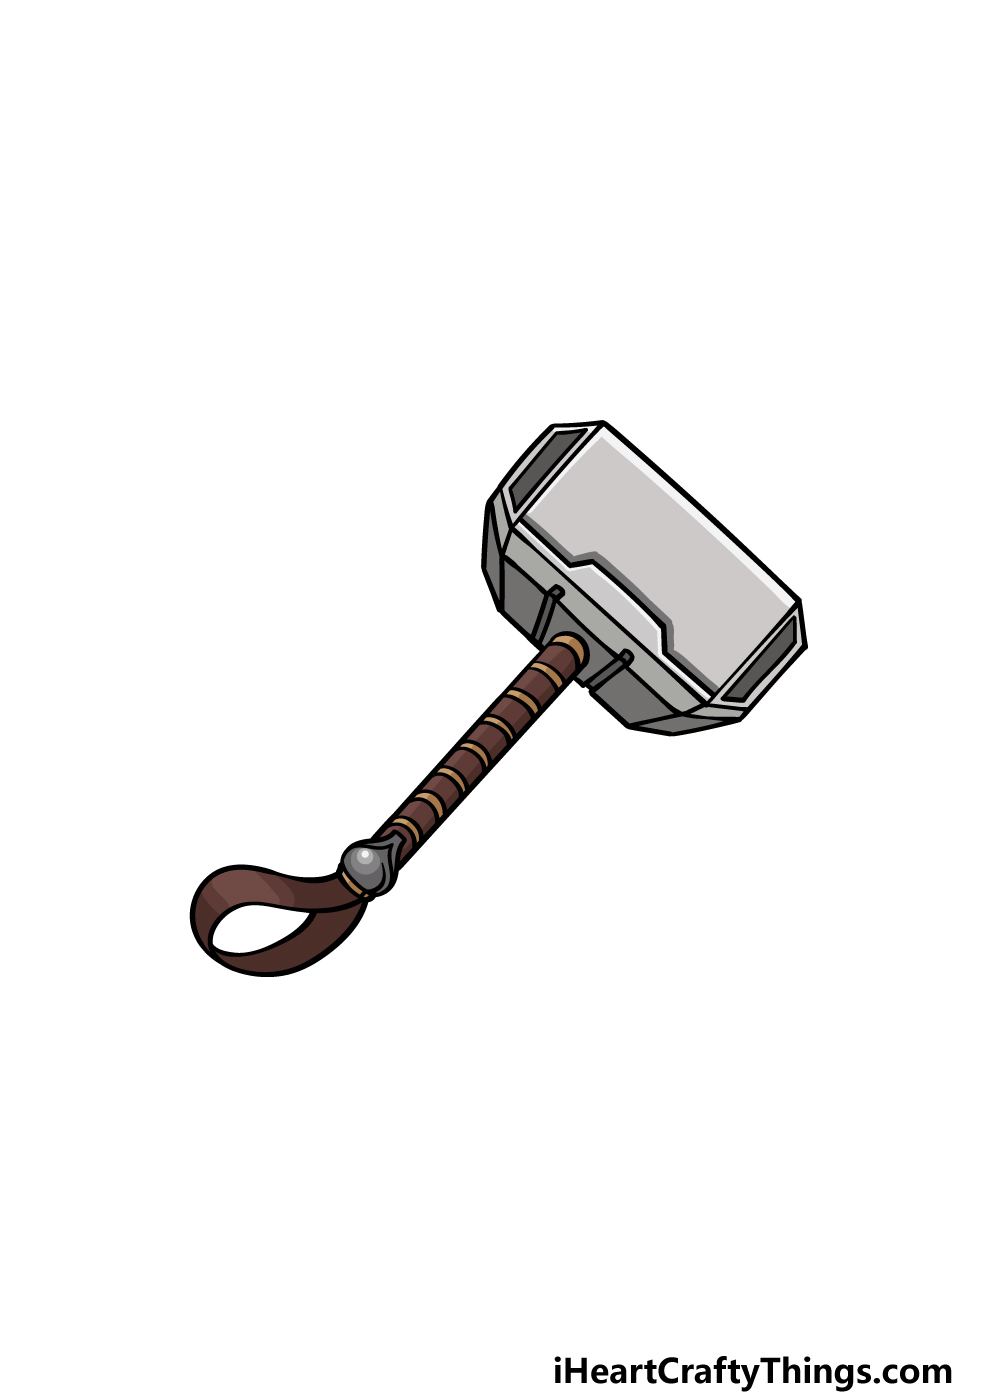
This is the final step of your Thor’s hammer drawing, and in it we shall finish off with some color.
In our reference image, we created a metallic look for the head of the hammer by using some shades of grey. For the handle, we used brown alternating with gold to give it a more ornate look.
You could use these colors if you like the look of our image, but feel free to use your own as well.
The hammer is often seen conducting thunder, so maybe you could color some lightning bolts behind it!
There are also loads of great art mediums that you could use.
Watercolors and colored pencils would be good for muted colors, whereas acrylic paints and colored markers would be best for brighter colors. What will you use to finish it off?
5 Tips To Make Your Thor’s Hammer Drawing Even Better!
Bring some electricity to your Thor’s hammer sketch with these 5 tips to try!
This drawing of Thor’s hammer looks like the version that is used in Thor’s various Marvel film appearances. When you have finished this drawing, you could try to draw it in different styles.
It could be drawn to match other film versions, or maybe a style that was used in a video game or even something based on ancient drawings of the hammer.
You could even create a brand new interpretation of your own!
If you decide to stick with the Marvel interpretation of Thor’s hammer, you could emphasize this by drawing some other weapons and tools used by Thor’s fellow heroes.
This could include Captain America’s shield, Iron Man’s helmet or maybe Hawkeye’s bow and arrow. What other Marvel artifacts could you add for this ensemble?
When going on his many adventures, Thor would have more than just his hammer ready to go. You could show this by adding some other things Thor would want to have to aid him.
This could include some armor, a helmet or some other weapons. There are some fun ways that you could arrange these additional items, so have fun getting creative with it!
One of the best ways to make this Thor’s hammer drawing even better would be by adding the man himself! Thor could be wielding his iconic weapon to make your image even more action-packed.
You could do this by drawing just his arm and hand, or you could draw the whole character.
If you draw him, would you base him on his Marvel film version, one from the comics or maybe for a more classic look?
If you decide to add Thor to your Thor’s hammer sketch, you could make it even more complete by adding a background. This would be a great way to create an adventurous feel for your artwork.
It could show Thor in battle or maybe having a feast in a banquet hall. What are some settings you could create?
Your Thor’s Hammer Drawing is Complete!
You worked hard on this guide on how to draw Thor’s hammer, and you have an incredible picture of this famous weapon to show for it!
We hope that by following this guide that you found it to be fun and easy to recreate this awesome picture.
You can also add some of your own ideas when it comes to extra details, additions and color choices. Have fun with it and let your creativity flow as you finish it off!
Please remember to visit our website, as we have some awesome guides for you to enjoy there. We upload new ones often, so keep checking in!
We would also love to see your finished Thor’s hammer drawing, so please share it on our Facebook and Pinterest pages for us to admire!