In the enormously popular video game Minecraft, there are massive worlds to explore, and the procedural generation the game uses ensures no player will have an identical game world.
You need a character to explore these vast worlds, however, and that’s where Steve from Minecraft comes in.
As one of the playable characters in the game, this unassuming character has been controlled by millions upon millions of players and he has become iconic in his own right.
Learning how to draw Steve from Minecraft is a great way to show off your love of the game!
Any fans of this incredible game won’t want to miss this tutorial we have prepared.
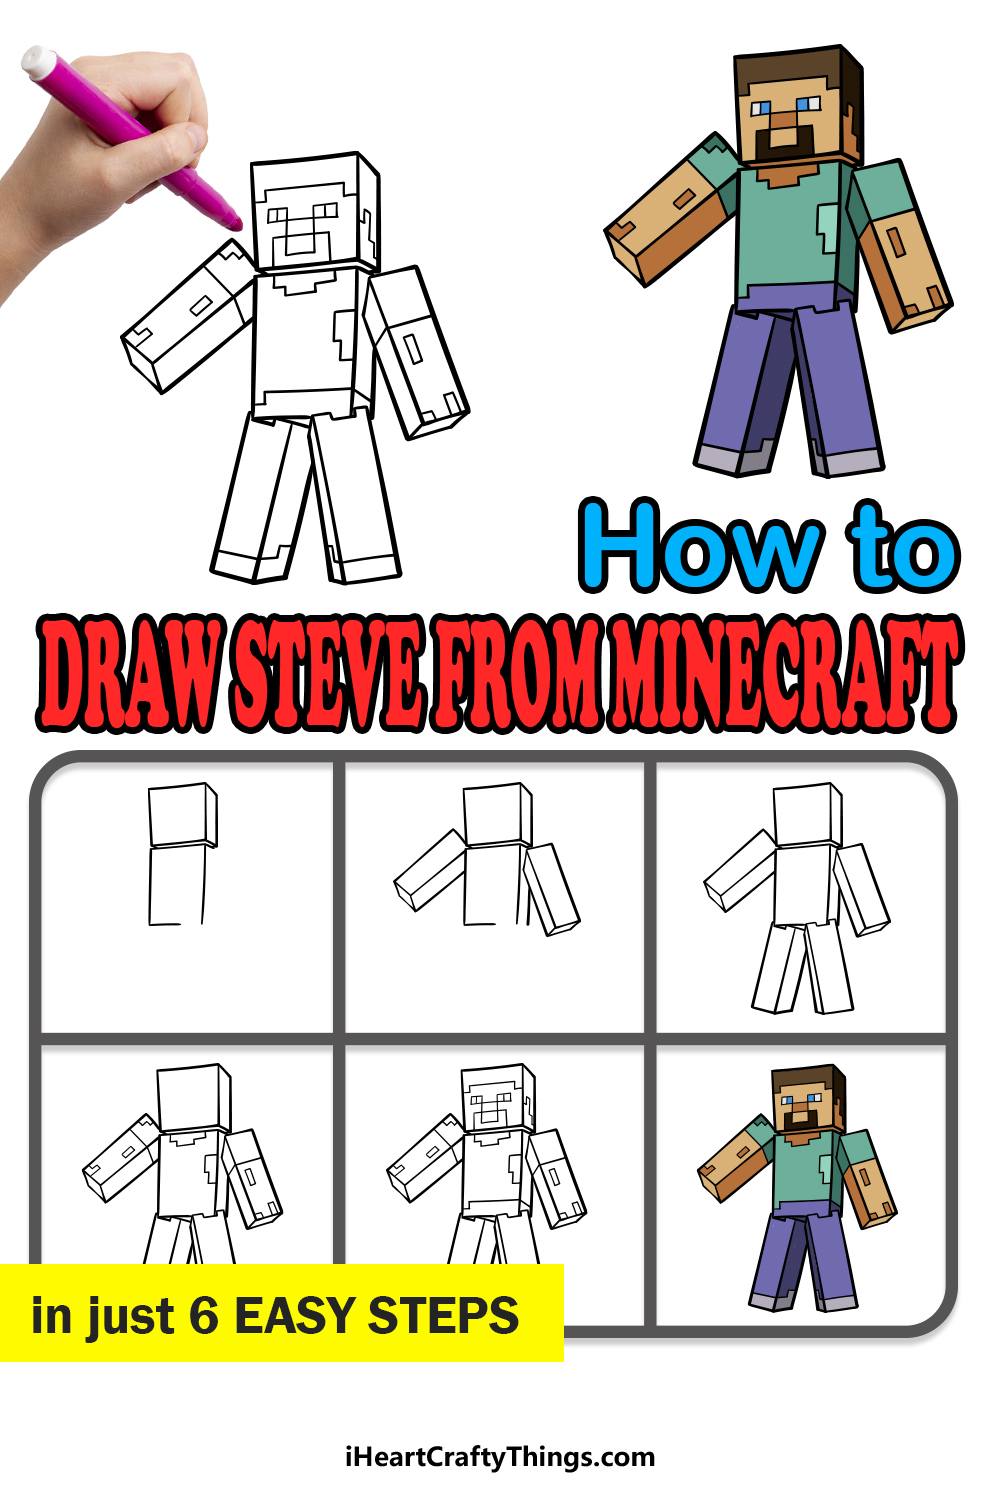
Get ready for some creative fun as we work on this step-by-step guide on how to draw Steve from Minecraft in just 6 steps!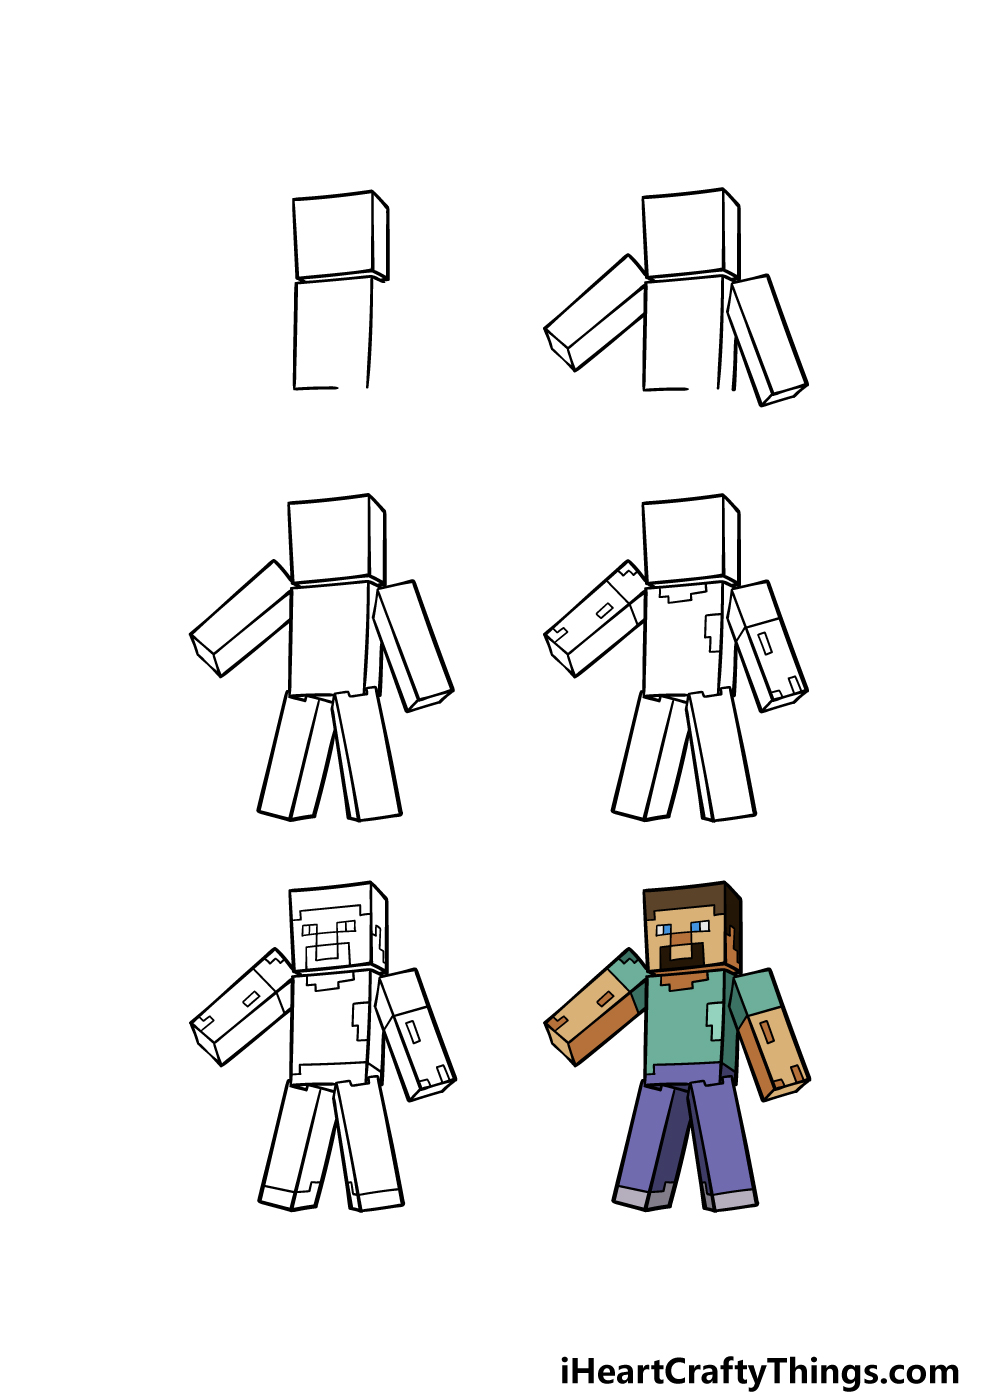
How to Draw Steve from Minecraft – Let’s Get Started!
Step 1
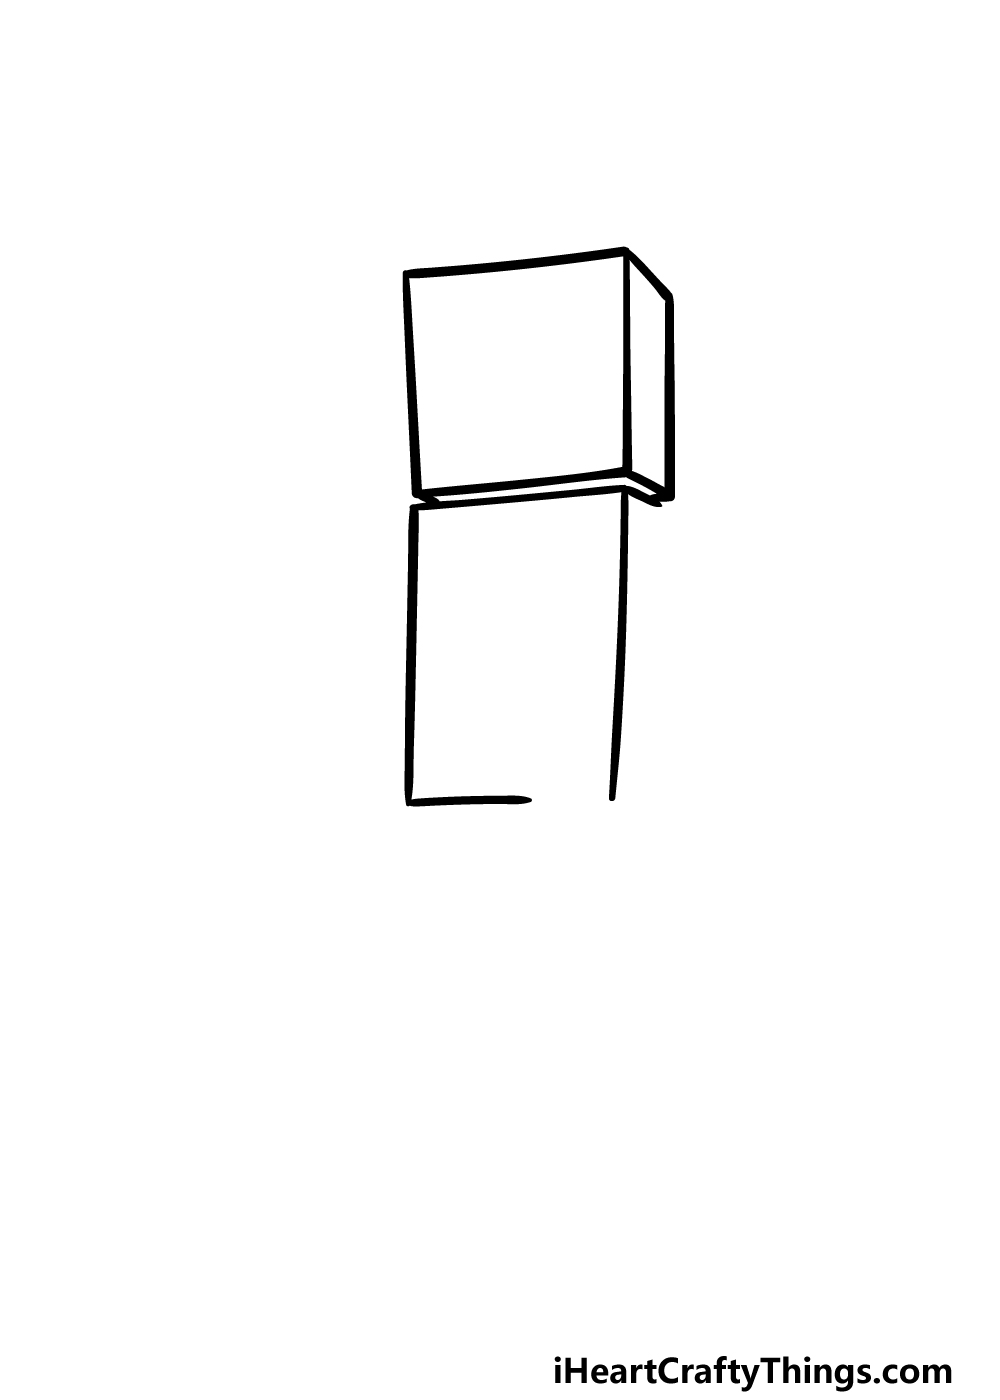
In Minecraft, one of the main design elements is that everything is made out of blocks, and the same is true of the character you play as.
For that reason, we would highly recommend using a ruler as you work on this guide on how to draw Steve from Minecraft, as it will be useful during every step.
With that in mind, we shall start drawing the head and body for this character. To start his head, draw a slightly slanted square shape.
Then, add some straight lines to the side to give it a 3D look. Then, draw a long rectangle shape beneath it for his body.
Be sure to leave a small gap near the base, as we will be adding a leg there later.
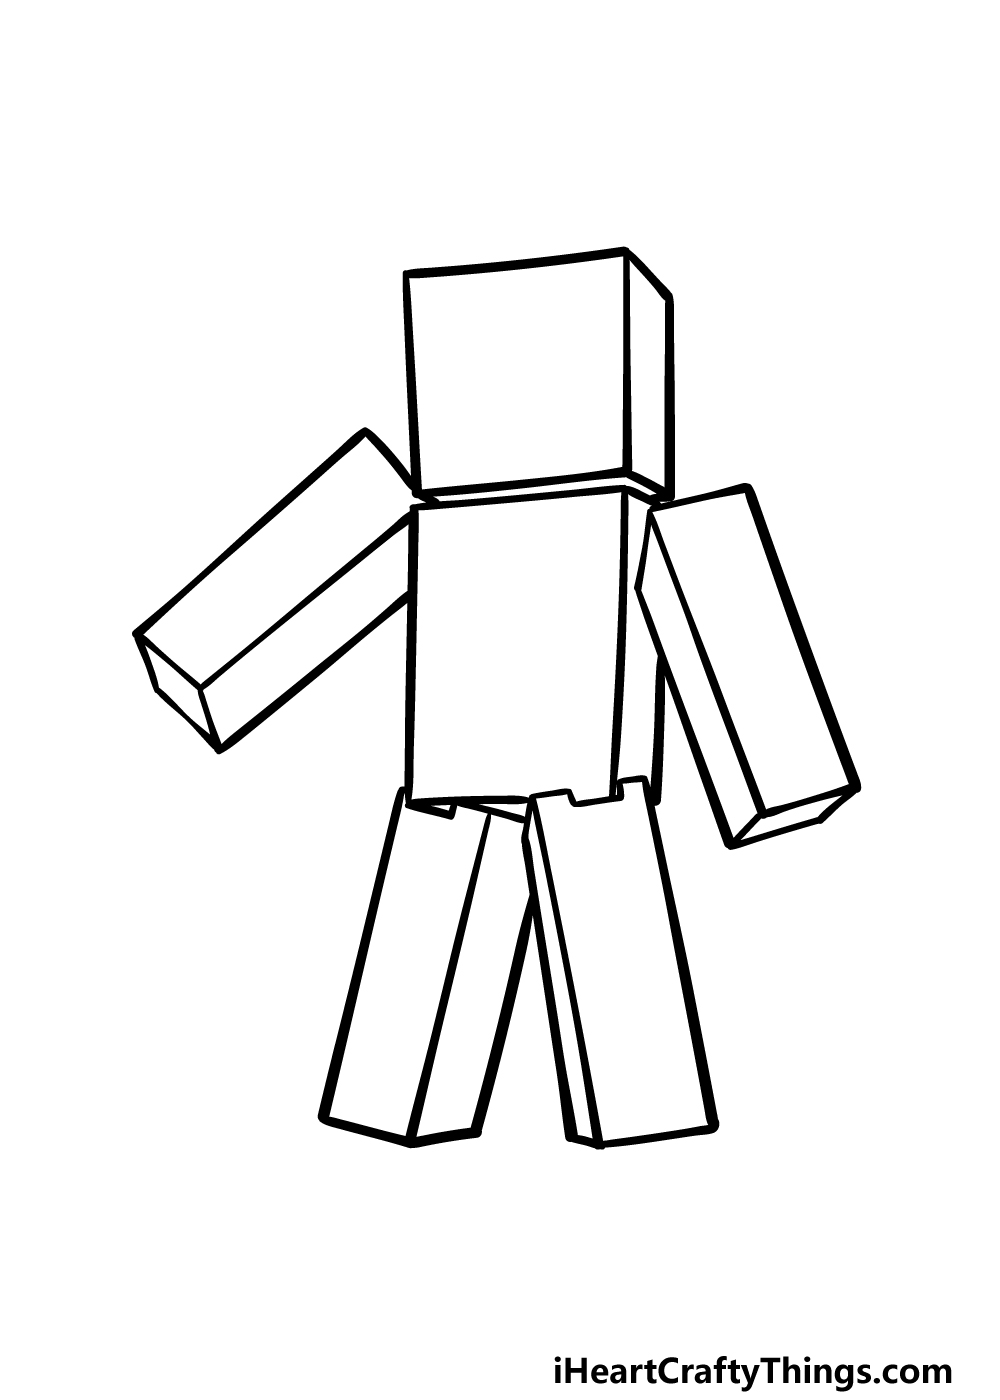
Step 2 – Now, draw some arms for Steve
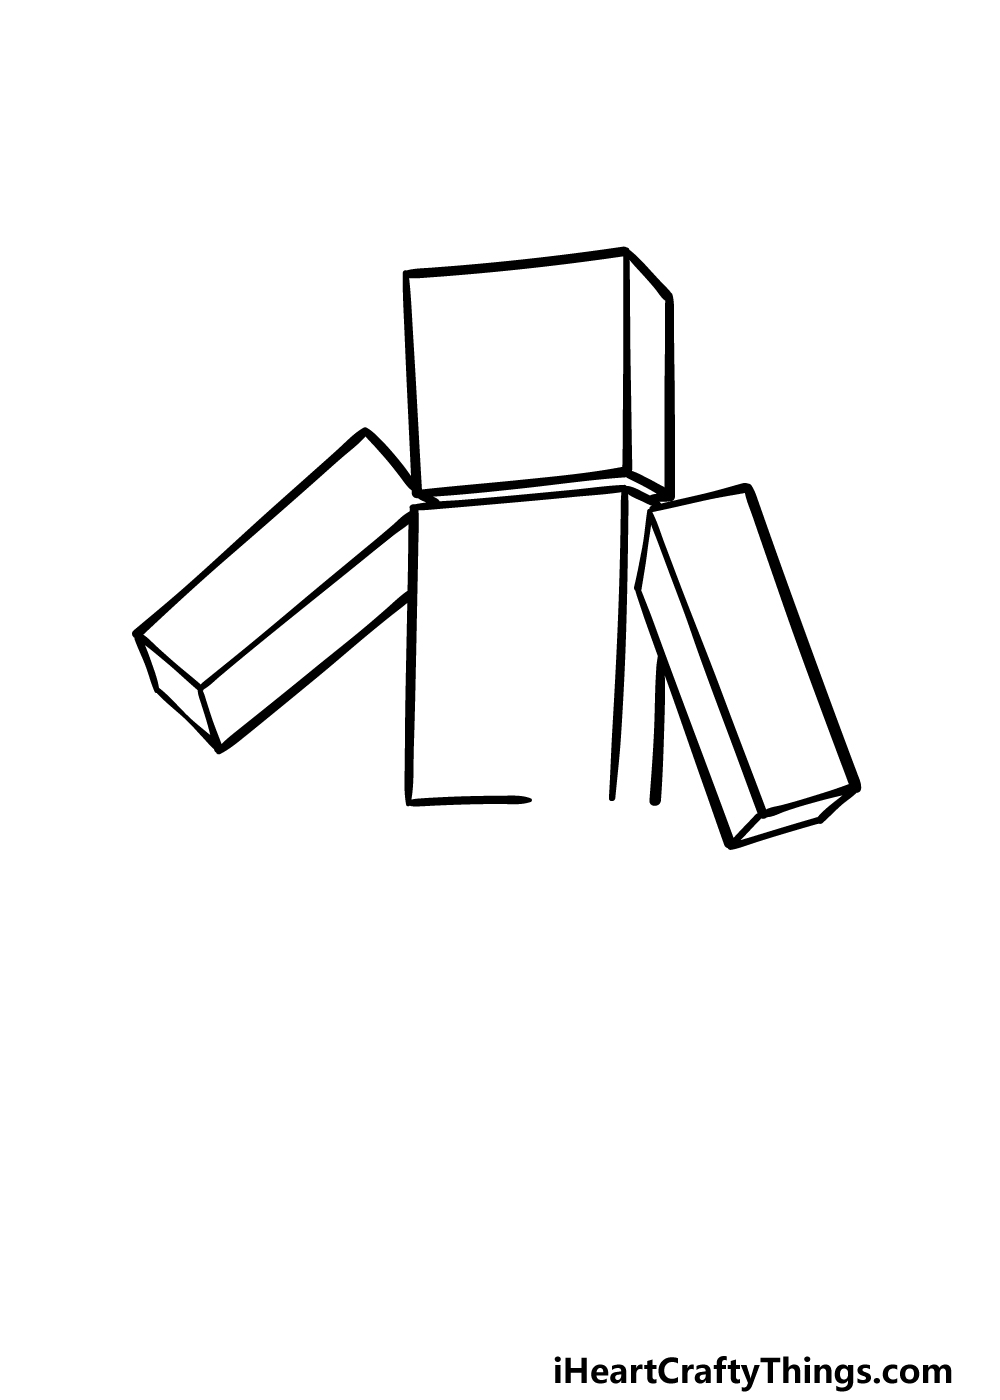
For this next part of your Steve from Minecraft drawing, we will be adding his arms. These will be drawn as some long, thin rectangular shapes, and we will also try to make them look 3D.
The arm on the right will be pointing down, whereas the one on the left will be raised a bit. Draw a long rectangle for the front of each arm, and then use some straight lines for the sides of the arms.
Draw a line coming down from the arm on the right for his back, and then we can move on to step 3!
Step 3 – Draw some legs for him
Now that his arms are drawn, we shall be focusing on his legs in this third step of our guide on how to draw Steve from Minecraft.
As with his arms, his legs will also be drawn as some long rectangles. However, while they will essentially have a similar structure to his arms, there will be a bit of a difference.
At the tops of his legs, there will be a small gap at the center where the leg slots onto his body.
Other than that difference, for the rest of the legs you can draw a rectangular front with more straight lines on the sides for that 3D effect that you used for the arms.
Then we shall start to add some details in the next few steps of the guide!
Step 4 – Next, start drawing some details for Steve
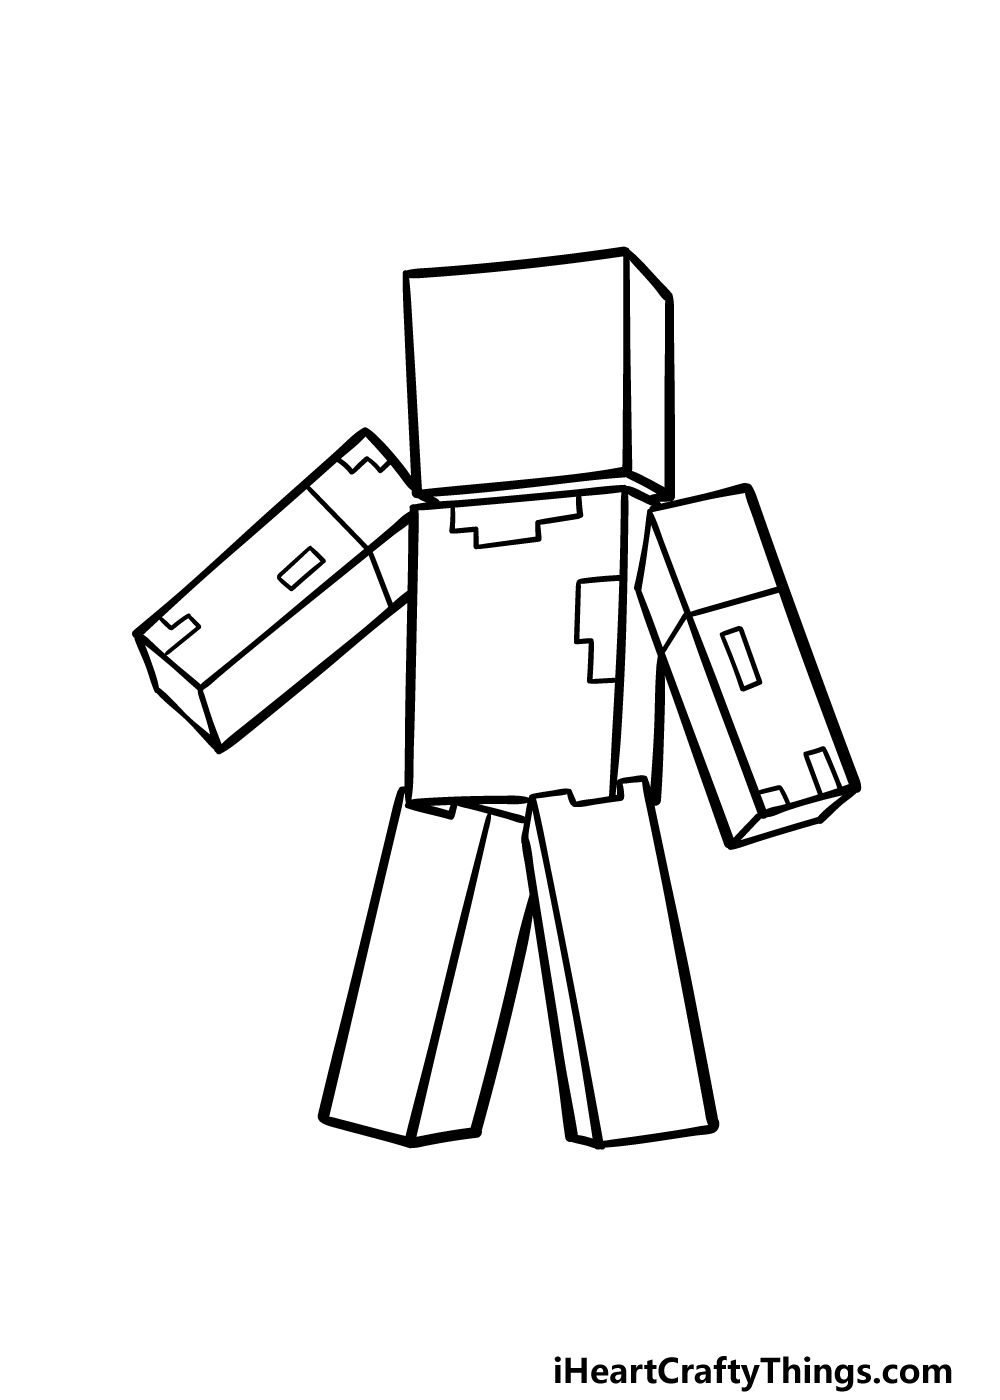
When it comes to Minecraft characters, even the finer details on them are drawn with blocky shapes!
We shall be adding some of these blocky details to your Steve from Minecraft drawing in this fourth step.
First, use some straight lines to form a thick T shape at the top of his chest for the opening of his shirt.
Then, use some more straight lines for the sleeves of his shirt near the tops of his arms. We will then finish off with some small squared shapes on his arms before we proceed to the final details.
Step 5 – Add the final details to your Steve from Minecraft drawing
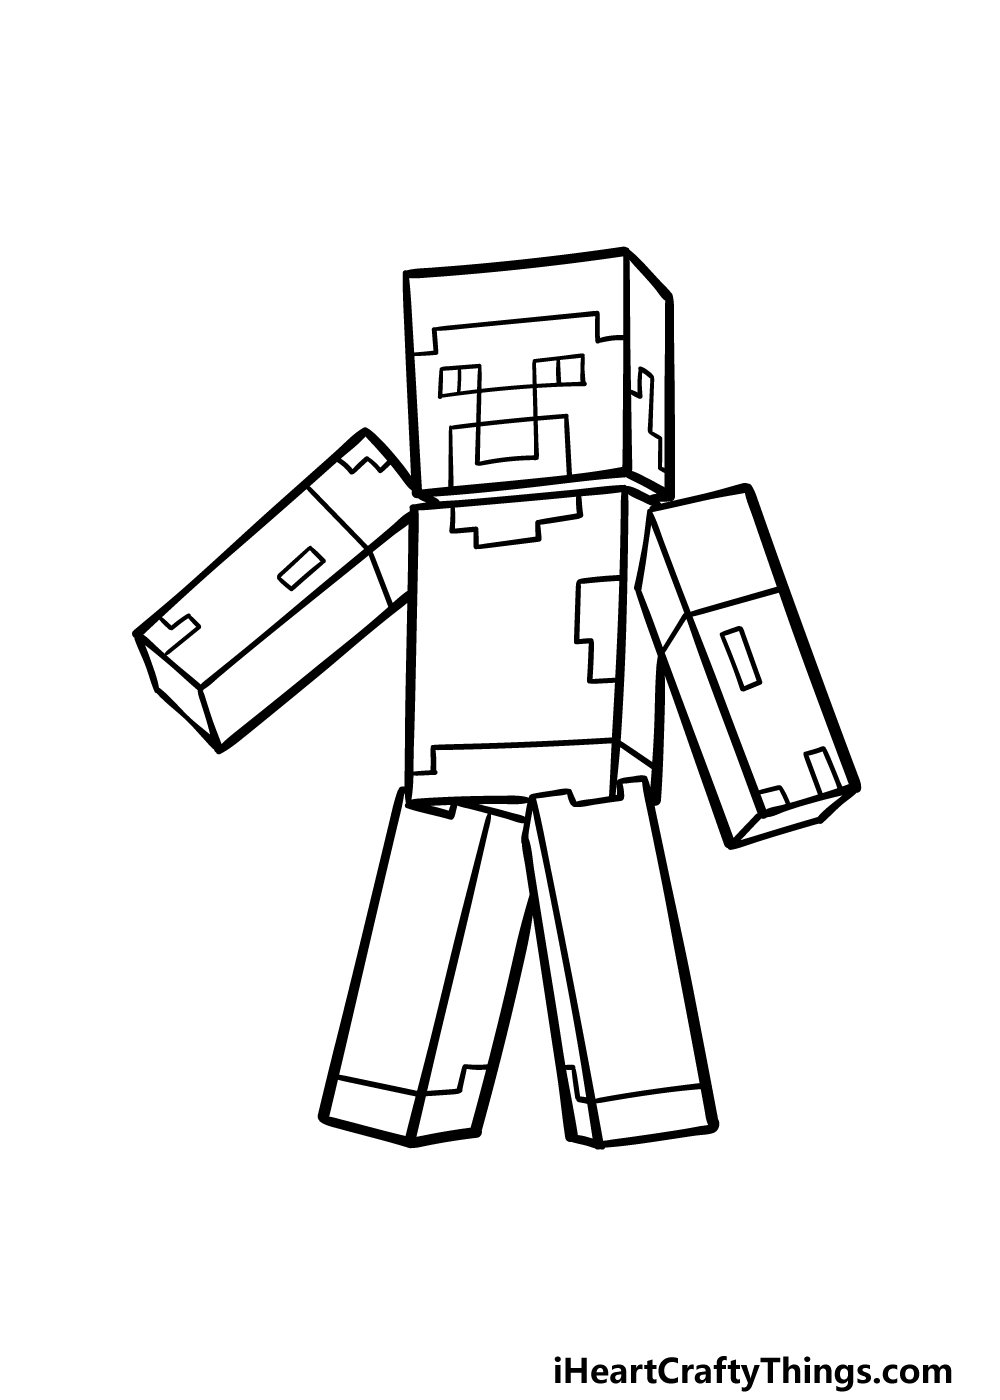
This fifth step of our guide on how to draw Steve from Minecraft will see you adding the final details and touches.
These details will be mainly contained to his face and head, but there will be small details throughout his body.
First, we will be drawing some facial details for Steve. Much like with the rest of this drawing, these details will be drawn using some small square shapes.
We will then use some more straight lines for his hair details. You can then finish off by drawing some lines across his waist and near the bottoms of his legs to finish off his clothing details.
Once you have finished drawing this character, you could add some more details as well! One idea would be to draw a background, so what kind of Minecraft setting would you imagine Steve to be in?
Step 6 – Finish off your Steve from Minecraft drawing with color
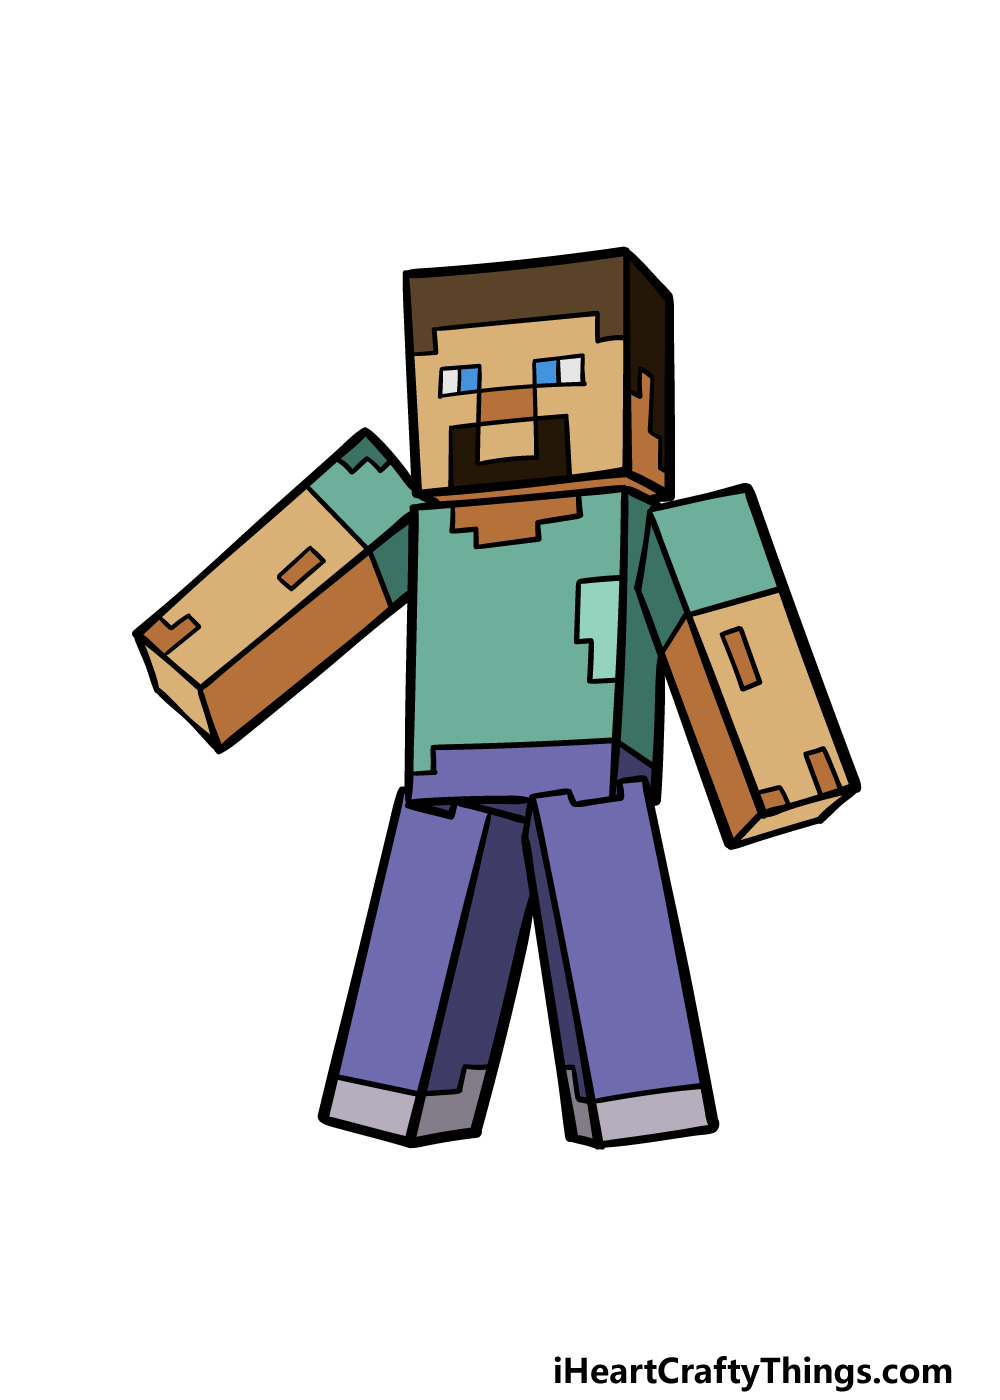
Now that you have arrived at the final step of your Steve from Minecraft drawing, you are ready to finish it off with some colors.
Steve has a typical color scheme that he is usually seen in, and this is what we went with. We used some turquoise blues for his shirt and then some darker blues for his pants.
You could go for similar colors for an accurate representation of the character, but you could also use some unique colors if you prefer! How will you finish off this cool picture?
4 More Ways To Make Your Steve From Minecraft Drawing Unique
Build up this Steve from Minecraft sketch into an even cooler artwork with these tips!
This drawing of Steve from Minecraft shows the main character of Minecraft, but the game is all about designing your own character.
For that reason, now that you have drawn him, you could add some unique characters around him!
These could be based on characters you have created in Minecraft before, or they could be unique to this picture. What sort of looks and poses would you like to use for these characters?
Tools and weapons are another big aspect of Minecraft, and you could add some for Steve to wield in this picture. The classic Minecraft pickax would be a perfect tool to start with!
While that would be an instantly recognizable tool, you could add any others that you use in the game.
It could also be fun to design a brand new tool or weapon for Steve and any other characters you added to wield.
Human characters are not the only beings you will encounter in the game of Minecraft. You could add some more of these living characters to your Steve from Minecraft drawing!
There would be loads of animals that you could add such as pigs or sheep. You could even go for something huge like a dragon!
If you want to add some peril to your drawing, then you could add some enemies such as skeletons, zombies or even the dreaded Creeper.
One of the best parts of Minecraft is getting to explore a wide range of environments and biomes. That means that you have many options for the background of your Steve from Minecraft sketch!
If you have some memorable areas you’ve experienced in the game that you could use as a background then these would be perfect.
You don’t have to stick to areas you have seen in the game, as you could imagine some brand-new areas for Steve to explore. Can you think of some cool places or biomes that you could use?
Your Steve from Minecraft Drawing is Complete!
That will conclude this awesome guide on how to draw Steve from Minecraft!
Minecraft is all about creativity, so we hope that this guide allowed you to express your own creativity by using your drawing skills. Hopefully it also made it much easier for you to take on!
Now that you have finished learning this drawing, there’s an opportunity to express your creativity even further.
You can add your own details or create a cool background to really finish this off, and these are just a few of the ways you can keep the fun going!
Another way to keep the fun going is by finding another drawing guide to enjoy on our website!
We have a huge selection there and we plan to upload many more soon. Be sure to keep checking in for more!
Lastly, we would love to see how your Steve from Minecraft drawing came out! You can show us by sharing it on our Facebook and Pinterest pages for us to enjoy!