Everyone has their favorite season that they look forward to in the year. Even if you love the chill of Winter or the long sunny days of Summer, it’s hard not to appreciate the beauty of Spring.
This is when trees grow beautiful green leaves and flowers start to bloom.
It’s a wonderful time of the year for people who love flowers, and they often like to create beautiful artworks by learning how to draw Spring flowers.
If you love the joys of Spring, then this will be a perfect guide for you to enjoy! This is one you’ll definitely want to see all the way to the end.
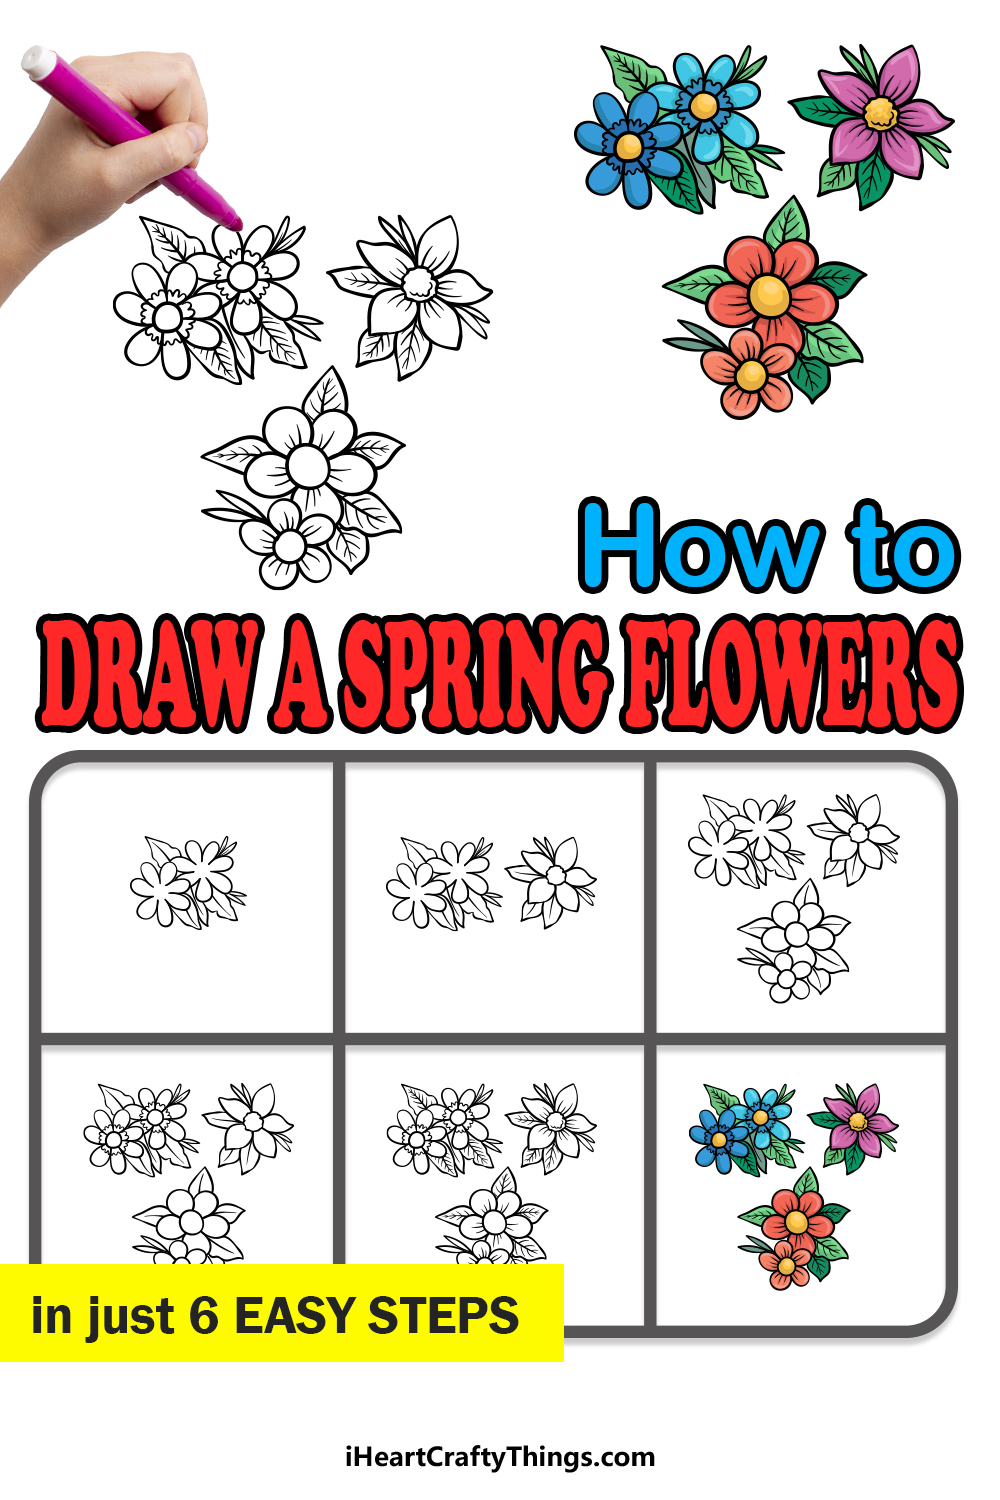
This step-by-step guide on how to draw Spring flowers in just 6 easy steps will fill you with the joys of Spring!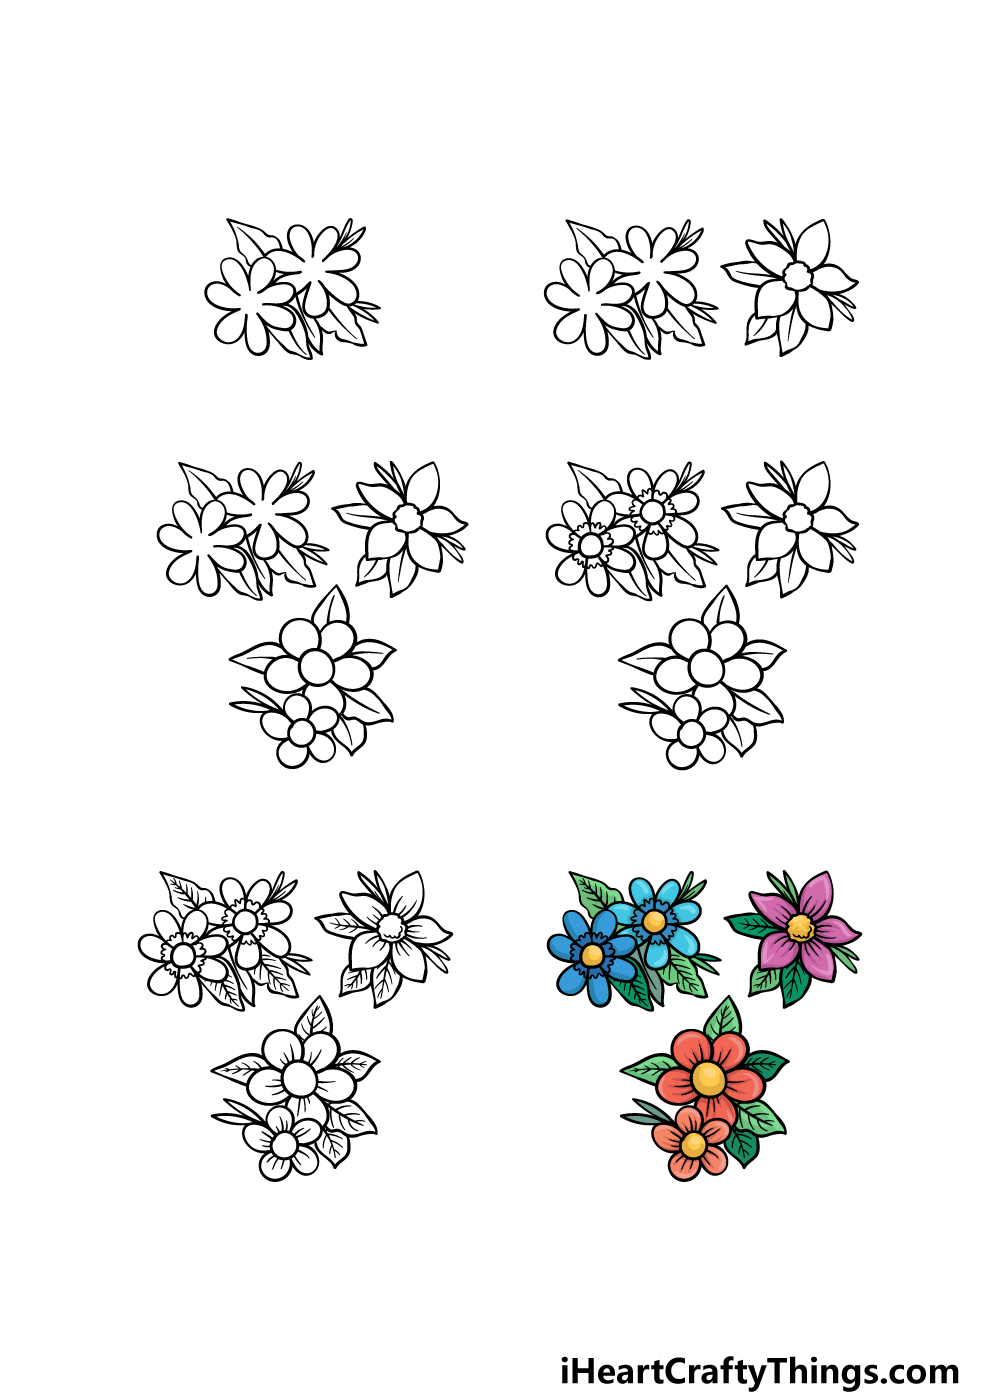
How to Draw Spring Flowers – Let’s Get Started!
Step 1
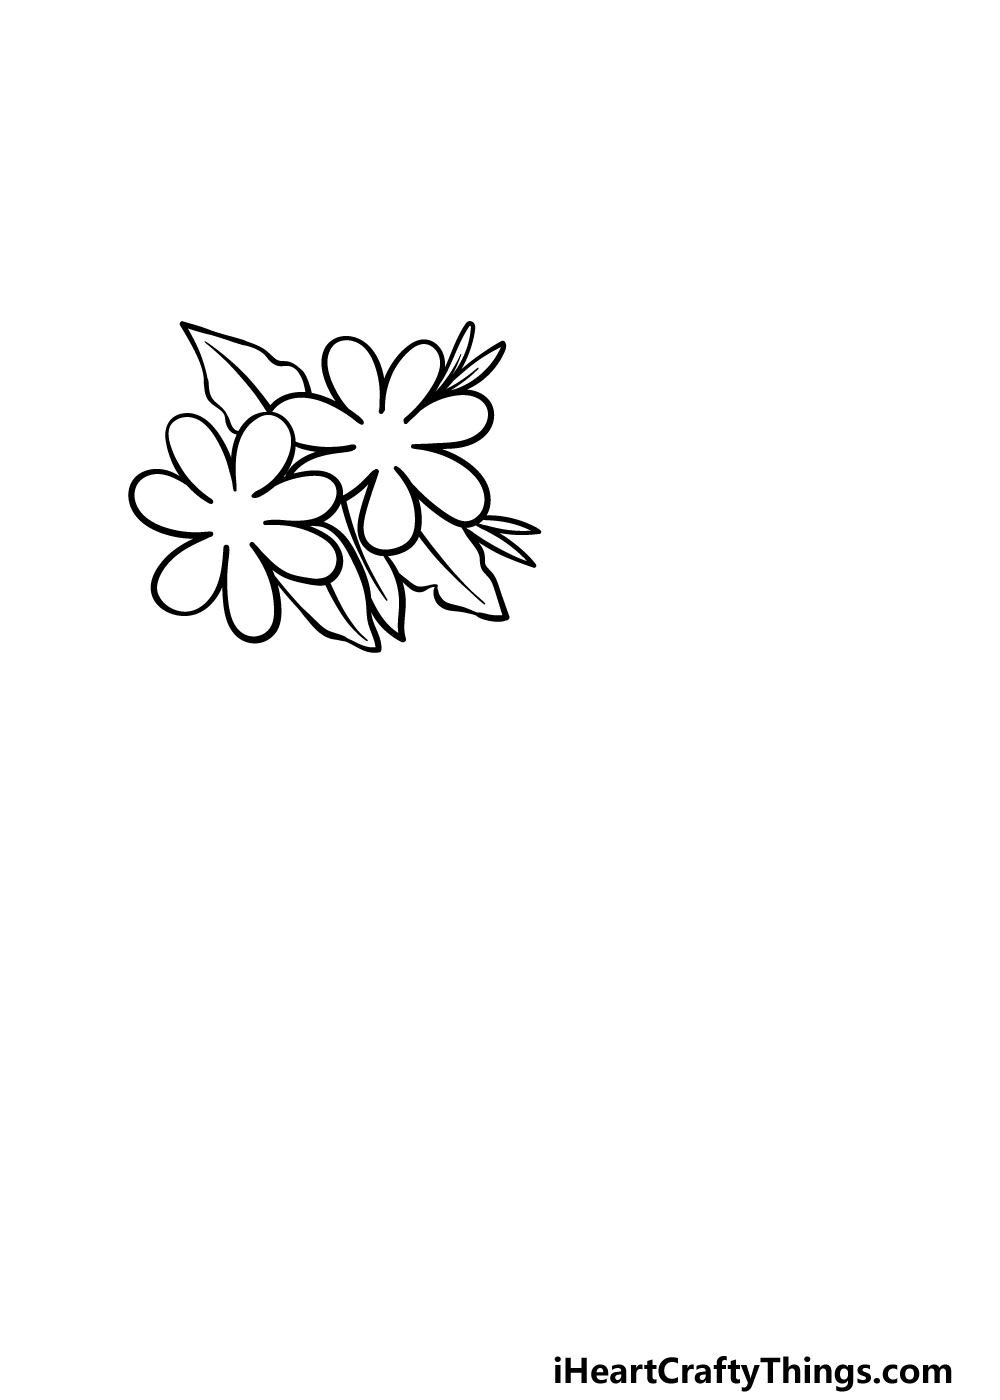
We will be drawing a lovely selection of flowers as we work through this guide on how to draw Spring flowers. For this first step, we will be drawing the outlines for a few of the flowers.
For the two flowers we’re drawing in this first step, you can draw several long, curved shapes forming around a round center for the petals.
Then, we will use some more curved lines with pointy tips for some leaves surrounding them, and there will be a line down the center of each leaf.
That will leave you ready to add to this beautiful picture in the next step of the guide!
Step 2 – Now, draw another flower
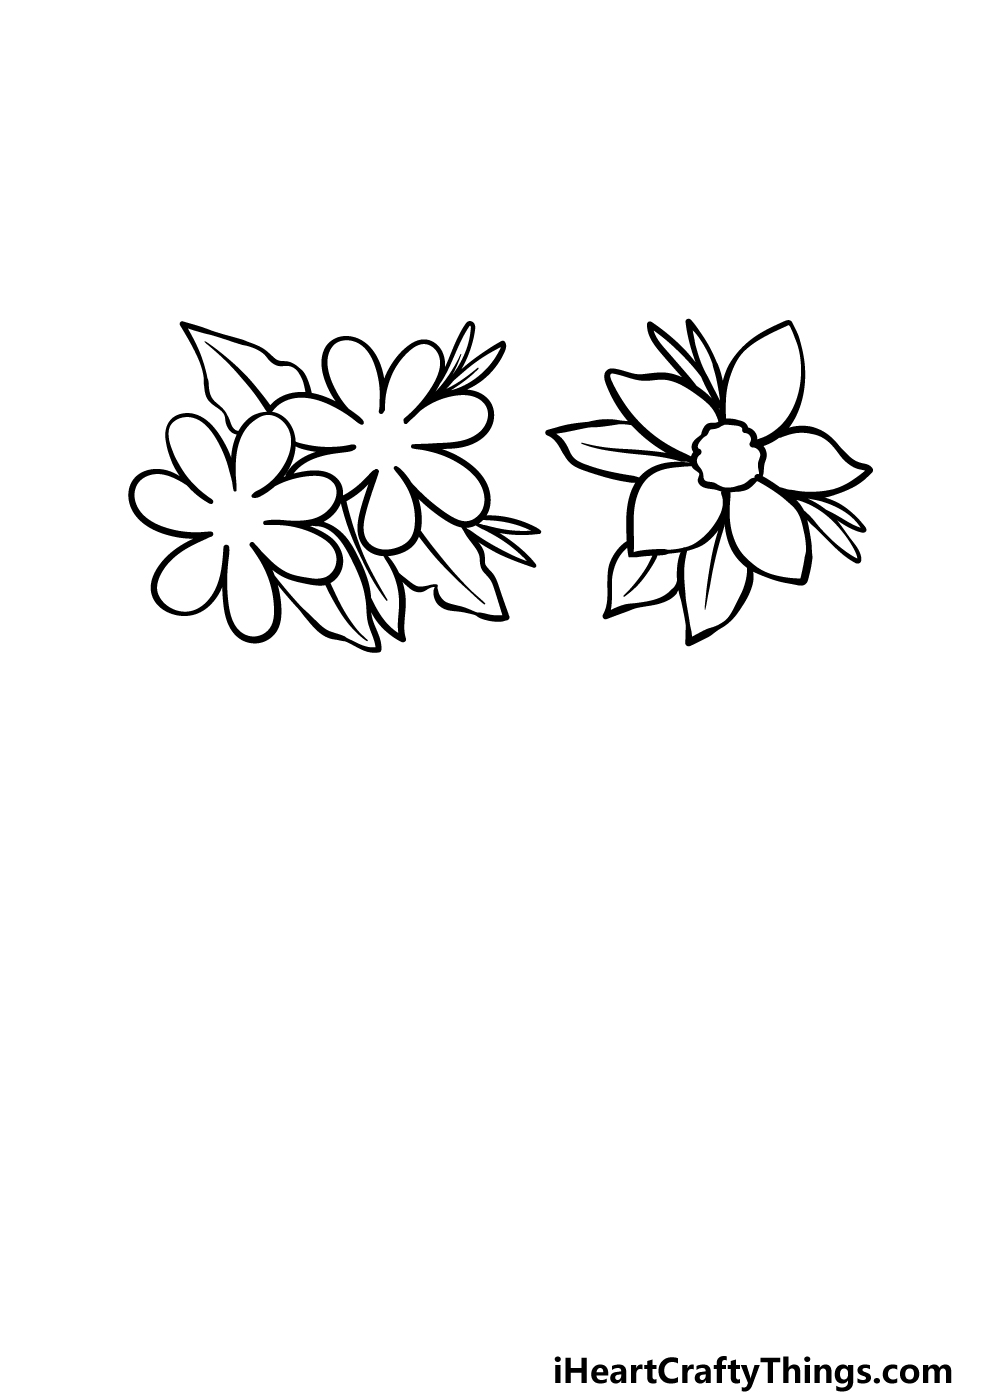
This second step will see you adding another lovely flower to this Spring flowers drawing.
This one will have a fairly similar structure to the first two that you drew, but there will be some subtle differences.
First, we will be drawing a circular center for the flower. This will be drawn using a slightly bumpy line.
Then, the petals surrounding this center will also be drawn using some curved lines, but they will have pointy tips instead of being rounded.
Then, you can draw some thin leaves poking out with some larger ones included as well.
That’s all there is to it for now, and with that done we can then proceed to the third step of this guide
Step 3 – Draw some more flowers for this arrangement
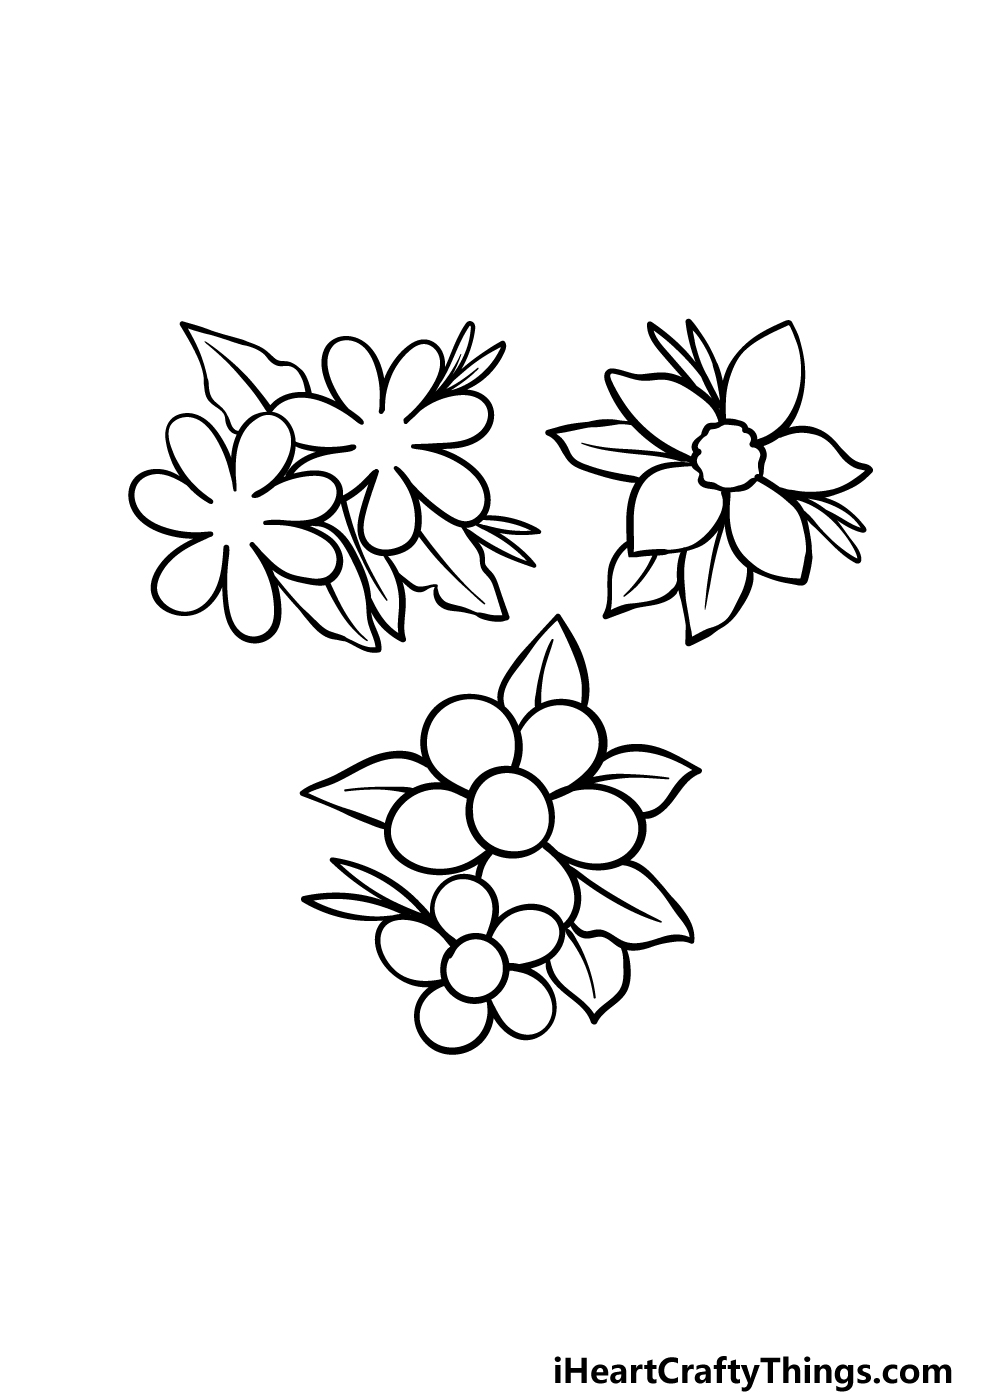
You can never have too many flowers, and that’s certainly true for this drawing!
For that reason, we will be adding two more flowers to the lower portion in this third step of our guide on how to draw Spring flowers.
These next flowers will also look a bit different to any of the previous ones we’ve drawn so far. Both of these flowers will have smooth circular centers, and the petals will be big and very round.
The one flower will be a bit smaller than the other one, and we will also surround these flowers with some more leaves. That will leave you ready for step 4 of the guide!
Step 4 – Next, draw some details for the first flowers
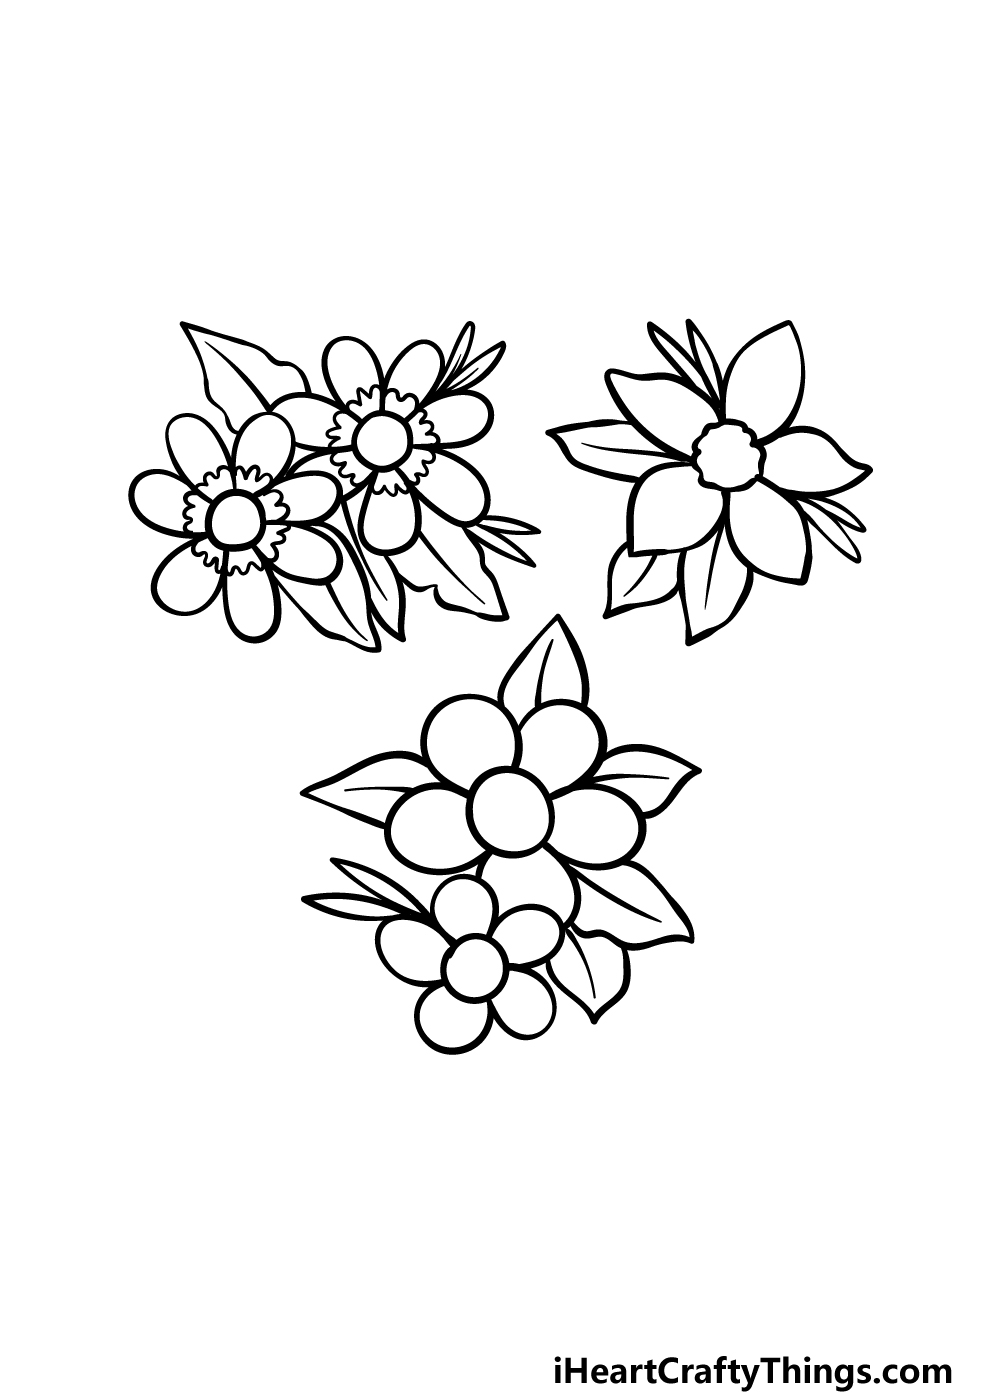
For this step of your Spring flowers drawing, we will go back to where you started as we add some details to the first two flowers you drew for this arrangement.
You can start by drawing two smooth circles at the center of each of these flowers. Once these are drawn, you can surround these circular centers with some small bumpy lines for some extra detail.
Once you have it looking as it does in our reference image, you will be ready for the fifth step of the guide where we will finish up some final details and elements.
Step 5 – Add the final details to your Spring flowers drawing
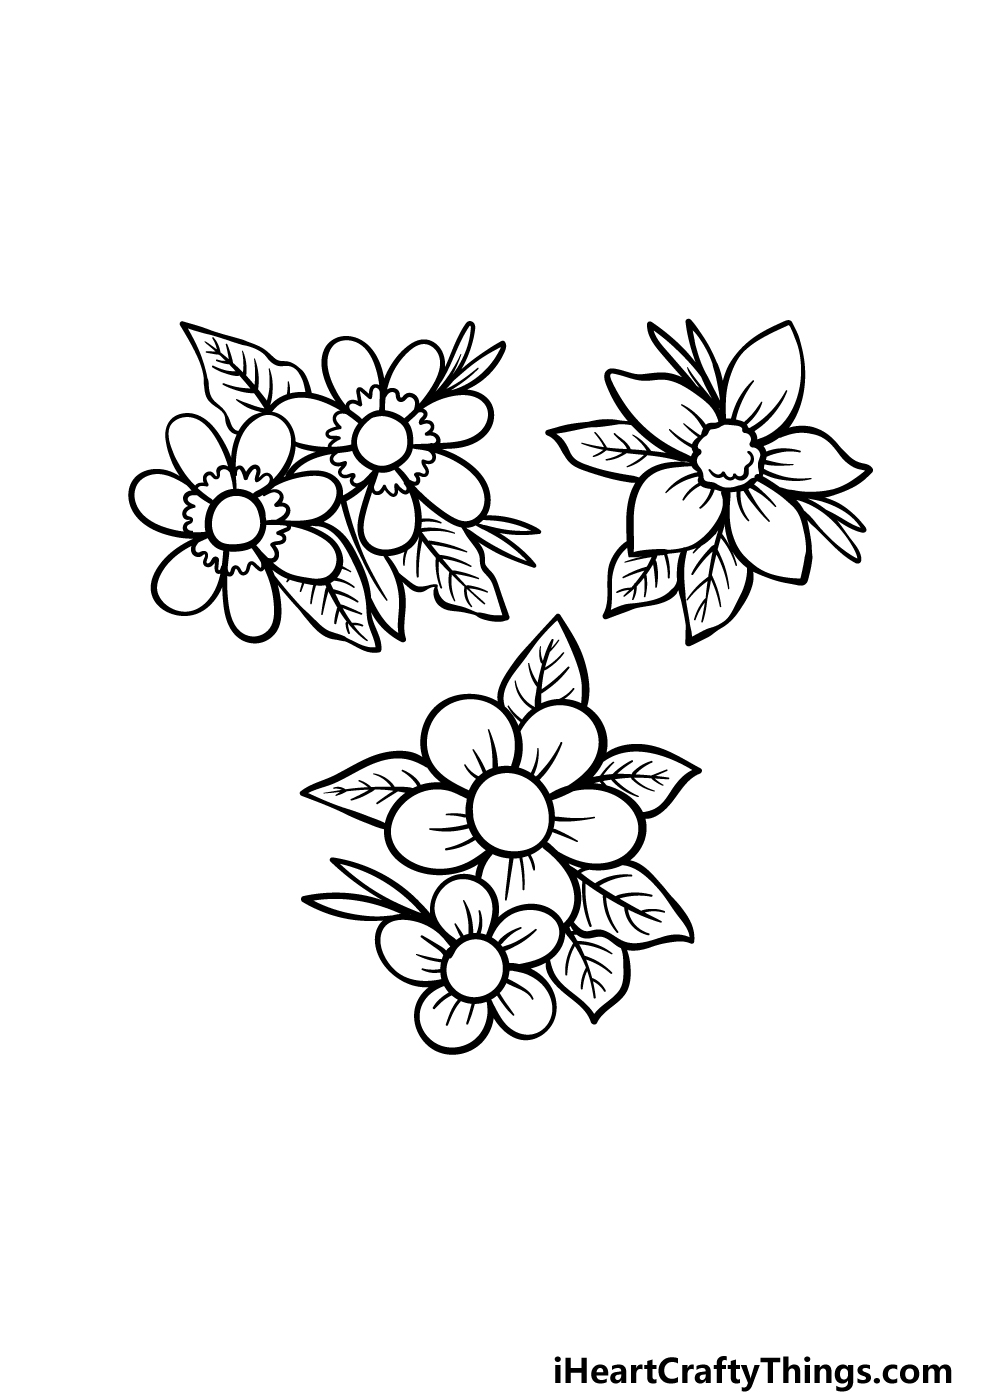
It’s almost time for the final step of this guide on how to draw Spring flowers, but first we have some final touches and details to add!
You will also have a chance to add some final extra details of your own, but first we will focus on the details in this guide.
First, we will add some small curved lines to the petals of these flowers to give them some extra texture detail. Then, you can add some vein details to each of the leaves surrounding the flowers.
That will leave you ready for the final step of the guide! Before you move on, you could also add some extra details of your own.
These could include some more flowers for the arrangement or maybe a fun background as well. What else can you think of to finish off this amazing image?
Step 6 – Finish off your Spring flowers drawing with color
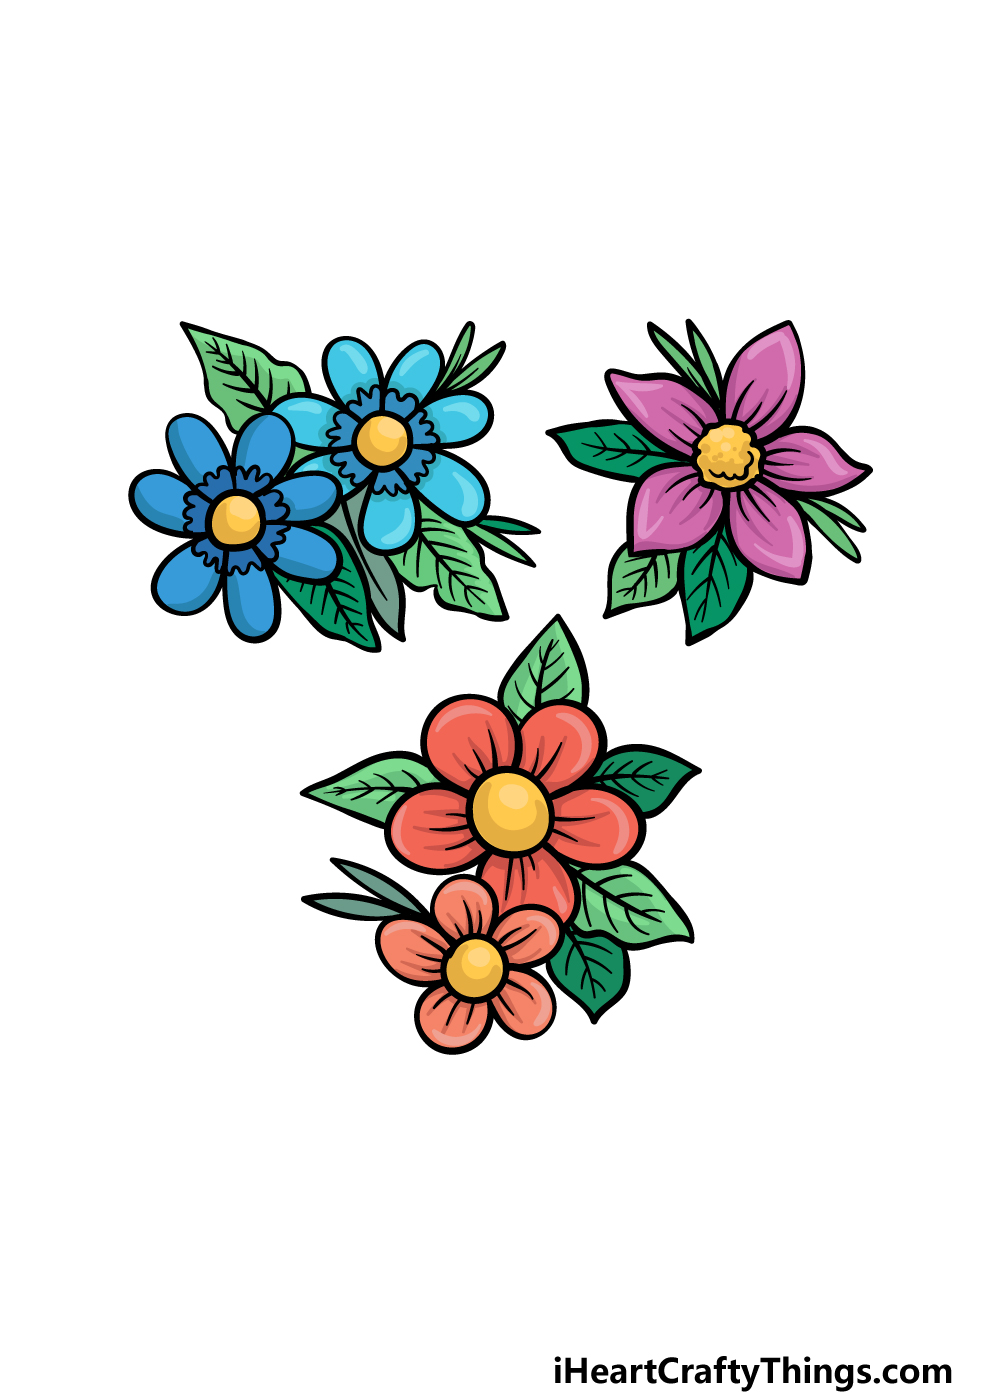
This is the final step of this Spring flowers drawing, and now you can add some wonderful colors to finish it off.
In our example image, we showed you just a few of the colors that you could use to finish up this picture.
We used some beautiful blues for the first flowers, some rich purples for the second batch and then some bright red for the final flowers.
While these colors look great and are certainly ones you could use, you should also feel free to use any other colors you prefer!
What will you choose to finish off your amazing drawing? We can’t wait to see what colors and art mediums you choose!
Here’s how you can make your Spring flowers drawing even better…
Make some joyful artwork as we show you how to make your Spring sketch drawing better!
With this selection we created for our Spring flowers drawing, we included a small selection of pretty flowers. These look great arranged in three bunches, but you could also add many more!
Now that you know how to draw these flower bunches, you would be able to add as many as you like. You could even fill the page with flowers for a visual explosion!
How many bunches would you like to add?
Another alternative for filling up this drawing of Spring flowers would be by drawing some more of your favoirites. These could be any beautiful flowers that remind you of Spring!
Whether they are big or small, colorful or subtle, anything you add will bring something unique to the table. If you need some inspiration, you will find many pictures of flower arrangements online to look through.
Do you have some flowers in mind that you could add to your drawing?
Whether you add more flowers or not, another way to make this Spring flowers drawing even better would be by making a background.
This is another one where your options are limitless! You could draw any background setting where you would expect to see some pretty flowers.
This could be in a lovely forest teeming with plants, or it could be in someone’s beautifully cultivated garden. These are just two of the many different backgrounds you could create!
What are some settings you can think of?
If there’s one thing flowers are known for, it’s their beautiful colors. That means that you should definitely feel free to use all of the colors and mediums you have available to you!
Whether the colors are bright and vibrant or soft and elegant, you can make a picture that just pops off the page. You may even want to mix mediums like colored pens and markers with watercolors or acrylic.
What are some colors and mediums that would finish off this Spring flowers drawing?
Your Spring Flowers Drawing is Complete!
Spring is one of the most magical times of year, and we hope that you had lots of fun reliving this season during this guide on how to draw Spring flowers!
In this guide, we aimed to show you just how easy this pretty drawing can be to create when you know what to do, so hopefully we succeeded in this mission.
Finishing this guide is just the beginning, and you can keep the fun going by adding your own awesome extra details and ideas. It will be amazing to see what you choose to add to the image!
Then, when you’re ready for your next drawing challenge, you can find a new drawing guide to enjoy on our website.
We have so many great guides there with more on the way, so be sure to keep checking in!
Lastly, we hope you’ll share your finished Spring flowers drawing on our Facebook and Pinterest pages so we can see how great it is!