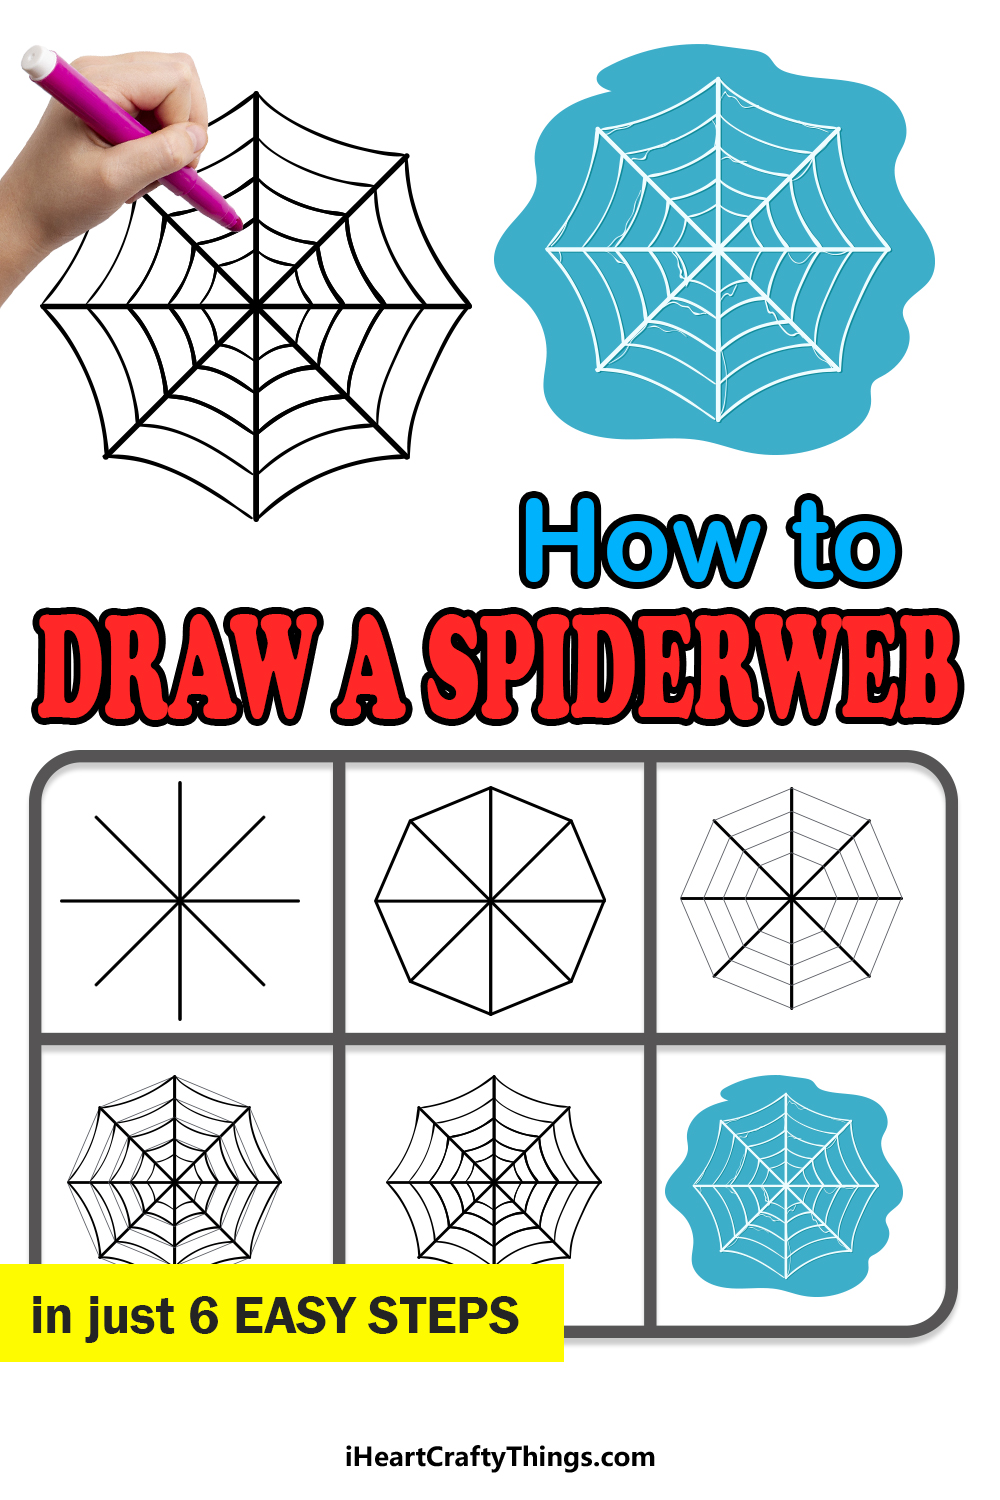
The process of learning how to draw a spiderweb is so much easier with this guide for kids! You’re moments away from learning how simple it is to recreate this wonder of nature.
Spiders may be a bit scary to some, but you can’t deny that their webs are simply gorgeous. They’re so intricate and pretty, and this makes it quite tricky to learn to draw one.
As with anything in life, you can make it easier when you break it down into simpler steps. That’s just what I aim to do with this guide. I will take you through each step and display how simple it can be.
At the end of the process, you could even add your own details like a spider or some insects stuck in the web. You could even incorporate this spiderweb into a spooky Halloween drawing!
It’s up to you and your creativity now, so let’s take a look at how you can start.
Watch This Guide On How To Draw A Cartoon Spiderweb
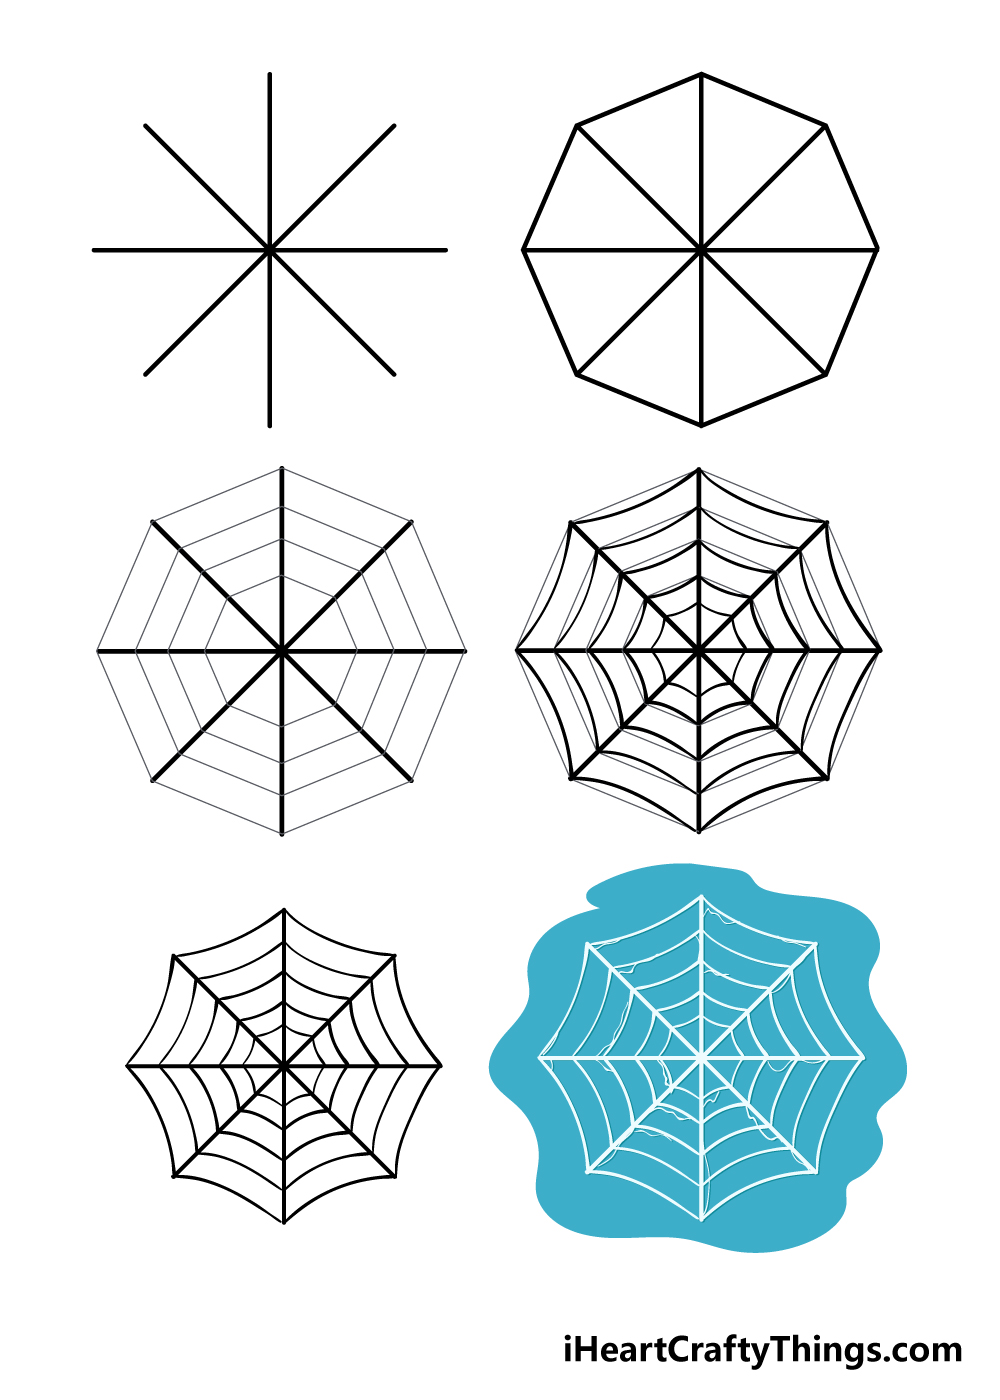
How to Draw A Spiderweb – Let’s get Started!
Step 1
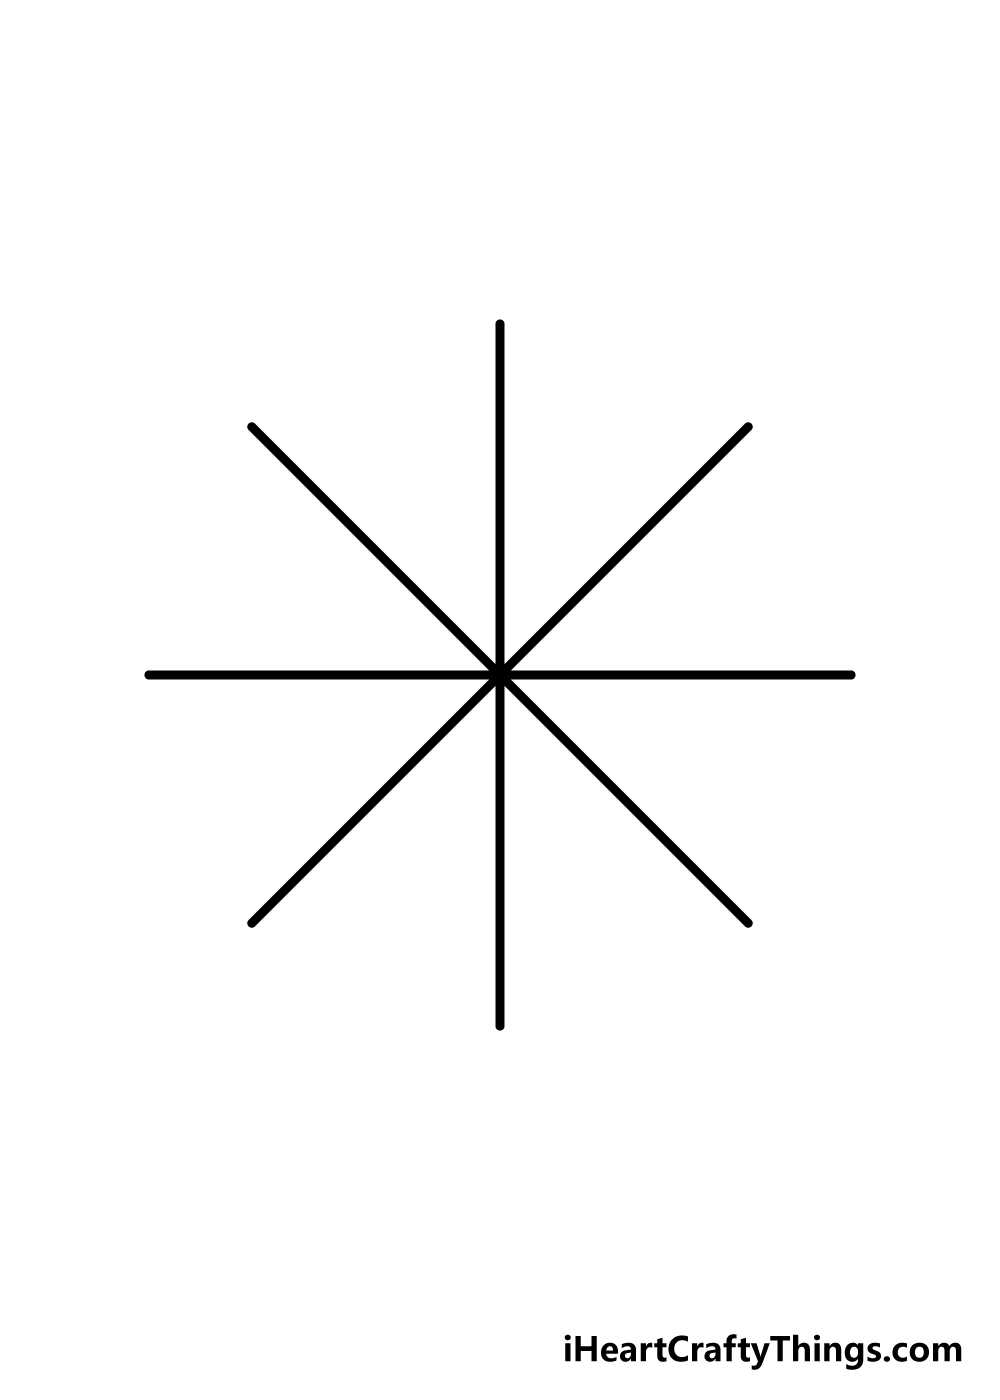
A spiderweb is quite a marvel of nature, and they have an incredibly delicate and intricate design to them. That makes them a wonder to behold, but can make them a bit of a challenge to draw.
To make this easier, you can use a ruler to draw lines and shapes that will help you out. Using the reference picture as a guide, we will be drawing a star-like shape using four intersecting lines.
You can go ahead and use a pen for this step, as these lines will end up in the final image.
Don’t worry if you can’t get the angles of your spiderweb drawing exactly equal to the ones in the reference picture!
Step 2 – Draw in more guiding lines

For the next few steps of this guide on how to draw a spiderweb, you should switch to a light pencil to draw the lines, as they will not be showing up in the final image.
We’ll be sure to let you know when you should start using your pen again! For now, use your pencil to connect the tips of each line.
This will leave you with an eight-sided octagon shape like the one in our reference picture.
Step 3 – Now, draw more pencil lines for the interior
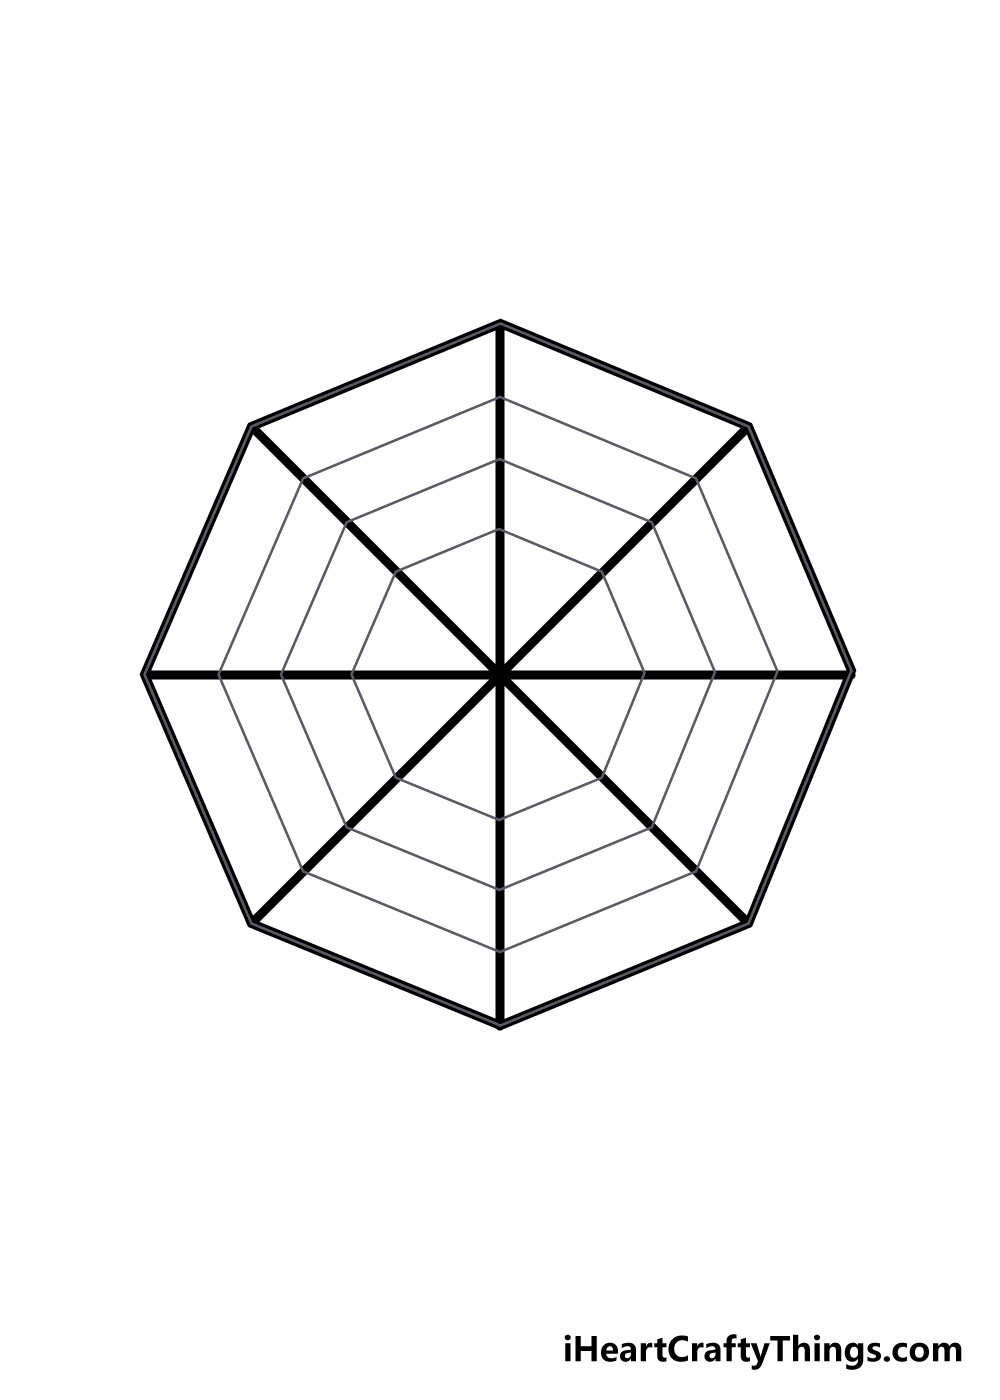
We will keep using a light pencil for this part of your spiderweb drawing. If you think of your octagon shape as a pie, we will be drawing three lines within each “slice” of it.
If you want to make it a bit more consistent, try to draw in the lines to one slice and then measure how far each line is from one another.
Then, use these measurements for each other slice to make sure that they all connect evenly.
This can take a bit of time and patience, but it will be worth it because you’ll have a wonderfully neat and even spiderweb!
Step 4 – Start drawing the final details
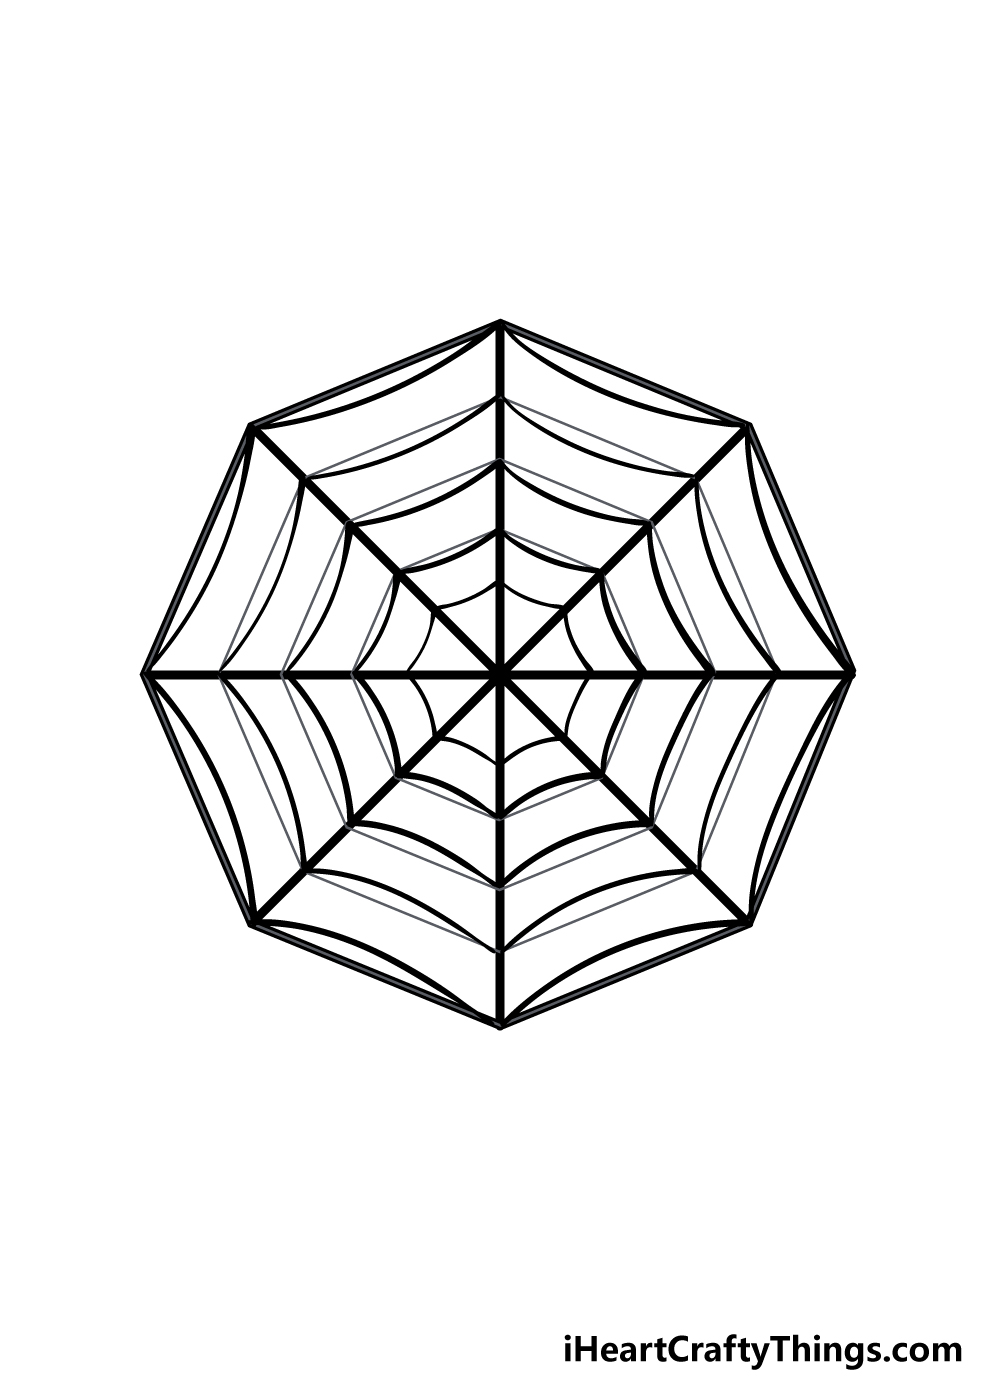
You can start to use your pen again for this step of our guide on how to draw a spiderweb. This is the step where all of your preparations will pay off!
If you look at a real spiderweb, you’ll see that the connecting threads are rarely completely straight and have a bit of a droop to them. We will be drawing these lines now.
Using the lines that you drew in each slice of the shape, use your pen to draw a very slightly curved line over each line in the slice.
The curved line should begin and end at the same point as the straight ones but have a slight curve in the middle. You can also add similar curved lines to the outer lines of the shape as well!
Step 5 – Erase all of your pencil lines

Now that you have drawn over your pencil guides with your pen, you are ready to start erasing the pencil lines of your spiderweb drawing!
Before you start digging in with your eraser, be sure to let the pen ink dry completely first. If you start too soon, you could easily smudge the ink.
Once you erase all of the pencil lines, you should end up with a completed spiderweb like the one in our reference picture!
Now that your spiderweb is completely drawn, you could add some extra details to further make it your own. An obvious choice would be to draw a spider sitting on the web!
You could also draw a fun background for it if you’re feeling extra creative. It would be really cool to have a haunted house background for your spiderweb, but that’s just one idea out of many! How will you finish off your spiderweb drawing?
Step 6 – Finish off your spiderweb drawing with some color
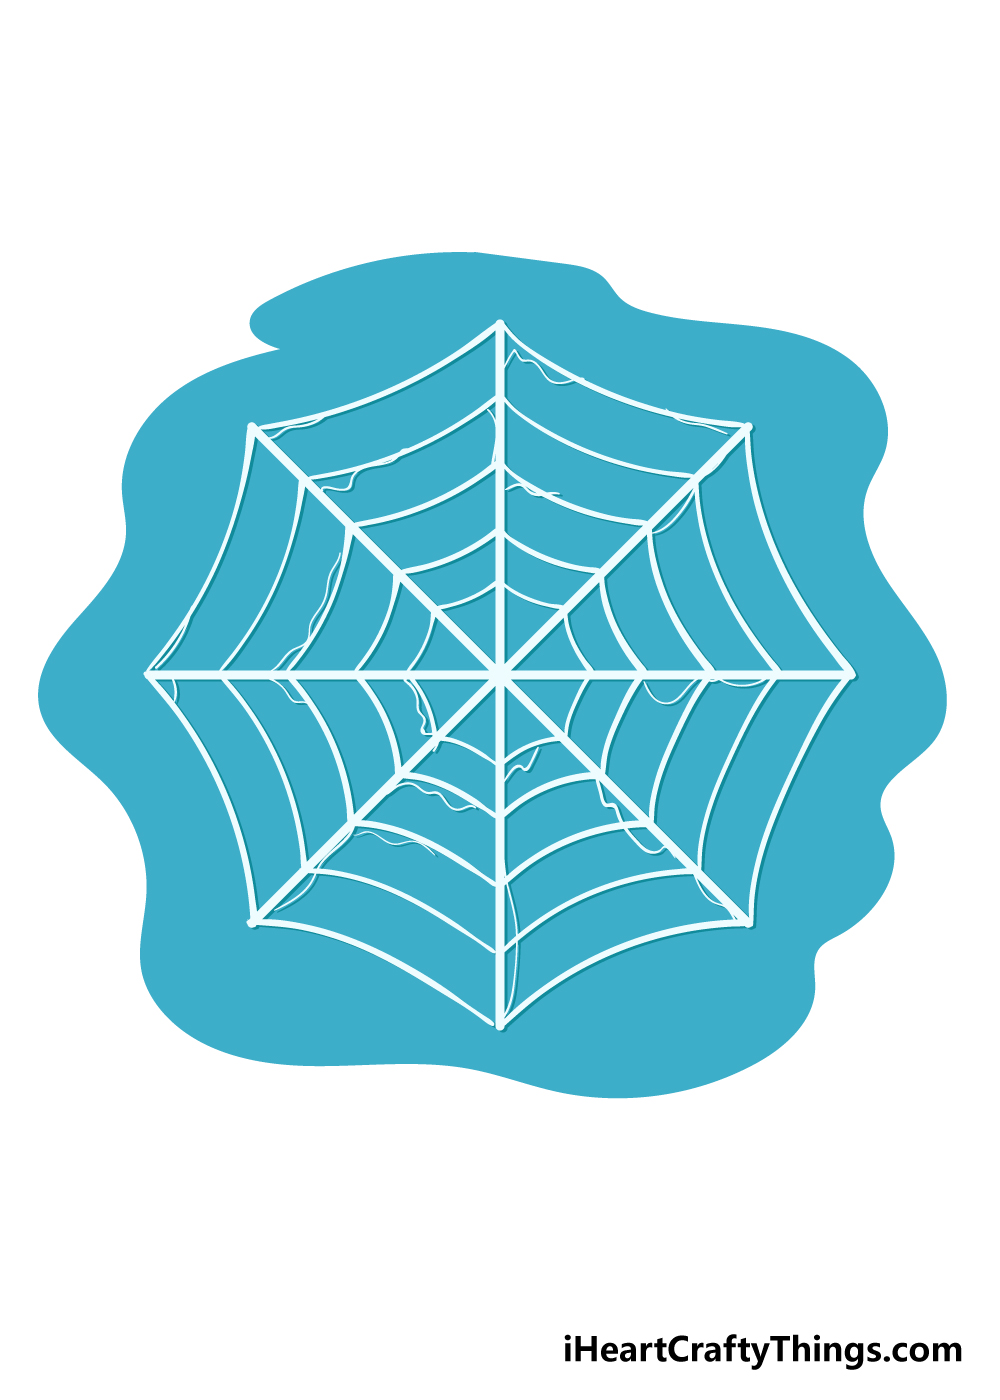
That brings us to the final step of our guide on how to draw a spiderweb! You have already got an amazing picture in front of you, but you can make it even better with some colors for it.
We showed you one way that you can color it in for our reference image, but you should really let your imagination run wild for this!
If you drew any extra details or background additions, you can have fun coloring those in too!
I would use some watercolor paints for a more muted, creepy feel to this spiderweb drawing, but any art mediums you choose will look great!
5 Tips To Make Your Spiderweb Drawing Even Better!
Be sure to catch these fun tips we have for your spiderweb sketch!
If you’re scared of spiders, you may not like this first tip for your spiderweb drawing! One of the more obvious additions you could make to this design is adding a spider.
There are so many different kinds of spiders you could choose from, and you can find tons of pictures online to help you. If you were to add a spider, what kind do you think you would choose?
If you’re too scared of spiders to look them up and draw them, you could create the impression that a spider is using this web.
This is a tip you could use even if you did add a spider! You could do it by creating some small details to suggest that a spider is using the web.
These could be as simple as adding some flies and bugs to the web.
Next, you could make this drawing of a spiderweb even cooler if you add a background. Spiderwebs can be found in all kinds of interesting places, so you could go with any background you like.
It could be a forest or maybe even a spooky haunted house! You can really use your imagination, so what settings can you think of?
A spiderweb can also come in many different forms and variations. You could create your own spiderweb variation by changing the design of this one!
The changes could simply include the size of the web, but you could also make it more or less complex. If you want to try out different ideas, maybe sketch out a few designs to experiment with.
You can also make your spiderweb sketch more interesting by using different art tools and crafts.
There are tons of different pens and other tools you can use, but you could even use some string or wool!
Using those to make the shape of the spiderweb can help to give the picture some real texture. What are some other crafts you could use?
Your Spiderweb Drawing is Complete!
We really hope that this step-by-step guide on how to draw a spiderweb was lots of fun for you to work through!
You set quite a challenge for yourself with such an intricate natural phenomenon, so you should be very proud of yourself for getting to the end of this tutorial.
Drawing challenges are always made much easier to tackle when you break them down into smaller steps, so we hope that this guide made it easier than you might have expected!
Now it’s your turn to show us how creative you can get with how you finish off your spiderweb drawing!
Will you draw some elements such as a spider and some unlucky bugs onto your spiderweb, or will you draw a cool background for it? The possibilities are endless, and we will look forward to seeing what you come up with!
This step-by-step guide is one of many more that we have for you to enjoy, so be sure to check out our site frequently, as we upload new guides very often!
We would love to see how you completed your own spiderweb drawing, so once it’s done we hope that you will share it on our Facebook and Pinterest pages for us to enjoy!