There are many unique and interesting objects and ornaments that you can use to decorate your home.
Many of these ornaments serve the purpose of not only looking nice but also commemorating a certain event or holiday.
The snow globe is an example of an ornament that fulfills both of these purposes.
This intricate little object will generally contain a small scene, often a snowy town, inside of a glass ball with a base.
Turning it upside down will coat the scene in ‘snow,’ and for this reason snow globes are often associated with Christmas.
Learning how to draw a snow globe is a great way to come up with your own design for one of these ornaments!
If that sounds like something you’d like to learn, then this will be the perfect guide for you.
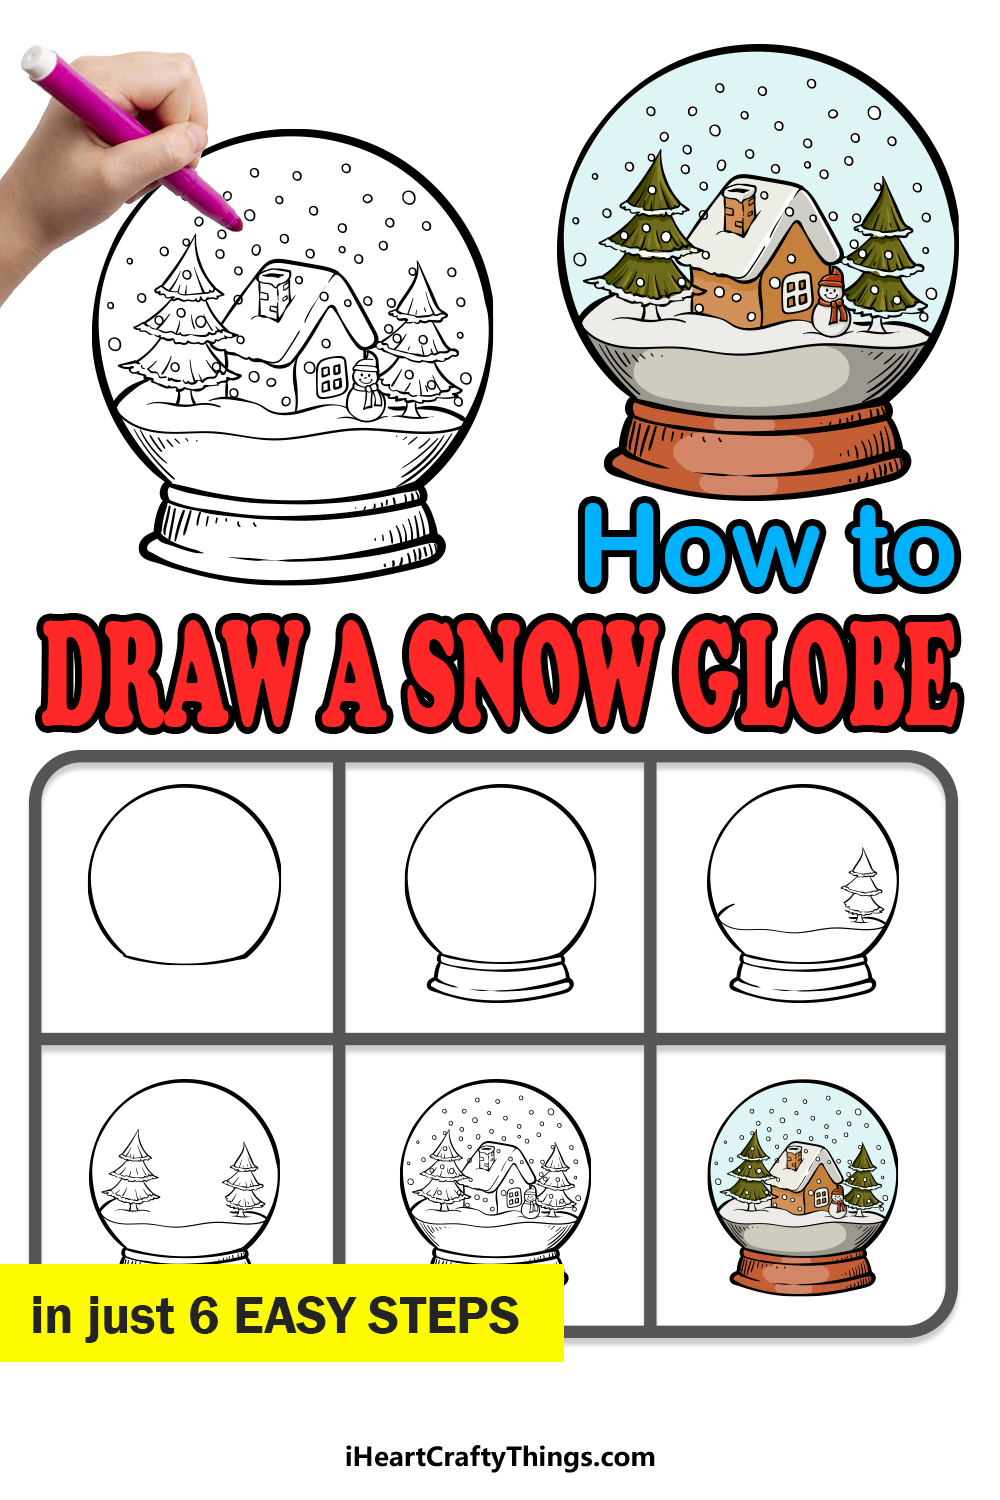
Our step-by-step guide on how to draw a snow globe will show you how you can design your own version of this classic ornament.
How to Draw A Snow Globe – Let’s Get Started!
Step 1
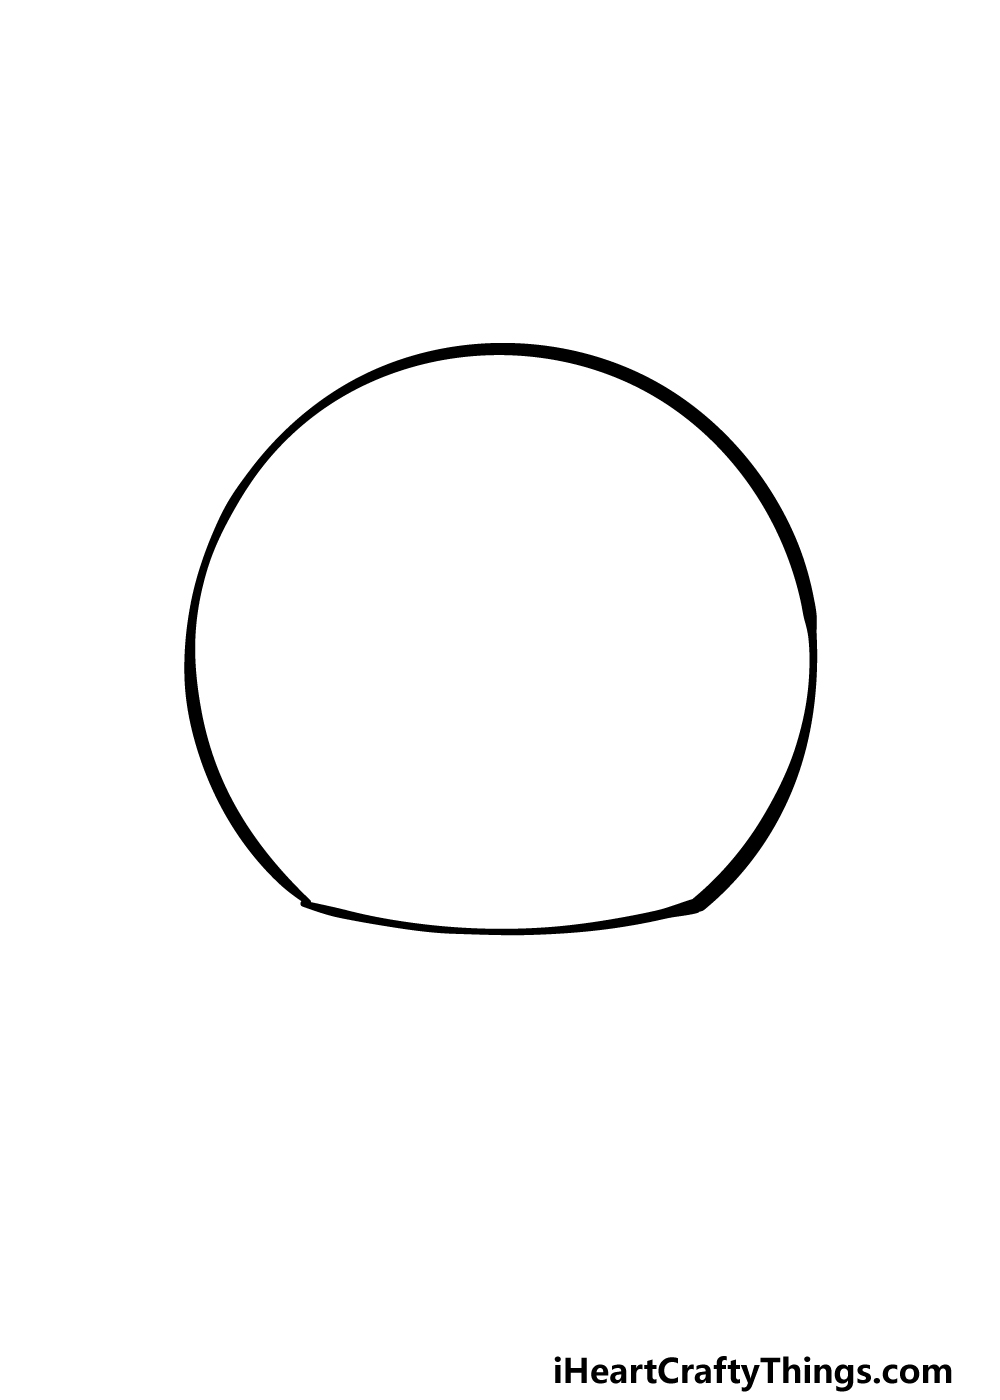
Without a glass ball, a snow globe would just spill water and fake snow everywhere! We wouldn’t want that, so for this first step of our guide on how to draw a snow globe we will begin with the glass ball itself.
This will be almost perfectly circular, so to make things easier for yourself you could begin by using a drawing compass and a pencil to draw a perfect circle.
Then, using your pen you could go over the lines. However, instead of drawing a perfect circle we will be drawing a fairly flat base for the globe.
If you used this method, you can then erase your pencil lines before we move on to step 2!
Step 2 – Now, draw the base of the snow globe

We mentioned how without a glass globe a snow globe would just be a big mess! In the same way, a snow globe needs a base to make sure that the globe doesn’t roll around everywhere.
That base is what we will be adding to your snow globe drawing in this second step.
First, draw a thin rim at the flat base of the globe. Then, extend some short, slightly curved lines down from the edges of this rim.
Finally, add another rim at the bottom of the base by drawing some more curved lines.
Step 3 – Draw the scene inside the snow globe

Every great snow globe needs a pleasant little scene inside of the globe, and this is what we shall start adding in this third step of our guide on how to draw a snow globe.
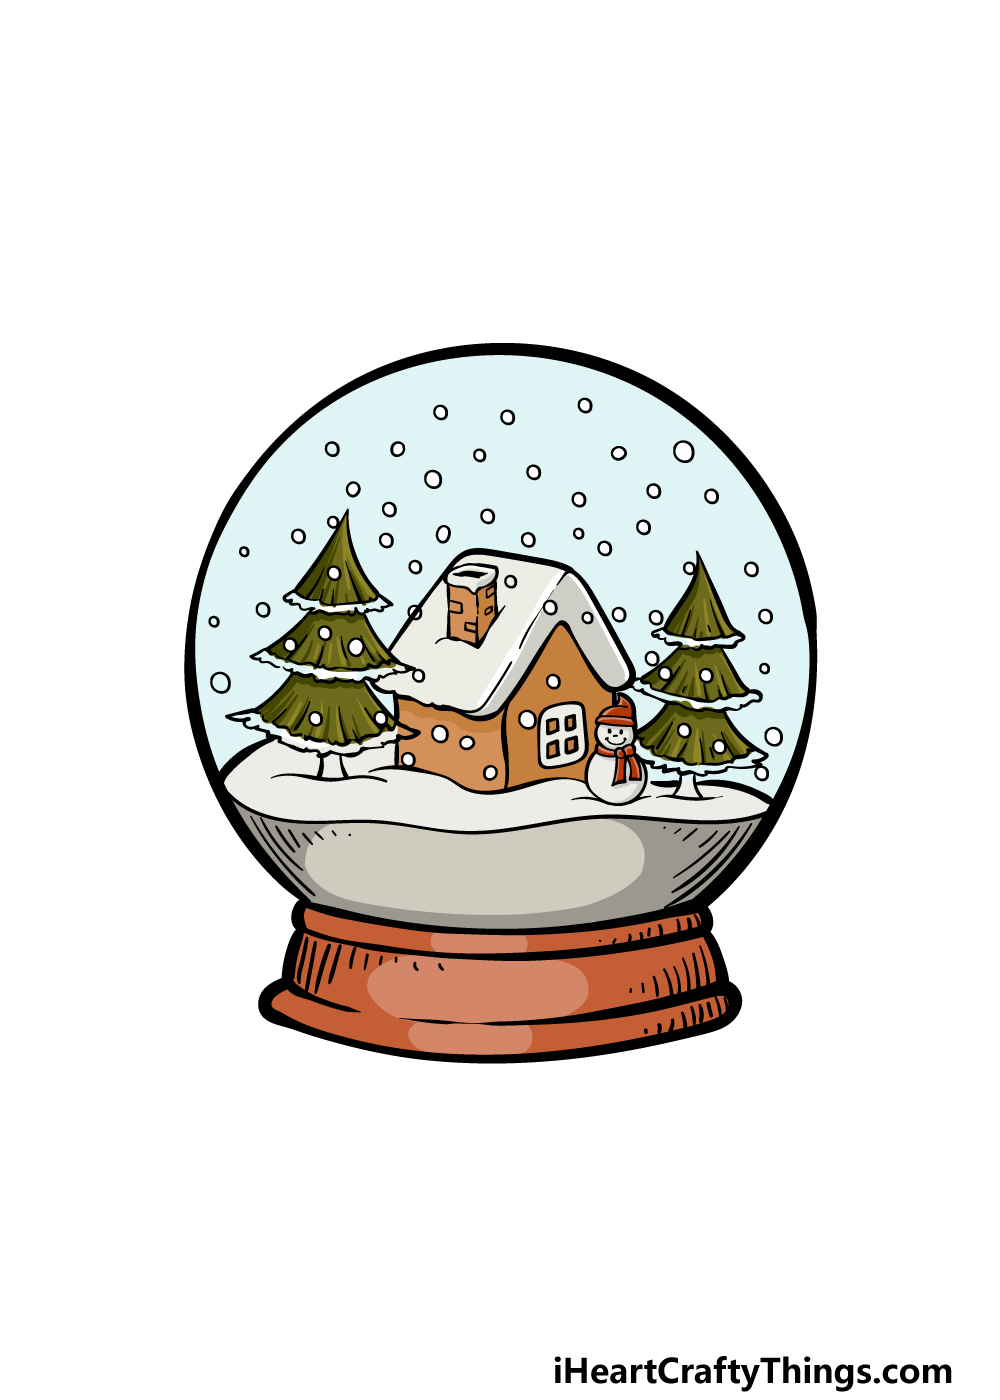
This is an element where you could also design your own scene, but in our design we will be drawing a charming little cottage with some pine trees.
First, use a wavy line for the snowy ground near the base of the globe. Then, we will draw the first of the pine trees. The tree will be drawn in several pointy, triangular sections.
Each section will get slightly wider as you move down, and each one will also have a thin rim at the base. Finish off by drawing the thin trunk at the base of the tree, and then we can move on to step 4.
Step 4 – Next, draw another tree for the scene
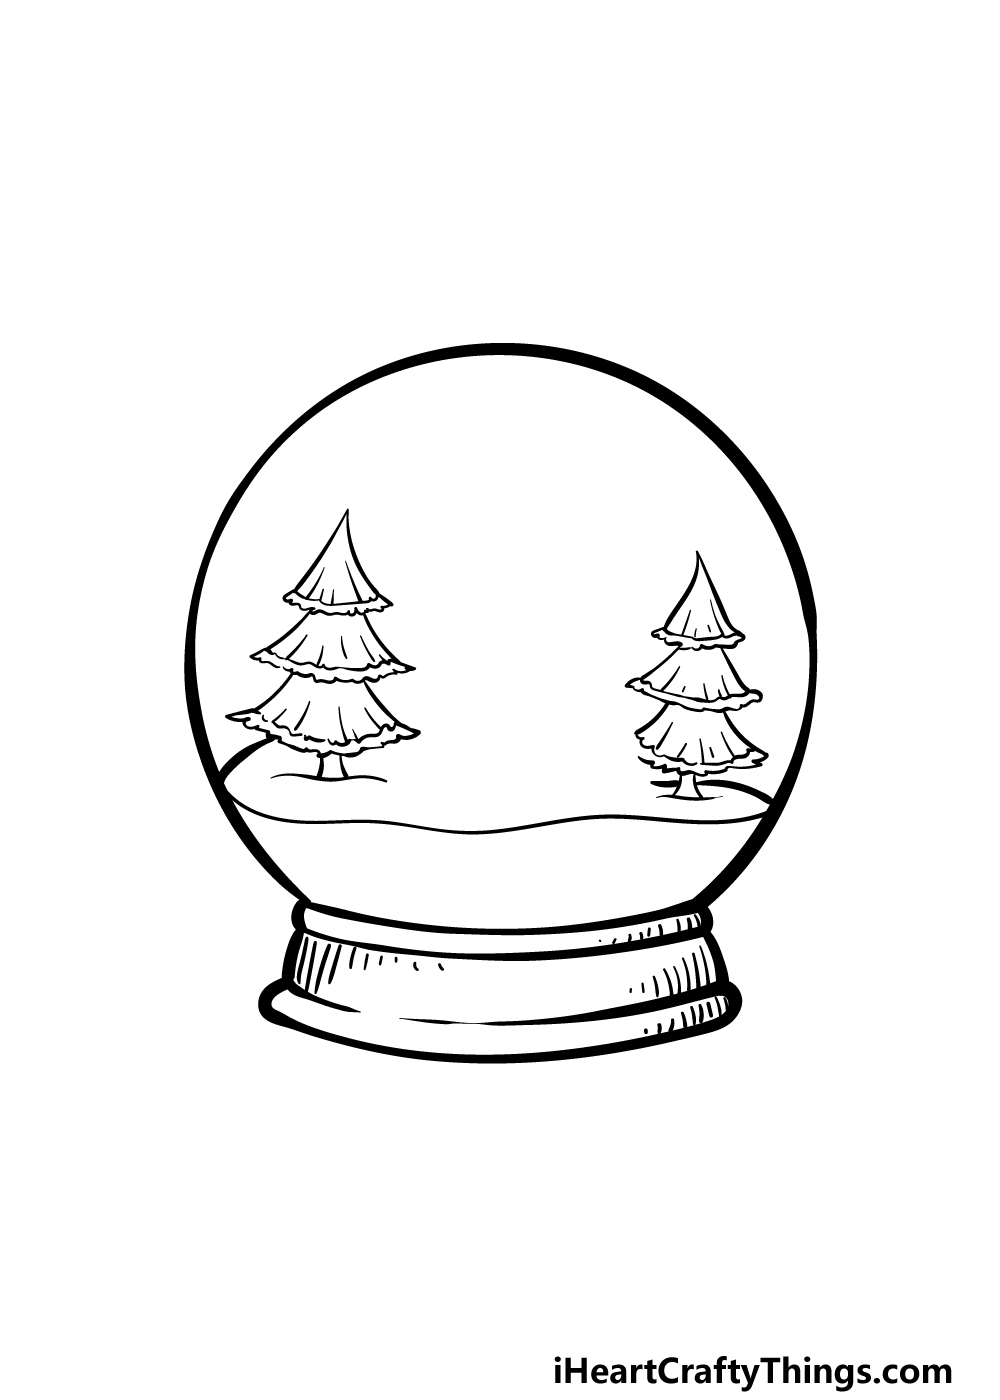
You’ve created one tree for the scene in this snow globe drawing so far, but we will be adding another one along with some smaller details in this fourth step.
Simply replicate exactly what you did in the previous step to add a pine tree on the left-hand side.
Once this second tree has been added, we will then draw some smaller details.
To do this, add some straight line details to the various sections of the snow globe base as well as on the trees themselves. These will help to make these aspects look more textured.
Then you will be ready for some final elements and details in the next step of the guide!
Step 5 – Add the final details to your snow globe drawing
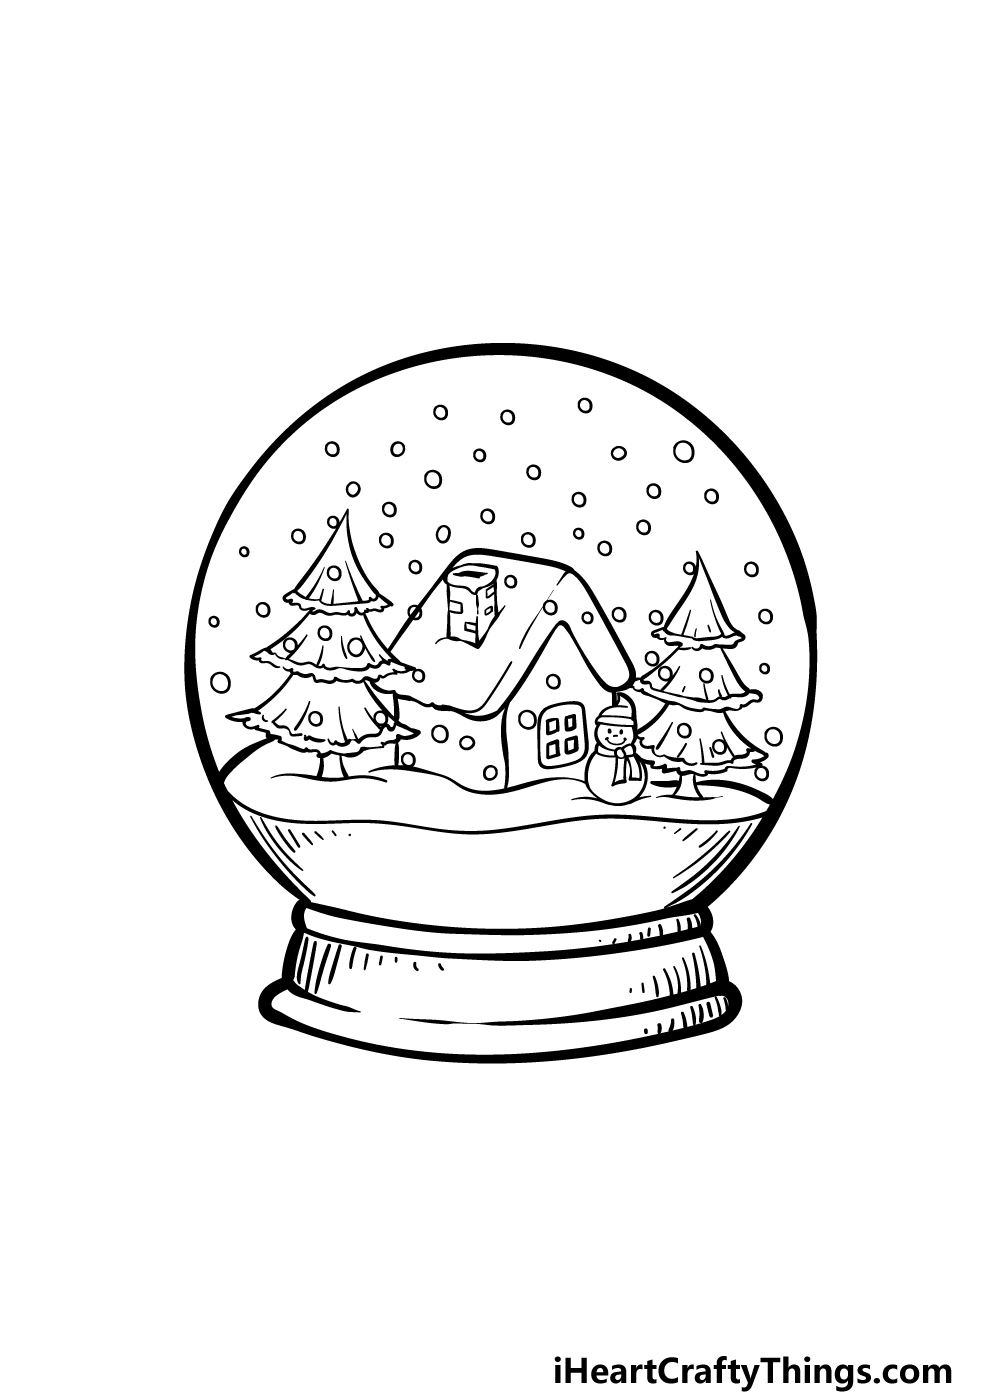
Now you’re ready to finish off the final details before we move on to the final step of this guide on how to draw a snow globe!
First, we will draw a little snowman that will be standing in front of the cottage. Speaking of the cottage, we will also be drawing that now.
The cottage will have a thick roof covered in snow with a small chimney as well.
Once the cottage is drawn, we will then add the fake snow. You could depict the snow by drawing some small circles inside of the globe.
In the next step, we will discuss not only the colors but also some creative ways that you could depict the snow!
Step 6 – Finish off your snow globe drawing with color
In the previous step of this snow globe drawing, we mentioned that we would be discussing some creative ways that you could depict the snow.
One way would be to use some thick drops of acrylic paints to create a bit of a more in-depth look for the snow.
Another way that you could do it would be to glue some small white beads or glitter onto the image. How else can you think to depict the snow?
Then, you can have some fun adding some cozy colors to the rest of the image. We would recommend some watercolor paints for a softer look, but what will you choose to finish it off?
Here’s how you can make your snow globe drawing even better…
These super cool tips for your snow globe sketch will make it even better!
This drawing of a snow globe shows one that has a very simple base. This works well, as no attention is drawn from the globe itself.
While this does work, you could still make the base a bit more elaborate. This would depend on your own personal taste, and you could make it as large or small as you like.
Would you use some kind of theme for the base or keep it simple?
Inside this snow globe, we see a charming little village scene. It looks wonderful, but you could also make a unique setting if you wanted to.
This is something you could really get creative with! If you love the little village but think it needs more, then you could make the globe bigger and then increase the size of the village.
Or, you may want to create a brand new setting inside of the snow globe. What do you think should be within the orb?
It can be easy to lose track of time when gazing into a snow globe. You could represent this by adding a human character gazing into the globe.
It would be a fun touch to use yourself as a model for this purpose! The character could be drawn in a cartoon style or a more realistic one if you prefer.
You also wouldn’t need to limit it to one character, as you could also add multiple characters enjoying the snow globe.
Whether you added human characters or not, adding a background would be a wonderful way to finish off this snow globe sketch. We would make the background as cozy as possible!
There are elements that could be added to make this image cozy, such as a roaring fireplace and maybe a mug of hot chocolate.
These are what came to mind for us, but what are some items and features you would like to have around you as you admire a snow globe?
Your Snow Globe Drawing is Complete!
You have reached the end of this guide on how to draw a snow globe, and you have a charming, beautiful image to show for it!
We hope that this guide made depicting this classic ornament a fun and easy experience.
Now that you have finished this design, you could create your own unique snow globe designs by changing up the details or the scene depicted within!
What ideas do you have for a unique snow globe?
If you had fun with this guide, you can find your next drawing guide to enjoy on our website. We have a huge selection with more coming soon, so keep checking in!
Please also remember to share your finished snow globe drawing on our Facebook and Pinterest pages for us to admire!