Music is something that is important to every culture, country and society around the world.
We create this music using all sorts of amazing instruments, and each one can be combined to make something really unique.
The saxophone is one of the most versatile instruments in all of music, and while it is often associated with jazz, it can be found in many different kinds of music.
It also has a really distinctive look, and this can be fun to recreate in art. Learning how to draw a saxophone can be a great way to represent this instrument in some fun and creative ways.
The instrument looks quite distinctive, making drawing it a bit of a challenge. That’s why we have this guide to guide you through the process and show you how easy it can be.
We will also go over a few ways that you can make the drawing even more unique and interesting. So put on your favorite music, grab your best art and drawing tools and let’s begin this guide.
By the end of it, you will see how fun and easy it can be to create a saxophone drawing.
How to Draw A Saxophone – Let’s Get Started!
Step 1
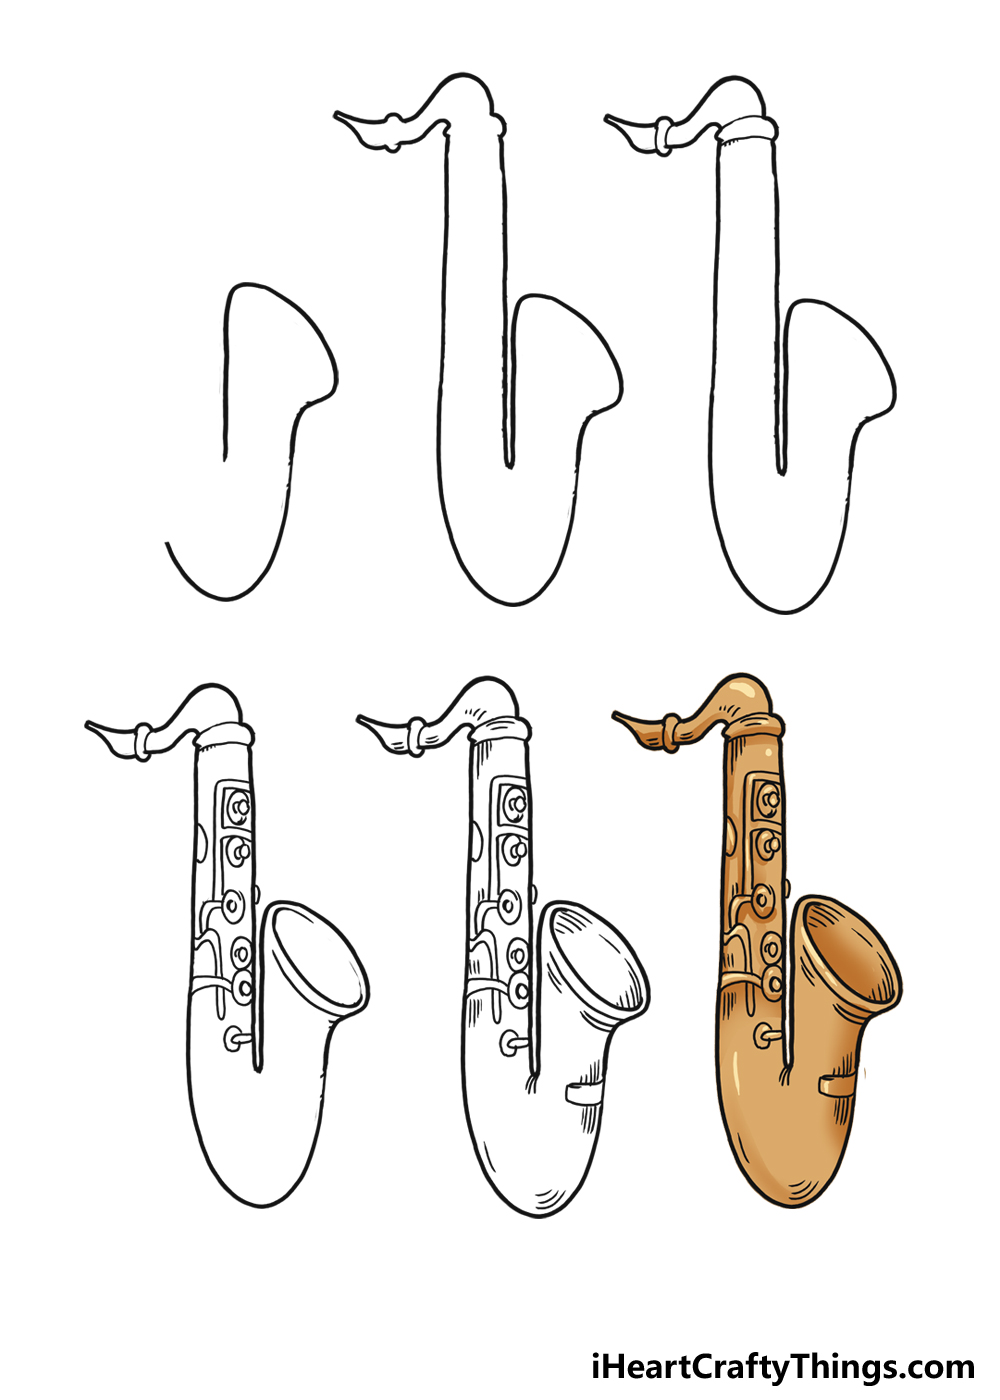
For this first step of our guide, we will be drawing the bell and the bow of the saxophone.
These are the technical terms, but these basically refer to the front portion of the saxophone that looks a bit like a pipe fanning out.
Before we draw this section of the saxophone, you may want to plan out your drawing using a pencil first.
You can do this by looking at the later sections of the guide and using your pencil to draw a rough outline of the saxophone.
It doesn’t have to be perfect, but it should more or less represent what the final version of the outline will look like.
Having this pencil outline will help you to keep the proportions of the saxophone accurate and consistent.
Then, we can start drawing the actual outline itself. Start with a very slightly curved vertical line for the left side of the bell section.
This will then fan out and then over in another curved line to create the ridge of the bell.
You can extend the bell down in a wavy line, and this will head down in a vertical line that curved sharply over to the left.
Some of this may sound complicated, but it’s simple when you know what you’re doing.
Just make sure to follow the reference image closely and use the pencil guide that we recommended earlier. Then, we can move on to step 2 of the guide and continue this saxophone!
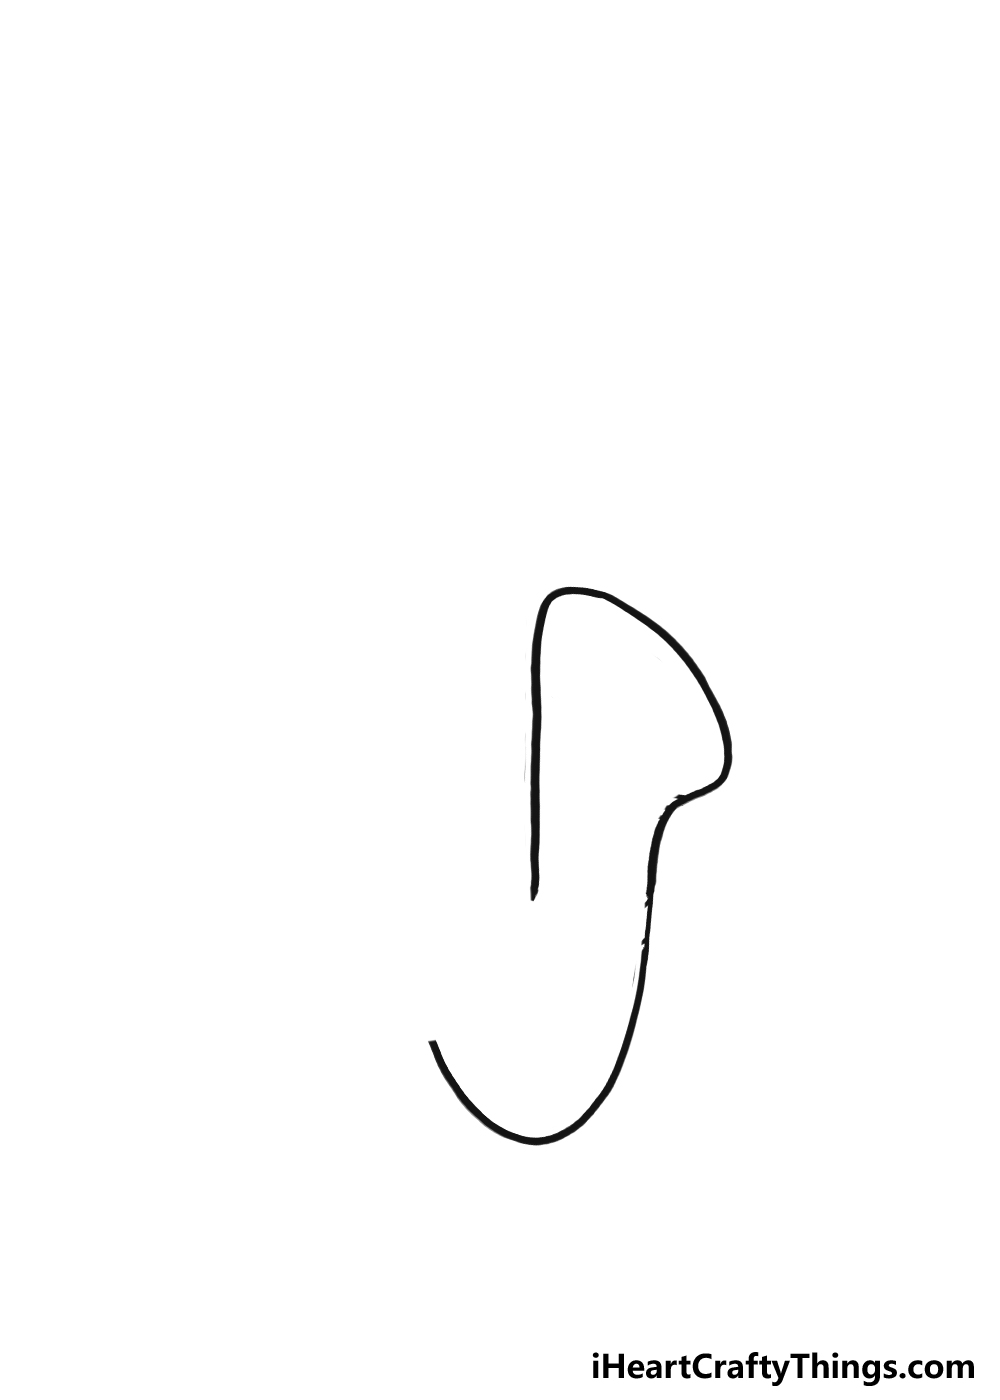
Step 2: Draw the rest of the outline

Now, we can draw the rest of the outline for this saxophone drawing. There will be quite a lot to add in this step, but we will take it slowly.
First, we will begin where we left off on the left-hand side of the bell that you started in the previous step. You can extend this line up in a vertical line to form the first side of the neck.
There will then be a small bump near the top of this line, and we will add some detail to that later.
Before we draw the mouthpiece section of the saxophone, we will first add the other side of the neck.
This will extend up from the curved base of the previous step and up, running parallel to the other side of the neck that we just drew. Once again, we will add a small bump opposite the other one that you drew.
Now, we can draw the mouthpiece section, which will be a bit fiddlier than what we’ve drawn so far. You can draw this section with two curved, wavy lines coming up from the bumps that you just drew.
These will extend to the left, and then there will be a few more bumps before you draw the slim mouthpiece itself.
There was a lot to draw in this step, but now that we have the outline as a whole, we will be able to add some finer details.
If you used a pencil outline to plan out the drawing, you can erase that now, as we won’t need it from now on. Then, it’s on to step 3!
Step 3: Add the small rims to the neck of the saxophone
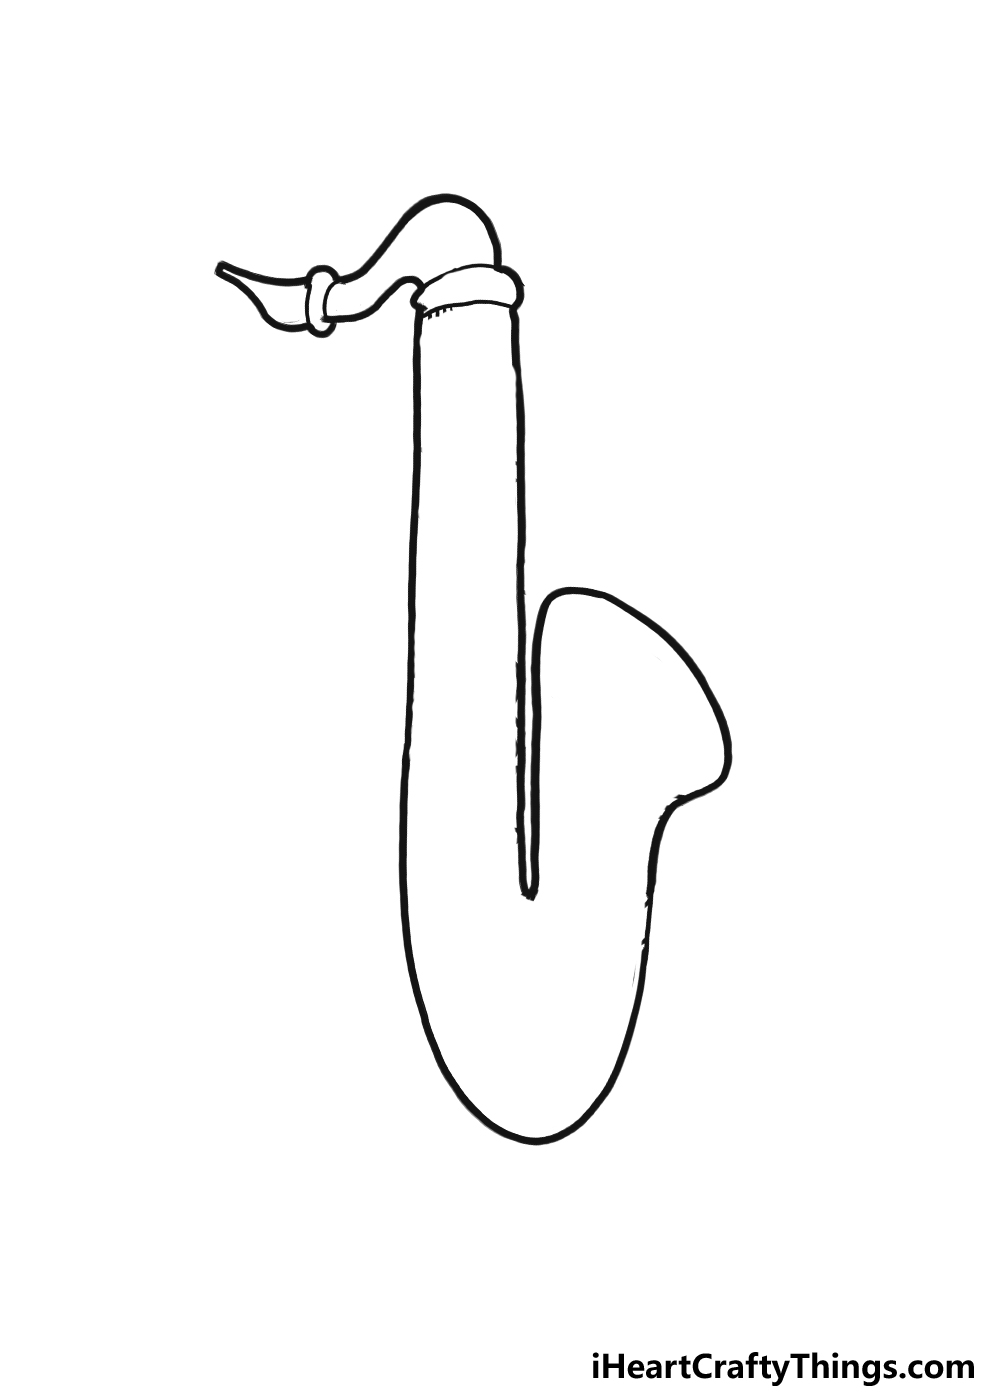
In this third step of the guide, we will be keeping things simple. For this one, you will be focused on the neck and the mouthpiece of the saxophone.
Specifically, we will be adding some simple rim portions to these two areas. The good news is that these details will be drawn with some very simple curved lines.
The not so good news is that you should enjoy this simplicity for now, as the next few steps will be a lot more complicated. That makes the next few steps sound scary, but don’t worry!
As always, we will go over everything you need to do so that you don’t get lost. But, we will cross that bridge when we come to it, and for now we will focus on these simple details.
You’ve already mapped out where these sections will go, as you added those small bumps in the outlines.
The first one will go very near the mouth piece, and it will be composed of some small, simple curved lines.
Next, we will add another larger rim section to the other set of bumps that you drew further down on the neck. Once you have added that one, we will be ready for the next step, so let’s head there when you’re ready.
Step 4: Now draw the keys and other details

When you look at what we will be adding to your saxophone drawing in this step, it may seem a bit intimidating. There is a lot that we will be adding, but it’s all made up of basic lines and shapes.
When playing a saxophone, you will press down on some round keys, and we will add these to the saxophone now. These will go on the body of the saxophone, and we will draw 5 of them.
They’re arranged more or less in a row, but some will stick out a little. Each one can be drawn with a simple oval outline, and then we will add a small round shape inside each one.
It’s really as simple as that, and you could add a few more of these keys lower down to make the saxophone even more accurate.
We went for a more cartoony approach in our example to make it simpler to learn, so there would be more of these on a real saxophone.
Once you have drawn these keys, we have a few more details to add. There are some intricate lines on the body of the saxophone between the keys, and these are drawn with some curved lines.
When drawing these, we would recommend looking closely looking at and replicating these lines between the keys.
Once you have added these lines, you will see that the saxophone is really starting to take shape!
In fact, you have all the major components of the saxophone drawn, so the next step will be about drawing some smaller details as well as adding your own ideas, additions and details.
So let’s go right on to step 5 to finish off the final details and try out some of your unique ideas.
Step 5: Draw the final texture details for this saxophone drawing

That previous step had some tricky elements, but now we can take it easy with some smaller, simpler details.
These should be easy enough to add, and this is where you can change things up a bit.
You will see that we added some curved lines all throughout the saxophone to give it some more defined form and texture.
These lines are very simple, but they help a lot to make the saxophone look more defined.
Once you have added these texture and form details, you’re ready for the final step! Before you head to that step, however, there are some additions you can make.
This is where you can take over and make this drawing more unique to you. There are many ways that you can do this.
It could be something simple like adding some music notes around the saxophone to make it look like music is being played. You could even draw a cartoon character playing the saxophone!
If you would like to create a full orchestra, you could draw some more instruments that you think would go well with this saxophone.
Drawing a background would also be a great way to give this drawing more sense of place.
These are just a few ideas, and we have kept them vague so that you can add some of your own. These suggestions work as a good starting point for your imagination to take over!
When you’re happy with how your drawing is looking, we can finish it off with some awesome coloring fun in the final step of the guide.
Step 6: Now, finish off with some color for this saxophone
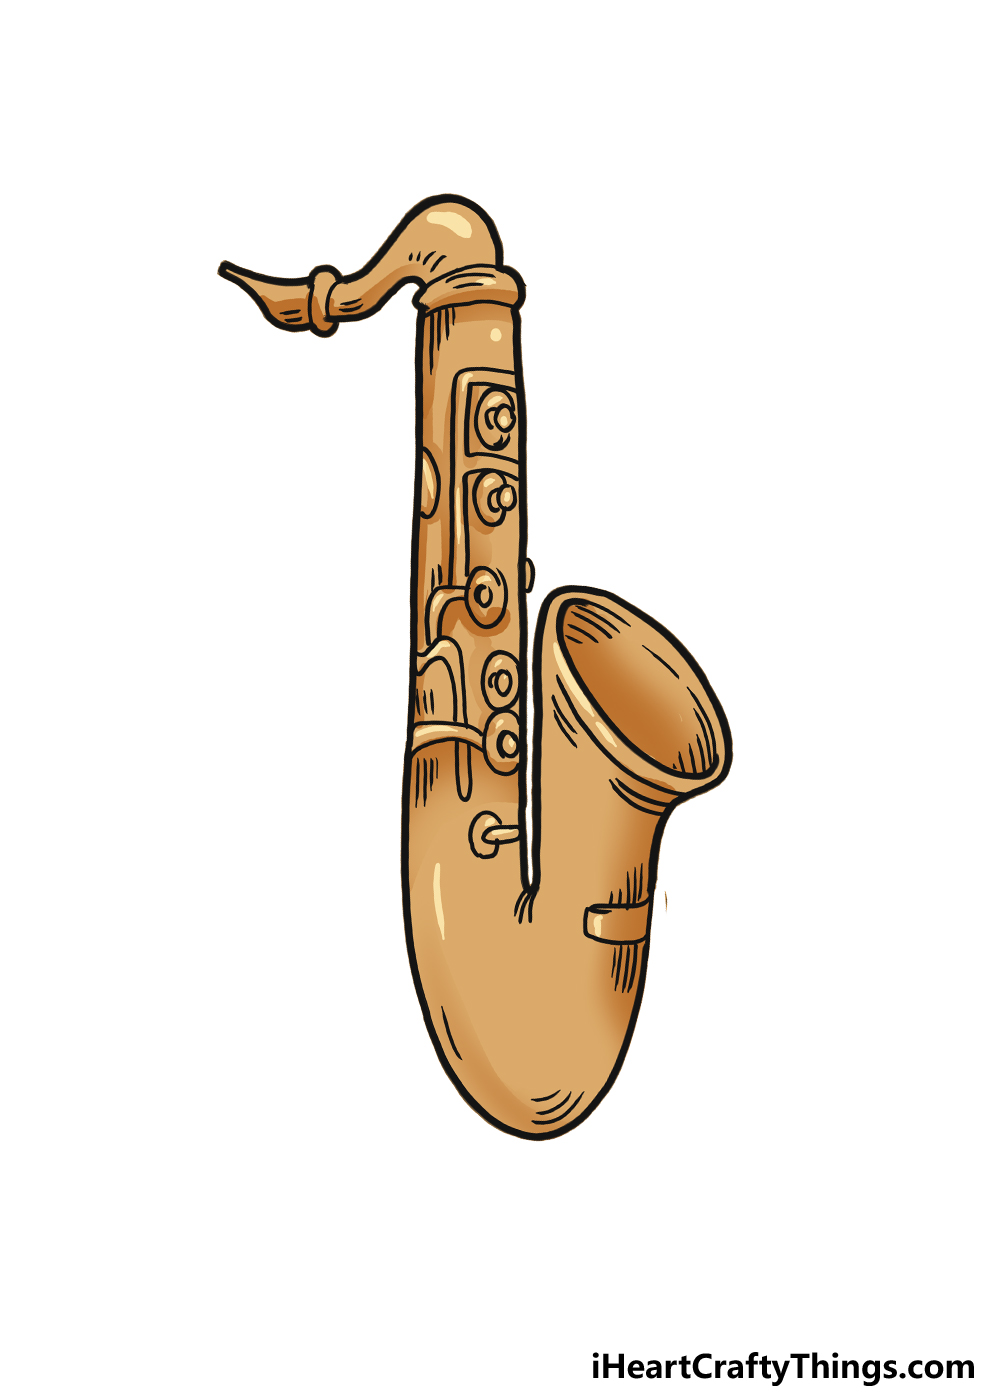
Despite the fact that a saxophone is considered a woodwind instrument, they’re actually made of bronze, traditionally.
We will attempt to recreate this bronze color in the saxophone we’re creating here.
In our reference image, we show you one way that you can do it with some regular colors. We used some gold tones for the saxophone to capture the look of saxophone.
You will see that various shades of the color were used to create some different tones. It also makes it look like there is light reflecting on the bronze.
You could recreate this look with pretty much any coloring tools that you may have on hand, and it all comes down to the tones that you use.
Try to examine our example and see where we used light and dark tones.
If you want the colors to look bright and vibrant, then you can use colored pens or markers to achieve this effect.
Some colored pens even have a metallic look to them, which would be perfect for this saxophone.
If you have some other crafts and art tools on hand, then that would be great too. For instance, you could add some sparkle to this drawing by using some light sprinkles of glitter.
These are just a few of the ways that you can get creative with your colors. You also don’t have to stick to realistic bronze colors if you want to do something more stylistic.
This is where you can really show off what you can do and go to town with your colors and art tools!
Your Saxophone Drawing is Complete!
We hope you enjoyed having some musical art fun with this guide on how to draw a saxophone. The saxophone is a very distinct instrument, which makes it fun and tricky to draw in equal measure.
Despite the challenges of this drawing, we hope that the steps of the guide made it easy and fun for you to take on.
We not only wanted to make this drawing easier, but also wanted to leave it open enough for you to add your own ideas.
When you have completed your jazzy artwork, you should feel free to share it on our Facebook and Pinterest pages.
It’s always awesome to see how your pictures turn out, so we would love to take a look at this saxophone when it’s completed!