It’s time for festive fun as we learn how to draw Santa Claus! Anyone can follow along and have a great time as we recreate jolly Saint Nick.
When Christmas is near, you will see all sorts of decorations going up, many of which will feature Santa himself. To get into the spirit, you can create your own art featuring Santa.
It may prove to be more difficult than you expected, and that’s why this guide was created! By the end, you will see the easiest way to make a cartoon Santa design of your very own.
The guide has been designed so that all ages can enjoy it, and you will see how to make his iconic red suit, hat, beard and other aspects we associate with Santa.
It all begins with the first step, so let’s dive in and get this festive celebration started right now!
See How To Make A Santa Clause Drawing By Watching This
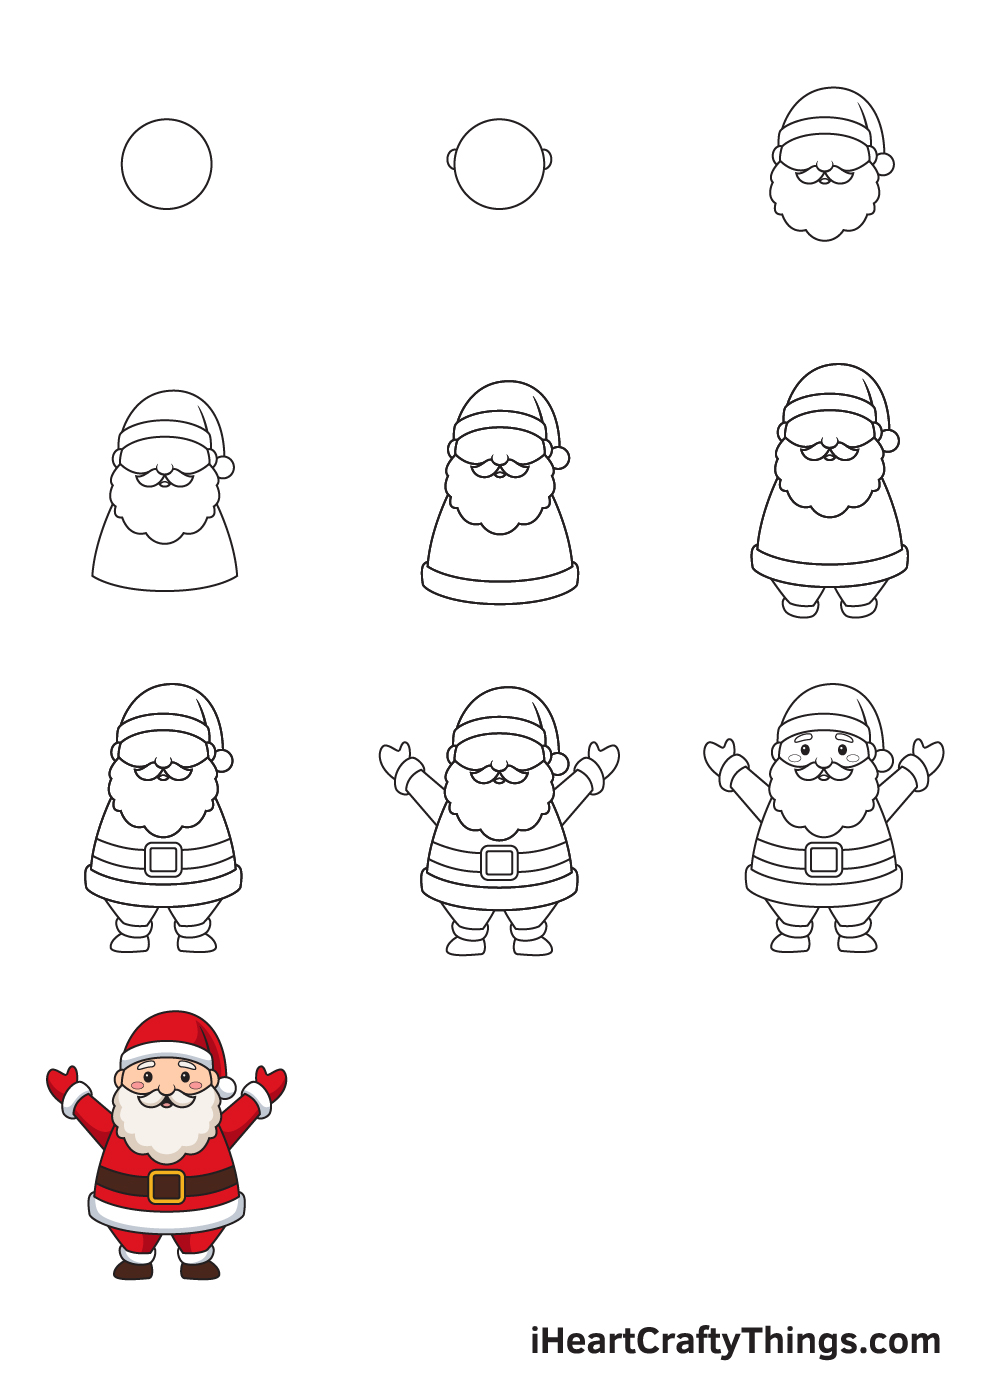
How to Draw Santa Claus – Let’s get started!
Step 1

Draw a perfect circle in the middle of the upper portion of your paper.
If you can’t freehand a perfect circle, there’s no need to worry! You can always use a compass, a drawing tool that helps you draw a perfect circle quickly and effortlessly.
To ensure that the outline will be positioned in the middle correctly, draw a horizontal and a vertical line across the paper to create reference lines. The vertical line above the horizontal line is where you should draw the circle.
Step 2 – Draw Santa Claus’ Ears
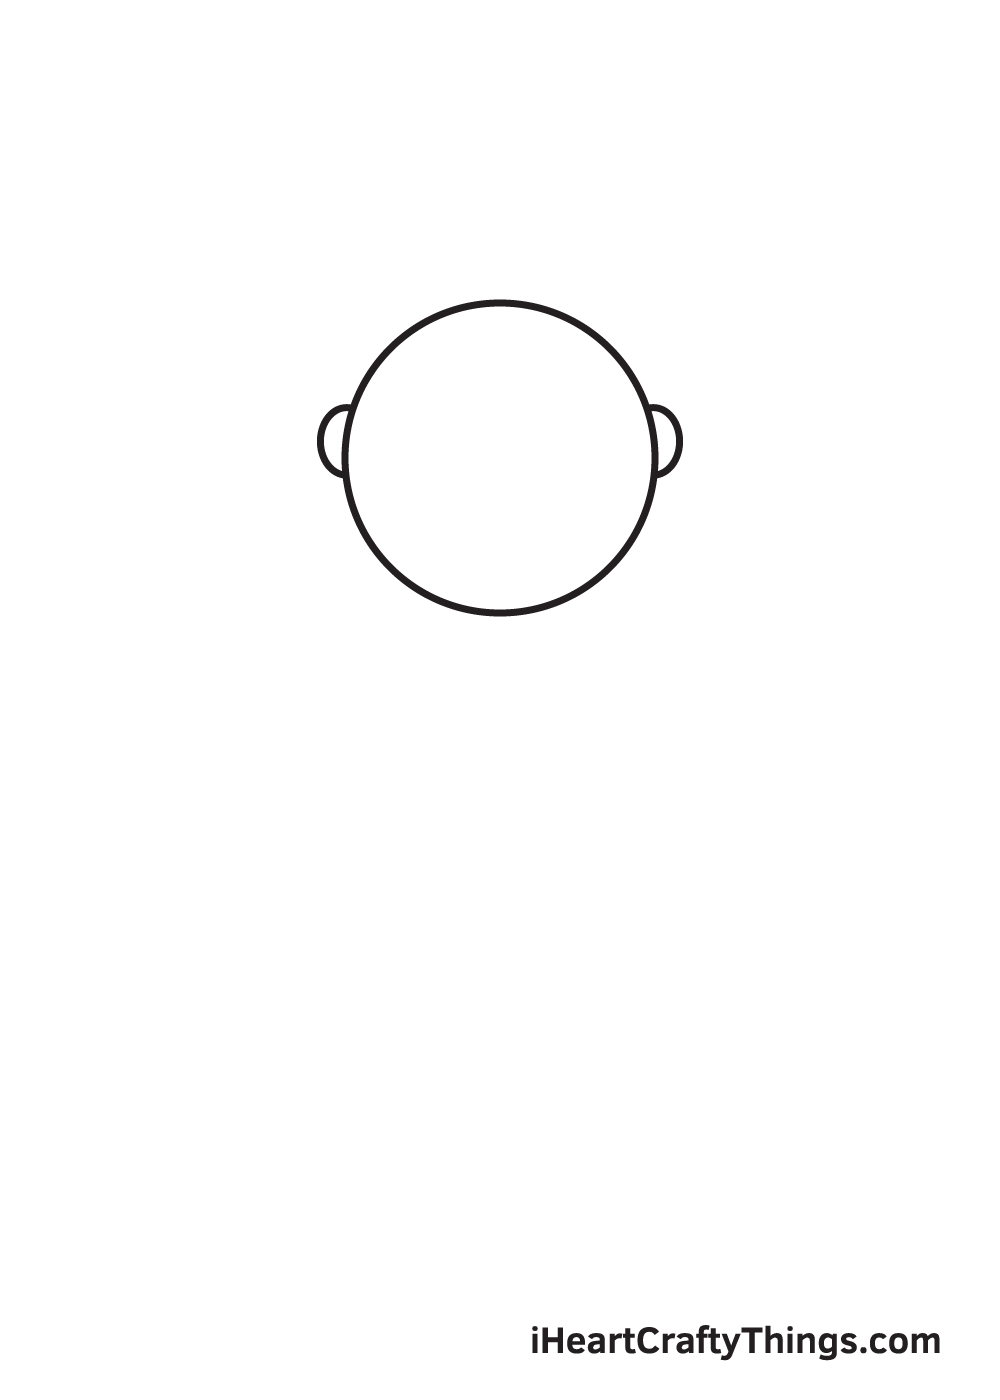
Draw a halfway circle shape on each side of the outline of the face. This outlines Santa Claus’ ears.
Make sure that the ears are identical and drawn within the same level. In order to ensure that the ears are aligned, you can make use of reference lines on the face as well.
Step 3 – Draw the Distinct Facial Features

Right above Santa Claus’ head, draw a Christmas hat, as shown in the illustration.
In the middle of the face, draw a curved line for the nose with a moustache right underneath. Then, at the bottom of his face, create a long, stubble beard by drawing continuous curved lines to make the beard look thick and fluffy.
Step 4 – Then, Draw the Torso or the Upper Body
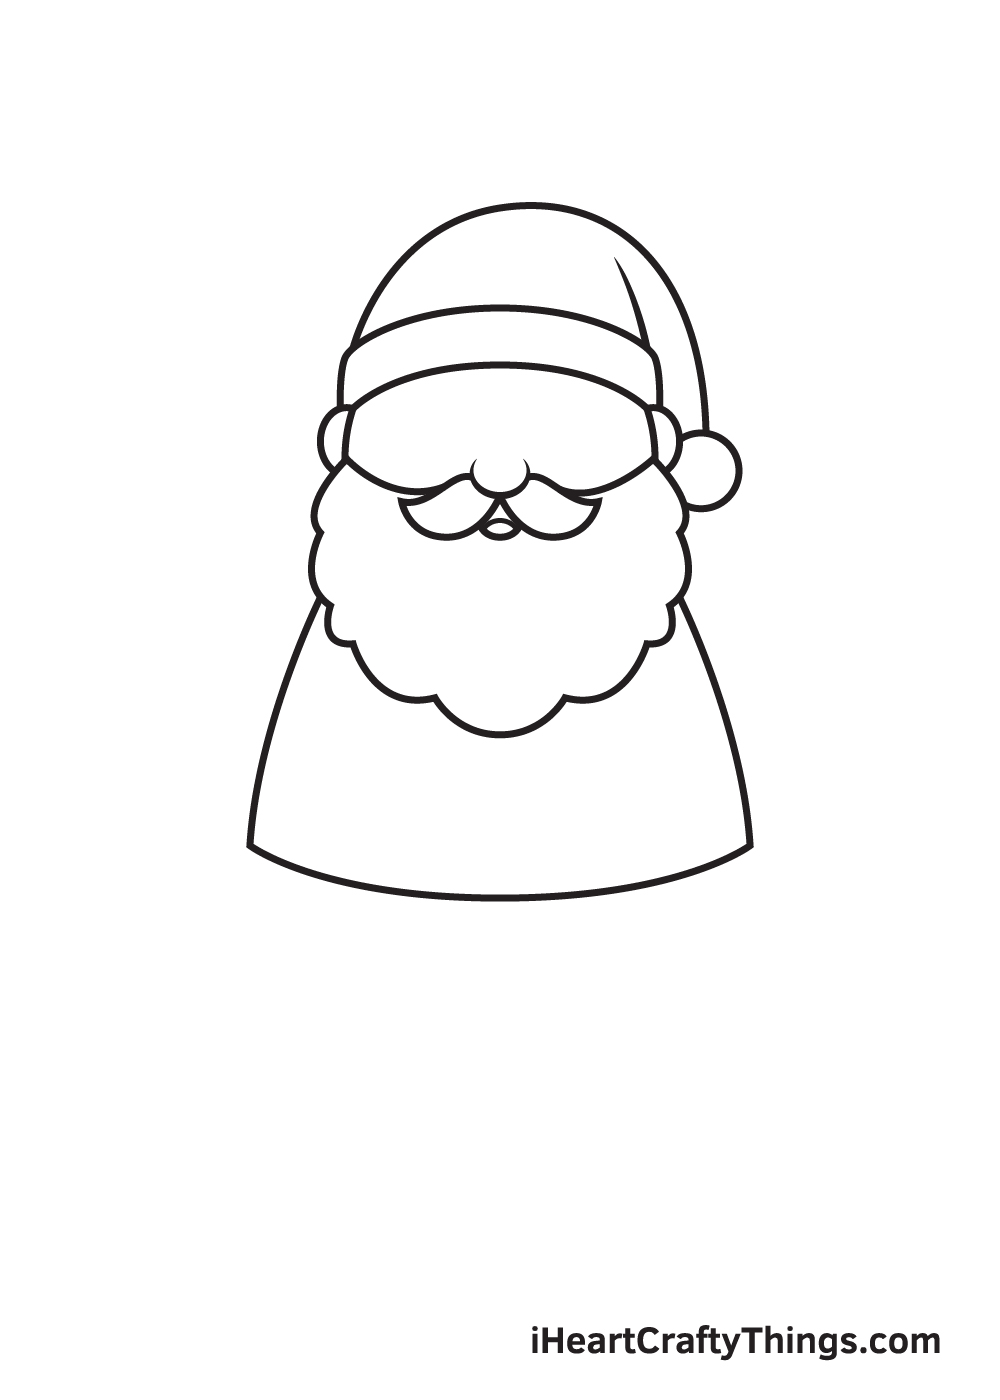
Draw the upper body of Santa Claus underneath the beard.
Santa Claus is naturally on the beefier side, so make sure to make the body chubby.
Step 5 – Draw the Hem of the Jacket
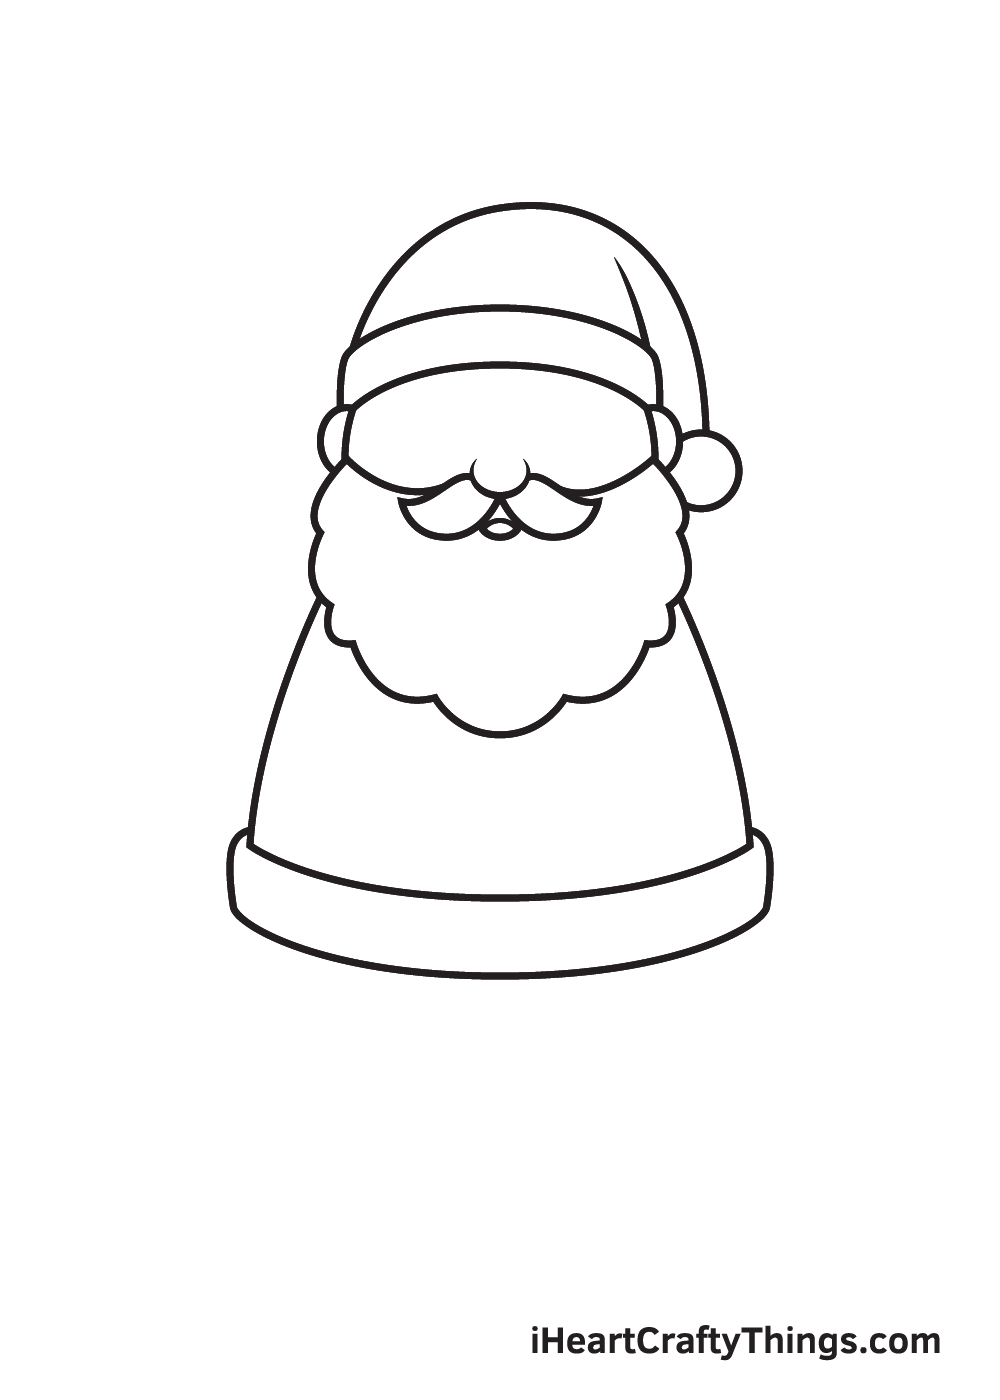
Create the hem of the jacket Santa Claus is wearing by drawing a rectangular outline following the edge of the clothing.
Step 6 – Draw the Legs of Santa Claus
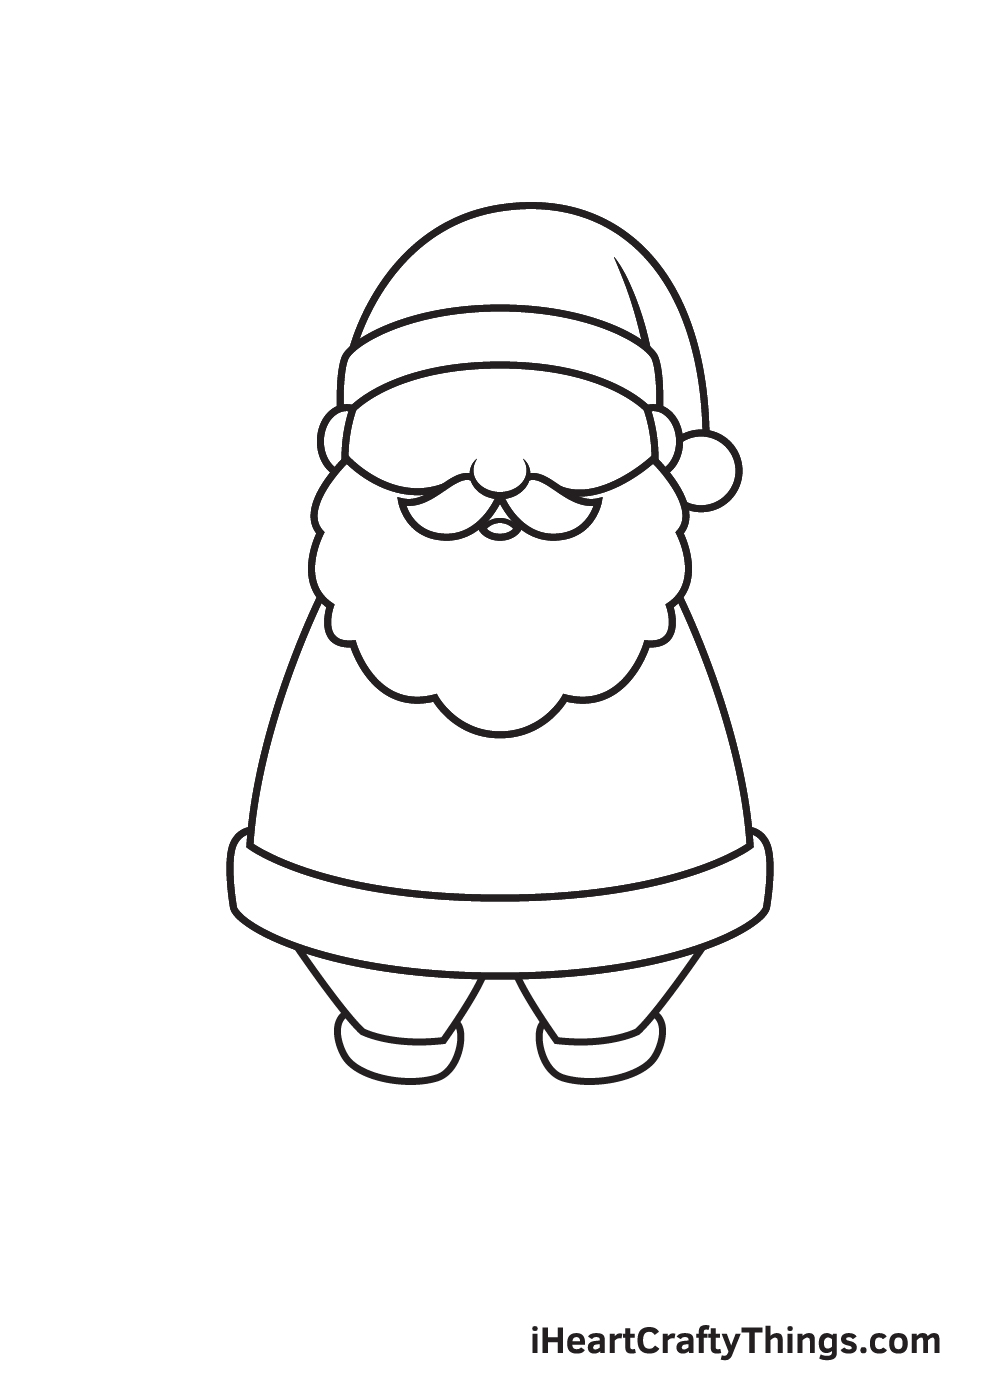
Draw two diagonal lines leaning towards each other for each leg. The shape of the legs must be wide at the top and narrow at the bottom.
Then, draw a cuff at the bottom of each leg. Try to keep the legs aligned and in proportion.
Step 7 – Draw the Shoes Paired With a Belt
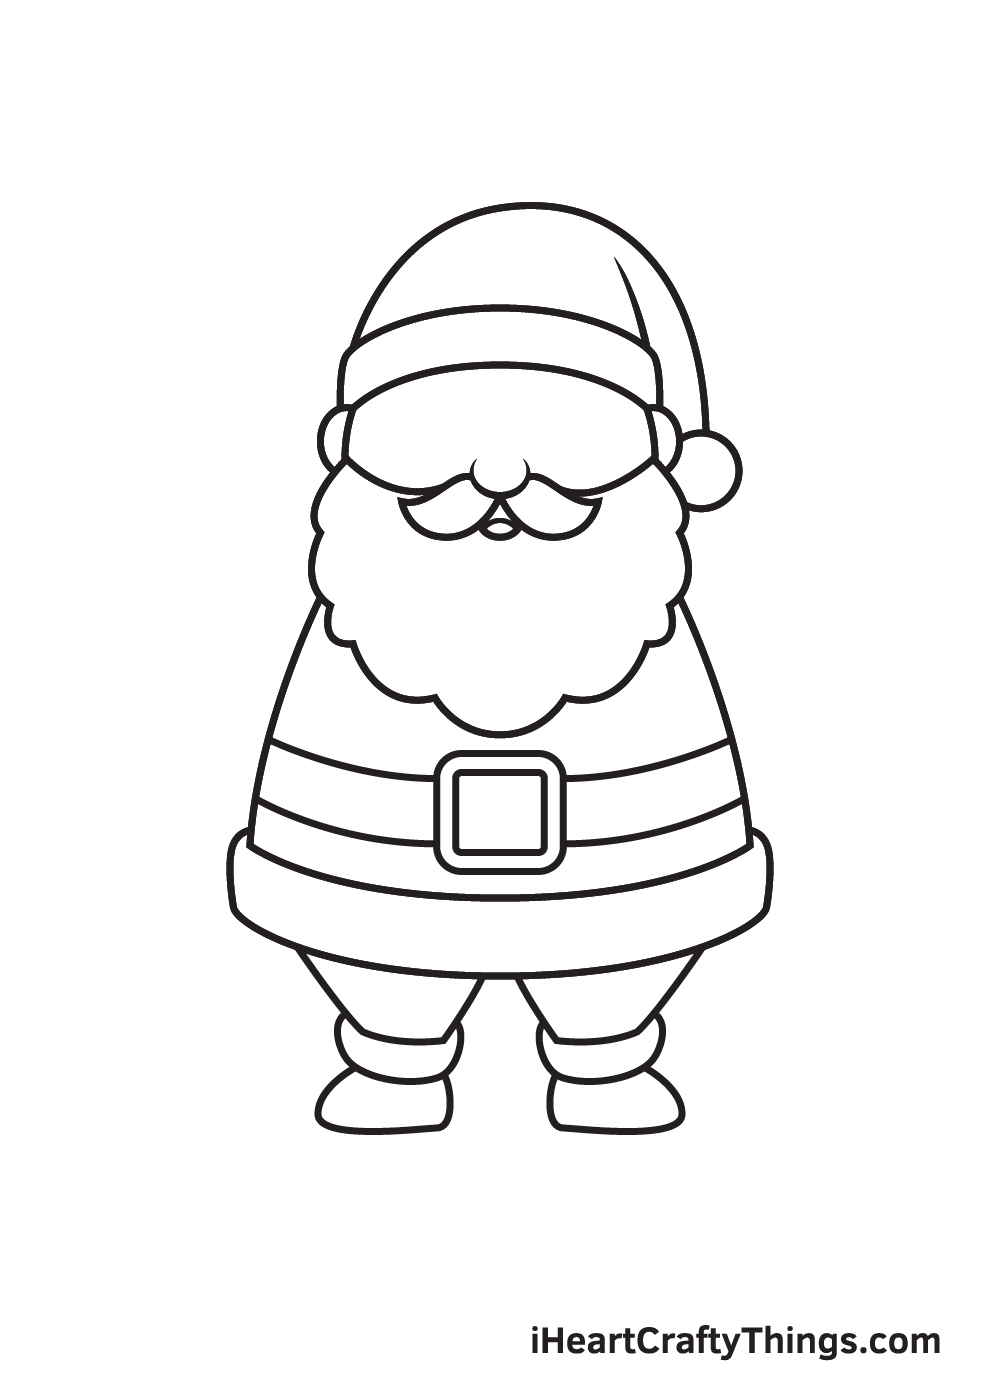
Draw a wide belt in the middle of the torso. Afterwards, draw the shoes underneath the cuff on each leg.
Step 8 – Draw the Arms of Santa Claus
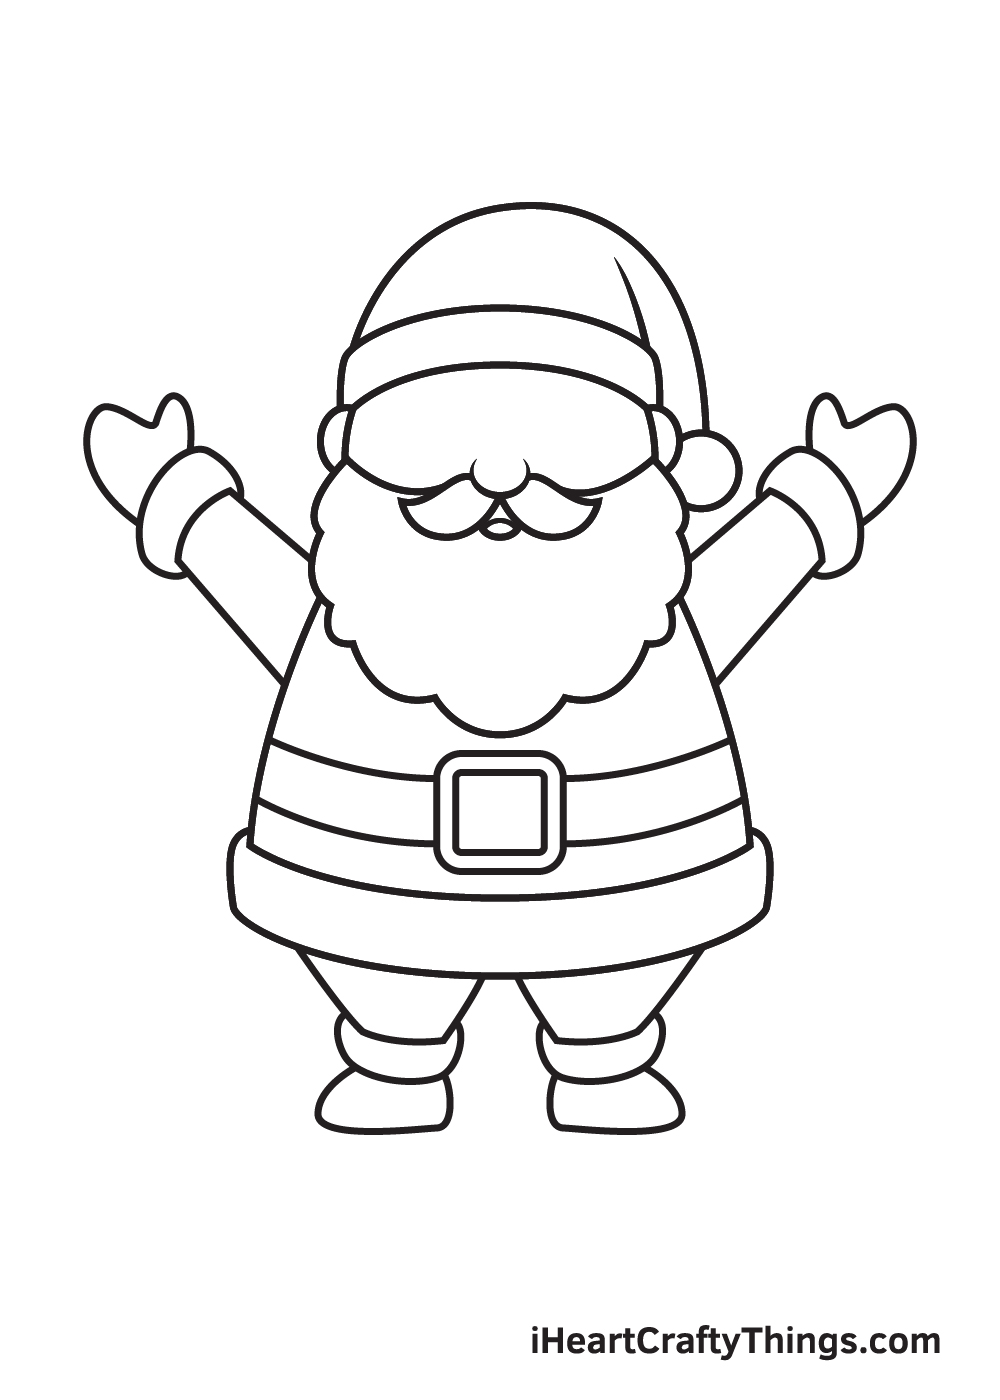
To create Santa Claus’ arms, draw two upward diagonal lines on each side of the torso with a cuff at the bottom. Then, draw the hands wearing a pair of gloves beneath the cuff.
As you can see in the illustration, Santa Claus’ arms are both raised upwards. You can opt to draw the arms in the same place or position the arms however you like.
Step 9 – Add Santa Claus’ Facial Features
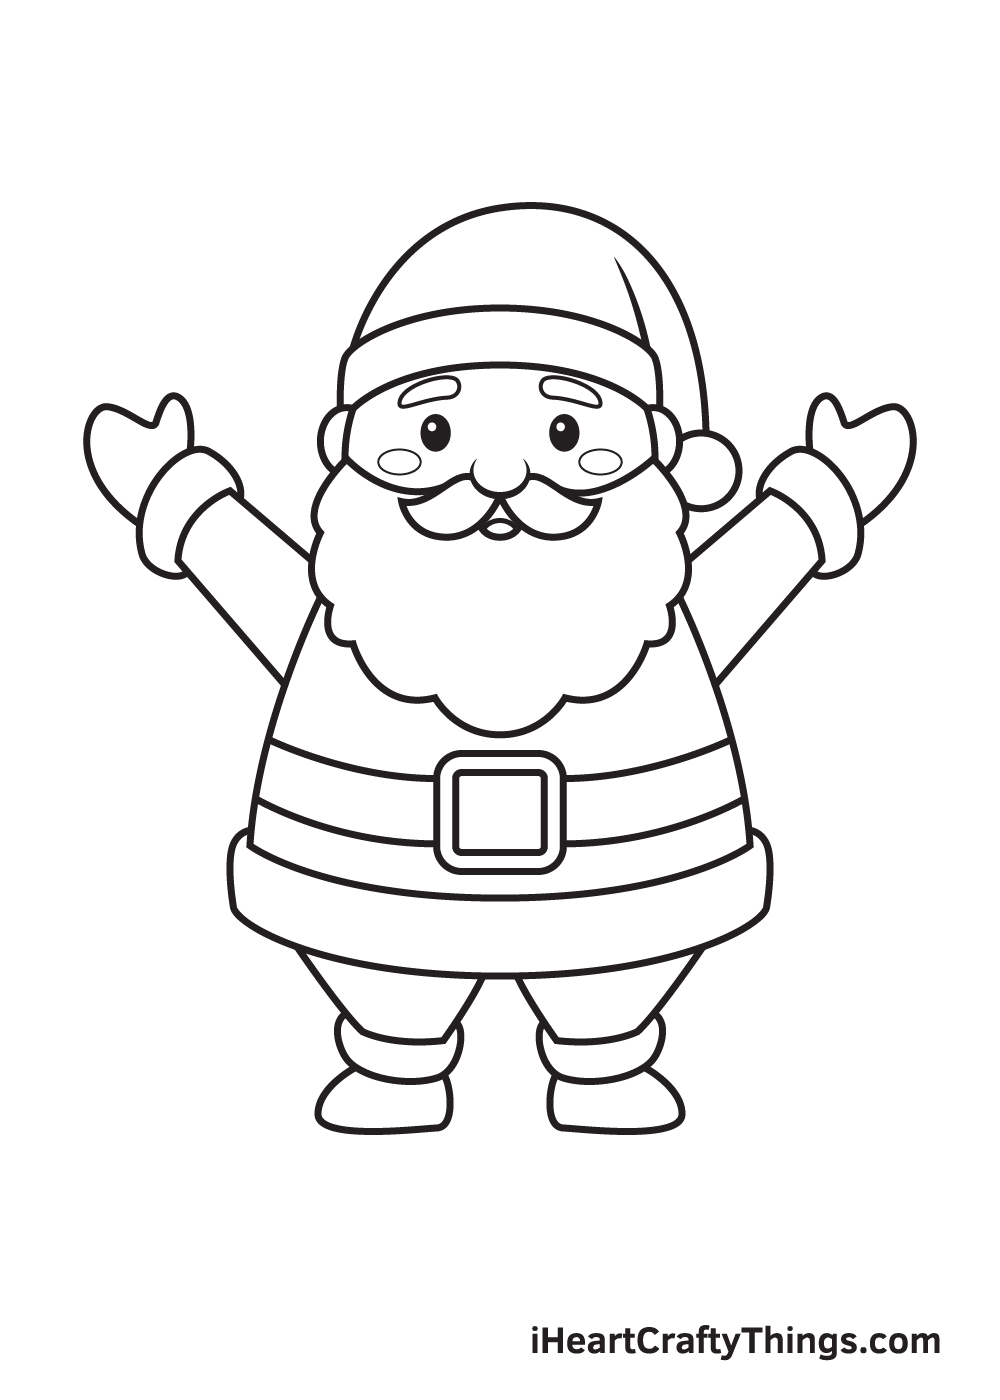
Now that we have finished drawing the whole body of Santa Claus, it’s time to draw the facial features to add an expression in Santa Claus’ face.
Start by drawing the outline of his thick eyebrows. Then, right underneath the eyebrows, draw two small oval shapes for the eyes. Shade the eyes while leaving a tiny dot unshaded. Don’t forget to draw a sideways oval shape on each cheek to create a blushing effect.
Here, you can see the Santa Claus drawing is nearly finished! The only thing it’s missing is a dash of multiple colors to complete your artwork!
Finally, here is the most exciting part—filling in the colors for your awesome drawing! This is the part where you can show off your artistic skills and your ability to mix and match various colors.
Santa Claus’ hair, moustache, and beard are all as white as snow. It is believed that the color of his hair is not a result of his old age, but it actually lacks pigmentation, thus it is translucent. He also typically wears a red-colored Christmas outfit adorned with white fur.
Feel free to color your Santa Claus drawing using any colors you like and watch as your drawing ultimately comes to life! And while you’re at it, why not try experimenting with different coloring materials such as watercolor and brush pens as well?
3 More tips to make your Santa Claus drawing easy!
Have a wonderfully festive time with these tips to make your drawing much easier!
Santa Claus has many different interpretations throughout different cultures, but he is most often portrayed in his red and white suit.
The first tip we have for this Santa Claus sketch is to refer to different portrayals of this figure as a reference.
Especially around Christmas, you will find images of Santa all over various stores and other places!
You can look to these portrayals or look up some online to get limitless inspiration for your own interpretation here.
There is nothing wrong with getting inspiration from around you as you create your own festive masterpiece!
We showed you how you can use basic shapes to make this Santa Claus drawing much easier in our guide. However, even with the shapes we showed you it can still be a bit of a challenge!
If you find yourself struggling, then you can use even more shapes to help you out with other elements.
Whether his hat, limbs or any other parts are giving you issues, you can draw some simple shapes first.
You can use your pencil to help you out, and then go over with your pen later. The best part is no one will ever see your planning lines, so use as many as you need! When using your pencil for help, try your best to draw as lightly as possible.
Finally, when you are trying to make this Santa Claus drawing easy, don’t be afraid to roll with some mistakes. For example, maybe you slipped a bit and drew his arm at an angle you didn’t intend.
Maybe that can be turned into a friendly wave! Sometimes little mistakes can help to make a drawing even more unique.
Also, don’t be shy about experimenting as you go, as you can deviate from our design if your inspiration leads you elsewhere.
When you have used these tips we have shared, you will have a wonderfully unique drawing of Santa Claus before you know it!
Your Santa Claus Drawing is Complete!
We hope you enjoy this step-by-step tutorial on how to draw Santa Claus. With this guide, you can surely draw and color Santa Claus along with its complex features and elaborate details in no time.
And the most fun part is, you can customize its physical attributes and play with various colors as much as you like!
We are always updating our “How to Draw” catalog, so make sure to keep checking back on our website to take advantage of newly uploaded tutorials.
All you need is a pen and paper and you’re all set to start drawing! We are excited to see what you will draw next. We’re sure it will be just as amazing as this one!
Once you’ve finished your masterpiece, we’re certain you must be feeling very proud of yourself—as you should be! Completing this Santa Claus drawing is definitely fulfilling.
Make sure to show off your work of art and share it on our Facebook page and on Pinterest. We’re sure it looks amazing! We can’t wait to see your colorful Santa Claus drawing!