The human skull is usually associated with death and danger, even though in its basic form it is just an important part of the skeleton.
It can also be a thing of morbid beauty as well, however, and often it is contrasted with traditionally happy objects such as flowers for a pretty juxtaposition.
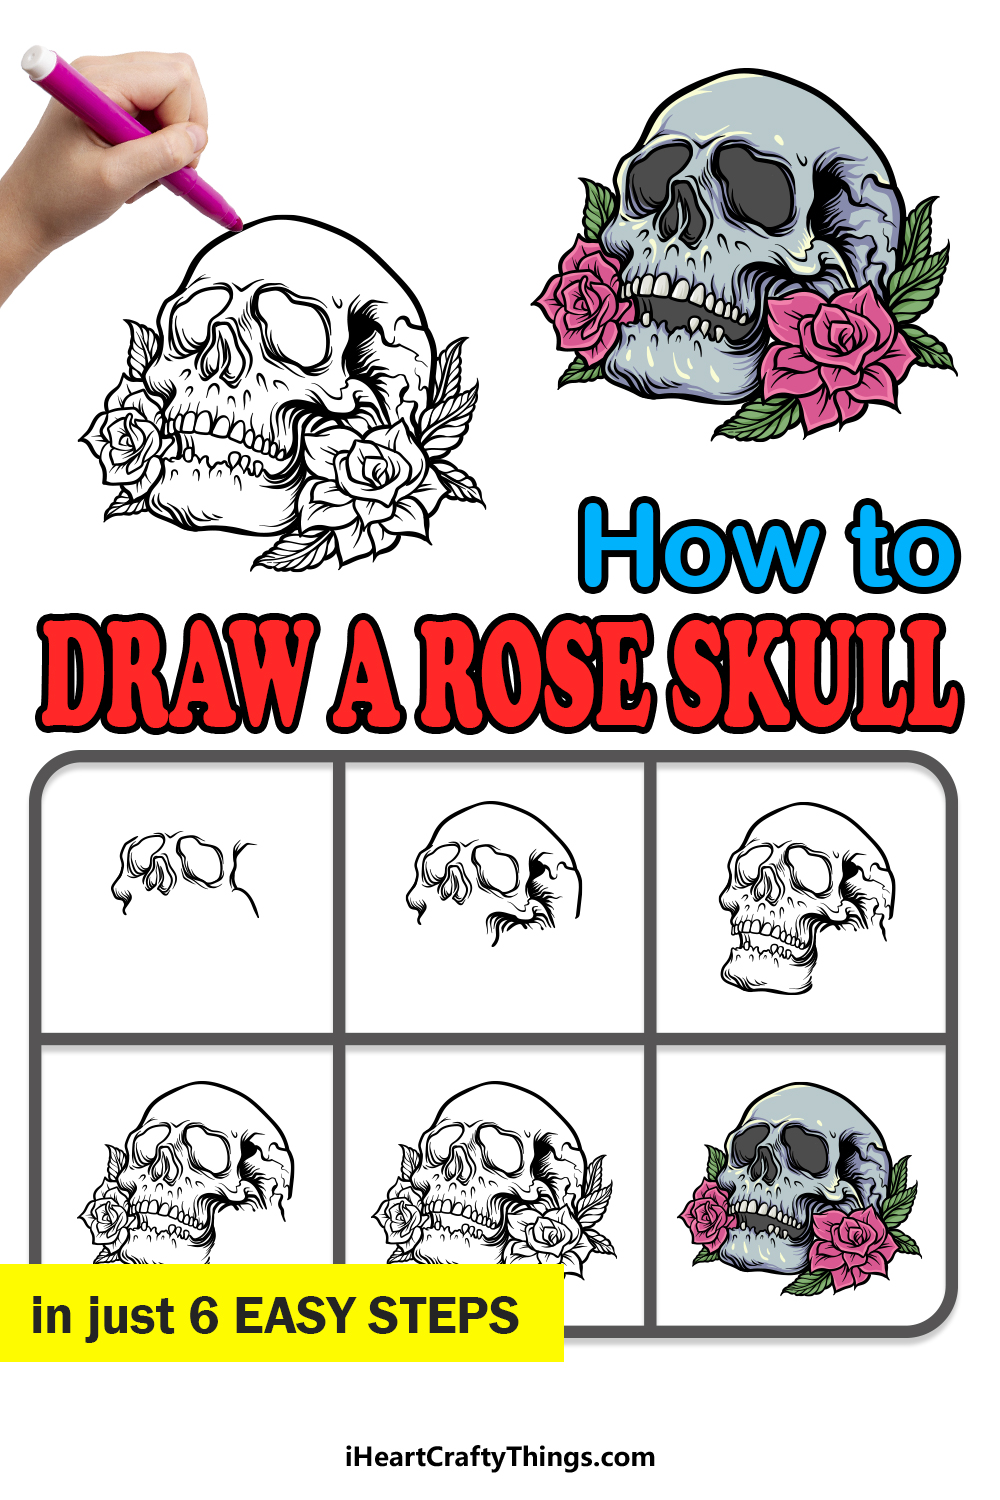
Learning how to draw a rose skull can be a great way to bring some beauty to a symbol of death, and if you would like to create that kind of image you’re in the right place!
By the end of this guide, you will be able to draw this yourself with ease!
We hope you have a great time with this step-by-step guide on how to draw a rose skull in 6 steps.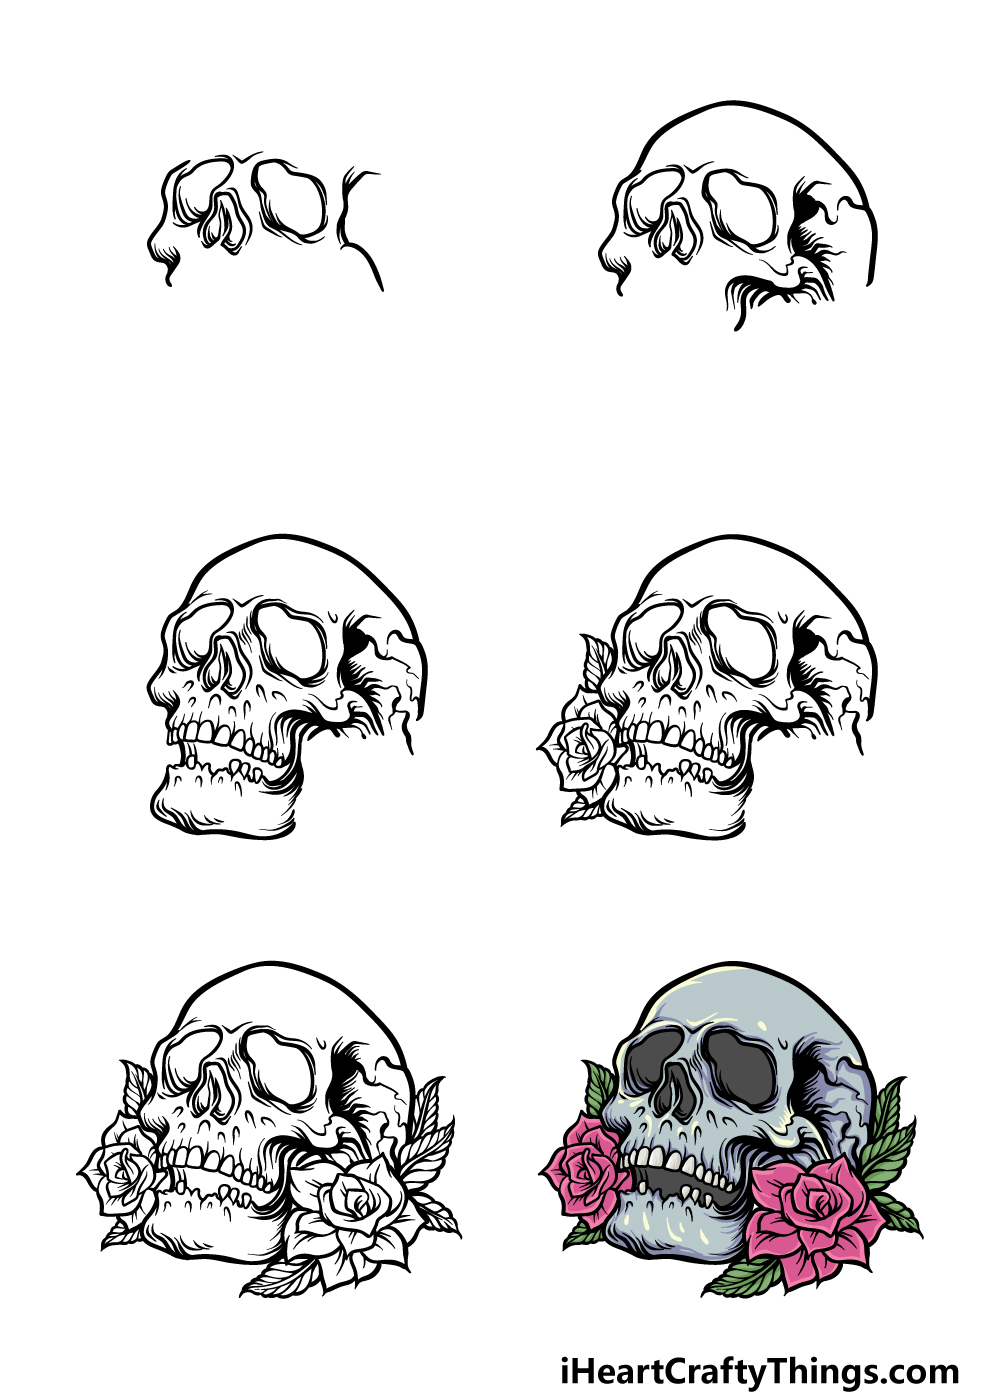
How to Draw A Rose Skull – Let’s Get Started!
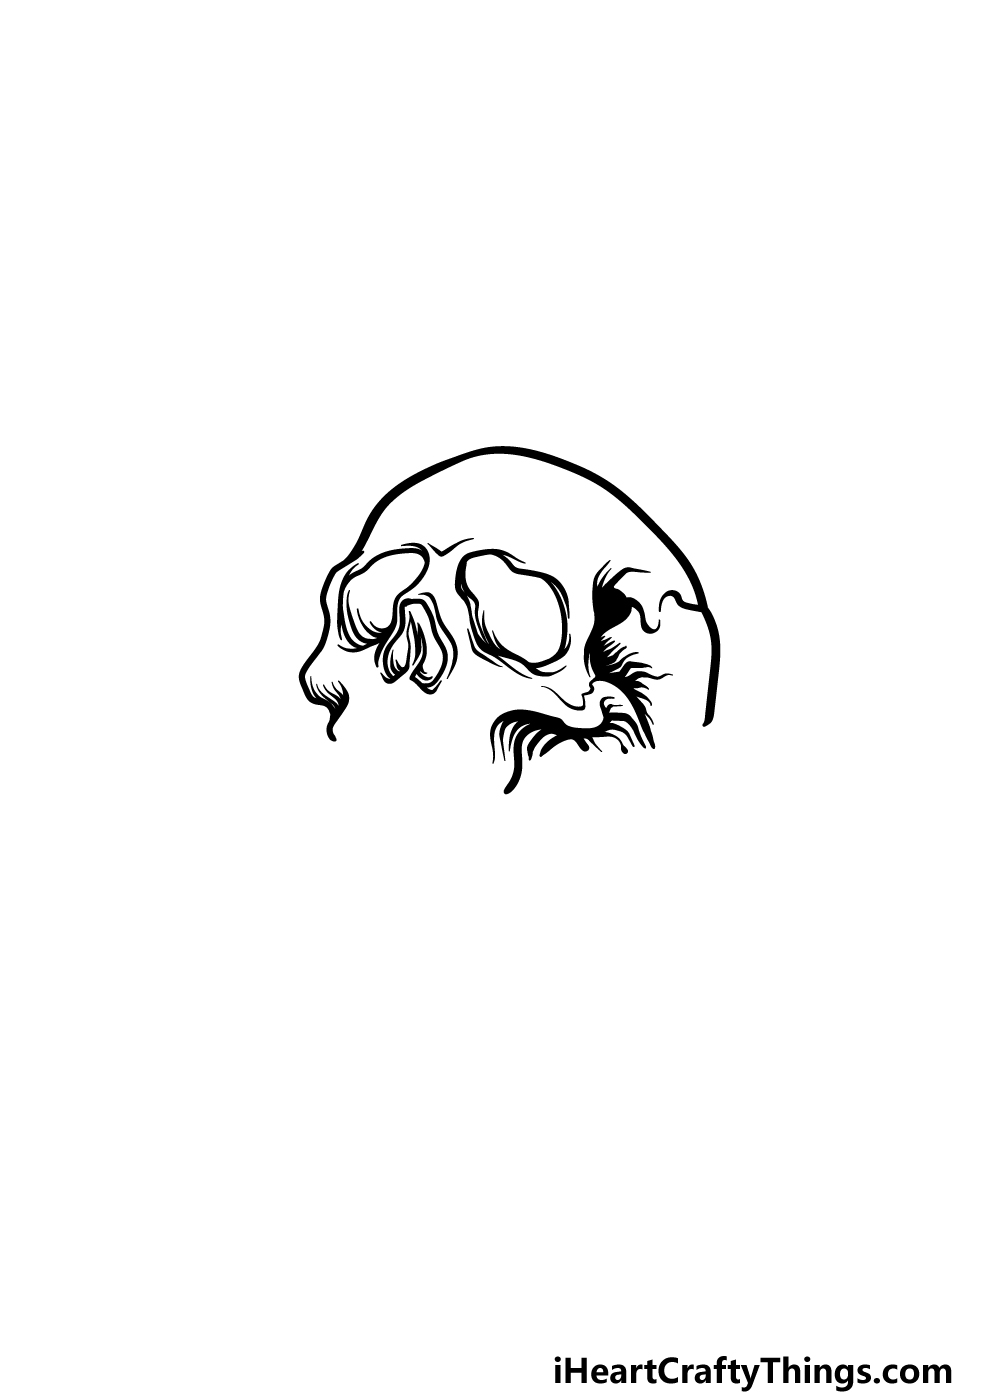
Step 1

We will be using lots of thick and irregular lines for this guide on how to draw a rose skull, as this will help to give it a more stylistic look to it. With this in mind, draw two irregular circular shapes for the two eye sockets.
Then, add the two-pronged nose cavity between and below them. Then, you can use a sharper line for the cheekbone on the left and then add another one on the right for the cheekbone there.
Once you have drawn these along with some more minor details, we are ready for step 2!
Step 2 – Next, draw the top of the skull
This part of your rose skull drawing will see you drawing the rounded top of the skull. This line will be smoother than the other lines you have drawn so far to reflect the smooth top of the skull.
Then, we can add some more thick line detail to the right-hand side of the skull along with some detailing to further emphasize the cheekbone on the right.
Step 3 – Draw the front of the skull in this step
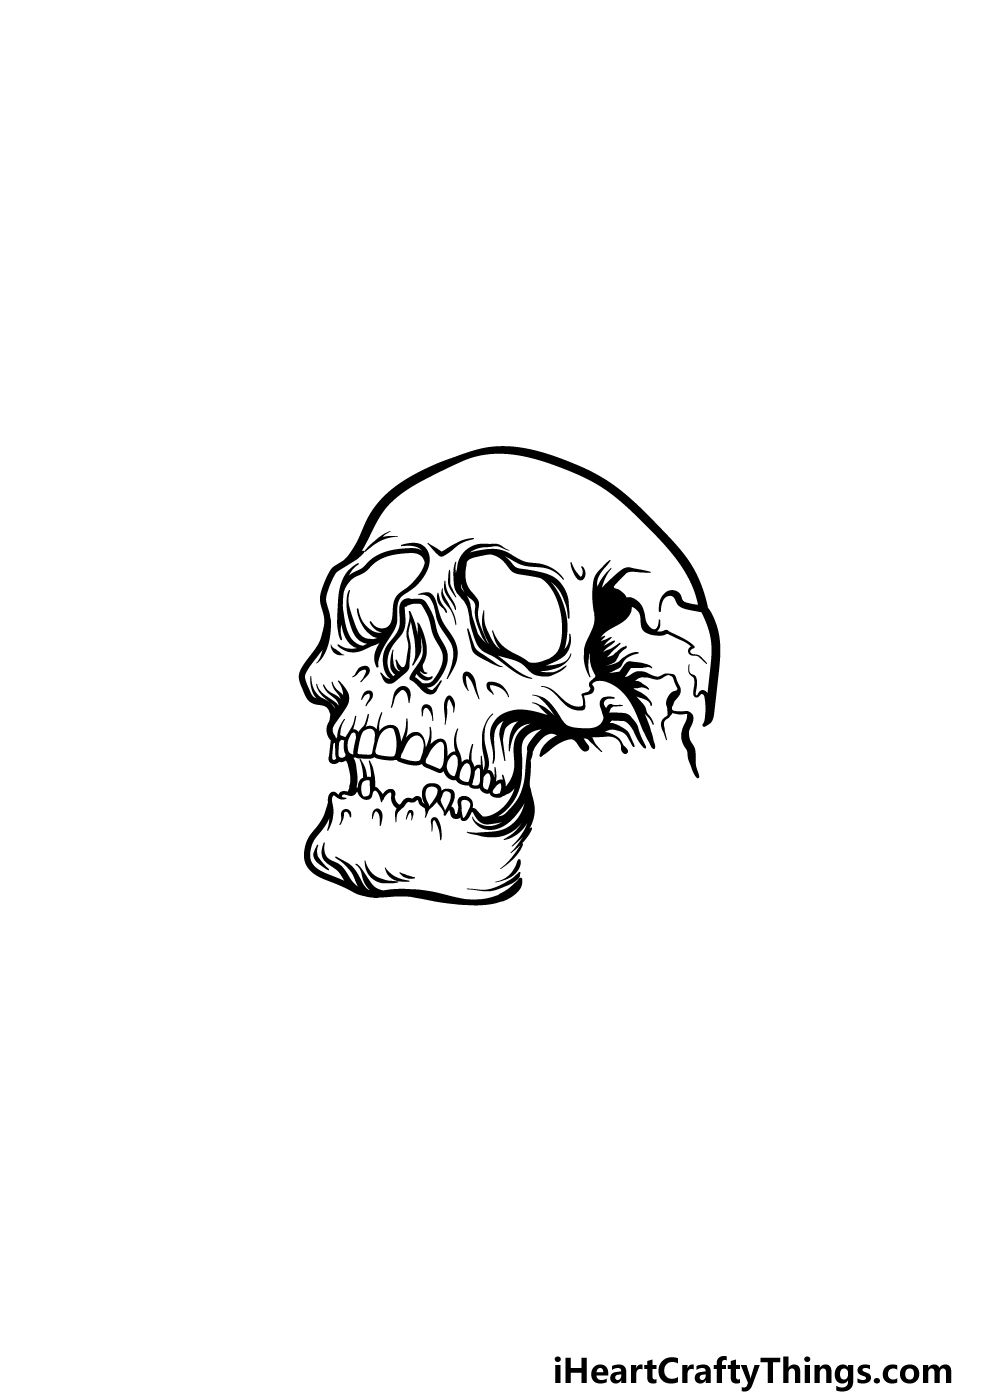
We will be adding quite a lot in this step of our guide on how to draw a rose skull, so be sure to take it slowly and follow the image closely as you draw!
First, we will draw the top row of teeth. Each tooth will be its own individual rounded shape, and there will be some line detailing between each one.
This row will connect to the cheekbones with some more rounded lines as well. Then we can draw the bottom of the jaw with another row of teeth.
For an extra morbid touch, we will draw fewer teeth with some gaps in this row. You can also draw some more line detailing all throughout the rest of the front of the skull.
Step 4 – Now, draw the first rose for the picture
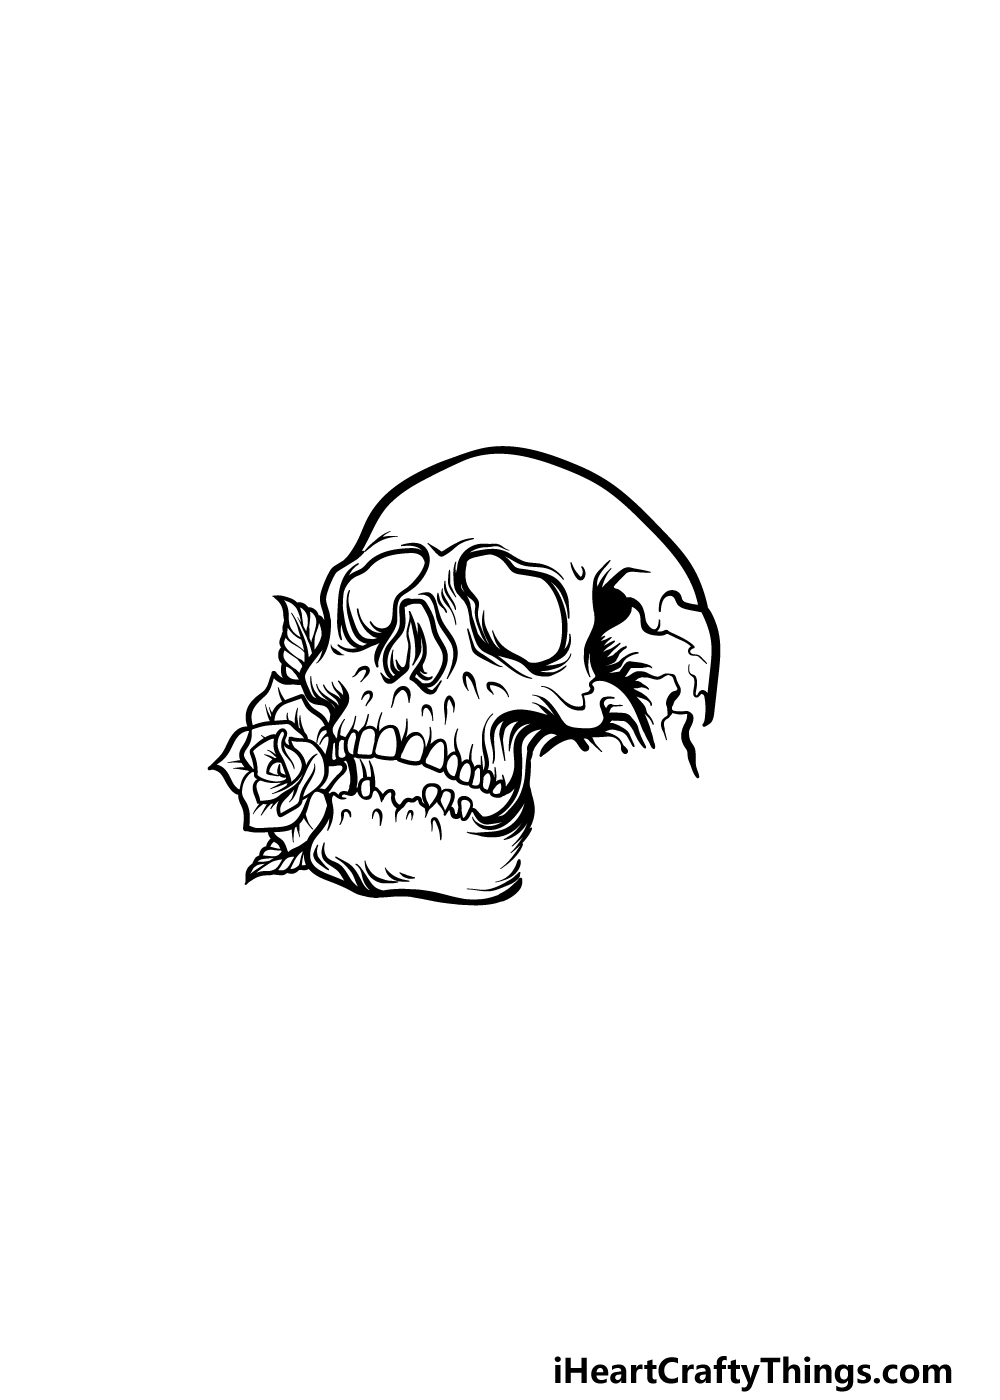
The focus has been on the skull portion of this rose skull drawing so far, and now we will focus on the first rose!
As you probably know, a rose is made up of many petals that come together to form the rose shape, and that’s worth keeping in mind as you draw the first rose on the left.
You may find it easier if you start from the center and move outward from there. There will also be a lot of line detail going throughout the petals of the flower to give it more depth.
Then, finish off this particular rose by adding some leaves to it as well. Then you’re ready for the final details in the next step of our guide!
Step 5 – Next, draw the second rose for the image
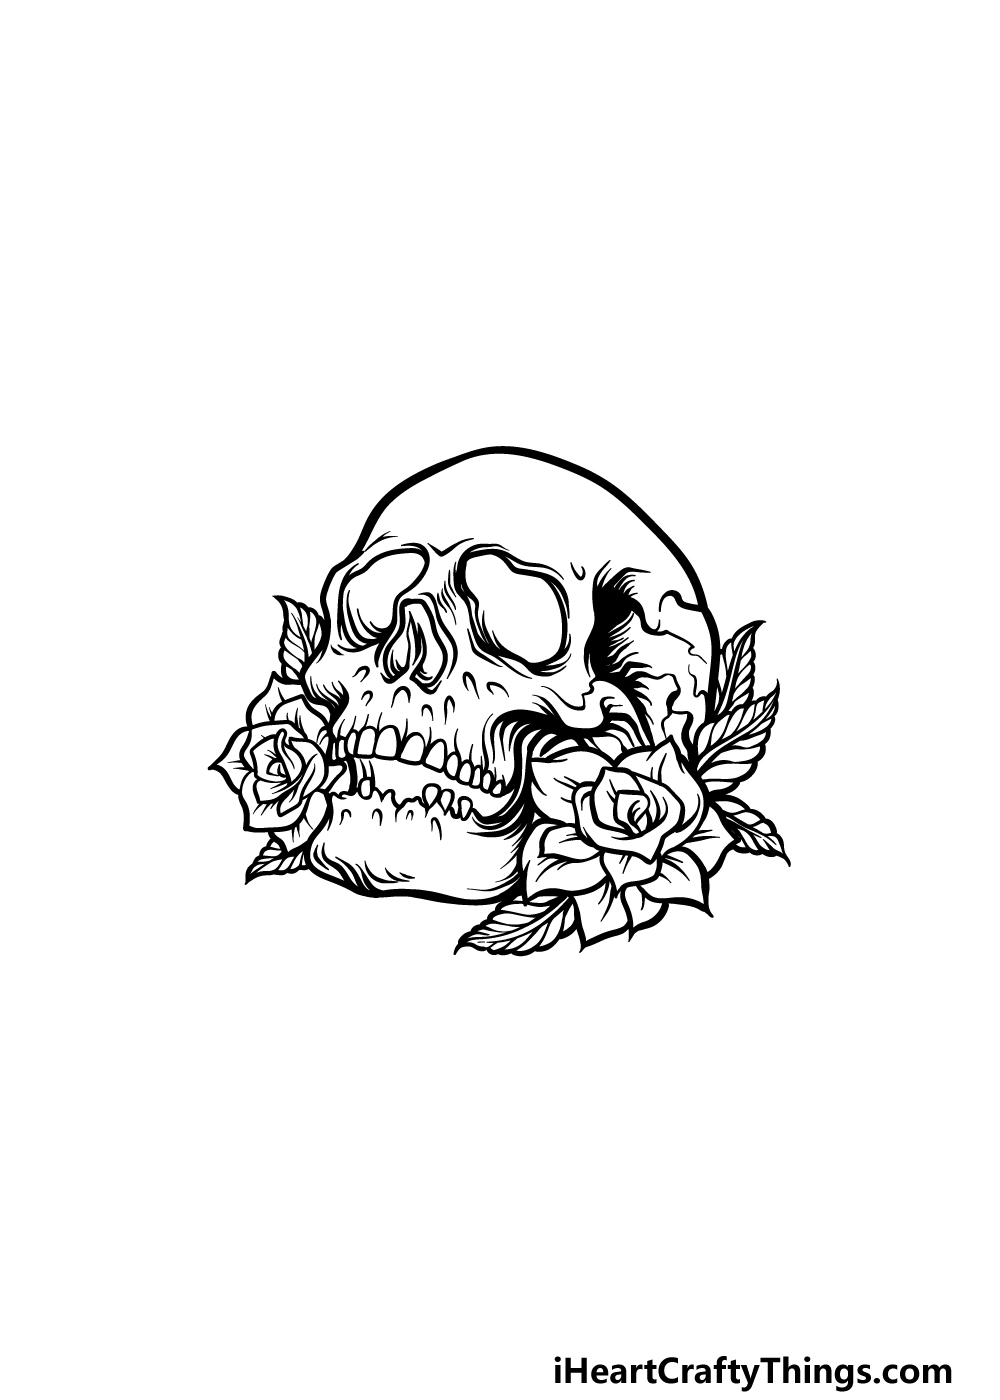
It will be time to color in your picture soon, but first we have one more rose to add in this step of our guide on how to draw a rose skull.
You added one rose already in the previous step, and this second one on the right-hand side will look very similar. It will be a bit larger since it’s closer to use in perspective, and it will also have some more leaves on it.
Once you have drawn this second rose, you’re ready to move on! Before you do, you can also add some detailing of your own to finish it off.
You could do a lot to add your own spin onto this image, and this is your chance to really get creative with it! You could add some more roses, draw a background or add totally new elements as well.
What ideas do you have for adding your own details to this image? We can’t wait to see!
Step 6 – Finish off your rose skull drawing with some color

In this step of your rose skull drawing, we will be finishing off with some amazing colors! In our reference image, we used some greys for the skull while using pretty pink and green for the roses.
That is how we decided to finish off this picture, but you should feel free to use any colors you like!
You could use any colors at all, and some brighter shades could help to make this picture even more stylistic.
Choosing the colors is just a part of it though, and you can also create some amazing color variation by changing up the art tools and mediums that you use. How will you finish off this rose skull drawing with your colors?
4 More Ways To Make Your Rose Skull Drawing Unique
Make this dark and beautiful design even better with these 4 tips.
This rose skull drawing we created together in this guide is truly amazing in how detailed it is. This can make it much harder to draw, however.
Our first tip involves this aspect, as you can simplify the design a bit if you’re really struggling. If you stick to the basic outlines of the skull, sockets, nose and teeth, you can add as much detail as you feel comfortable with.
Even if you remove some of the trickier details, it will still look amazing! It might even end up with a style you prefer.
Next, you could add some pattern details onto the skull itself. You could take inspiration from sugar skulls and use some floral patterns all over the skull.
This can be made much easier if you look up existing sugar skulls and patterns online. Adding some pattern details can make this rose skull sketch even more interesting to look at!
What are some pattern designs you could add to this skull?
Once you have decided how you will draw and decorate this skull, you can then decide on some objects you could put around it.
These could be anything from candles to cups or flowers. It all depends on the kind of background scene you would like to have for this design.
You could create all kinds of amazing background settings for the skull that would look really cool! What kinds of objects can you think of?
Finally, we really encourage you to get creative and have fun with the colors you use for this drawing of a rose skull. We mentioned some of the colors you could use in the guide, but you should have fun with it!
You could go for muted realistic colors or make it an absolute color explosion. It’s up to you, and anything you choose will look amazing in its own way! Feel free to also play around with various art tools and mediums to get the colors you like.
Your Rose Skull Drawing is Complete!
This guide on how to draw a rose skull had a lot of detailing and fancy line-work to master, so you should be very proud of your amazing drawing!
Whenever taking on a new picture, it can be really helpful to break it down into smaller parts instead of diving straight into the deep end, and that’s what we attempt to do in these guides.
Then, once you have finished your drawing it’s up to you to take it to the next level!
We mentioned a few ideas that you could try to personalize this picture even more, but this is also your chance to show off your amazing creativity.
If you enjoyed this guide, you’ll want to check out our website as we have tons of amazing guides there for you! Be sure to check in often to never miss out on our ever-expanding catalog.
We would love to see how you finished off this rose skull drawing, so please be sure to show us by sharing it on our Facebook and Pinterest pages.