There’s no denying that dinosaurs are pretty cool.
That being said, while we don’t know that much about what they would have been like, we know enough to be sure that they probably wouldn’t have been fun to live with.
Films like the Jurassic Park series try to imagine what it may have been like, but they will forever remain guesses. Judging by how scary raptors are in the films, that’s probably a good thing.
Still, these dinosaurs are hugely popular among dinosaur enthusiasts, and learning how to draw a raptor can be a lot of fun to try!
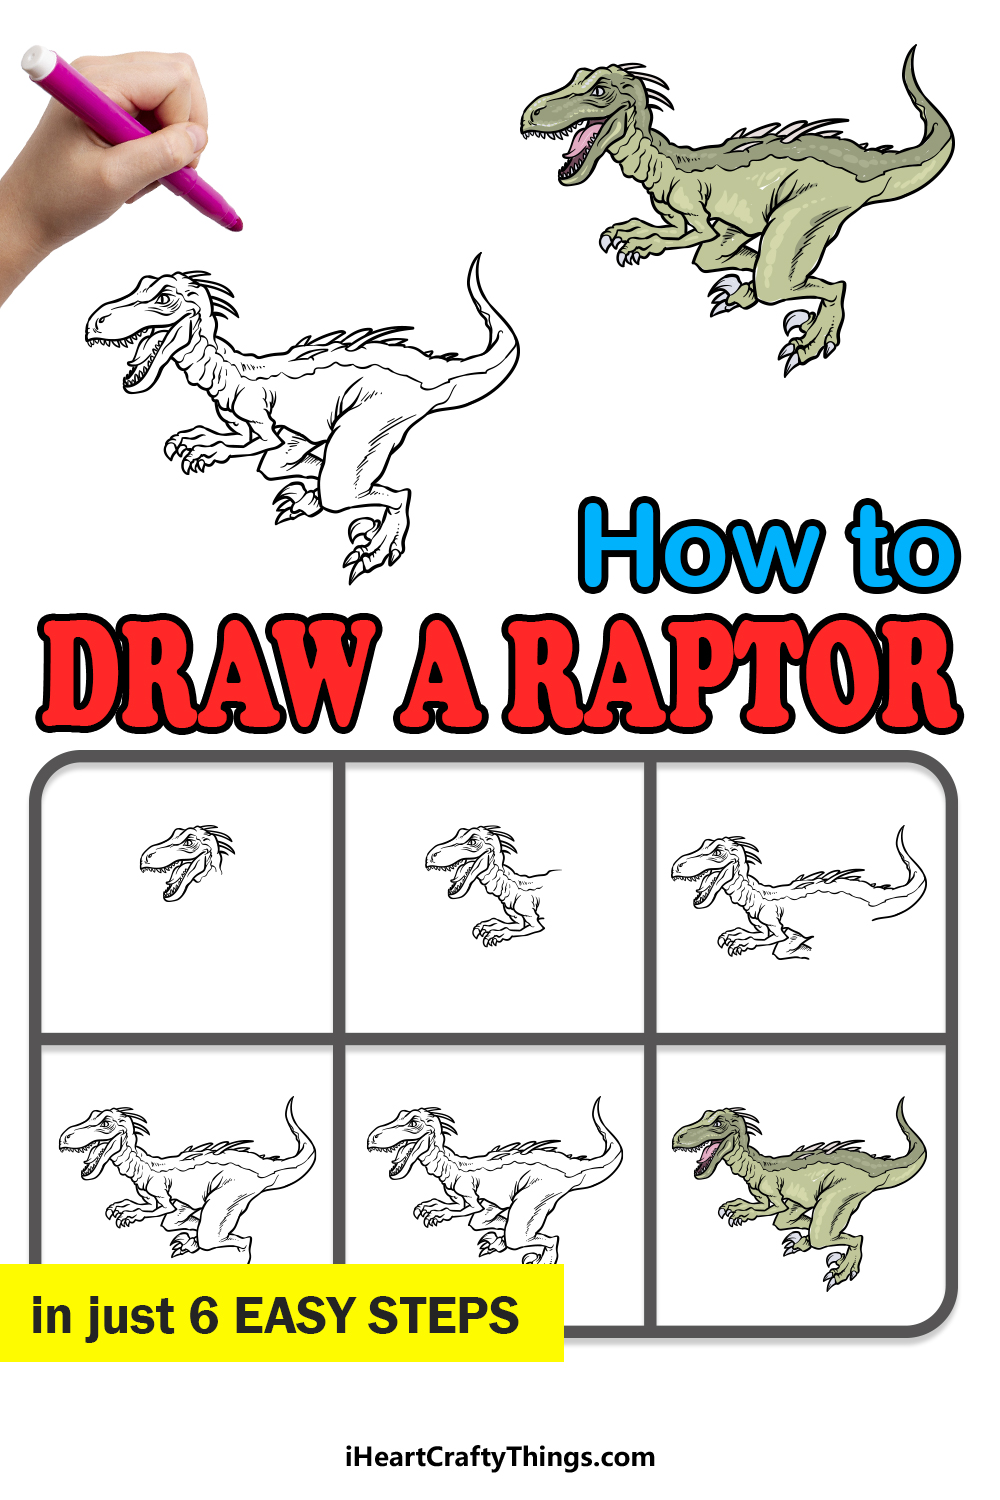
This step-by-step guide on how to draw a raptor in 6 fun and easy steps will show you how you can recreate this terrifying dinosaur!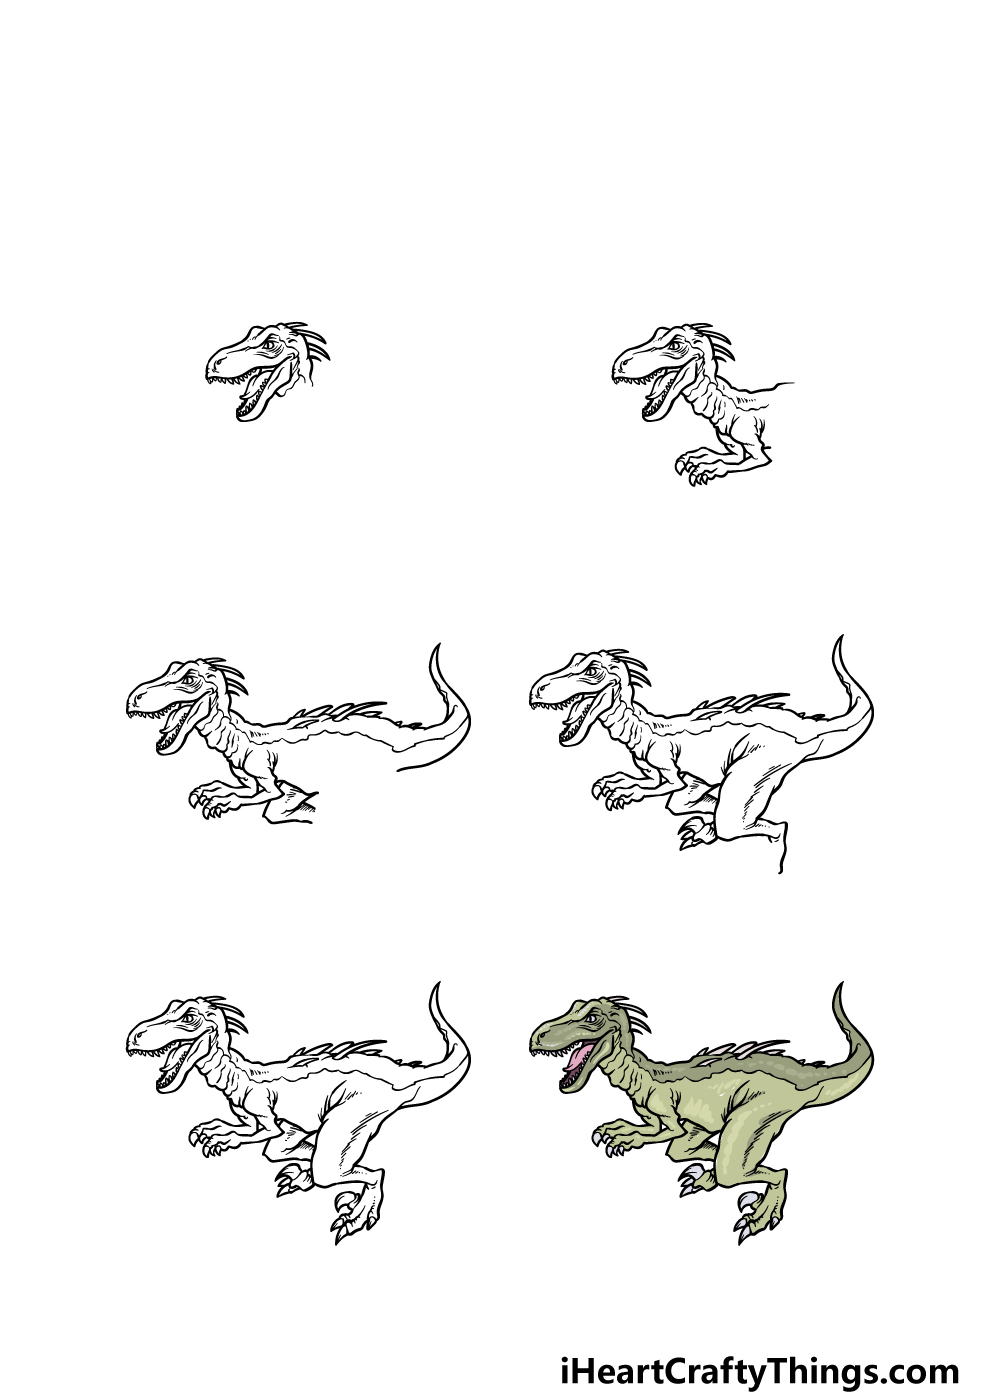
How to Draw A Raptor – Let’s Get Started!
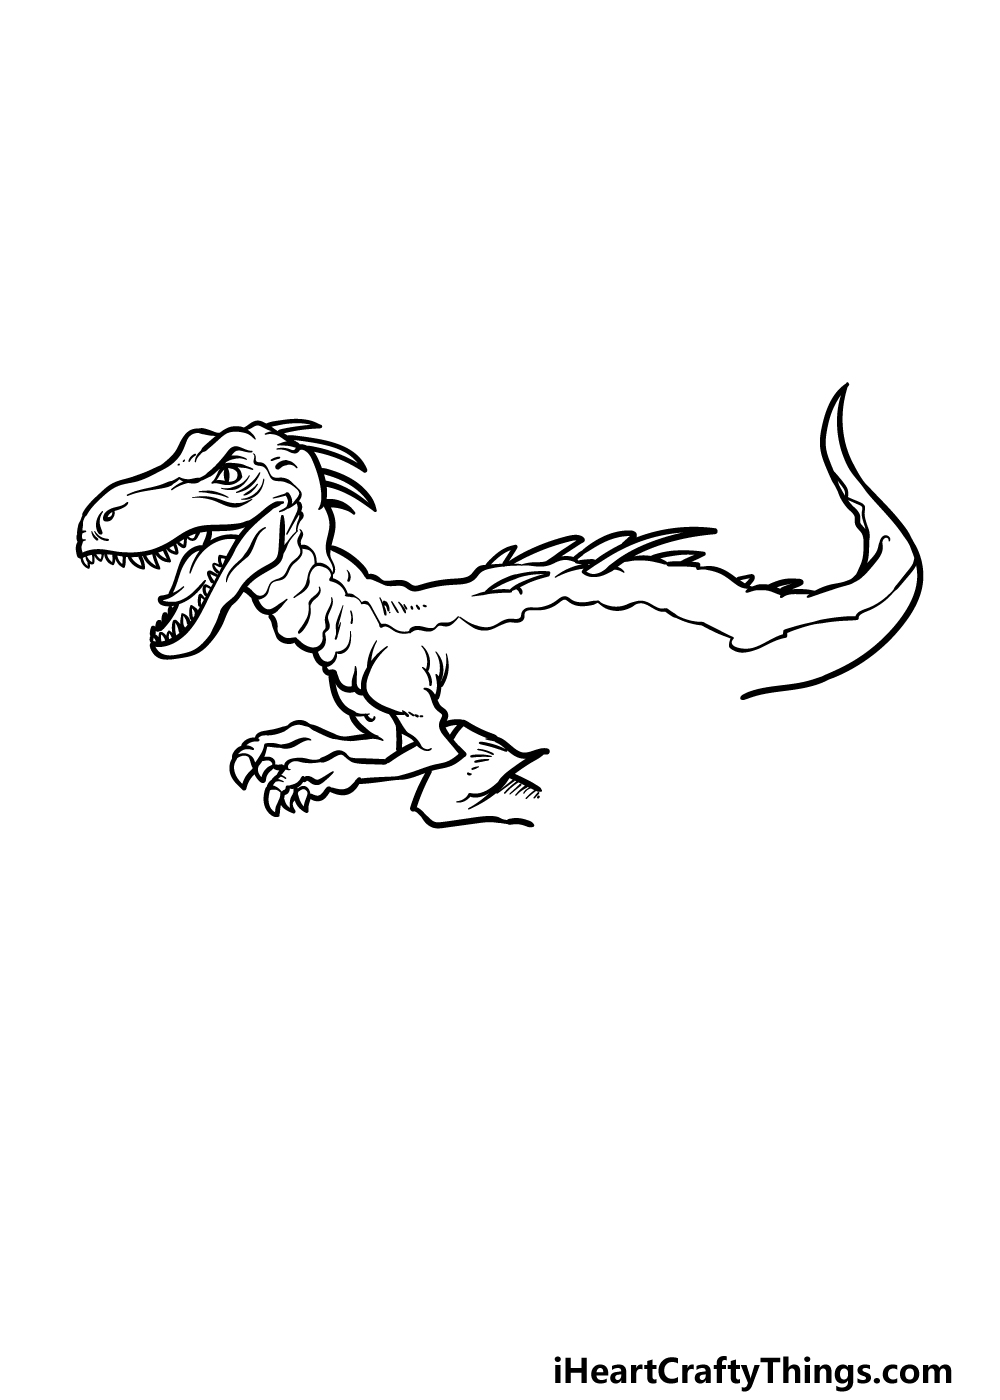
Step 1
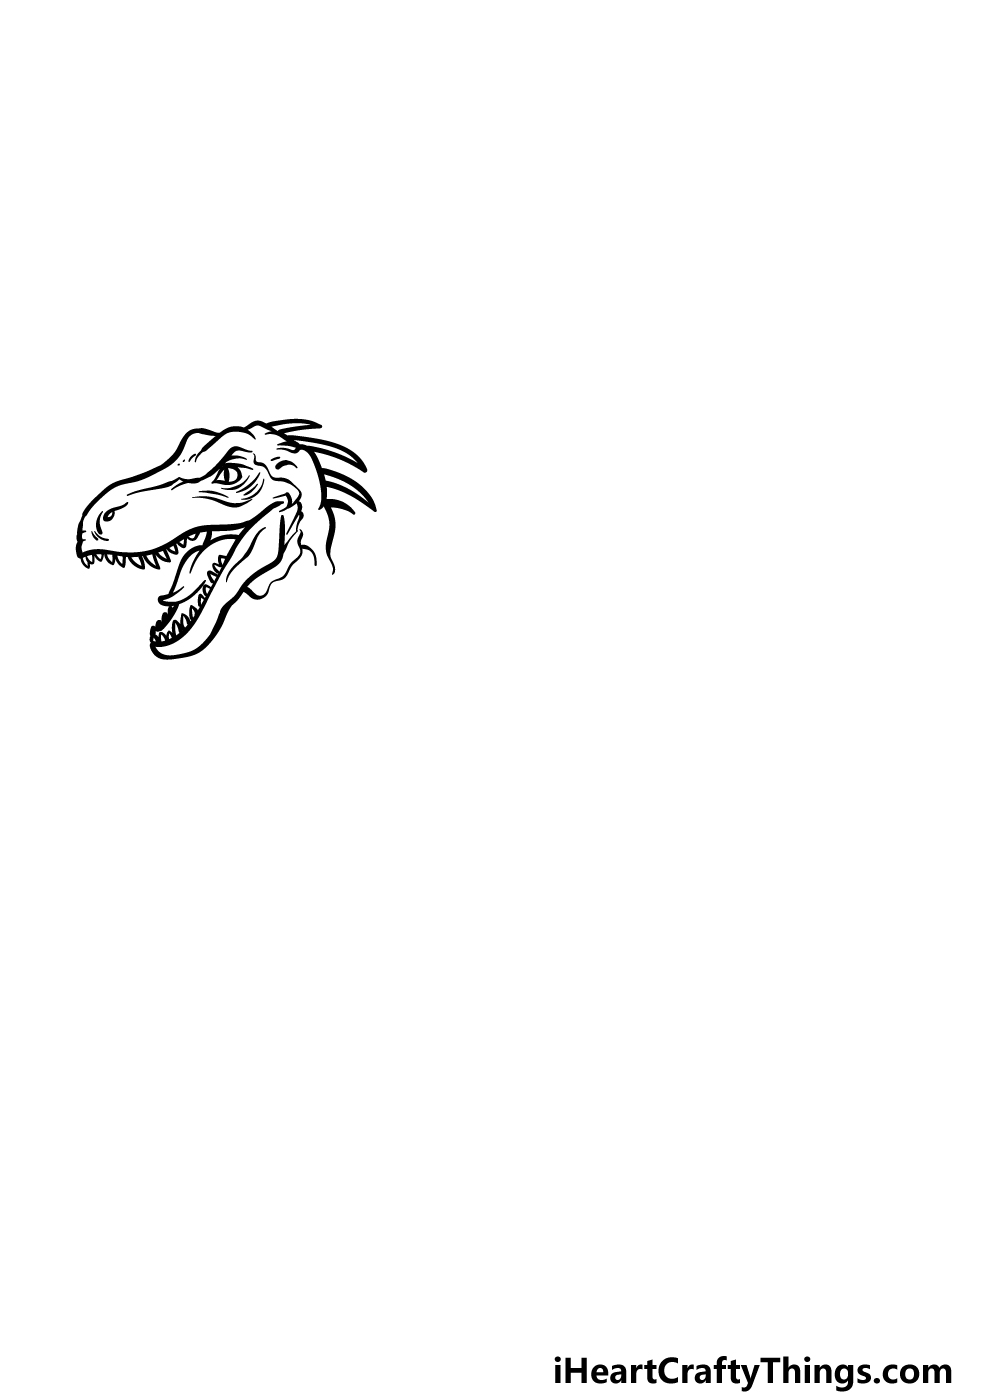
There is debate in the archeological community as to what dinosaurs probably really looked like, but we will be going with the classic interpretation in this guide on how to draw a raptor.
To begin this guide, we will first draw the head of this fearsome dino.
There are a lot of details included in this image, so as you work through it you should try your best to replicate the lines exactly as they appear in our example.
For the head, we will be using lots of curved lines for the outline. Then, you can draw a small rounded shape for the eye, and then draw a line going down it for that reptilian look.
The open mouth will also be drawn using some curved lines, and we will of course also add lots of sharp teeth inside of it.
Add the pointy tongue inside the mouth, and then you can add some curved line details to the face for more definition.
Finish off by drawing some pointy spikes at the back of the head, and then we can move on to step 2!
Step 2 – Now, draw the neck and arms for the raptor
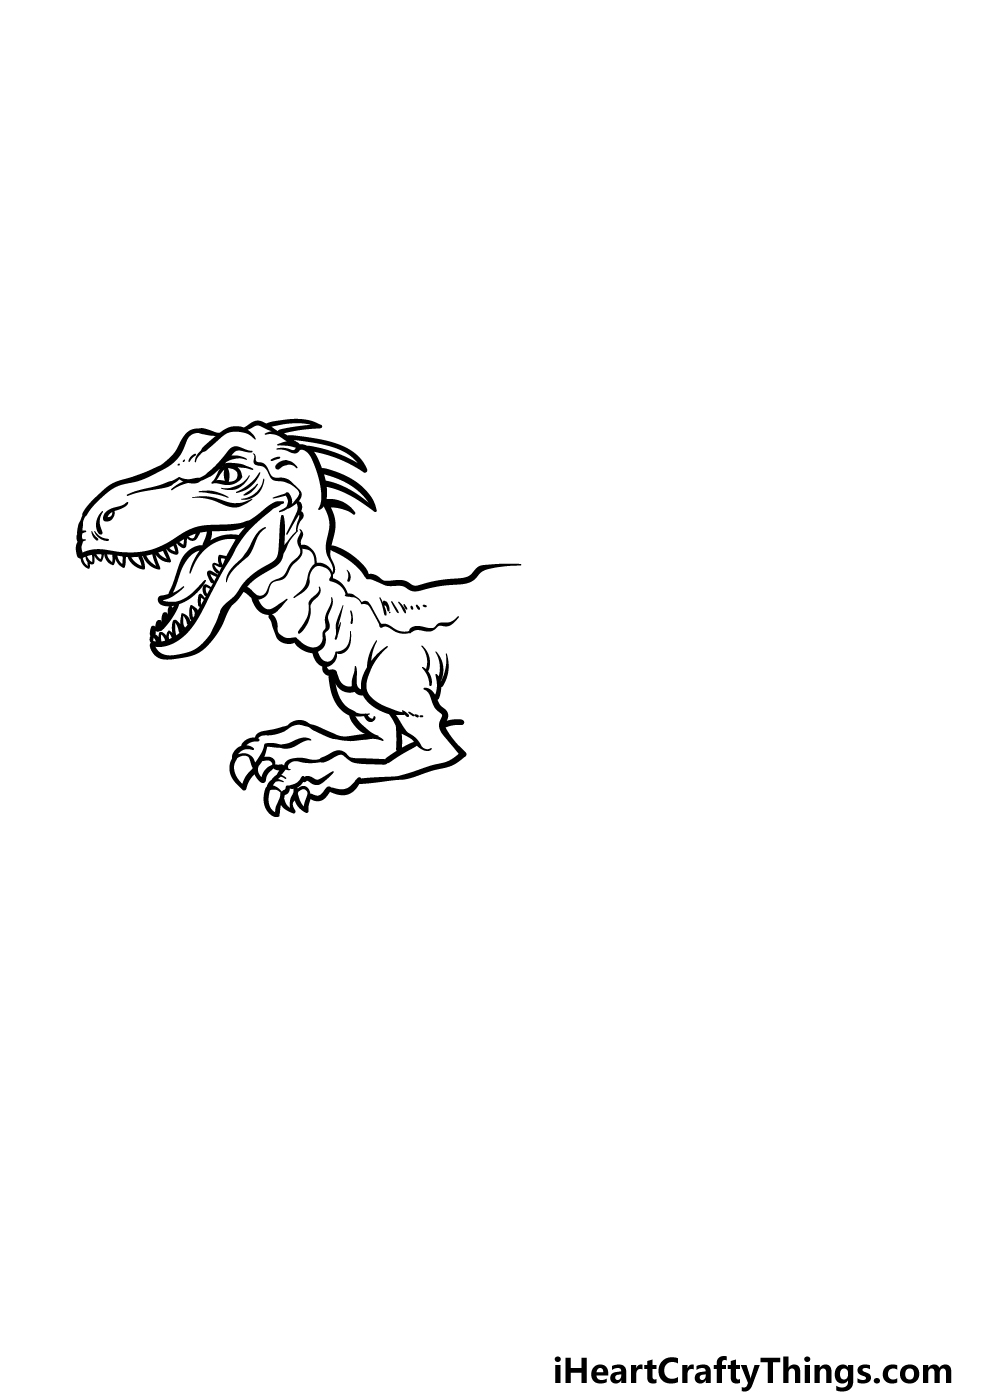
This second step of your raptor drawing will show you how to draw the neck and small arms of the dinosaur.
First, we will use lots of curved lines connecting to one another for the wrinkled neck of the raptor. You can also use a jagged curved line for the top of the neck and the start of the chest.
Finally for this step, we will draw the arms of the raptor. These will have a rounded base, and the rest of them will be angular and thin.
They will end in some sharp claws, and then you will be ready for step 3 of the guide.
Step 3 – Draw the back, tail and legs in this next step
For this third step of our guide on how to draw a raptor, we will be adding more to the back, tail and legs of the dinosaur.
First, continue the curving, jagged line you used for the neck all the way to the tail. As you can see in the reference image, the tail will curl upward to point up.
You can also draw some more spikes onto the back, and these will look rather similar to the ones that were on the neck.
Finally, we will draw the tops of the leg using some more curved lines. Add some line details throughout the parts you have drawn so far, and then we can take on step 4.
Step 4 – Next, draw more of the legs
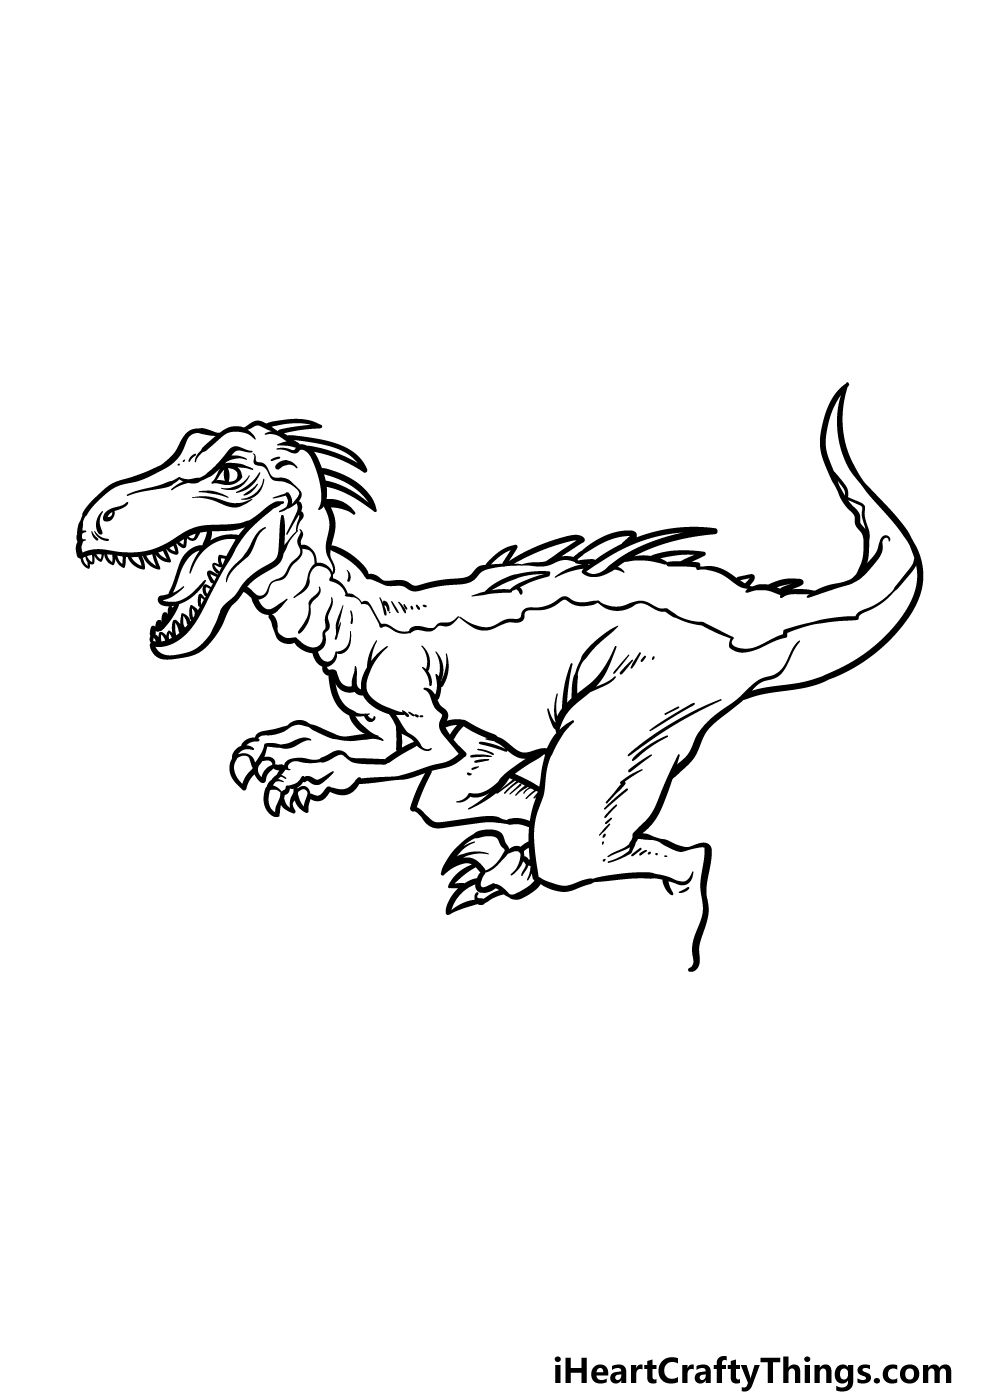
You started the legs in the previous part of your raptor drawing, and we shall add some more to them in this fourth part.
First, we will focus on the leg that’s closest to us as the viewer. For this leg, we will use more curved lines to draw the long thighs extending down from the body.
This will then curve rather sharply into the bent thinner portion of the leg.
There will be a space left at the end of this leg that we will fill in soon, but for now you can finish up by drawing the foot for the other leg that is raised up.
Then, we can finish off the final details in the next step of the guide.
Step 5 – Add the final details to your raptor drawing
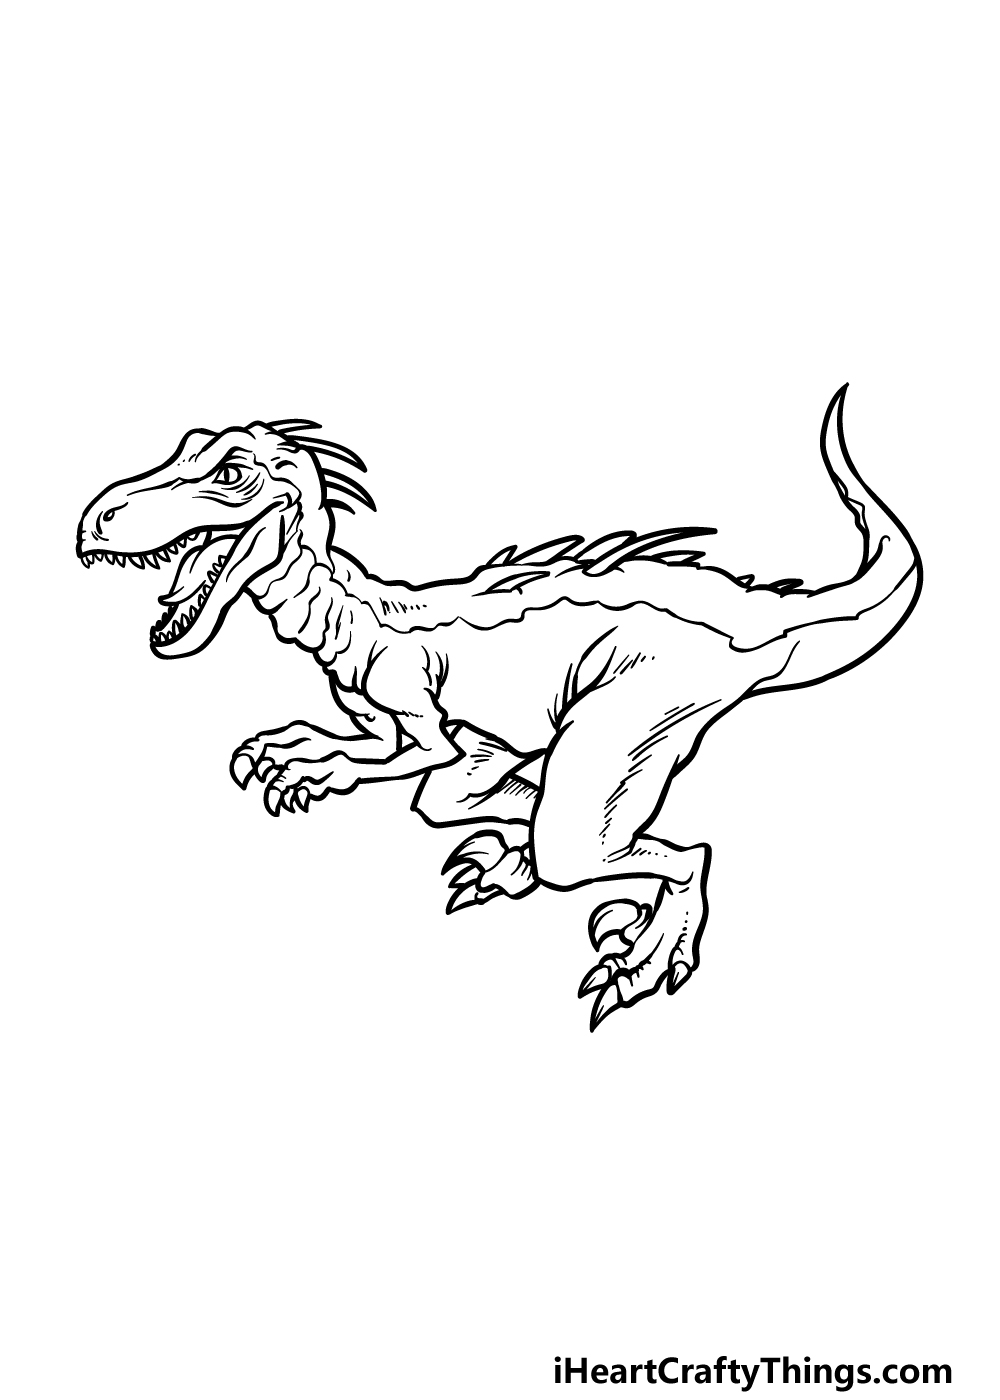
It’s almost time to add some color to your picture, but we have some final details and elements to add in this step of our guide on how to draw a raptor.
First, we will finish off the leg that you started in the previous step. Simply finish this off by drawing another foot with some sharp claws onto the end of this leg.
Fill in some final details, and then you’re ready to color in! Before you move on, you can add to the picture by creating a background or maybe even adding some more dinosaurs.
What kind of setting would you imagine for this terrifying raptor?
Step 6 – Finish off your raptor drawing with color
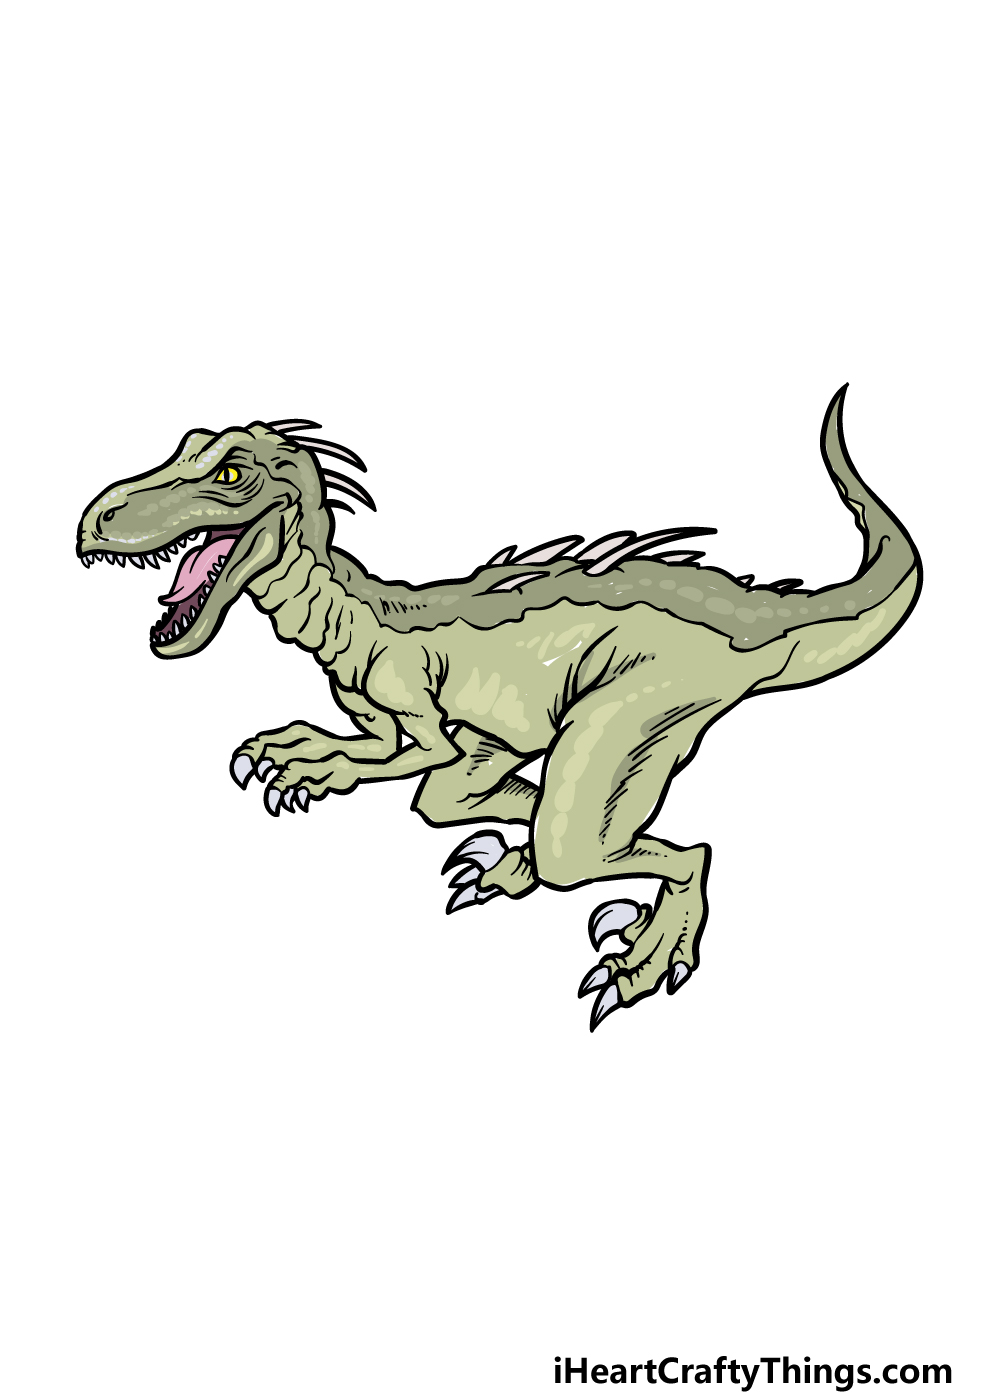
To conclude this raptor drawing, we will now finish off with some color! In our reference image, we went with a typically reptilian appearance for this dinosaur by using various shades of green for the skin of the raptor.
When coloring your own dinosaur, you could use the same color scheme that we did, but you can also have some fun choosing your own colors!
This would be a great way for you to show off what you think these dinosaurs may have looked like, so how will you color this drawing?
Do this to take your raptor drawing to the next level
Go back in time as we make this raptor sketch even better!
The general consensus of many scientists is that raptors would travel in packs. For that reason, you could add some more to this drawing of a raptor.
To do this, using the guide would be very useful as you add more raptors. Some small details could be changed in order to make each one unique, but they could still all look very similar.
How many raptors do you think would be in this pack?
Adding more raptors would be one way of populating the drawing, but there are many other dinosaurs you could add.
These could be big ones, small ones or even dinosaurs from other eras of history.
This would be a great chance to show off your dino knowledge as you add some of your favorites to this image!
Looking up images online of your chosen dinosaurs would be a great way to make drawing them easier.
Which other dinosaurs would you like to add to this picture?
If you want to keep the focus on the one dinosaur, there are other ways you could customize this raptor drawing. One would be to change the pose or position of the raptor.
This is something that could be subtle or drastic, depending on the kind of scene you wish to create.
The head could just be turned, or you could draw the raptor in the middle of a dramatic hunting scene.
Different variations can be created if you can’t decide on just one!
Finally, adding a background can be a great way to make your raptor sketch even more dynamic! This is something that could be done whether or not you went with any of our suggestions.
The background could be based on what scientists think the prehistoric landscape may have looked like.
Or, you could go for a more general impression of what you feel the environment could have looked like.
What sort of setting would you like to portray for this artwork?
Your Raptor Drawing is Complete!
This is one of the most famous dinosaurs ever discovered, and we hope that it was a lot of fun to recreate it in this guide on how to draw a raptor!
Now that you have mastered the steps in this guide, you can take charge as you add your own details and color choices.
We gave a few ideas for how you could do this earlier in the guide, but we look forward to seeing what awesome ideas you have!
If you enjoyed this amazing guide, then be sure to head to our website for access to many more guides like it. We have more we plan to release all the time, so keep checking in!
We would love to see your completed raptor drawing, and you can show it off by sharing it on our Facebook and Pinterest pages.