There are many different kinds of weather conditions, and everyone has their favorite. Some like a bright sunny day to spend exploring outside, and some like a nice rainy day to spend reading a book with some hot chocolate.
Weather is also often represented in various artworks, and this can be a great way to show your love for your favorite weather type. If you love a nice rainy day, then you may want to learn how to draw rain.
This guide in front of you has you covered!
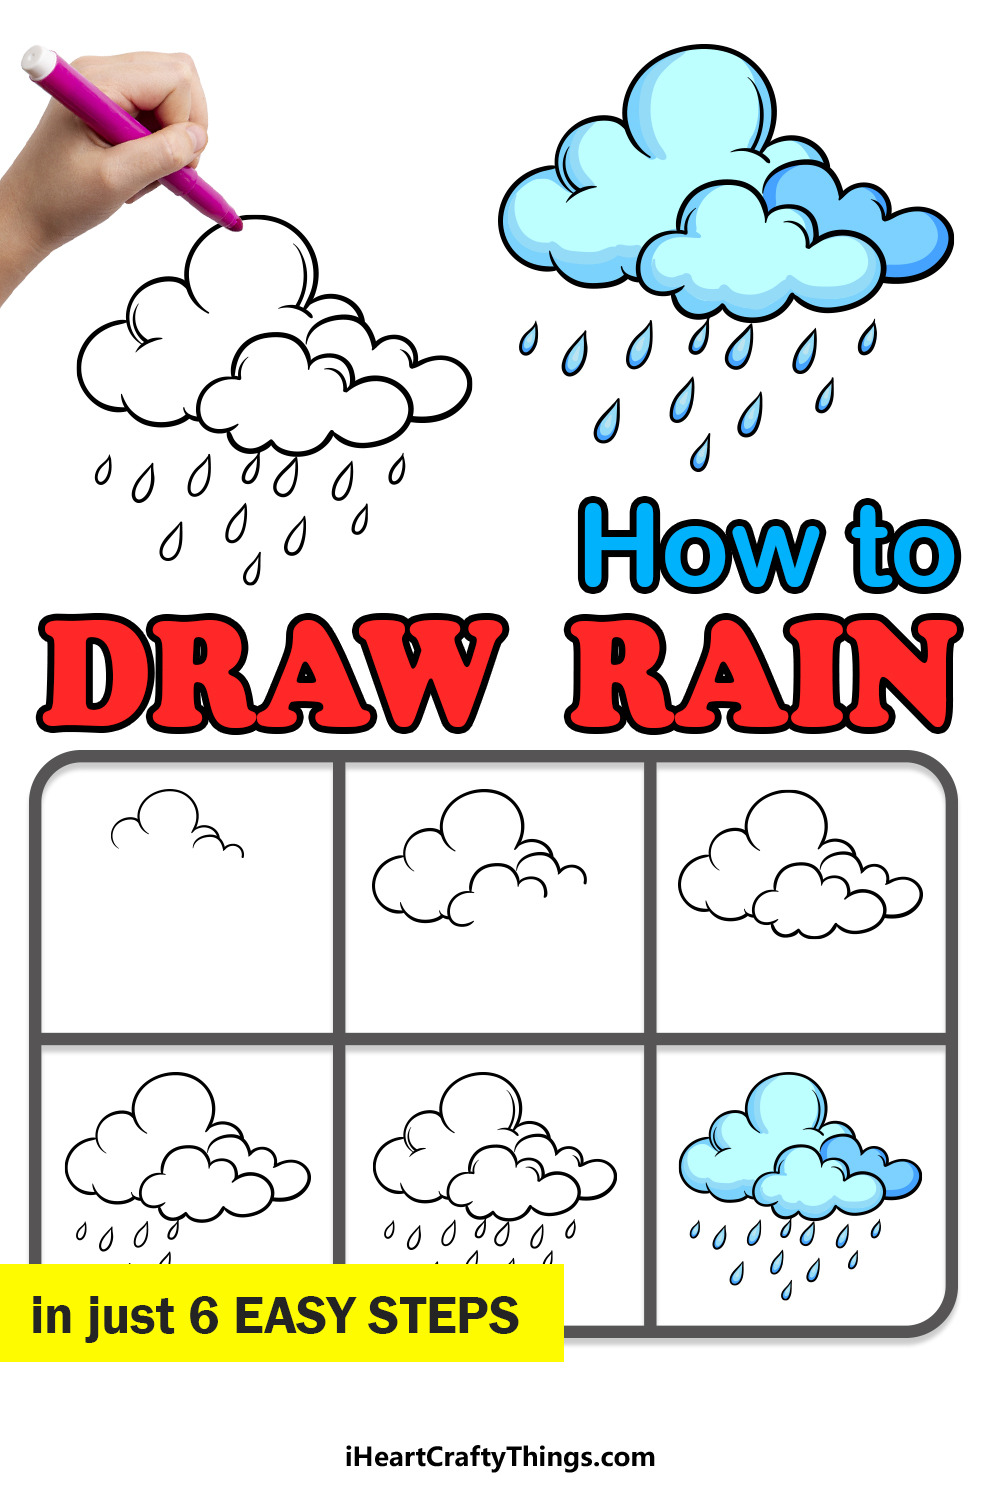
Our step-by-step guide on how to draw rain will let you have lots of fun spending a rainy day drawing!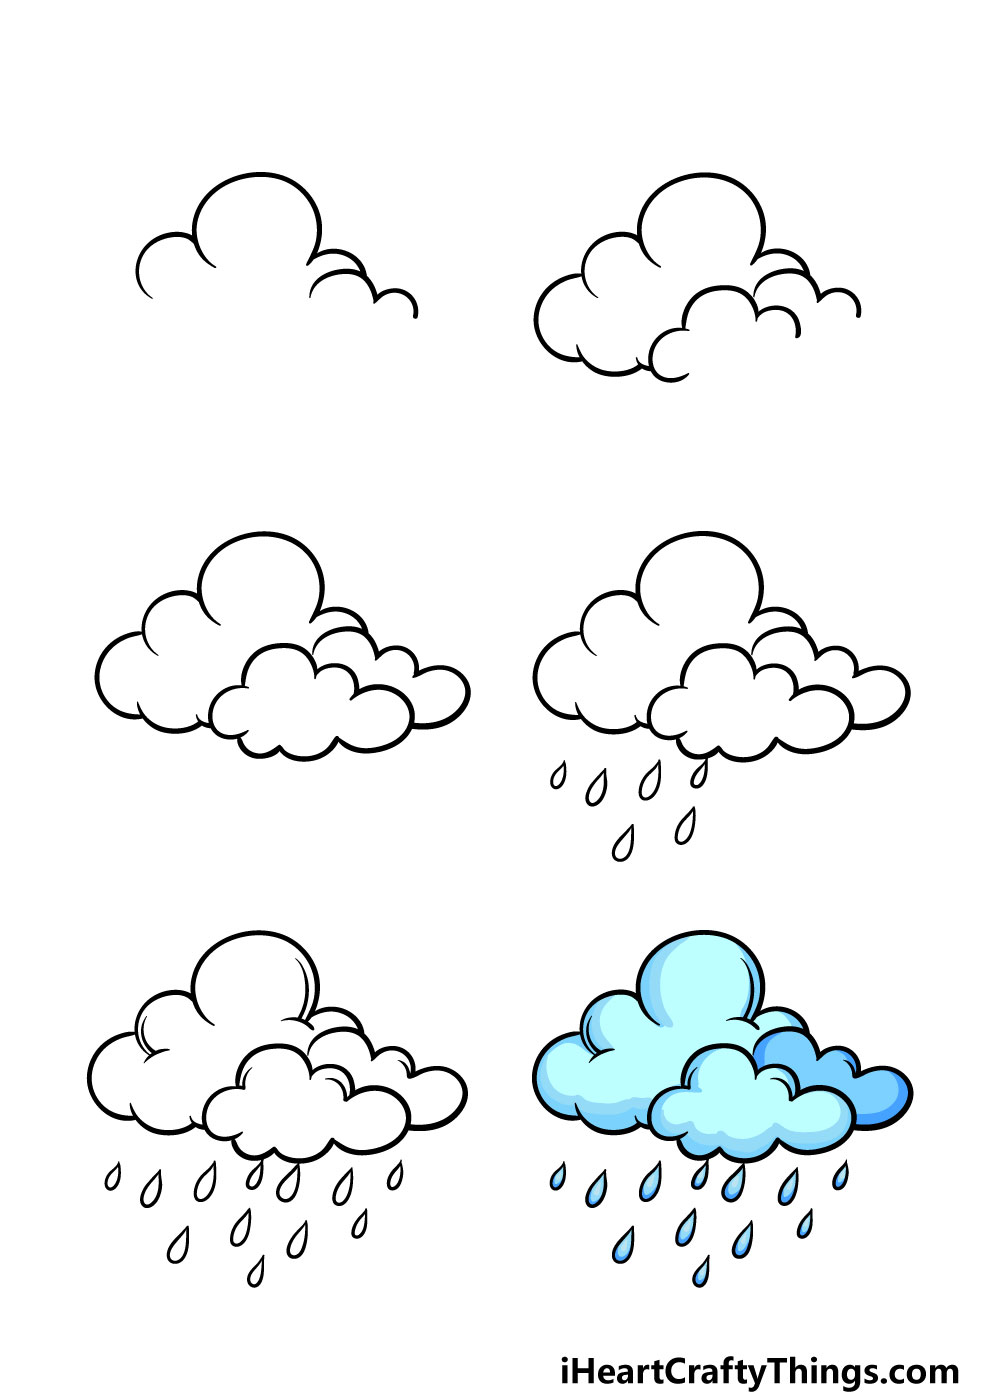
How to Draw Rain – Let’s get Started!
Step 1
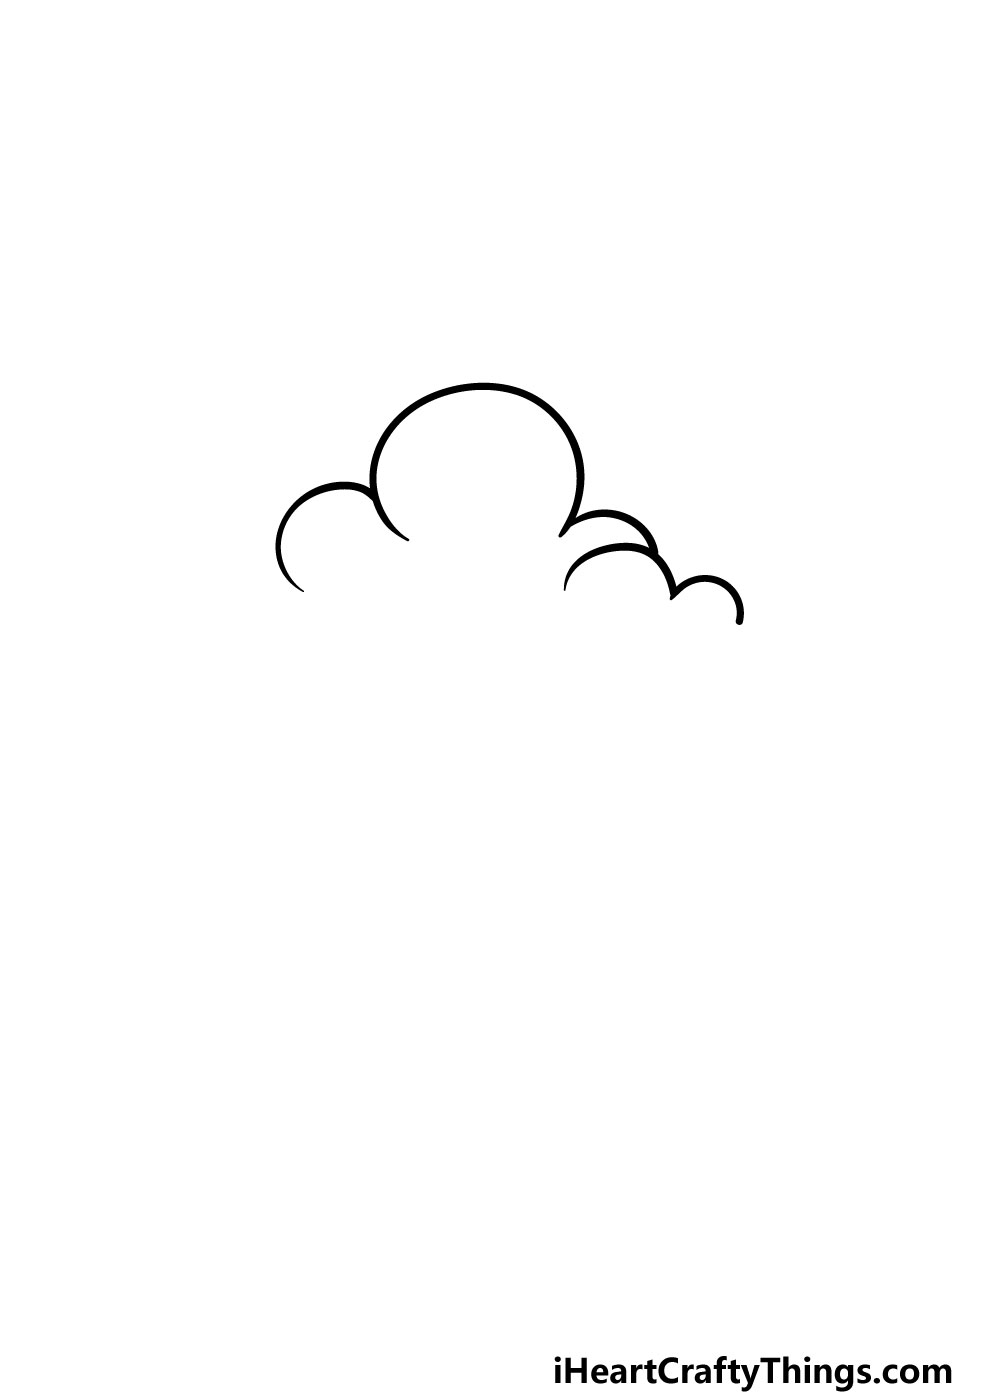
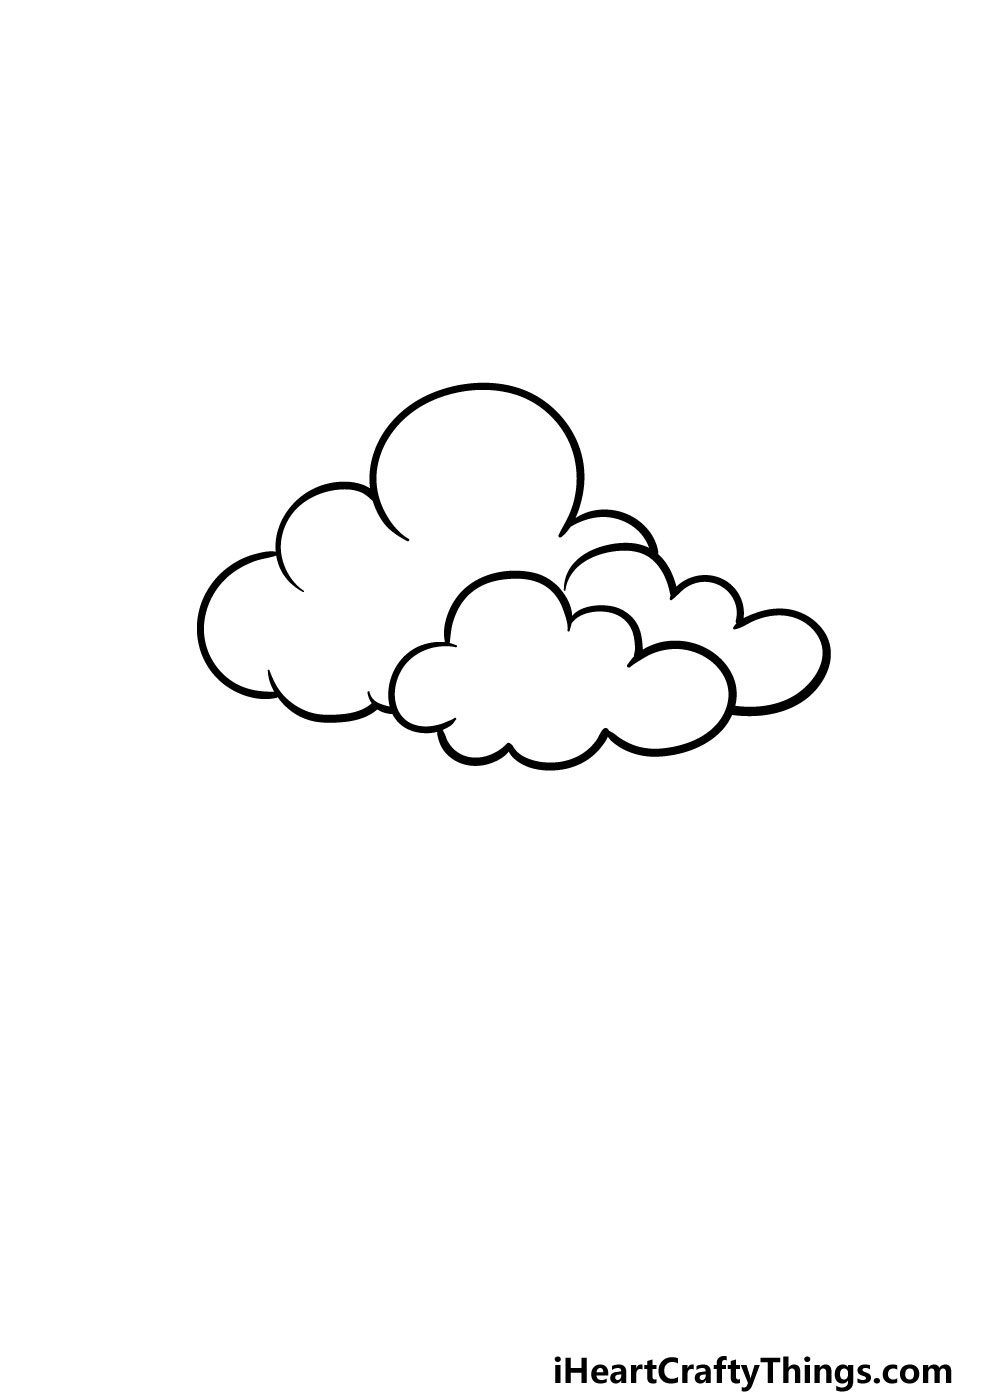
In this step-by-step guide on how to draw rain, we won’t simply be drawing the rain itself. We will also be drawing the rain cloud, and that is the aspect we will be drawing in this first step.
To do this, you will be building up the cloud by using lots of curved lines connecting to one another.
There will be three clouds in total for this picture, and for now we will be drawing the tops of the first two.
Step 2 – Draw some more of the clouds
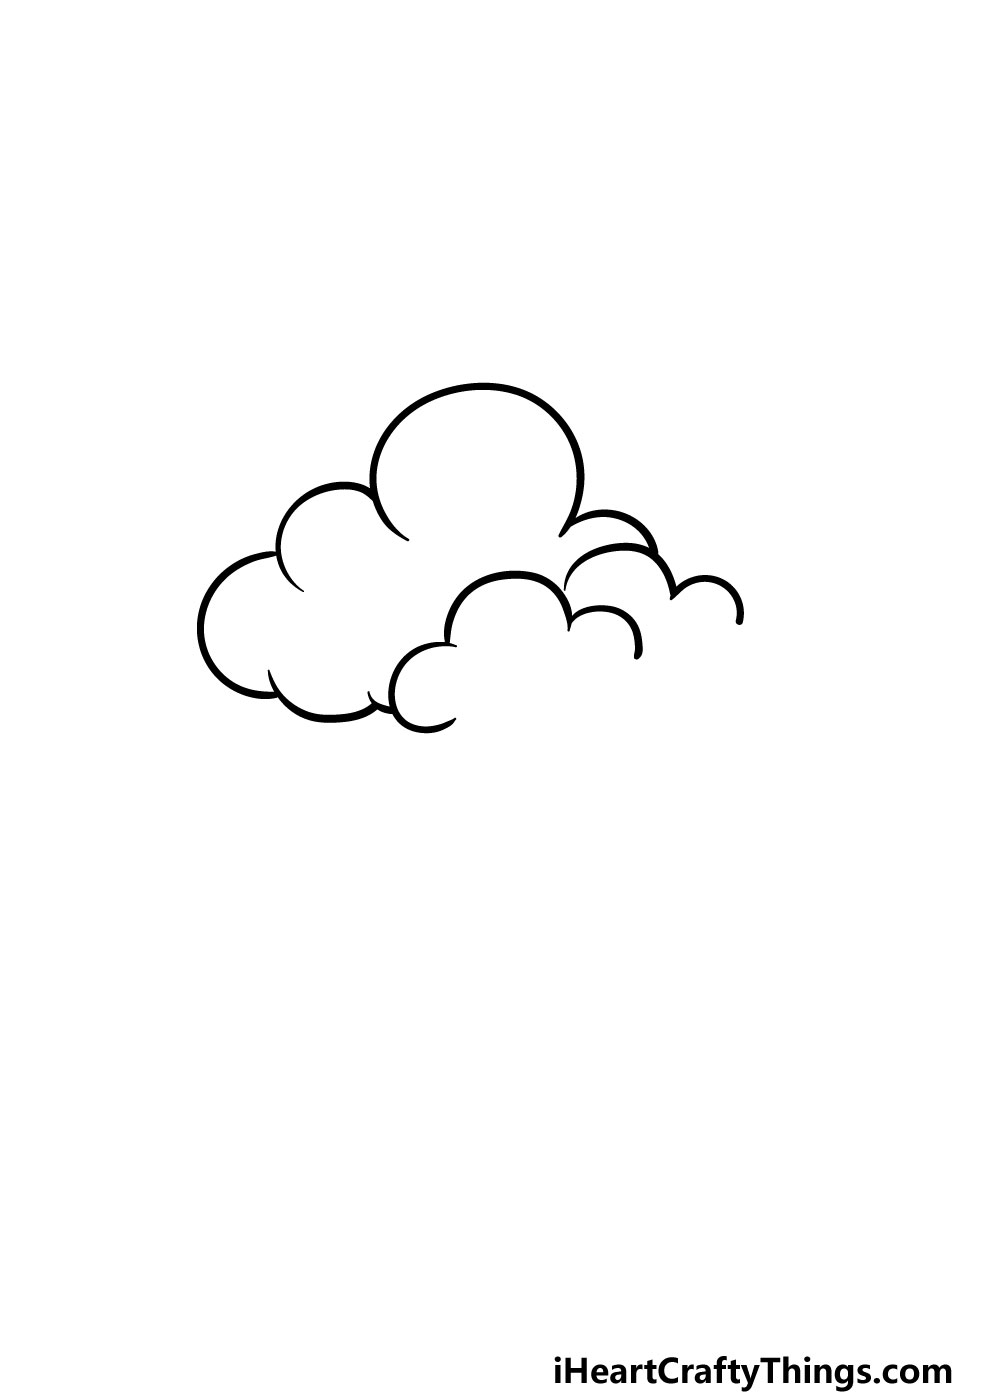
We will be building on to the clouds a bit more in this step of your rain drawing. First, we will start by drawing one more small cloud in the foreground of the picture, and as with the previous ones we will only be drawing the top of it.
Then, you can finish off the outline of the larger cloud that you started in the first step. That’s all that we shall be drawing for this step, and now you’re ready to move on to the next one!
Step 3 – Now, finish off the rest of the cloud outlines
This third step of our guide on how to draw rain will be all about finishing off the outlines of the clouds before you draw the rain itself.
To do this, you will simply be drawing more bumpy lines for the remaining two clouds that you started previously.
While you can follow our reference image and replicate the look of it, you could also change the structure of the clouds a bit if you wish! Then, we shall start to draw the rain in the next step.
Step 4 – Next, draw the drops of rain
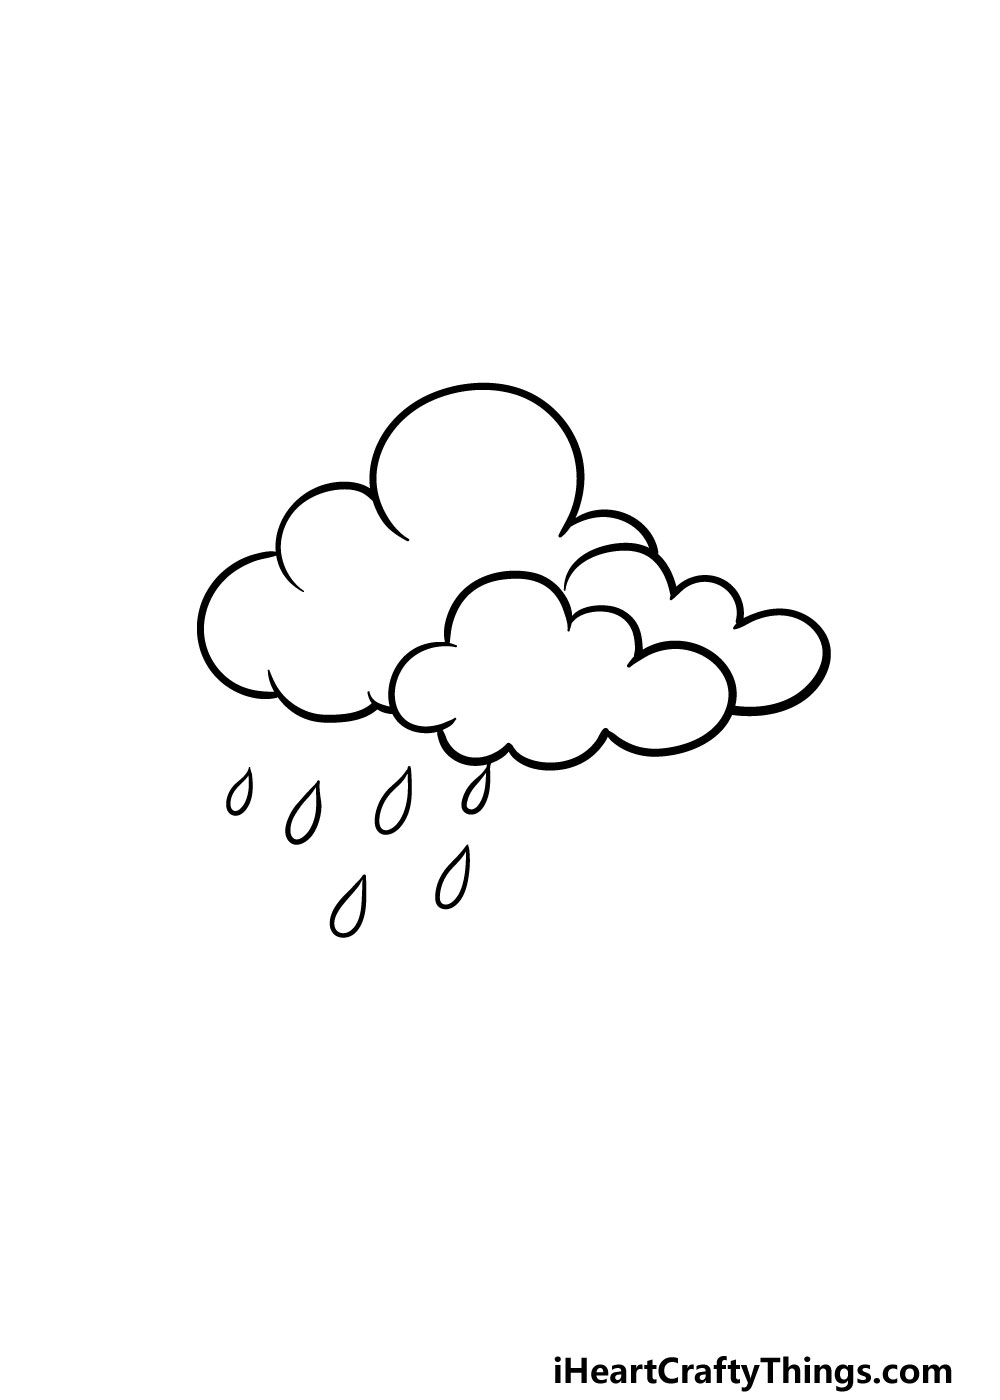
You’ve spent the first steps of this rain drawing building up the rainclouds, and in this step you will finally start to draw some rain! This step should be quite easy, but it’s also one where you can change it up a bit depending on your preference.
It will be especially easy once you’ve practiced drawing the raindrop shape a bit. For this step, we will mainly be focusing on the area on the left-hand side of the cloud. We made the raindrops relatively large in our reference image and kept it to six drops.
This is just one way to go about it, however, and as we mentioned you can change it up a bit as you wish.
You could make the drops smaller and more numerous or even bigger. It’s completely up to you, so be sure to get creative and have fun with it!
Step 5 – Now, you can finish off the raindrops and final touches
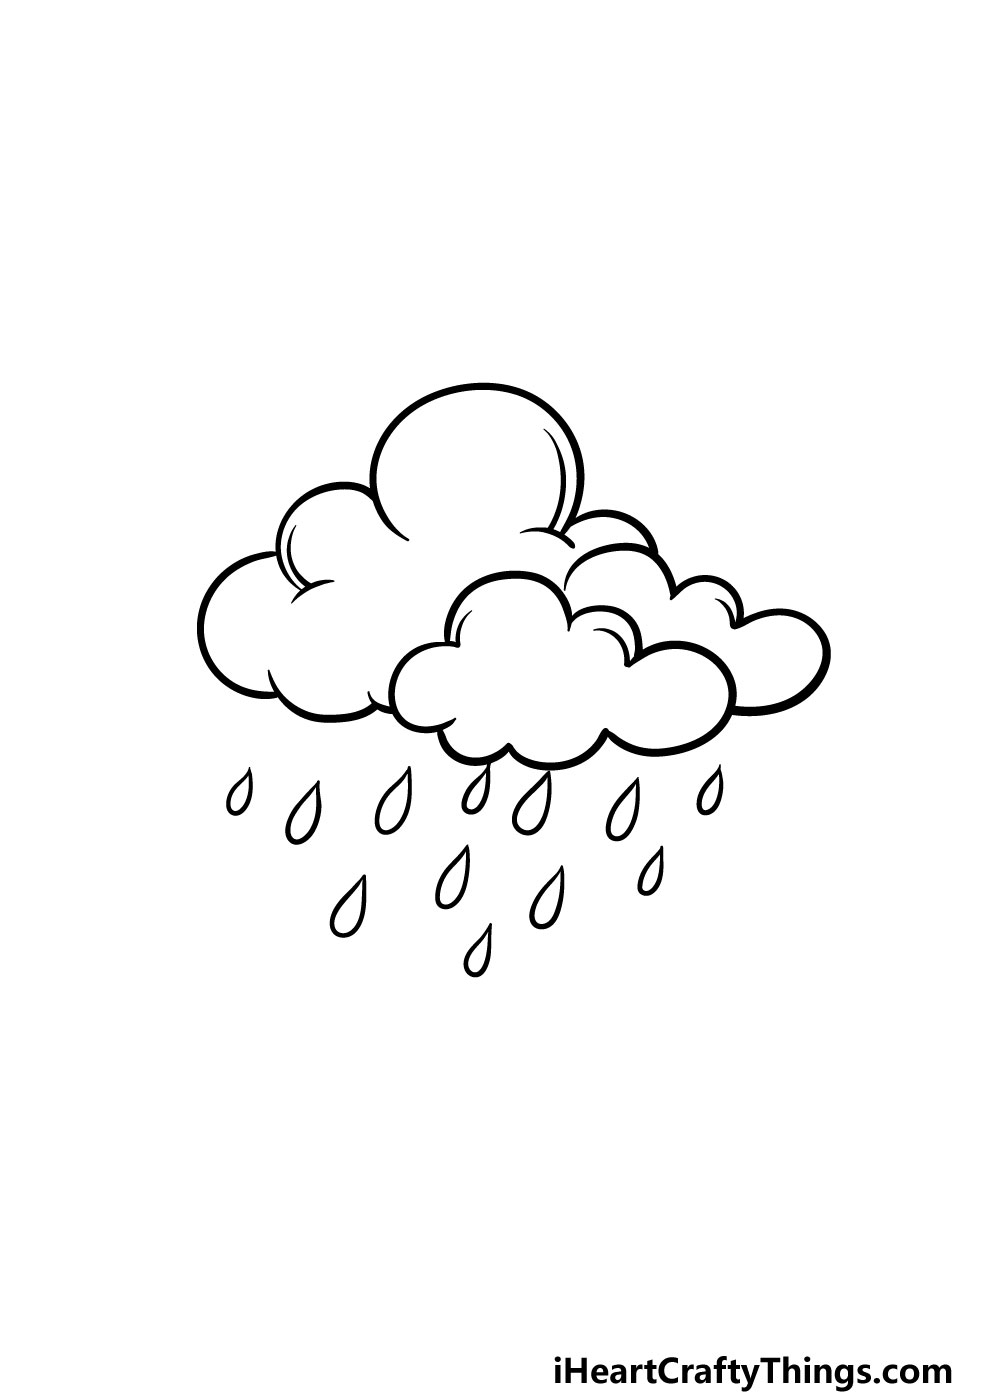
It’s almost time to start bringing some amazing colors to your picture, but first we have a few touches to add in this guide on how to draw rain.
First, you can finish off the raindrops on the other side of the area under the clouds. Once again, you shouldn’t feel like you have to replicate our example image exactly. You can if you like the look of it, but you could also change it up a bit!
Once you have all of the drops, you can then add some curved lines inside of the clouds for some extra details.
That will do it for the touches in this guide, but before you move on, be sure to add any extra details that you may want!
Perhaps you could change up the structure of the clouds by extending them a bit or adding to the shape.
You could also draw some extra elements such as birds or an airplane flying beneath the clouds. These are just a few ideas to try, but what else can you think of for this image?
Step 6 – Finish off your rain drawing with some color
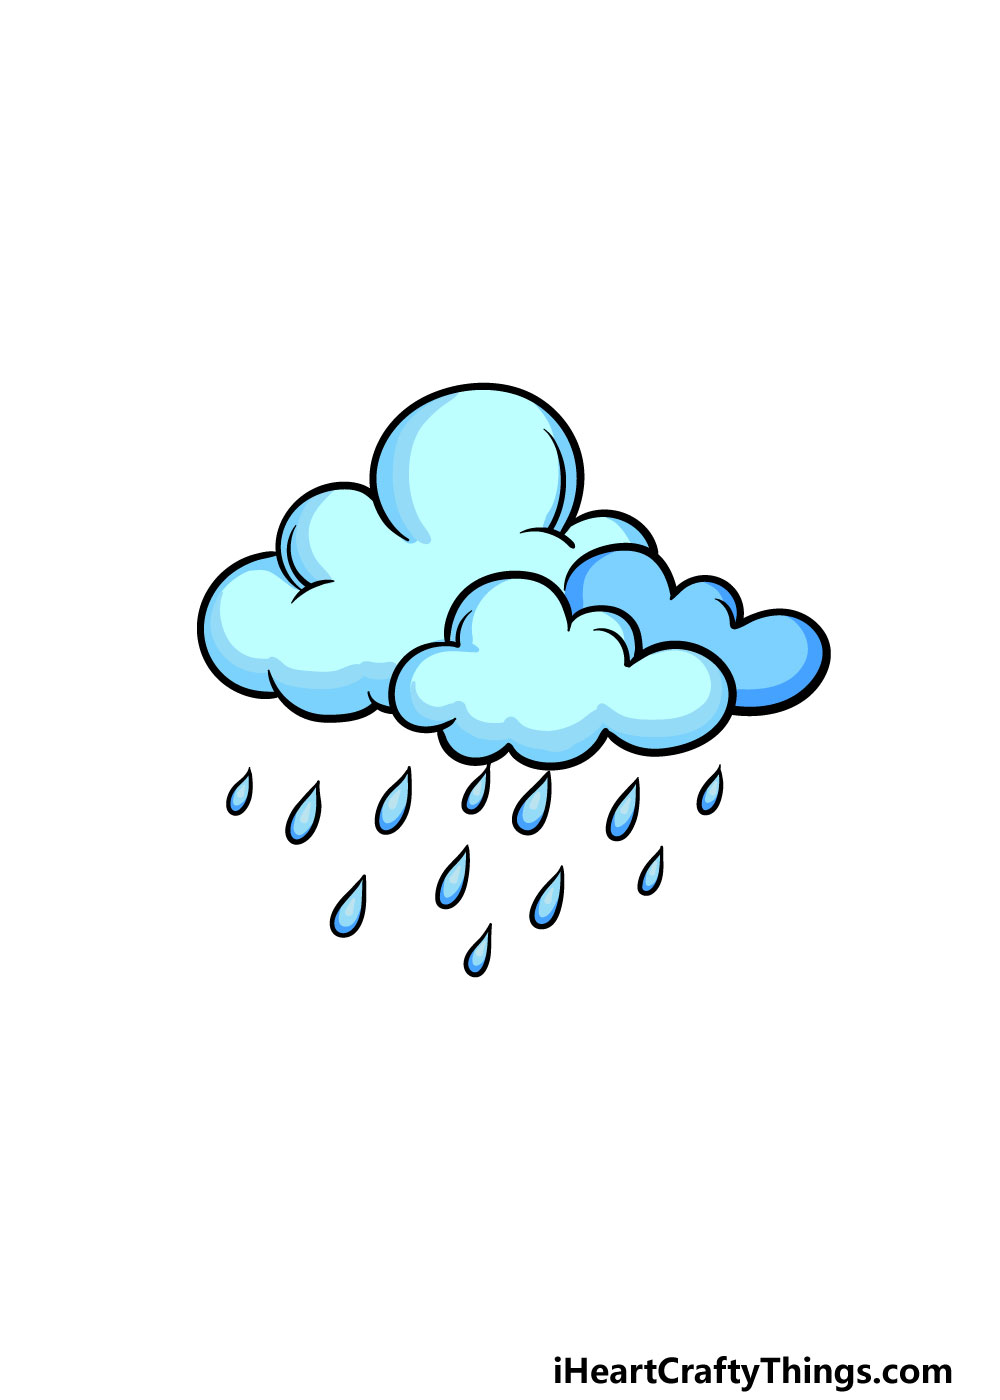
This final part of your rain drawing will be all about adding some amazing color to finish off the picture!
In our reference image, we went with a blue color scheme for the clouds and the raindrops, but this is just one out of many color schemes you could go for.
You could also incorporate some darker colors in order to make these look more like dark storm clouds. Perhaps you could also incorporate some brighter colors for the sunlight poking through or to suggest that a rainbow is forming.
By choosing your favorite colors and incorporating them using your various art mediums and tools you can really put your own spin on this rain drawing!
5 Tips To Make Your Rain Drawing Even Better!
You don’t need to wait for a rainy day to make the most of these tips for your rain sketch!
When portraying the weather in a cartoon style, it’s common to turn the weather features into characters. You could do that for this rain drawing!
This would be easy to do, as all you would need to do is add some eyes and a mouth to get started. You could take it even further by adding a feature such as the cloud blowing some air our.
This next tip will take the opposite approach to our previous tip. One way to make your drawing of rain even better would be to make it look more realistic.
You could do this by making the clouds even bigger while making the raindrops smaller and thinner. How else do you think you could put a realistic spin on this one?
Next, you could show what the rain is falling on by adding a background. There are so many fun ways you could add a background to this rain sketch!
It could be raining on a field or a house. Or, you could go for something even more imaginative such as a fairground or a carnival.
What are some other locations you can think of for this scene?
The colors you choose can really change the dynamic of a picture, and you have a lot of colors you could use. If you want to make it look like it is a heavy storm, you could use some darker greys and purples.
You could also take a more stylistic approach to make this cloud and the rain seem more abstract with brighter colors.
Choosing the colors is one thing, but you can also switch up the mediums and tools you use. For instance, using watercolor paints is a great way to make the colors look softer and puffier.
If you really wanted to make this drawing eye-catching, you could also use crafts such as cotton wool for a 3D effect to the design!
Your Rain Drawing is Complete!
We hope that you had lots of fun working on this guide on how to draw rain alongside us! Whenever you take on a new drawing, it can be made so much easier and more enjoyable to do when you break it down into smaller, less intimidating steps.
We hope that this guide helped to do that for you, as our aim is to make each drawing easier and more fun!
Once you have reached the end of the guide, the fun doesn’t have to end there. We mentioned a few ways that you can keep the fun going by adding a few of your own touches.
Whether you change up the structure of the clouds, add some elements or get creative with your art mediums, you have so many options to choose from!
When you’re ready for more drawing fun, be sure to visit our website! We have lots of guides covering a wide variety of topics, so there’s something for everyone. We upload new ones frequently as well, so be sure to check in often!
Once your rain drawing is complete, we also hope that you will share it on our Facebook and Pinterest pages! We can’t wait to see your rainy artwork.