Supplies needed:
- green 12 x 12 cardstock paper
- orange and brown acrylic paint
- small balloon
- small paper plate
- orange glitter glue
- green yarn
- scissors
- school glue
Tutorial:
1. Place balloon in paint
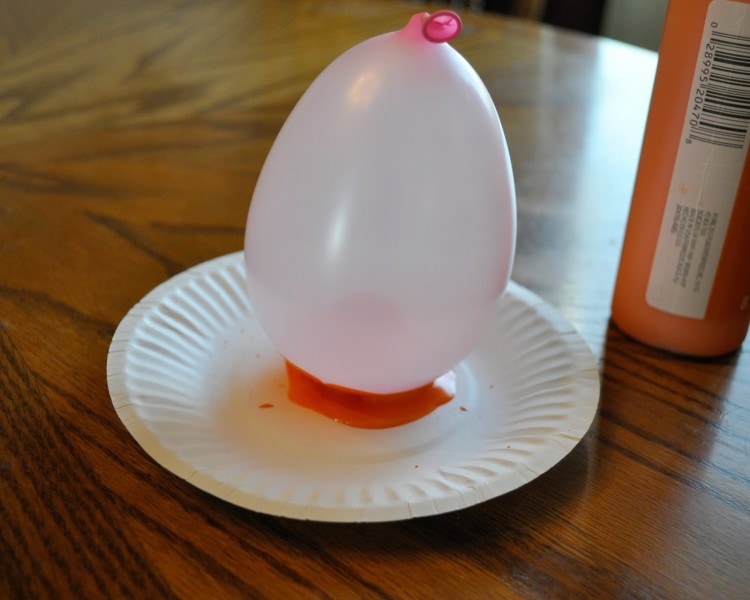
2. Make prints over paper using balloon
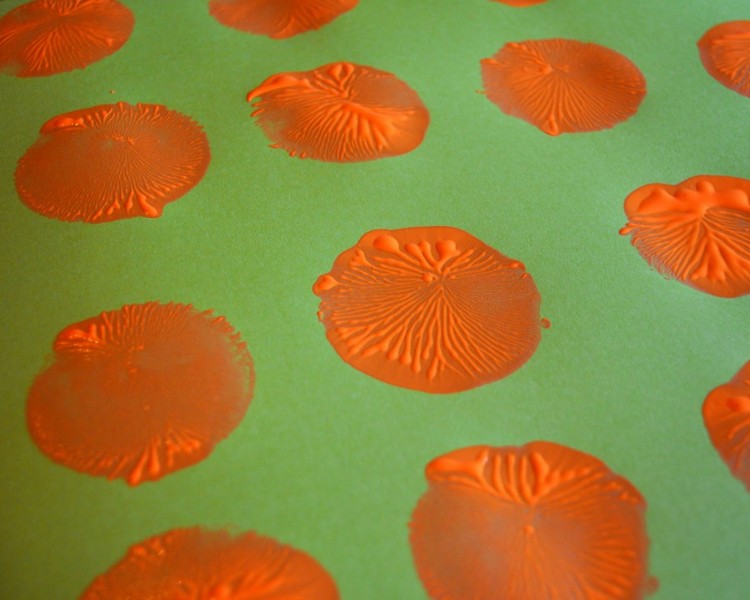
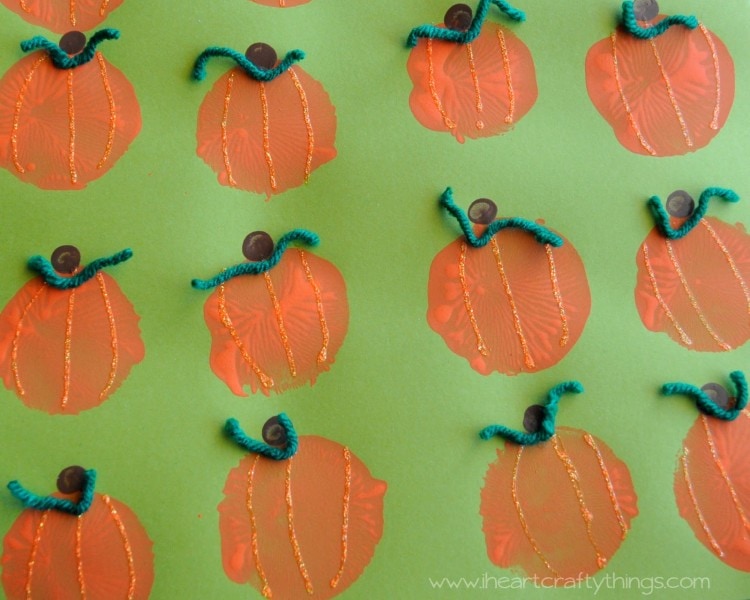
Use the small balloon to make circle prints all over your green cardstock paper to resemble pumpkins. You can make them in straight lines or scattered over the page. However you like them.
3. Make brown prints using fingers
Put a small amount of brown acrylic paint onto your small paper plate. Use your finger to make prints at the top of your pumpkins for the pumpkin stems. Let your paint dry completely.
4. Add lines with glitter glue
Once your paint is dry, use your orange neon glitter glue to add lines on your pumpkins to give them texture. The neon glitter glue dries raised so it’s perfect for adding texture and sparkle to the pumpkins. Let the glitter glue dry completely.
5. Add strands of yarn
While your glitter glue is drying, cut small strands off of your green yarn for your pumpkins. This is such fun cutting practice for preschoolers. When the glitter glue is dry, add a dot of school under your pumpkin stem and add one of your small pieces of green yarn to your pumpkin. The green yarn acts as your pumpkin vine.
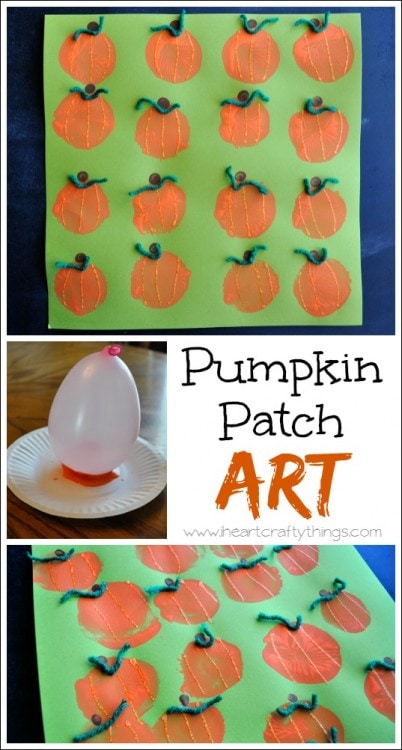
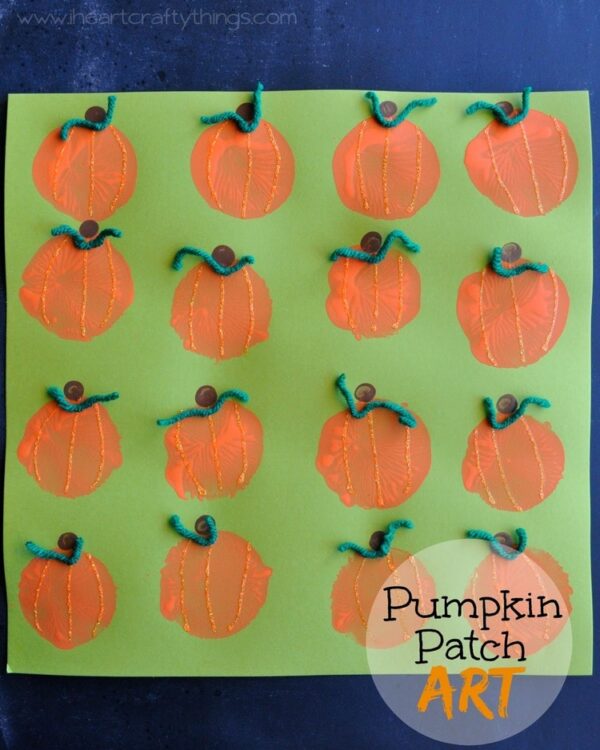
Here is my 4 year old’s completed pumpkin patch art:
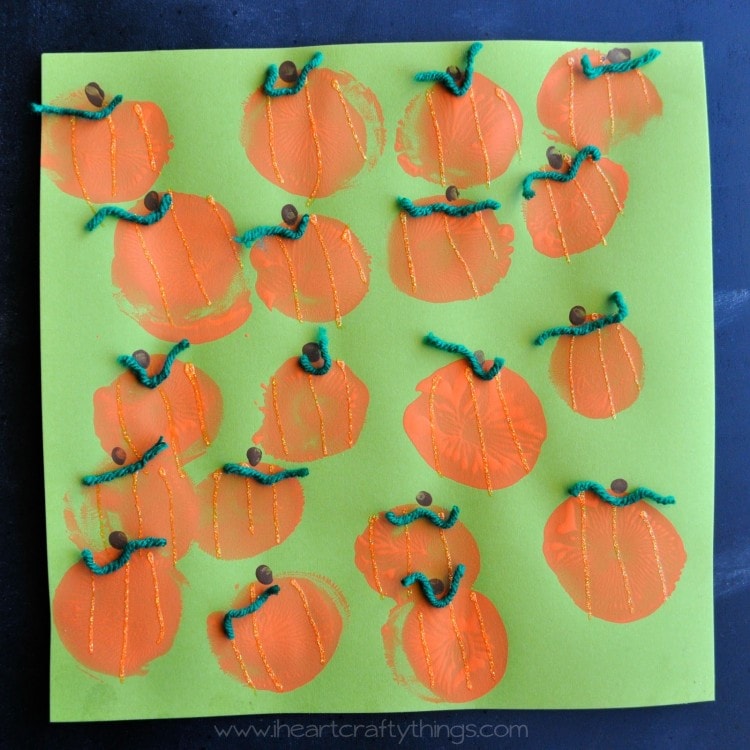
Using a balloon turned out to be such a fun way to make pumpkin prints and the added textures of the glitter glue and yarn really makes the artwork so beautiful!
