{This post contains affiliate links, read our Disclosure Policy for more information.}
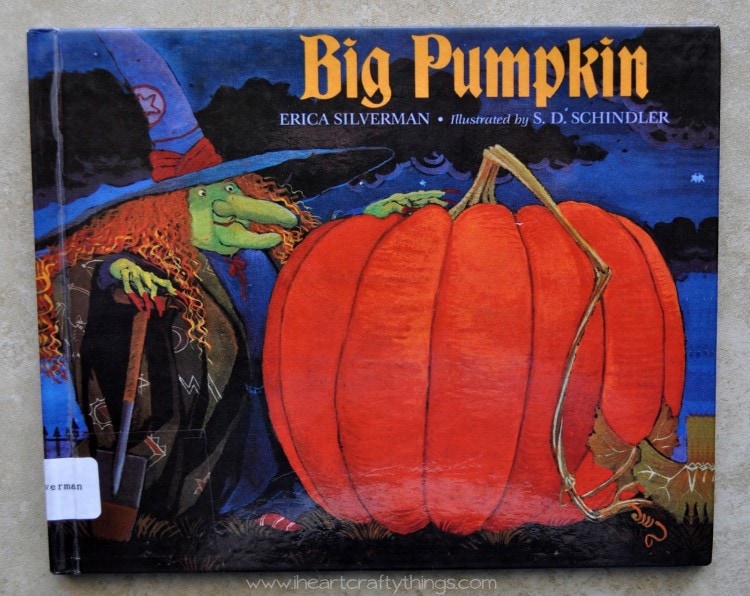
Our favorite Halloween book which we combined this craft with is
Big Pumpkin by Erica Silverman
It’s such a fun Halloween story about a Witch who wants to make pumpkin pie. Unfortunately, the pumpkin she had grown had become so huge that she can’t get it off the vine herself. Through different encounters with a ghost and other spooky creatures, the witch learns the value of cooperating and the joy of sharing.
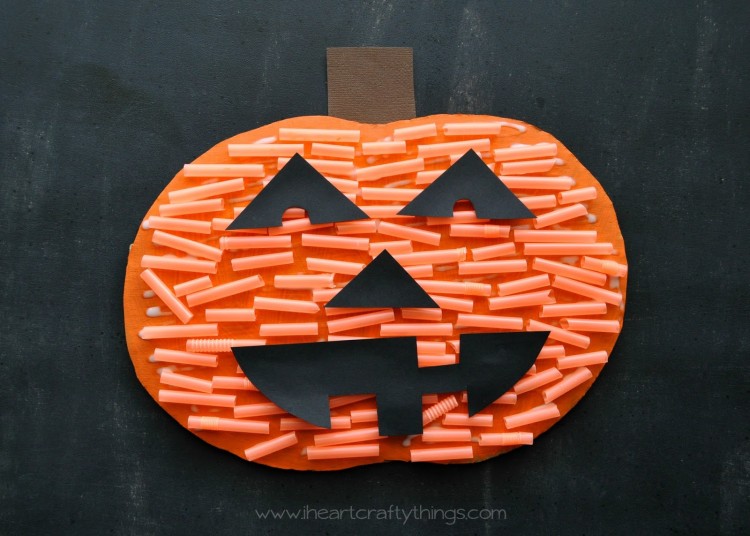
PUMPKIN JACK-O-LANTERN CRAFT (with cutting practice)
Supplies you will need:
- cardboard
- scissors
- orange paint
- paintbrush
- orange straws (we picked up a multi-pack of neon colors from Walmart and pulled out the orange ones)
- school glue
- black cardstock paper
- brown cardstock paper
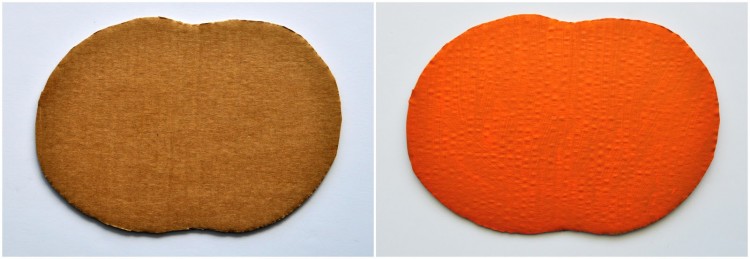
2. Paint your cardboard pumpkin orange. Set it aside to dry completely.
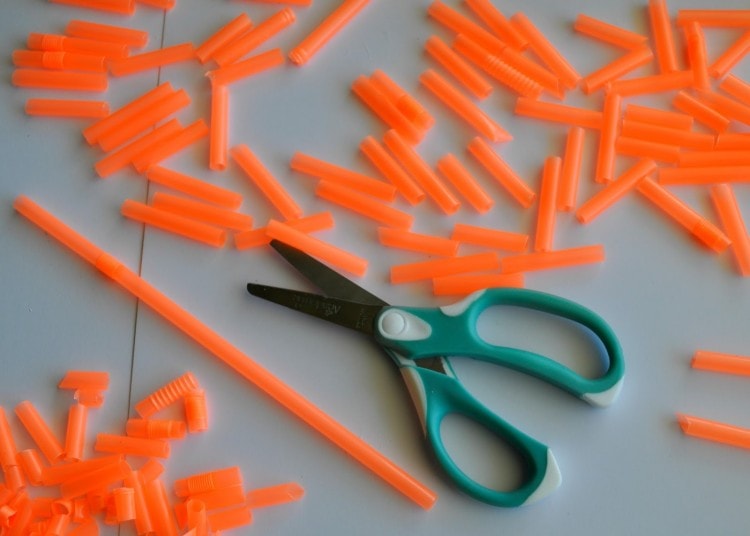
3. While your pumpkin is drying (or as my daughter did, you can do this the prior day as a completely separate activity) cut up a handful of orange straws. This is awesome cutting practice, not to mention is great hand to eye coordination as well. Sometimes the straws make a popping sound when you cut them and they fly up in the air and it’s a real hit with my preschooler.
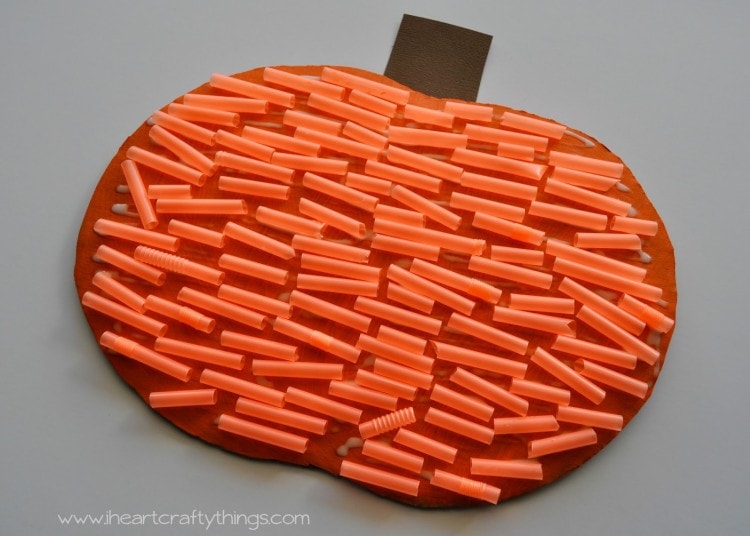
4. Once your cardboard pumpkin is dry, spread school school on a small section of your pumpkin and start adding on your orange straws. Continue adding glue in small sections, following with adding the straws until the entire pumpkin is full. You are left with a fun textured pumpkin.
5. Cut a stem out of brown cardstock paper and glue it to the back of your pumpkin.
6. Finish your pumpkin by cutting a jack-o-lantern face out of black cardstock paper and gluing it onto the top of your straws. I cut this face out for my preschooler, but this is something a preschooler could easily do themselves as well for even more cutting practice.
This post is part of a collaborative Creative Preschool series where 4 bloggers and myself have joined together to bring you fun crafts and activities based on a common preschool learning theme. This week we are sharing ideas focused on Halloween.
Check out the other Halloween Ideas from the other Creative Preschool Bloggers:
M is for Monster (Math & Science) | Artsy Momma
5 Little Pumpkins | A Little Pinch of Perfect
Owl Halloween Craft | Handmade Kids Art
Halloween Ghost Splat Painting | Pink Stripey Stocks
Stop by Friday, October 17, 2014 for Science Experiment Posts.
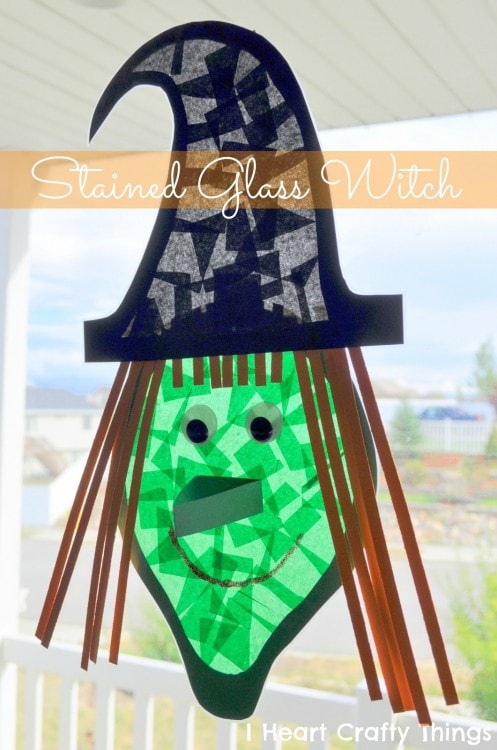
You might also like our Stained Glass Witch Craft!
Follow I Heart Crafty Things on Facebook, Pinterest,
Google+, Twitter, and Instagram!


