


There are some animals that look really cute, and some that look intimidating in a way that warns you not to mess with them.
While most animals will have just one of these traits, the porcupine has the unique distinction of having both.
It looks really cute with its little face and legs, but you wouldn’t want to touch one thanks to the mass of sharp quills on its back.
These quills not only make it more intimidating but they also make it much harder to learn how to draw a porcupine.
Like any drawing challenge, it can be made easier when you know what to do, and that’s what this tutorial is for.
Our step-by-step guide on how to draw a porcupine in just 6 steps will show you how fun and easy it can actually be!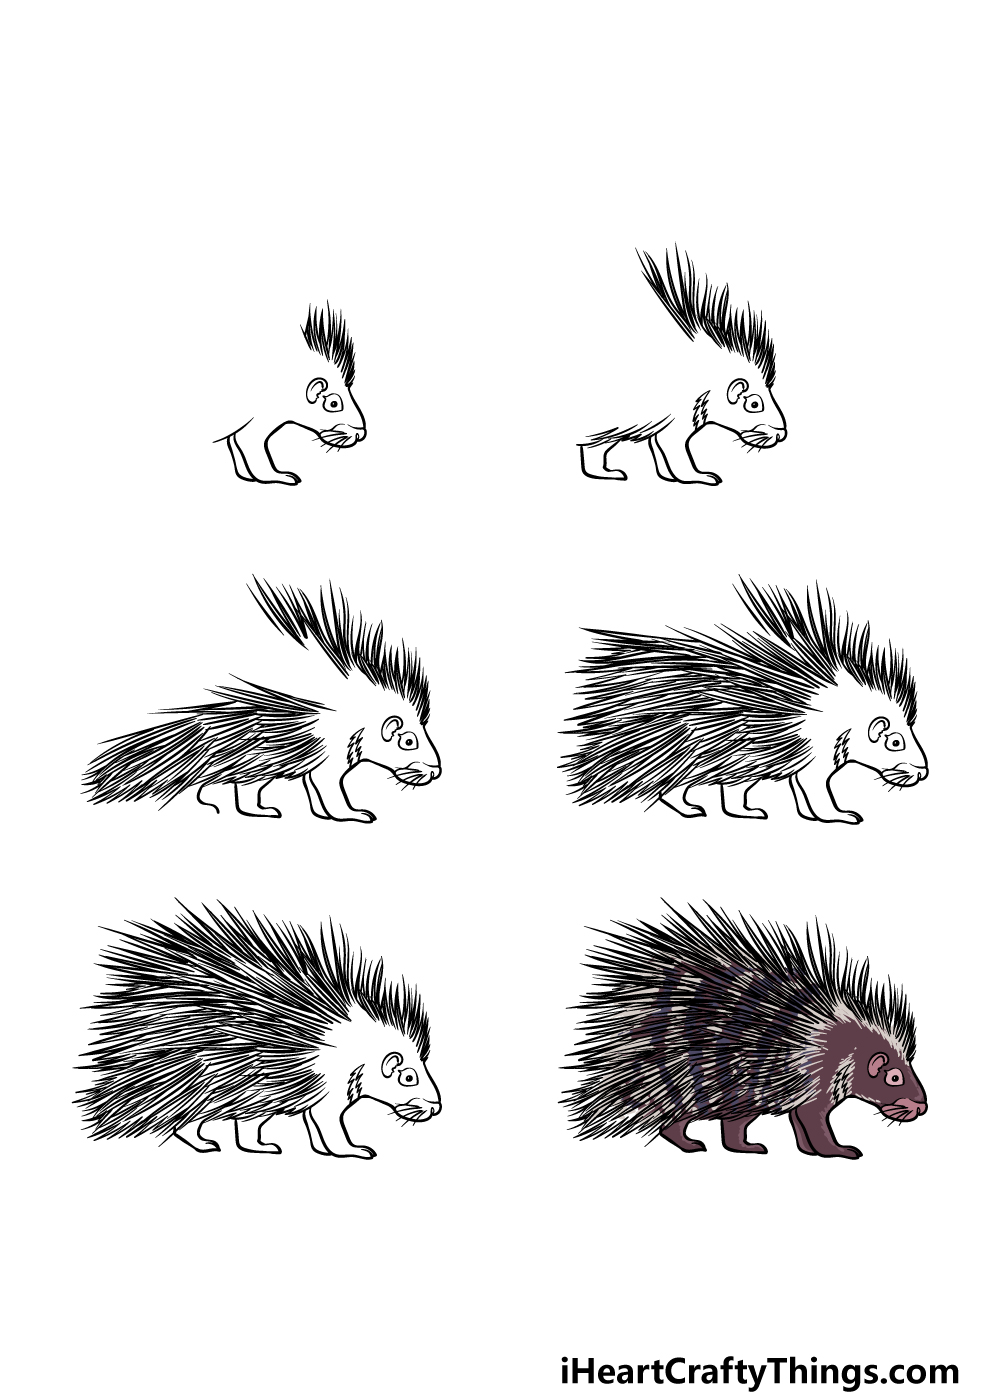
How to Draw A Porcupine – Let’s Get Started!
Step 1
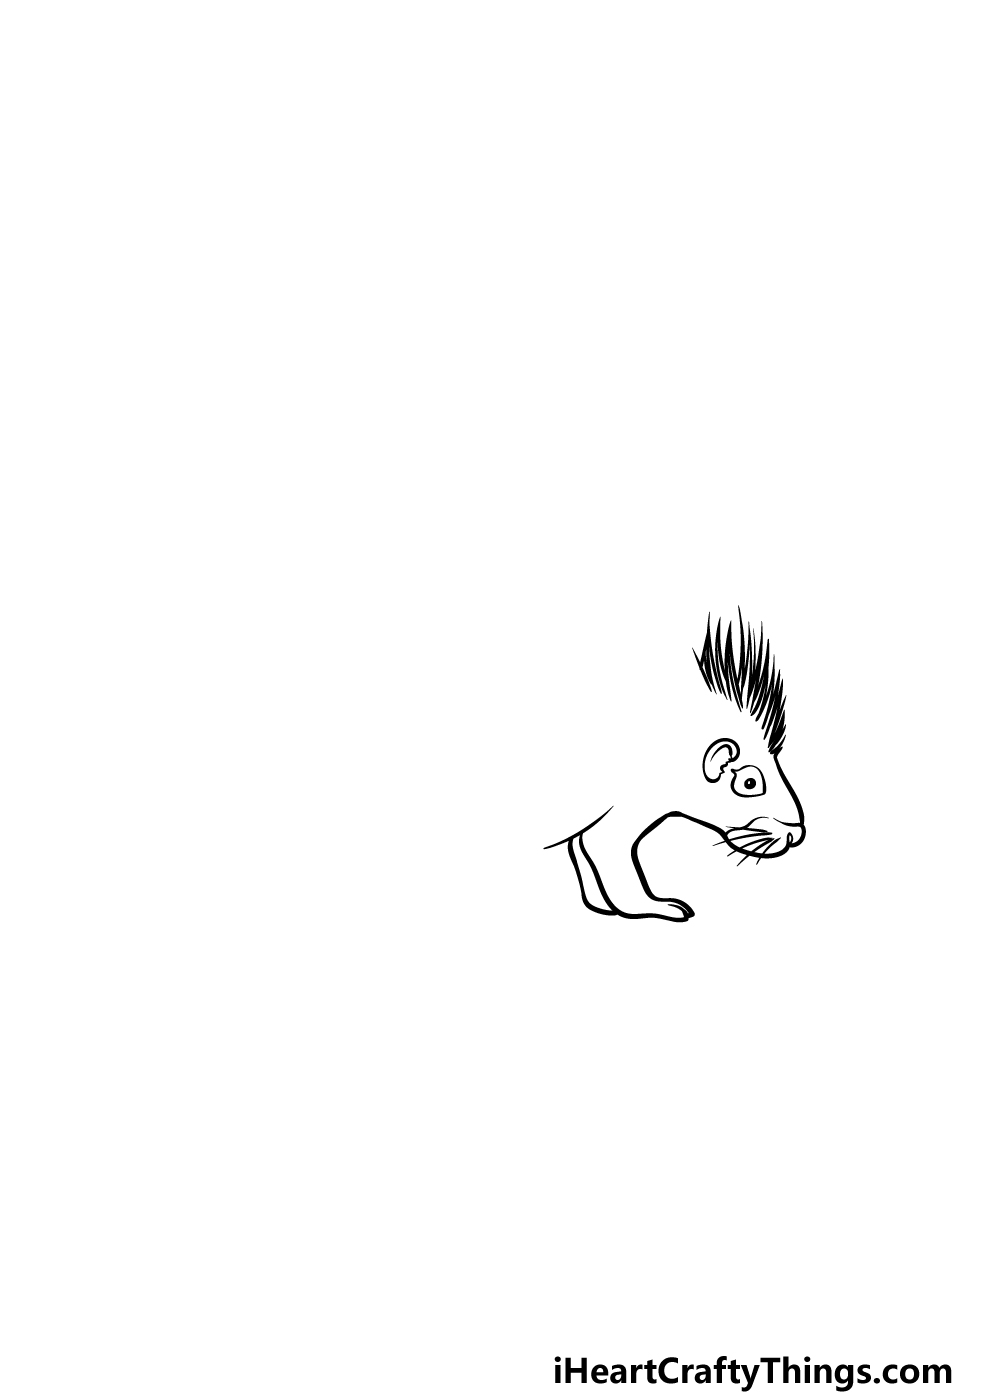
Before we start drawing the mass of quills on the back, we shall first begin with the head and front legs in this guide on how to draw a porcupine.
Start by drawing a small, rounded shape with a dot inside of it for the eye. Then, use some rounded lines for the snout and add some whisker lines onto it.
Neck, we will draw an ear behind the eye and then the base of the neck.
Right after the neck, you can then draw some small front legs with little claws at the ends. Finally, draw some long, sharp lines bundled close together on top of the head.
These will be the first quills on the porcupine, and in the next few steps we will keep adding more quills and elements.
Step 2 – Now, draw more of the back and belly
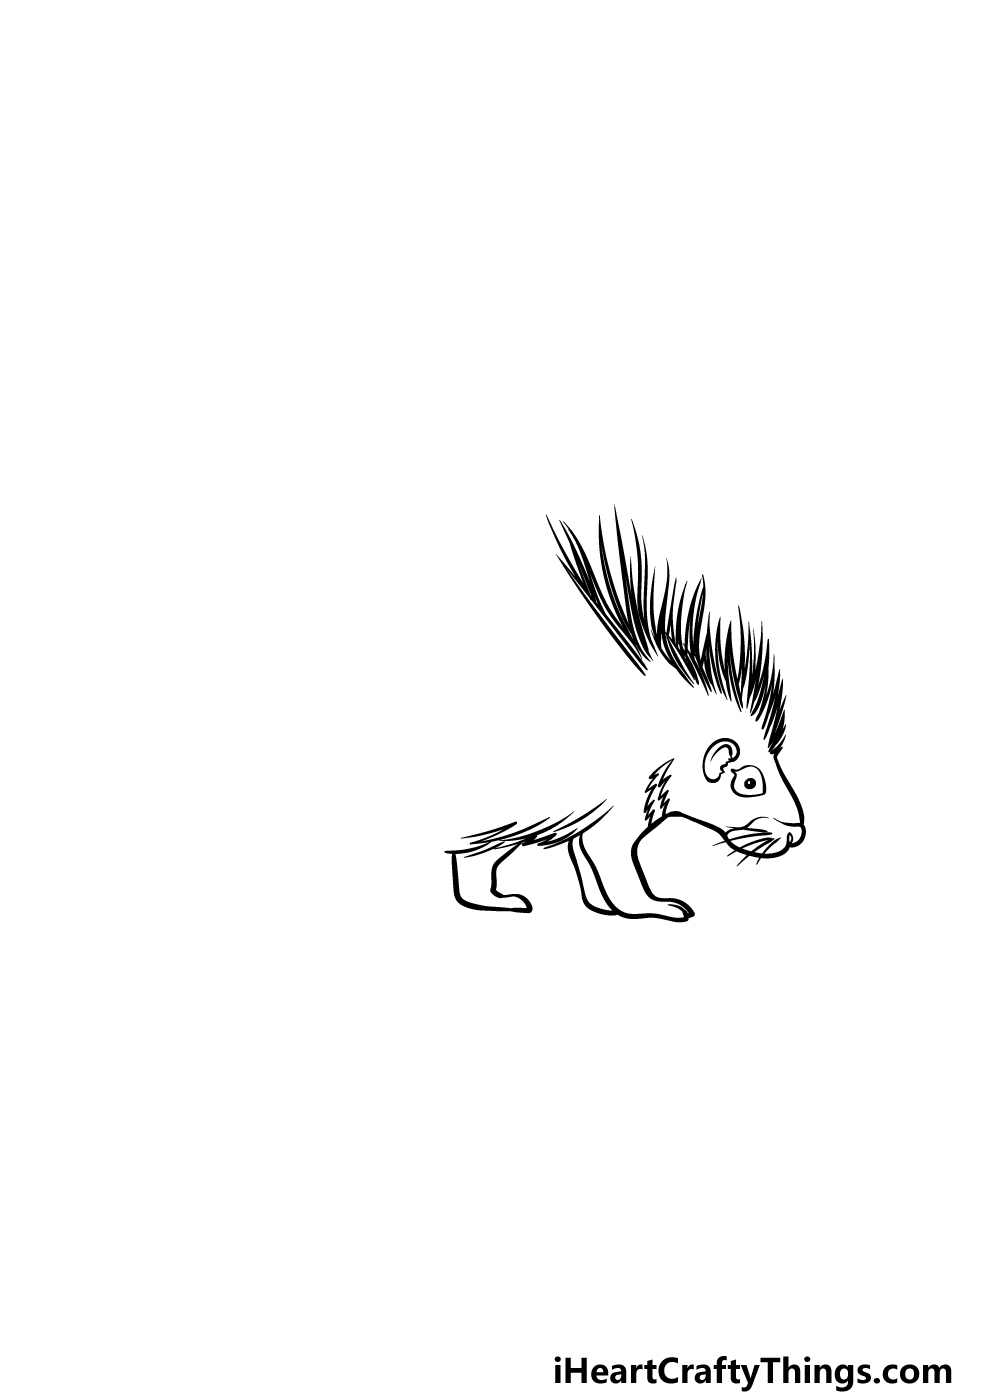
As we mentioned in the previous part of your porcupine drawing, the next few steps will see you adding more quills to the back to gradually build it up.
To add the next section of quills, we will be drawing lots more wavy lines with pointy tips at the top. These quills will get a little longer as you go along, as shown in the reference image.
Once you have drawn this latest section of quills, we will then draw the belly for the porcupine. You can draw this furry belly by drawing some jagged lines behind the front legs.
Then, draw the first of the squat back legs before you get ready for step 3 of the guide!
Step 3 – Draw the next sections of quills
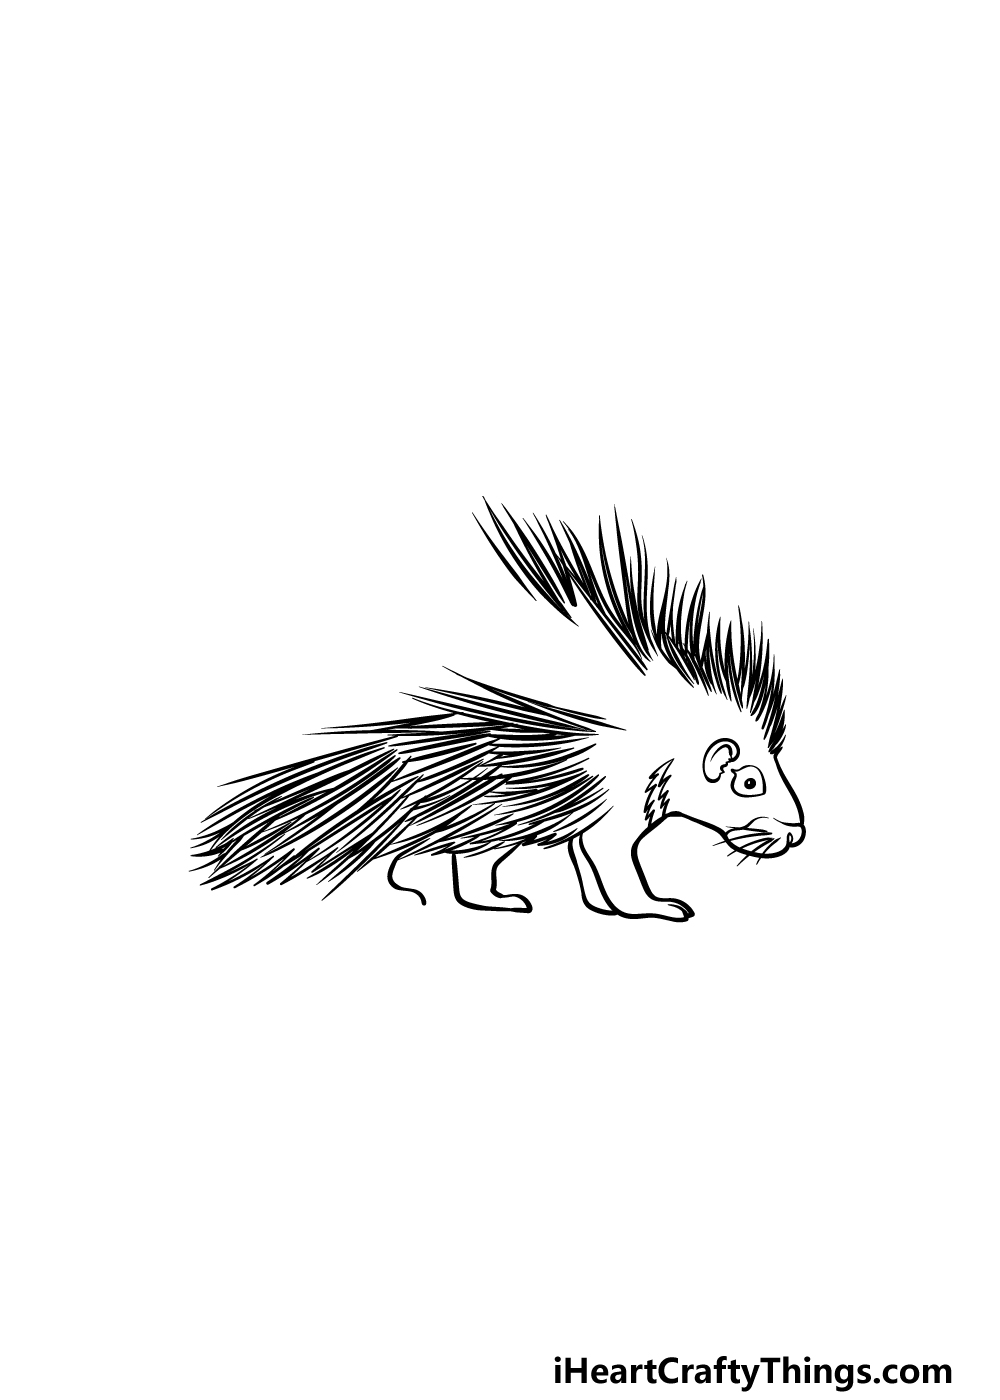
This third step of our guide on how to draw a porcupine will see you adding even more quills to the body.
Some of these will be going on the back next to the other ones you’ve been drawing, but the rest will be going on the side.
Let’s focus on the ones on the back to start with. To draw this next section, simply keep drawing more of those pointy lines you’ve been drawing so far.
The next step will take a bit of patience, so you may want to grab a cup of tea!
We will be adding a mass of quills onto the side of the body, and these will be drawn with a combination of the pointy lines you’ve drawn on top and some wavy lines.
They should be covering the base of the body as it appears in our reference image, and then we can proceed.
Step 4 – Next, draw more of the body quills
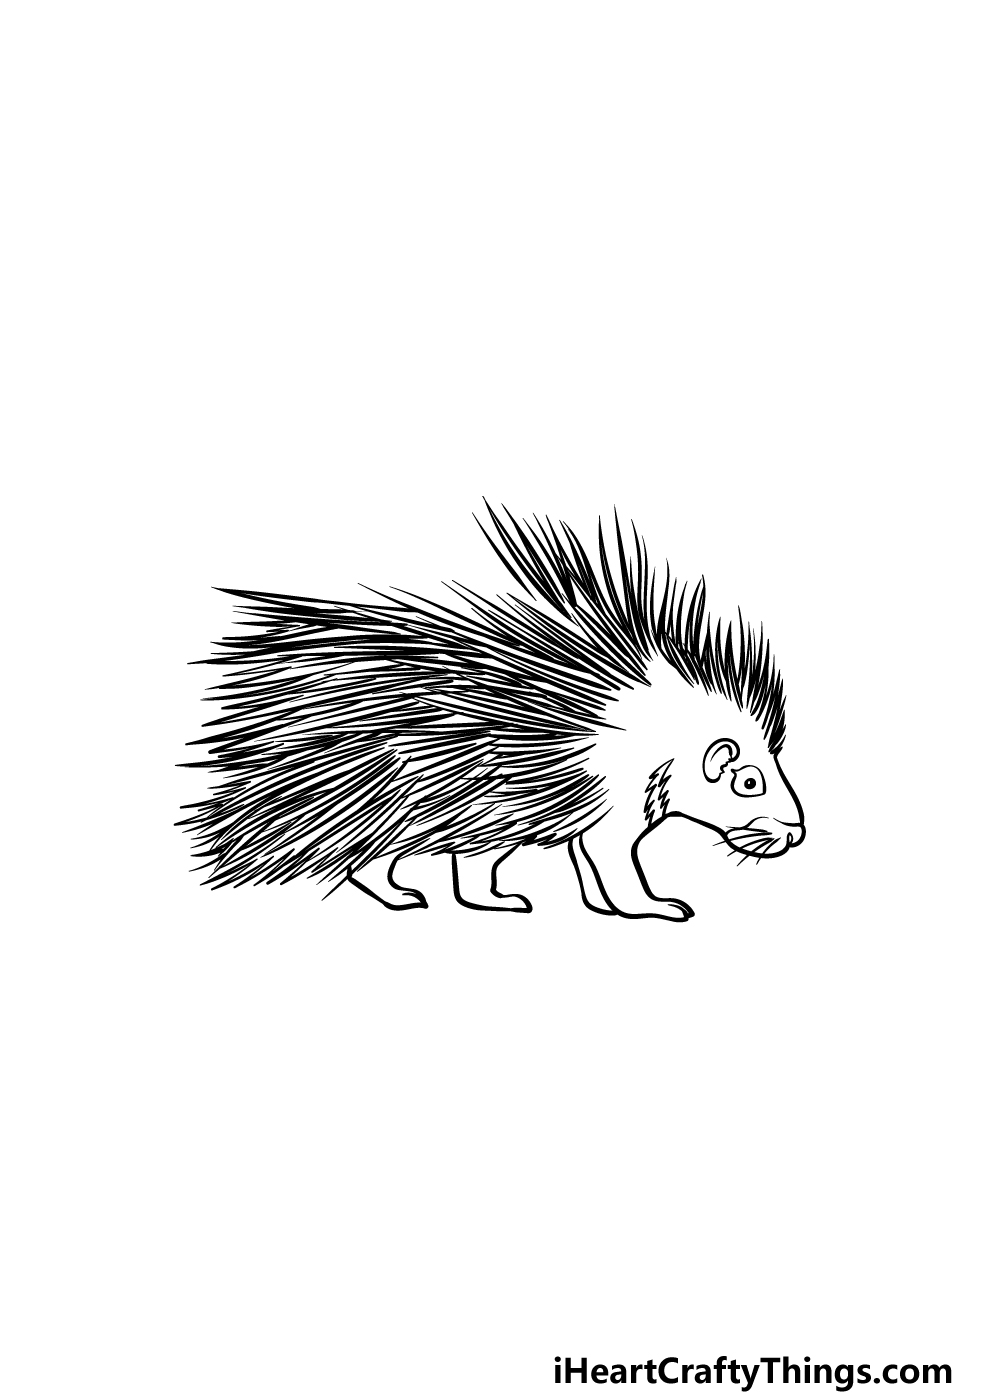
You’re really getting the hang of drawing these quills! In this fourth part of your porcupine drawing, we will be adding another section of prickly quills above the previous section that you just drew.
This next section will be one of the largest sections you’ve drawn so far, and once it’s done there will just be one small blank section at the top of the porcupine to fill in.
We will take care of that last spot along with any final details in the next step of the guide.
Step 5 – Add the final details to your porcupine drawing
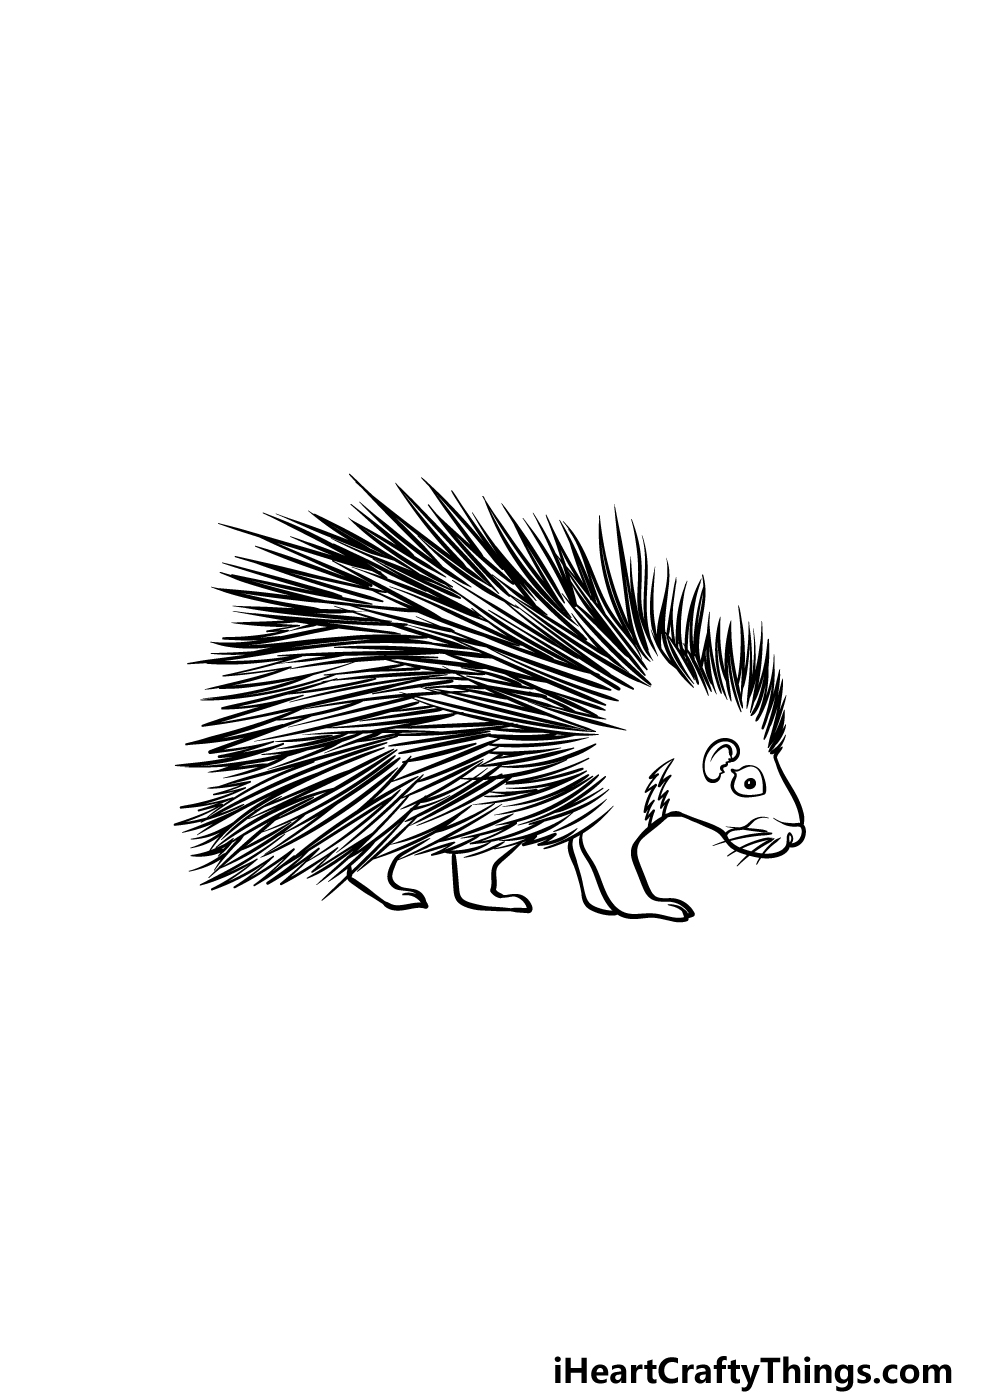
This fifth step of our guide on how to draw a porcupine will see you adding the final details and touches to finish it off before the final step.
As we mentioned in the previous step, this will mainly entail filling in the blank spot on top of the other quills.
Fill this spot in exactly as you have been throughout the rest of the drawing and your porcupine will be ready for some color!
Before you move on to that step, be sure to also add any additional details you would like.
You could draw some more animals or even a background setting for some ideas, so what can you think of to finish it off?
Step 6 – Finish off your porcupine drawing with color
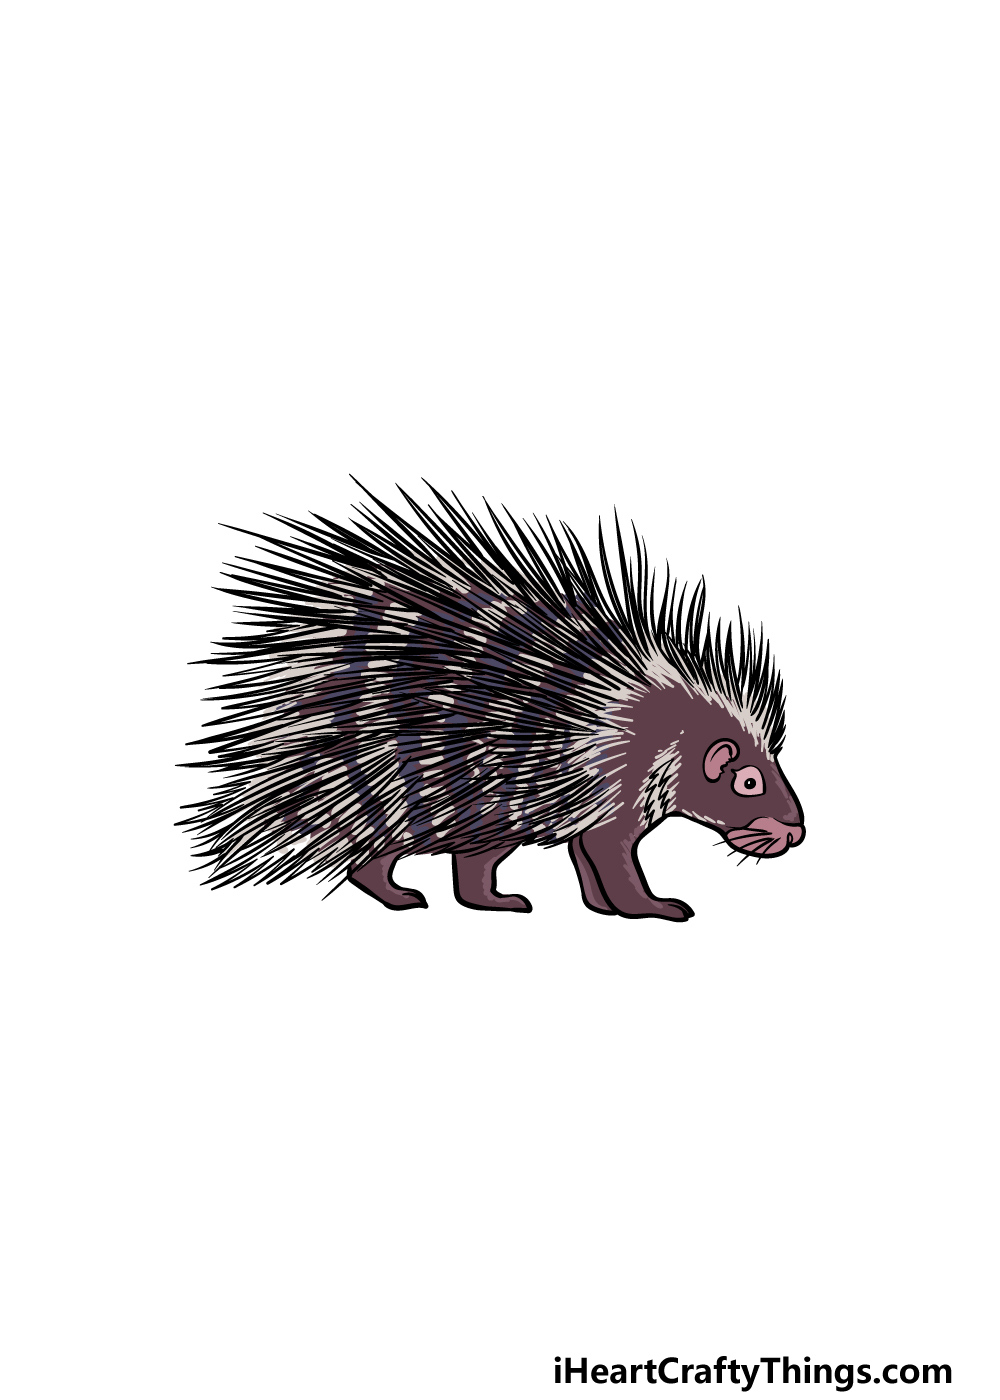
Now you’re ready to finish off this porcupine drawing with some colors! We went with a realistic color scheme for our example image, as we mostly used some browns with white stripes on the quills.
If you would like to go for a similar look, you may want to try using some watercolor paints, as you will be able to paint over your drawn lines and still see them.
This is just one approach you can take, but there are many different ways that you could color this picture in! What colors and mediums do you think would best suit this amazing porcupine?
5 Tips To Make Your Porcupine Drawing Even Better!
These tips for your porcupine sketch will help to make it even better!
This drawing of a porcupine was a really fun challenge, and now that you have completed it, you could add even more porcupines to the image.
You could add one, two or even more porcupines to the picture to make sure this one has plenty of friends!
All you would need to do is follow through the guide again and maybe change a few small details.
How many porcupines would you like to add?
If you’ve had enough of drawing porcupines, then you could add other animals to the image as well. This would be a great chance to show off some of your favorite animals!
They could be mammals, reptiles, birds or anything else you can think of. Any animals you add will make this picture even more interesting to look at!
If you’ve always dreamed of meeting a porcupine in real life or maybe have a good memory of a time when it happened, then you could add yourself to this porcupine drawing.
This would be a great way to make this depiction more personal, and you could draw yourself in any kind of style you like. Or, you may prefer to draw someone else in the image instead!
Porcupines are rather interesting animals, and you could add an educational element to your picture by writing in some facts and statistics about porcupines around the one you drew.
You could look up any bits online that you find interesting, or you may have some favorite facts ready to go! What are some cool things about porcupines that you could include?
Another way of filling the background of your porcupine sketch would be by drawing a background setting.
There are a few ways you could do this, and one would be to show the porcupine in its natural habitat.
Or, you could show it in a zoo or maybe a house for a fun twist. There are so many fun backgrounds for you to choose and experiment with!
Your Porcupine Drawing is Complete!
That brings us to the end of this guide on how to draw a porcupine! This was a deceptively tricky drawing to take on, as there were loads of small quills to draw in a convincing way.
As long as you follow the steps and draw them section by section then you should have no problems drawing all of these small details!
Then you can relax and have some fun finishing off with your own additional details, elements and color choices!
When you’re ready to take on a new drawing, you can head to our website to enjoy our massive library of drawing guides. We upload new guides often, so keep checking in for even more!
We also hope that you will share your finished porcupine drawing on our Facebook and Pinterest pages so we can see how great your awesome artwork looks!