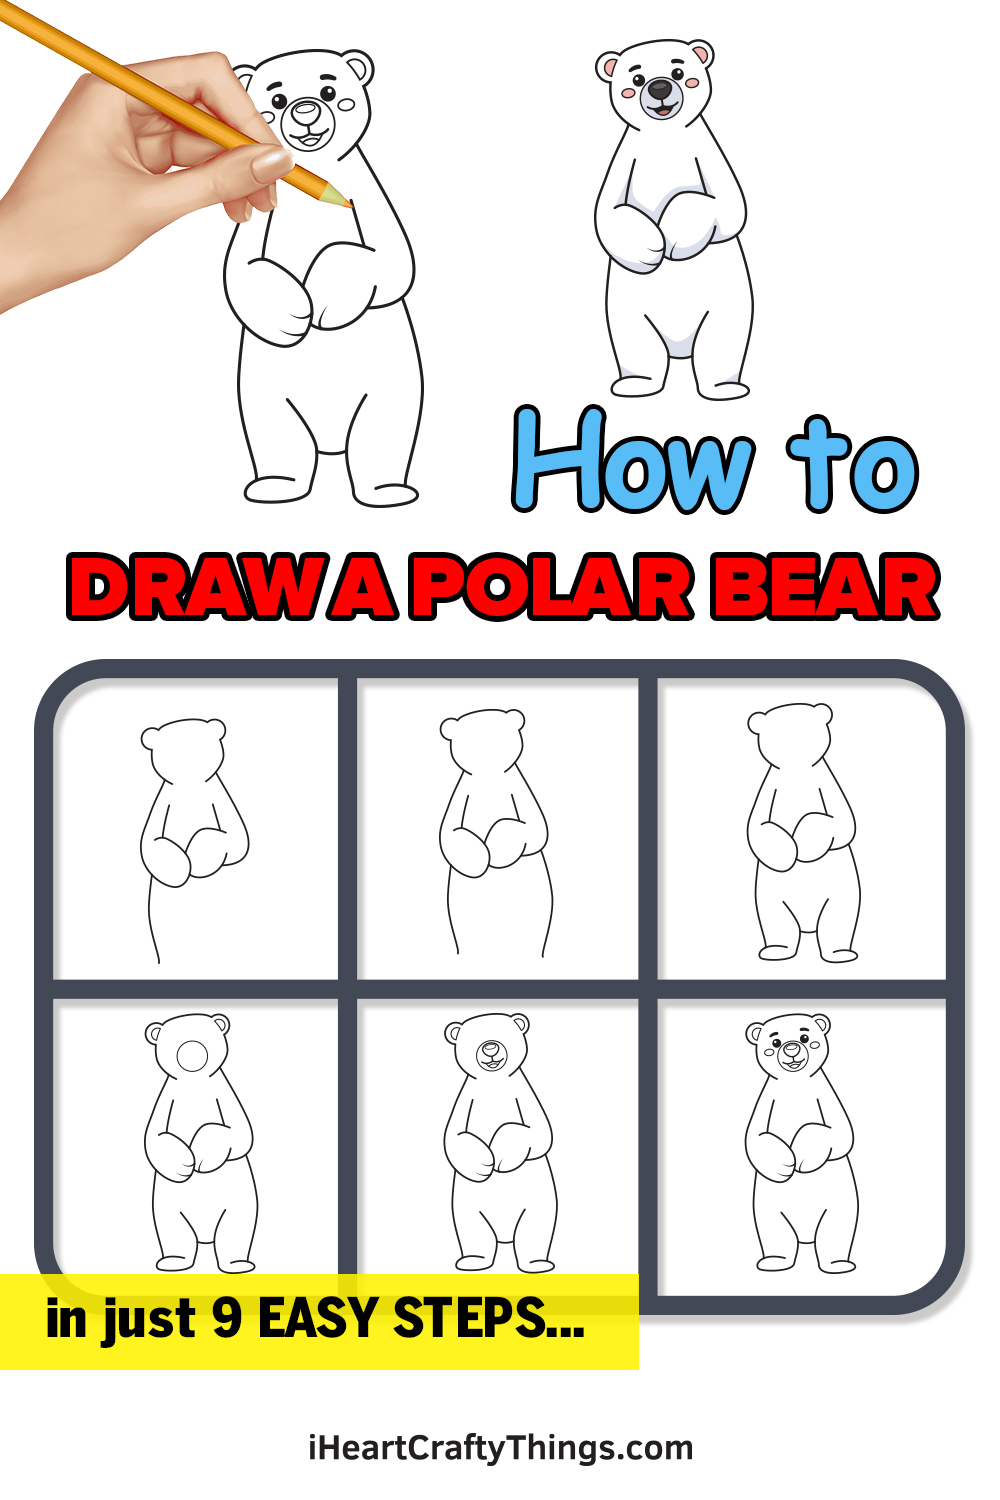
All ages and skill levels can enjoy this guide on how to draw a polar bear for kids! You can make your own version of this incredible animal in just a few steps.
They are found in some of the coldest Arctic regions on the planet, but they are well-equipped to deal with these harsh conditions. Polar bears are beautiful creatures, but they can also be quite dangerous if not respected.
This combination of beauty and danger has made them popular around the world, and many people like to try and draw them.
If you love polar bears, then this guide will be perfect for you! You can join me in working through the steps as we see how you can recreate this beautiful animal.
Then, you can take it even further by adding some of your own ideas, details and background elements.
Watch These Steps To Make Your Own Polar Bear Drawing
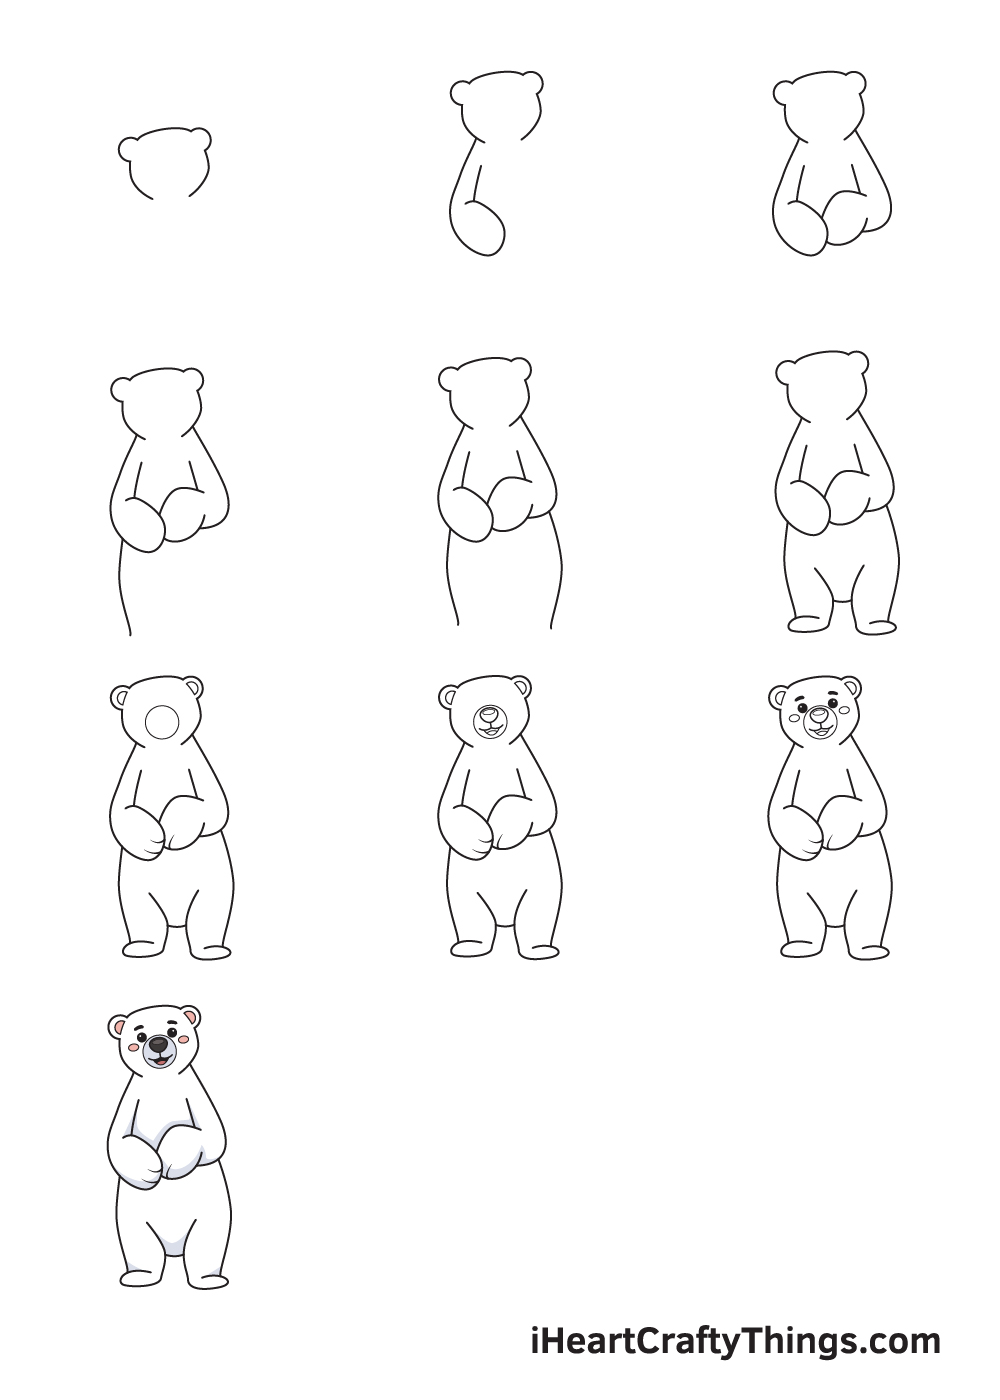
How to Draw a Polar Bear – Let’s get started!
Step 1
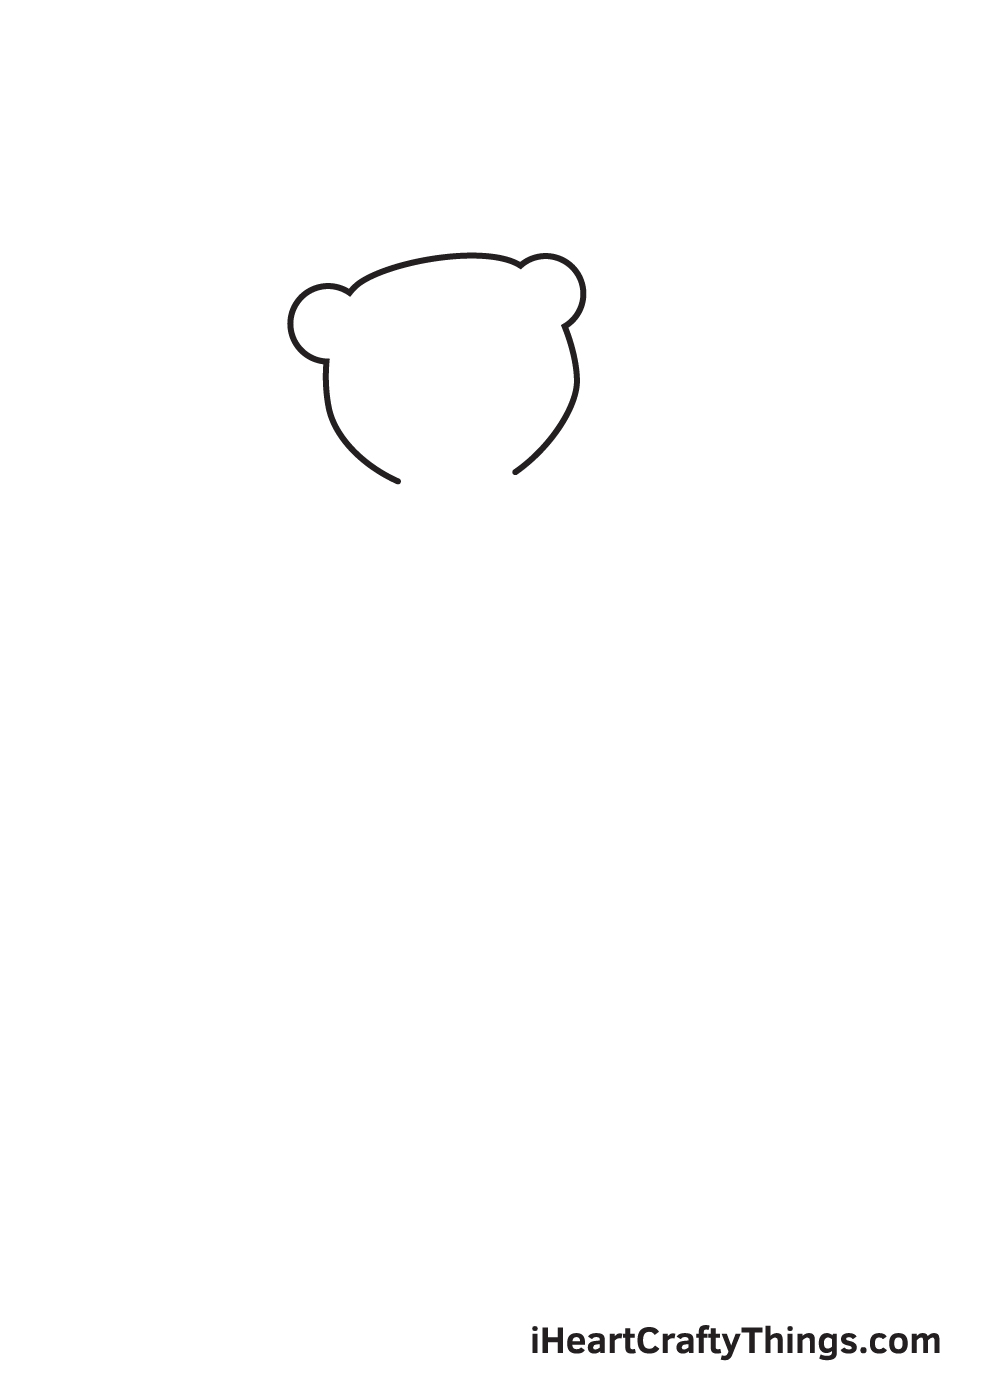
Begin by drawing an outline of the polar bear’s head on the upper portion of your paper.
You can create the head of the polar bear by simply drawing an irregular circle shape with two semicircles on each side above the head forming the ears.
To ensure that the polar bear will be drawn in the center, you can create reference lines by drawing an intersecting vertical and horizontal line across your paper.
The vertical line above the horizontal line in the middle is where you should draw the head of the polar bear. By doing this, you will have sufficient space at the bottom for the entire body of the polar bear.
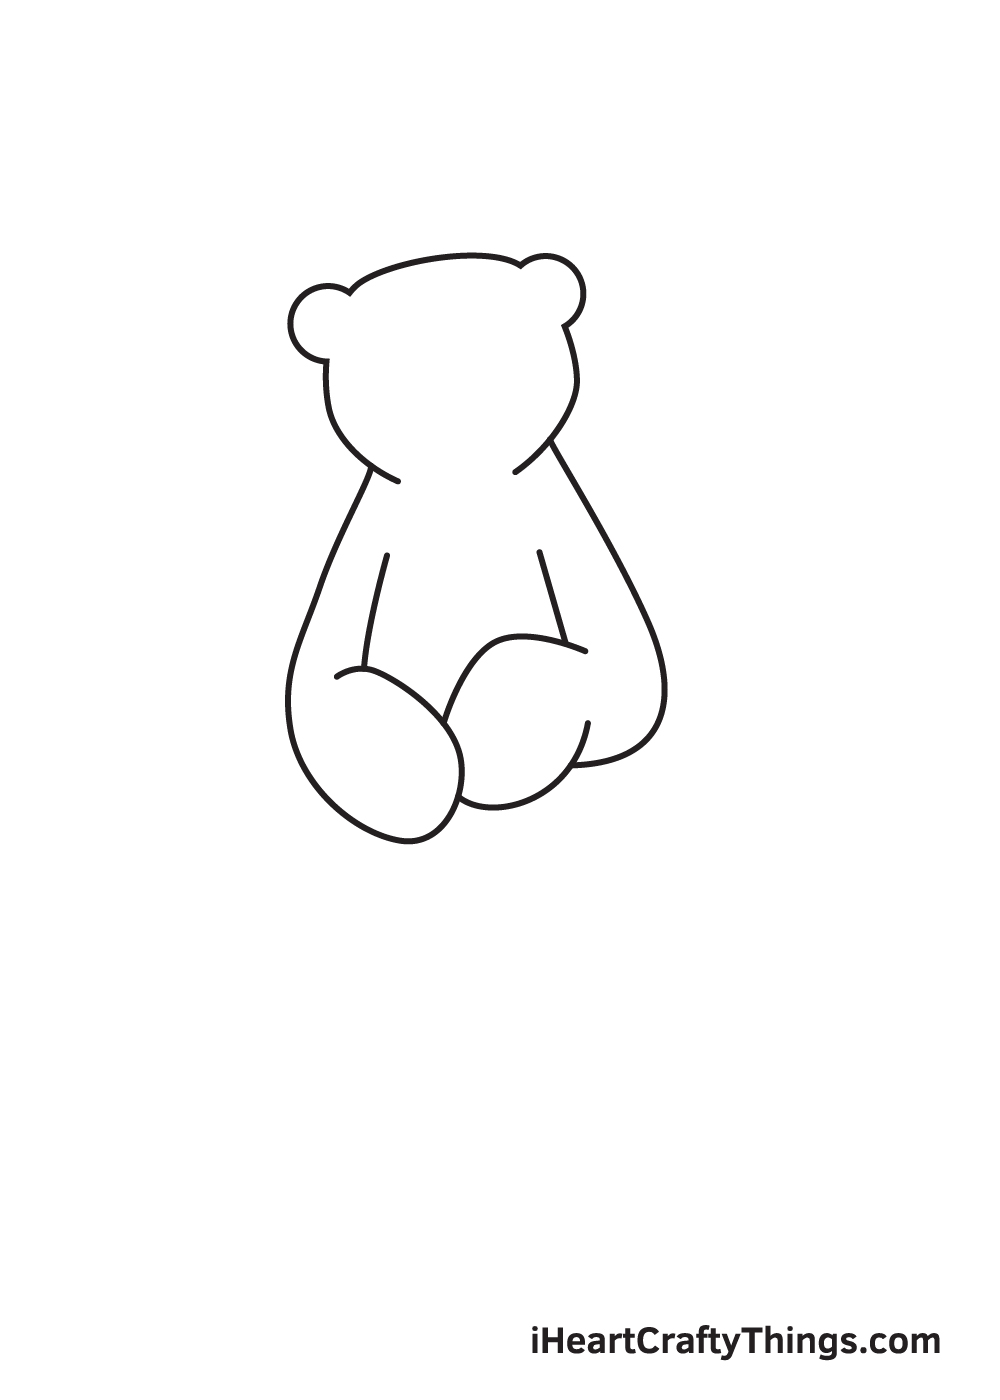
Step 2 – Draw the Left Arm of the Polar Bear
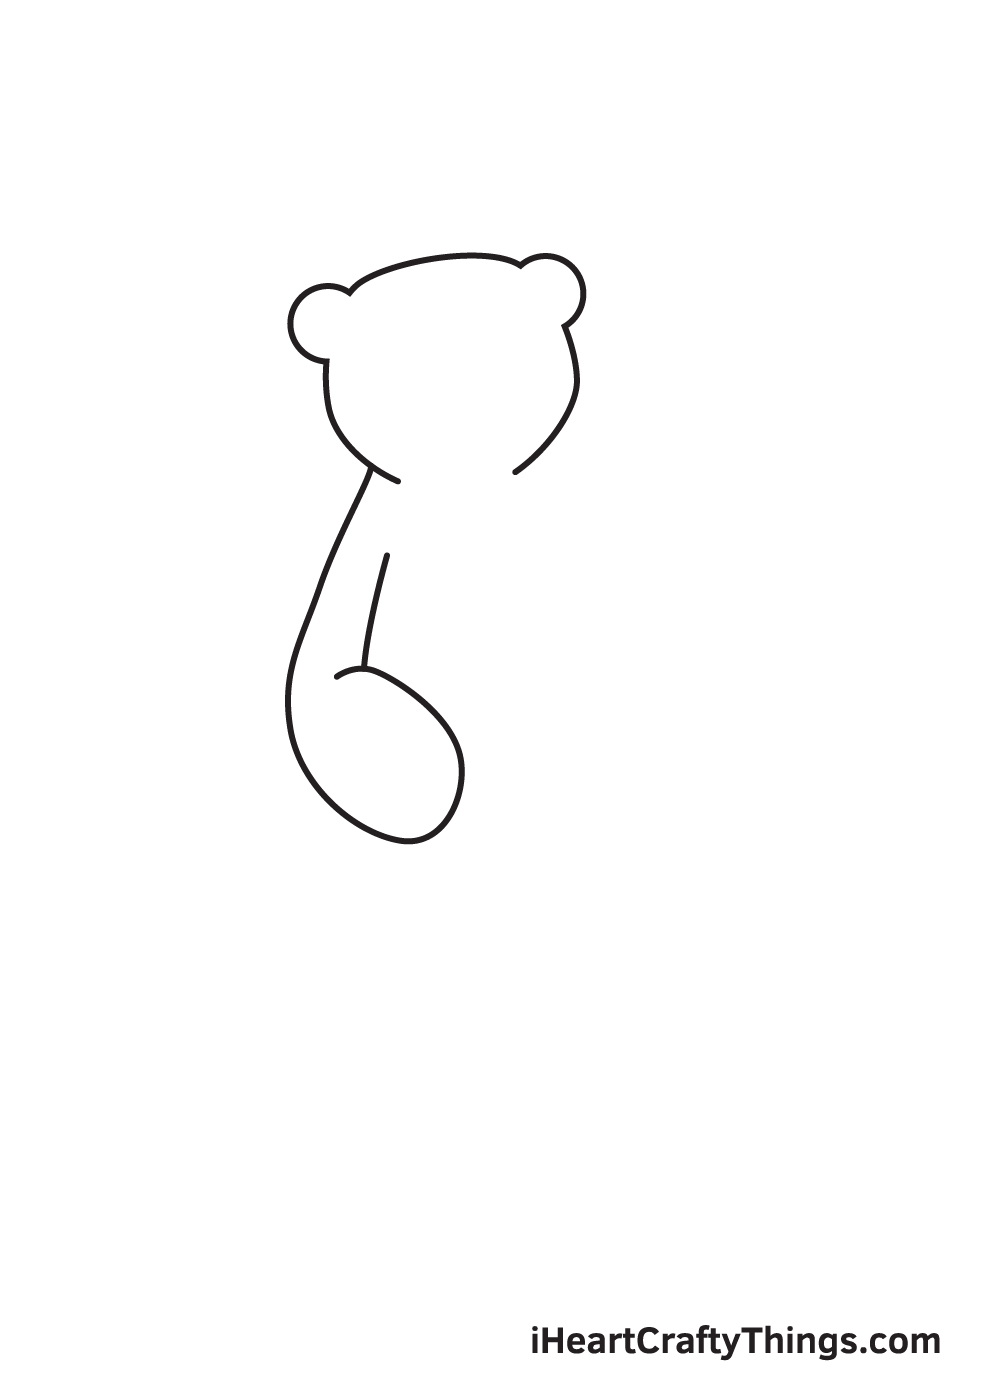
Draw an elongated curved shape underneath the polar bear’s head to structure the arm. Make sure the arm is slightly angled, as shown in the illustration.
Take note that the arm we’ll be drawing in this step is the left arm, thus it should be on the left side of the polar bear.
Step 3 – Complete the Polar Bear’s Arms
Draw an angled downward line on the right side below the head of the polar bear to form the right arm.
Then, draw a curved line that nearly forms an incomplete circle directly connected to the arm. This creates the hand, completing the right arm of the polar bear.
After completing this step, both arms of the polar bear should now be complete.
Step 4 – Draw the Left Side of the Lower Body
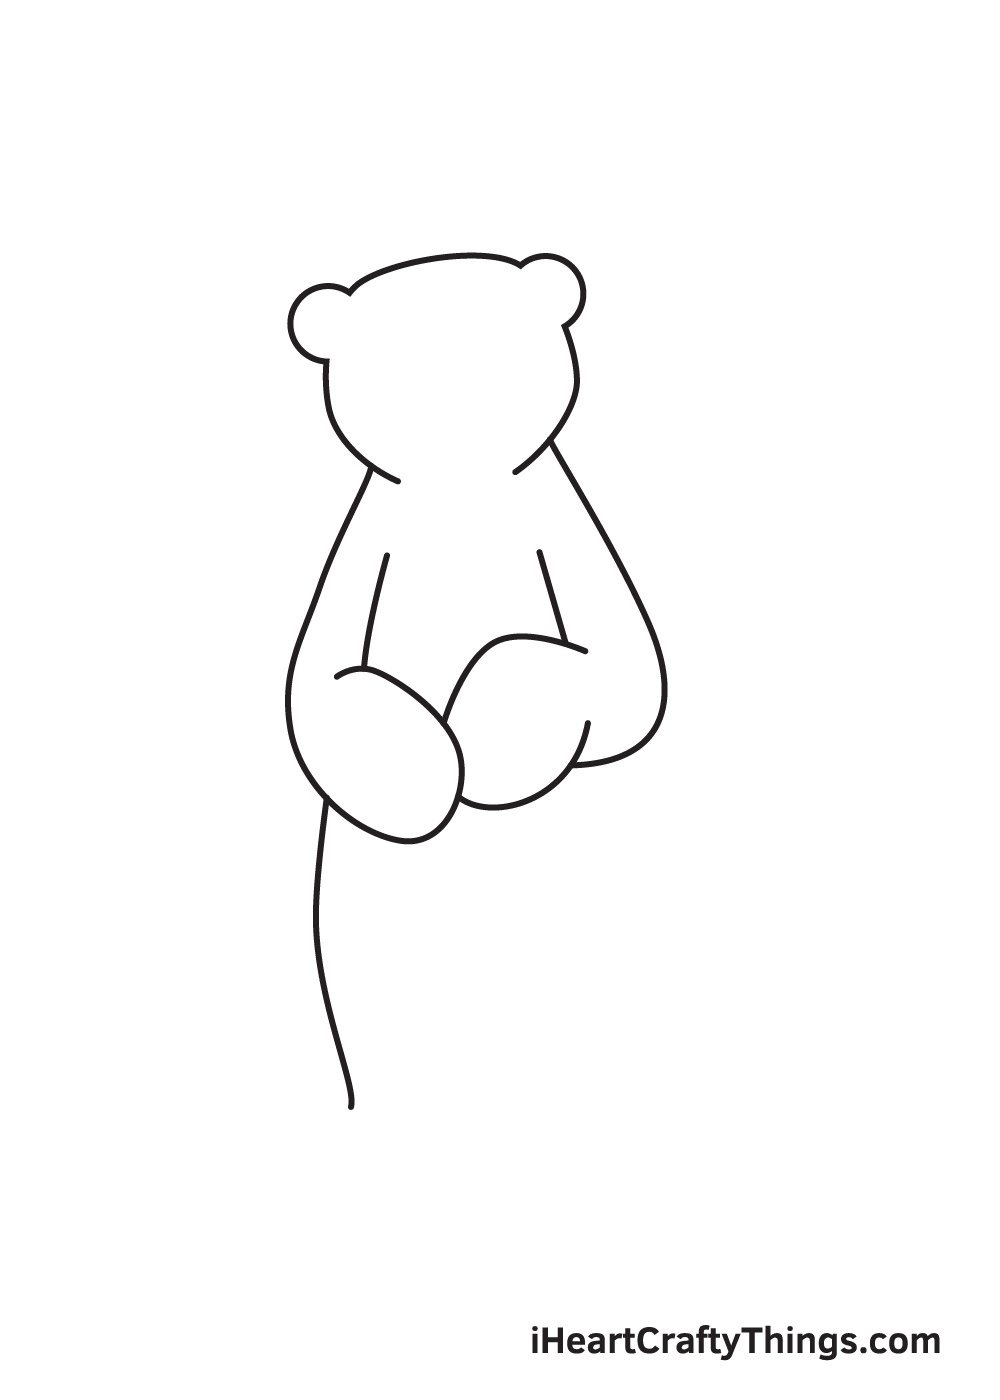
Continue by drawing a slightly curved line beneath the left arm to form the left side of the polar bear’s lower body.
Step 5 – Finalize the Form of the Lower Body
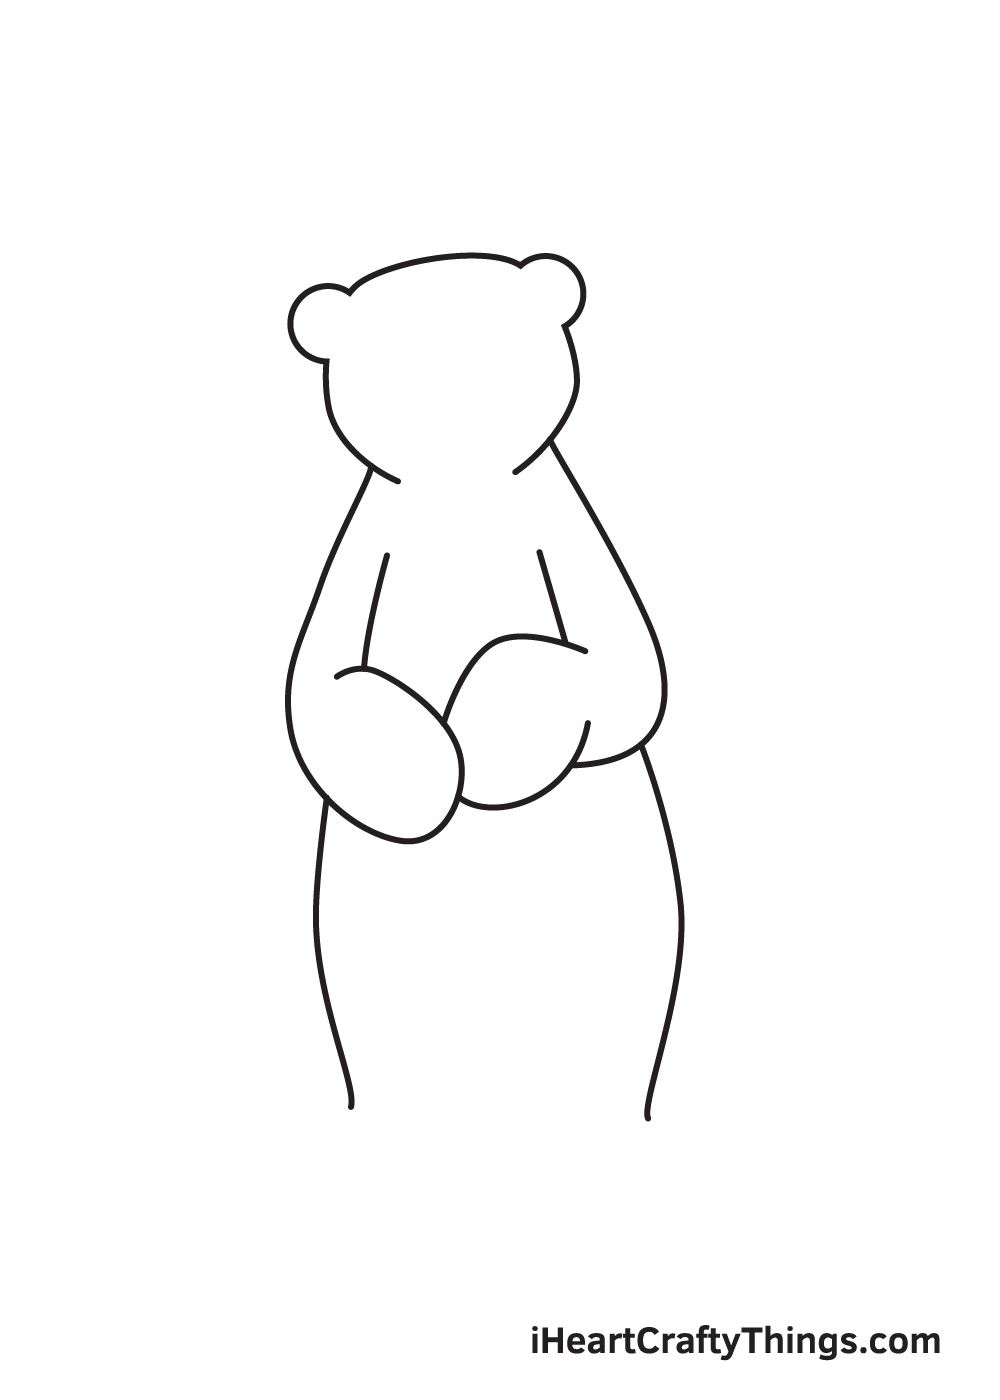
Repeat the previous step on the opposite side to complete the form of the lower body.
At this point, the lower body should be fully structured. Now, all the body is missing are the legs, which is what we’ll be working on on the next step.
Step 6 – Draw Both Legs of the Polar Bear
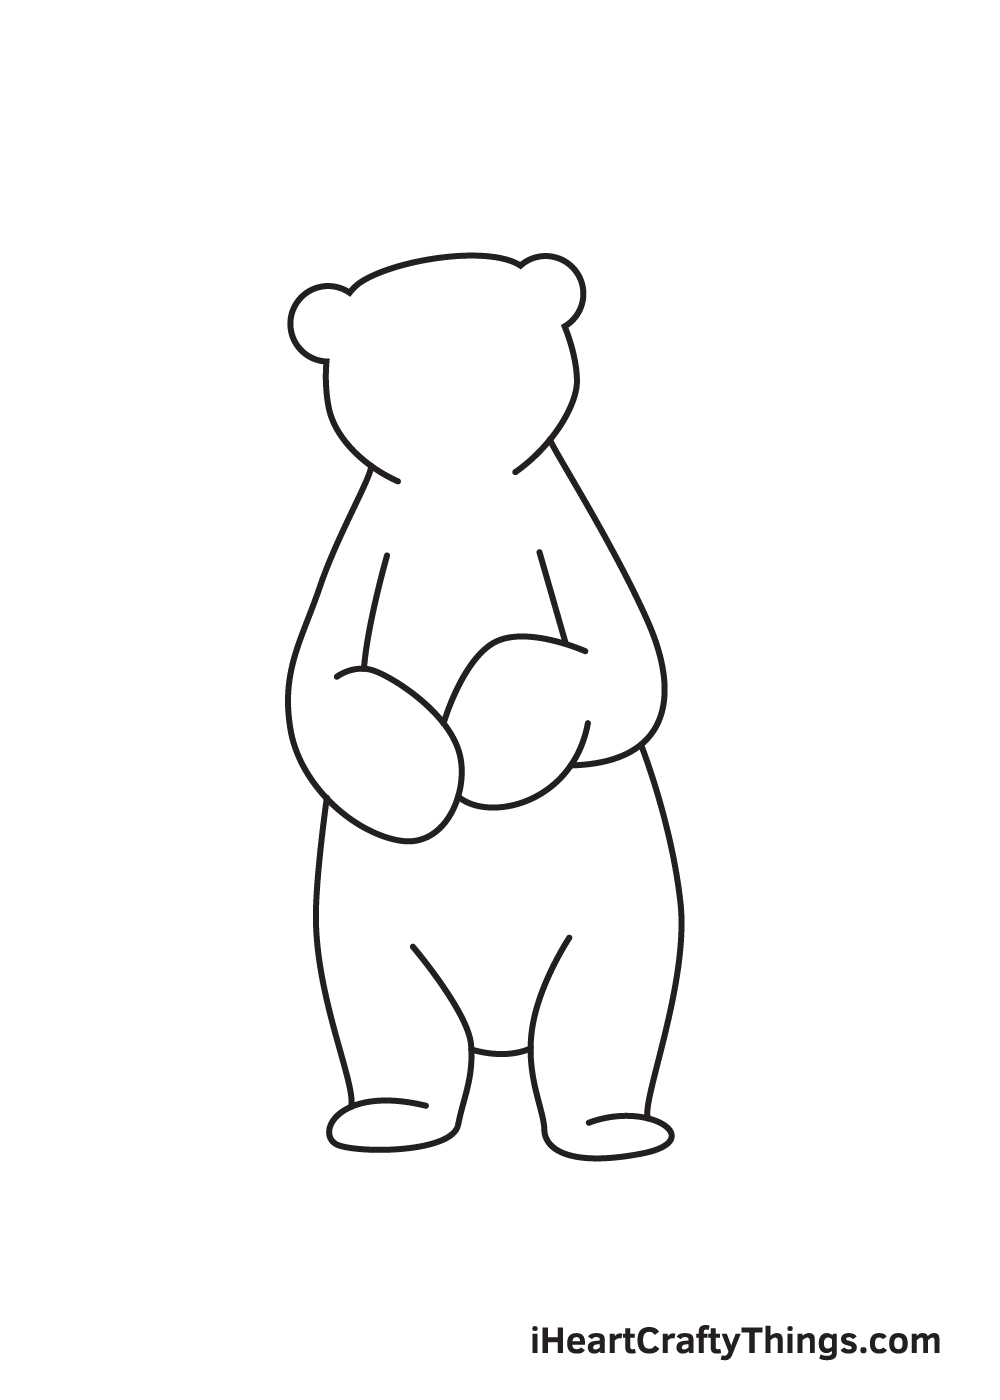
Draw a short curved line facing opposite directions in the middle of the bottom of the polar bear’s lower body.
This creates both legs of the polar bear. Now, to create both feet, draw another line forming a sideways oval shape at the bottom of each leg.
Keep in mind that the feet of the polar bear should be facing opposite directions, as shown in the illustration above.
Step 7 – Add Details All Over the Polar Bear
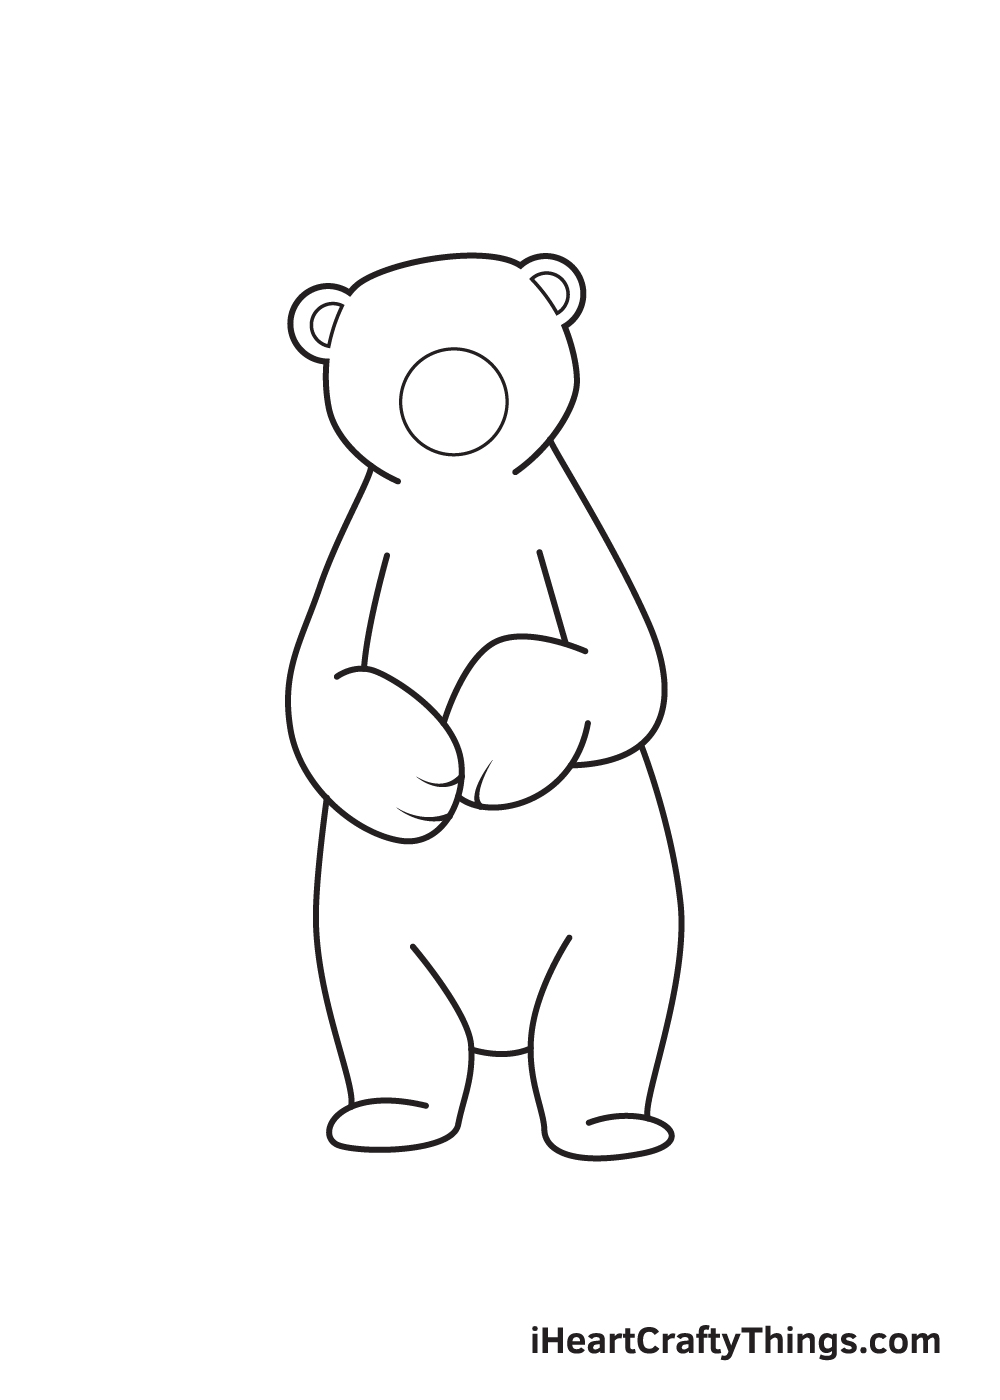
In this step, we will now be drawing the details and patterns all over the body of the polar bear. This helps make your polar bear look realistic.
Starting from the top to the bottom, proceed by drawing a shape inside each ear following its original outline.
This creates the inside ears. Then, draw a small circle shape within the face of the polar bear, highlighting its snout. Lastly, small curved lines on its hands to create the appearance of paws.
Step 8 – Next, Draw the Nose and the Mouth
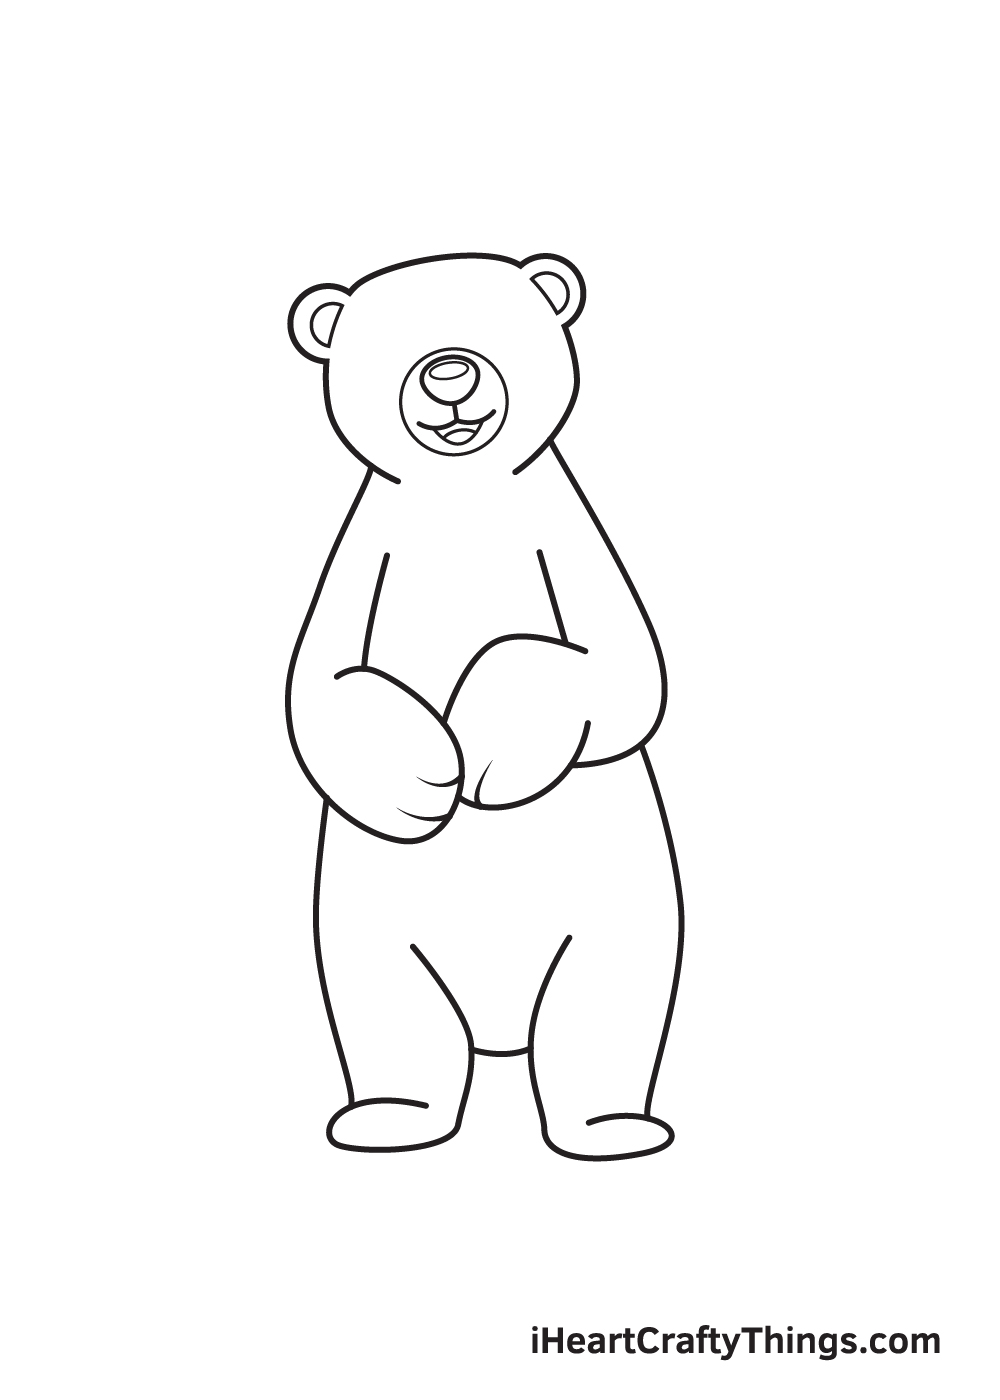
Moving on to the facial features of the polar bear, continue by drawing an irregular circle shape for the nose. Then, draw a small sideways oval shape within the nose.
Afterwards, two connected curved lines below the nose. Then, draw a curved line right underneath to form the mouth. Don’t forget to add a curved line inside the mouth to form the tongue of the polar bear!
Step 9 – Now, Draw the Eyebrows and the Eyes
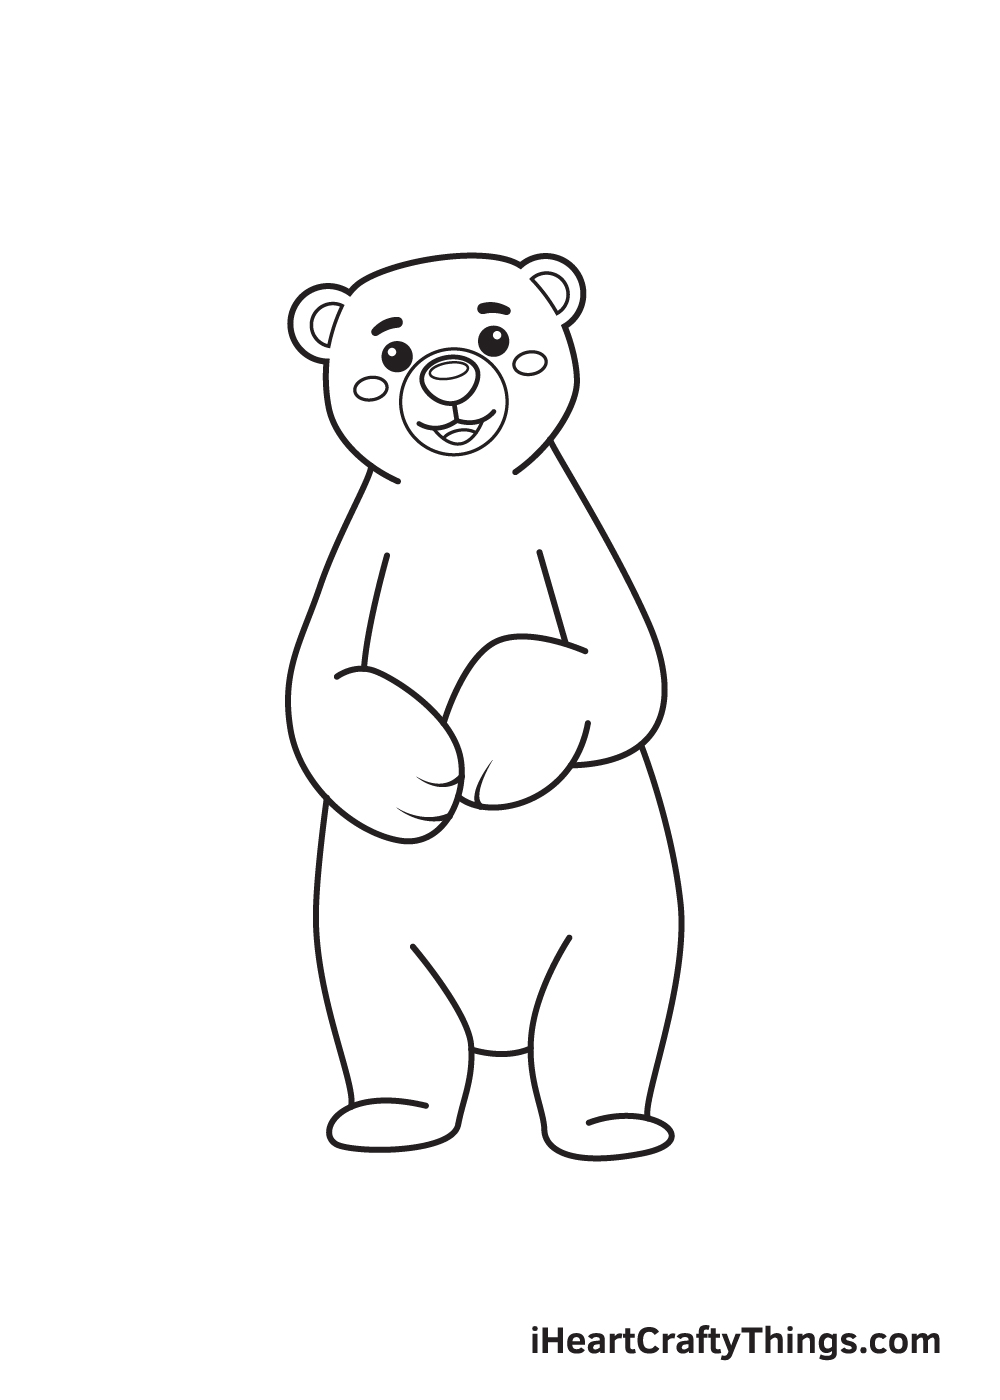
Complete the look by creating the eyes and the eyebrows. Draw two short curved lines forming the arched eyebrows. Make sure that the eyebrows are thick and aligned to each other.
Then, draw a circle shape underneath each eyebrow to create the eyes. Now, add shade to the eyes while leaving out a tiny dot unshaded to make the eyes appear like it’s glimmering!
For an extra dramatic effect, draw a sideways oval shape on both cheeks. This makes your polar bear’s cheeks look flushed—so adorable!
Now that we’ve successfully drawn a polar bear, it’s finally time for the most exciting part, which is choosing the colors and coloring the polar bear.
As we all know, polar bears are predominantly white in color, which enables them to camouflage into their snowy environment effortlessly.
But did you know that the polar bear’s coat has no white pigment? As a matter of fact, the skin of the polar bear is black and its fur is actually transparent.
You can opt to color the polar bear with its original white color or use a unique set of colors. Either way, we’re sure the colors will turn out beautifully!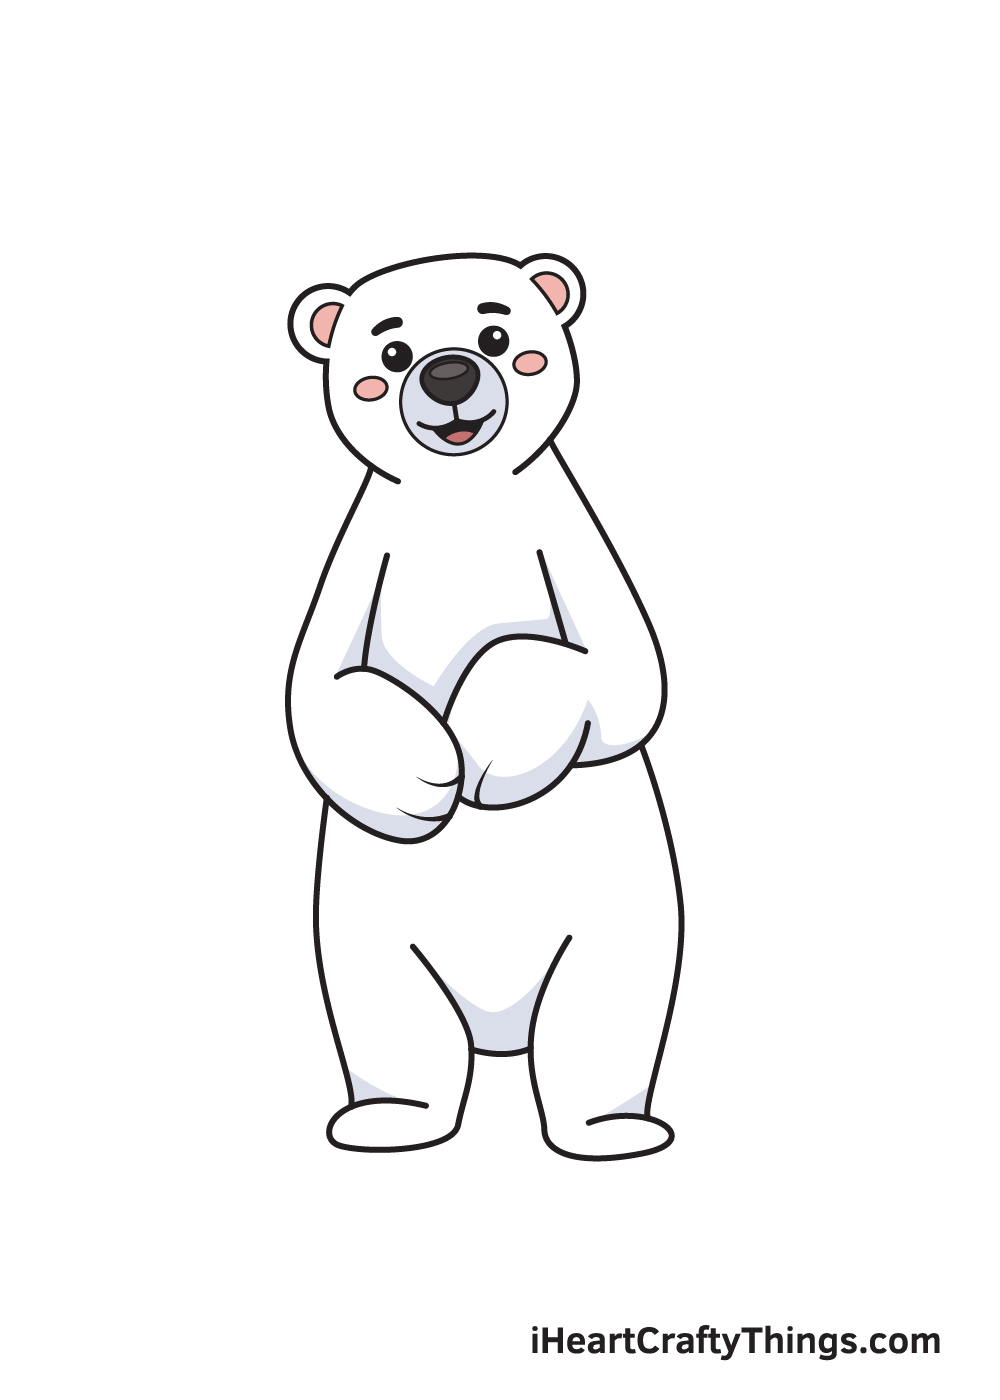
Here’s how you can make your polar bear drawing even better…
Create some really cool artwork with these tips for your polar bear sketch!
This drawing of a polar bear looks adorable and happy as it is, but it would probably be even happier with a friend!
Luckily, you have finished this guide and know everything you need to draw a second polar bear.
It could be posed similarly to the first one, and you could use some smaller details to differentiate it. Or, you could challenge yourself to draw an entirely new pose instead!
If you want to give this polar bear company in a different way, you could do so by adding any other animals you like.
These could be animals you would expect to find in the same environment as a polar bear.
Or, you could go for any other animals you are a fan of, whatever they may be! It could also be fun to add different kinds of bears to show a contrast between them and the polar bear.
Which animals would you like to have hanging out with this adorable polar bear?
For this polar bear drawing, we aimed to create an adorable cartoon version of this animal. We love the way it looks, but once you have mastered the design you could try to draw it in other styles.
For instance, you could look up some photos of real polar bears and use them to make your drawing more detailed and realistic.
Or, you could try to create a polar bear in a more surreal and exaggerated style.
No matter which art styles and other additions you do or do not add to your polar bear sketch, you could finish it all off with a fun background.
Polar bears tend to live in snowy environments, so you don’t necessarily need to create a highly detailed environment.
If you do want to add rocks, trees, lakes and other features then that would be amazing!
What kind of background setting would best suit this artwork that you have created?
Your Polar Bear Drawing is Complete!
If you had fun with this step-by-step polar bear drawing tutorial, then you’ll certainly enjoy other drawing tutorials of other animals such as an elephant, bunny, and more!
Check out our “How to Draw” catalog and choose what you would like to learn how to draw next!
As soon as you finish drawing and coloring your polar bear, don’t think twice about showing off your masterpiece!
Take a photo of your artwork and share it on various social media platforms. And while you’re at it, make sure you like our Facebook page too!
We’re looking forward to seeing your incredible polar bear drawing!