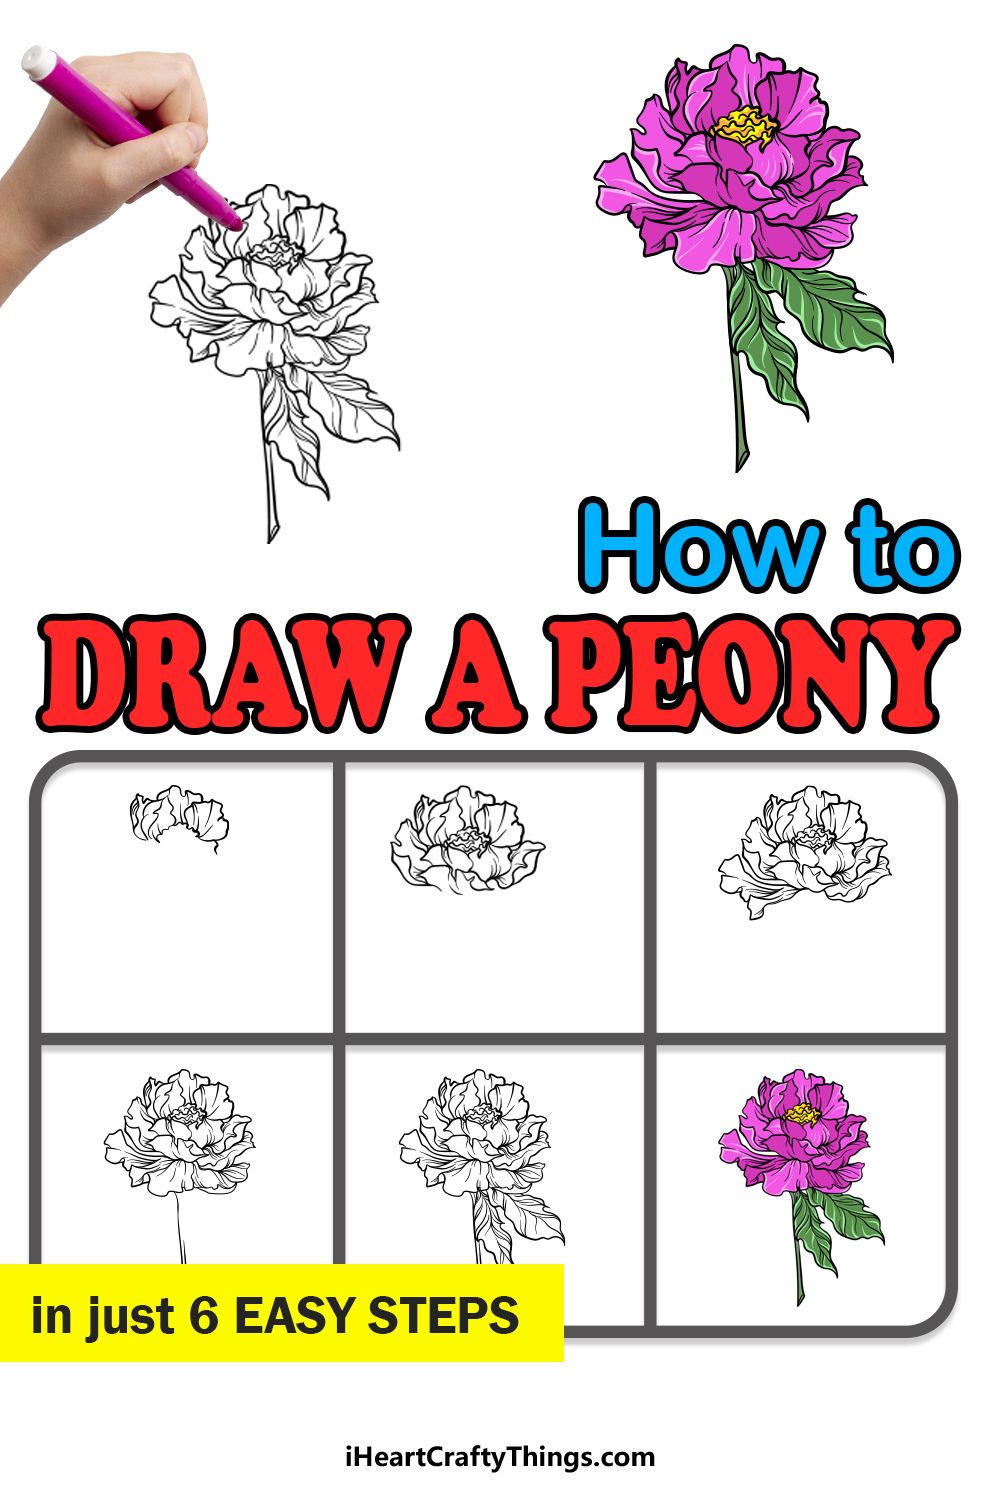
There is a seemingly infinite amount of beautiful flowers and plants to behold in nature. The peony flower may not be as recognized as something like a rose or a daisy, but it’s still one of the most beautiful flowers you can find.
Its pretty and mild pink coloring contrast the busy and complex structure of the flower, and this complexity can make it difficult to learn how to draw a peony.
When learning how to draw such a complex flower, you’ll want to make sure that it’s broken down into easy steps, and that’s what we aim to do here!
This step-by-step guide on how to draw a peony will make drawing this wonderful flower easier and more fun!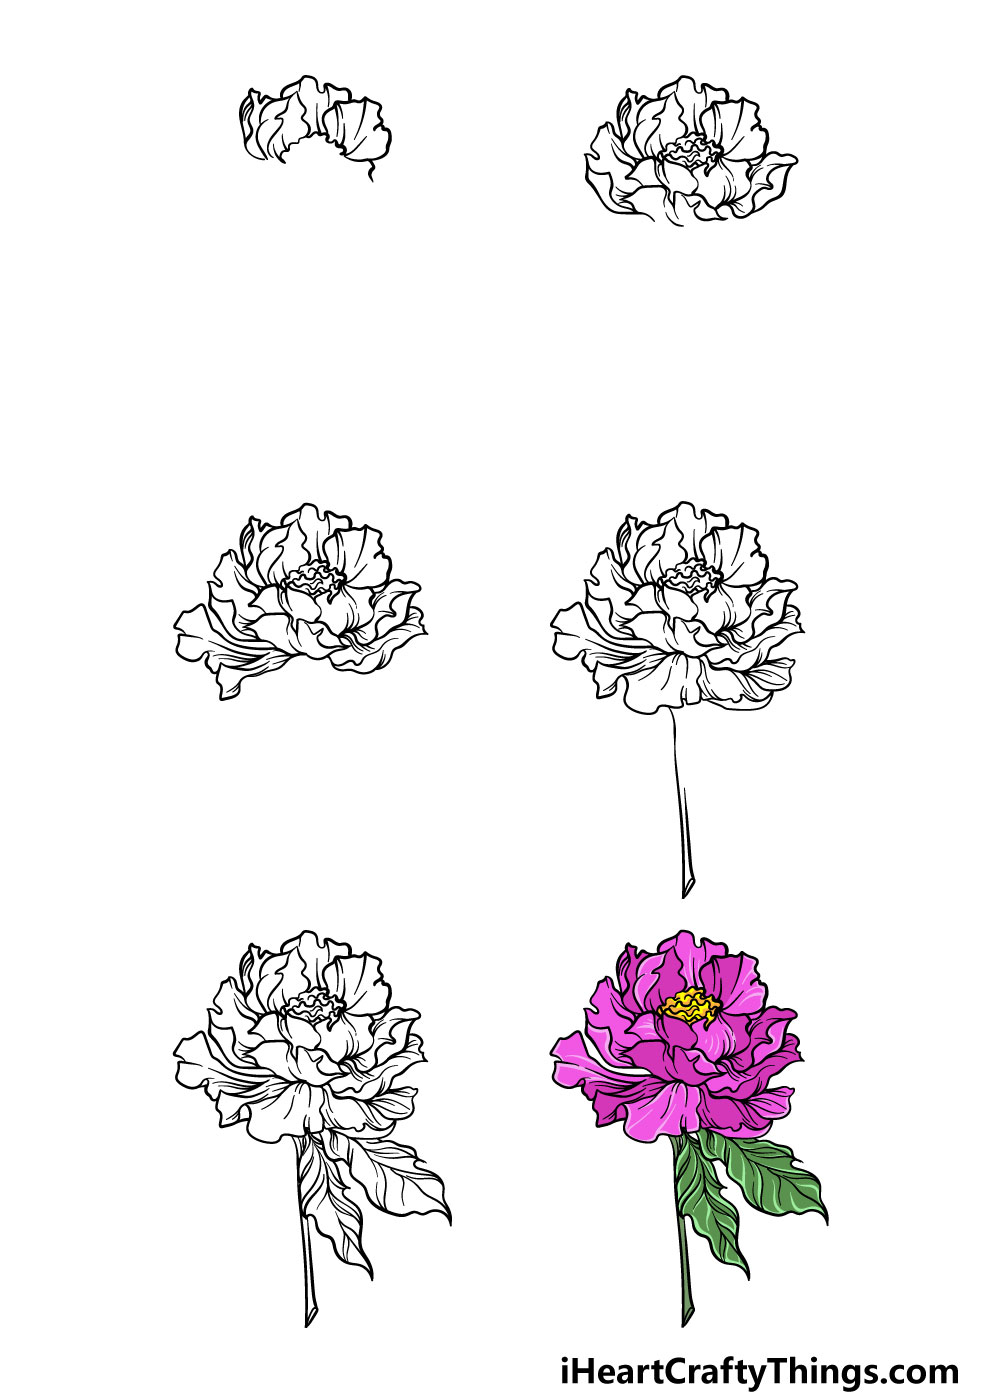
How to Draw A Peony – Let’s get Started!
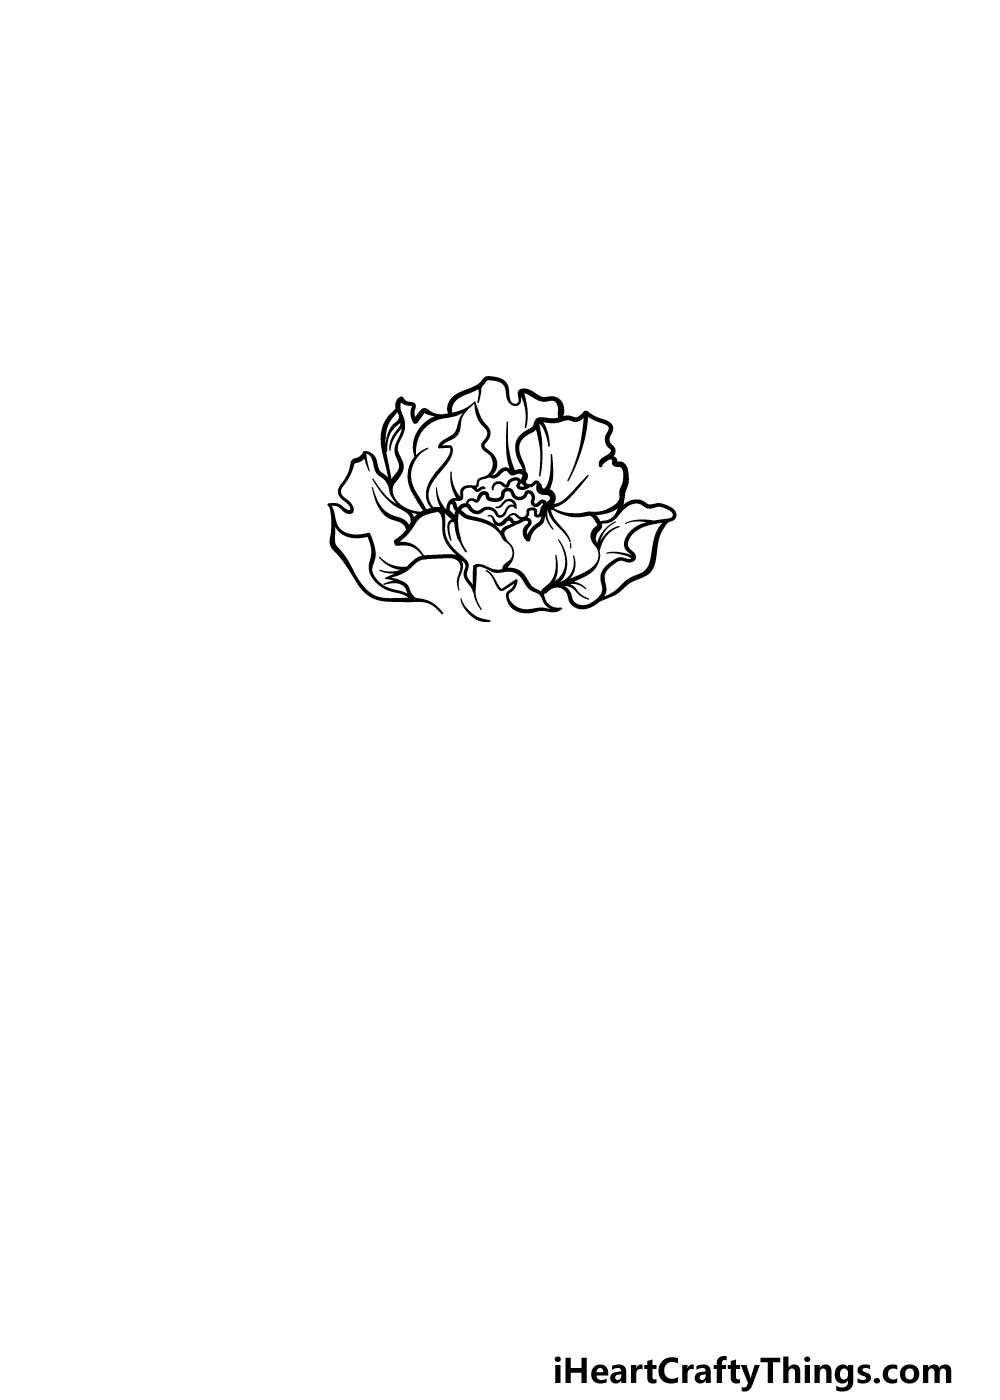
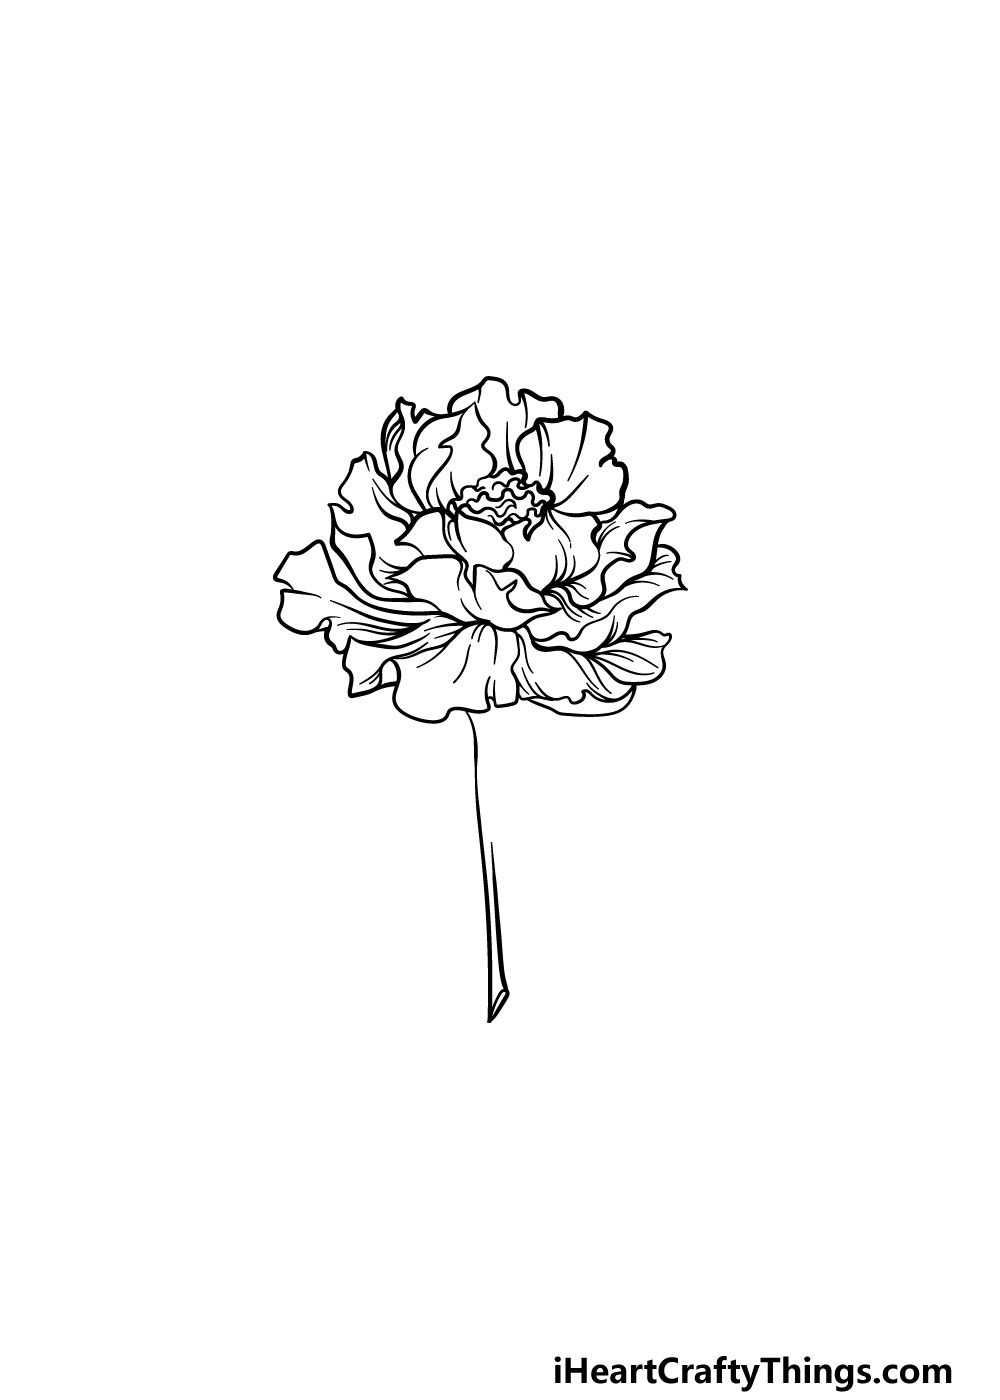
Step 1

The peony is made up of many different petal layers, and we will be building up these layers in this guide on how to draw a peony.
If you find yourself struggling with the details, then you may find it easier to draw with a pencil first before going over it with a pen at the end.
First, draw the top petals of the flower. Some of these petals will be overlapping on one another, as you can see in the reference image.
Once you’ve drawn these petals then you’re ready for the next step!
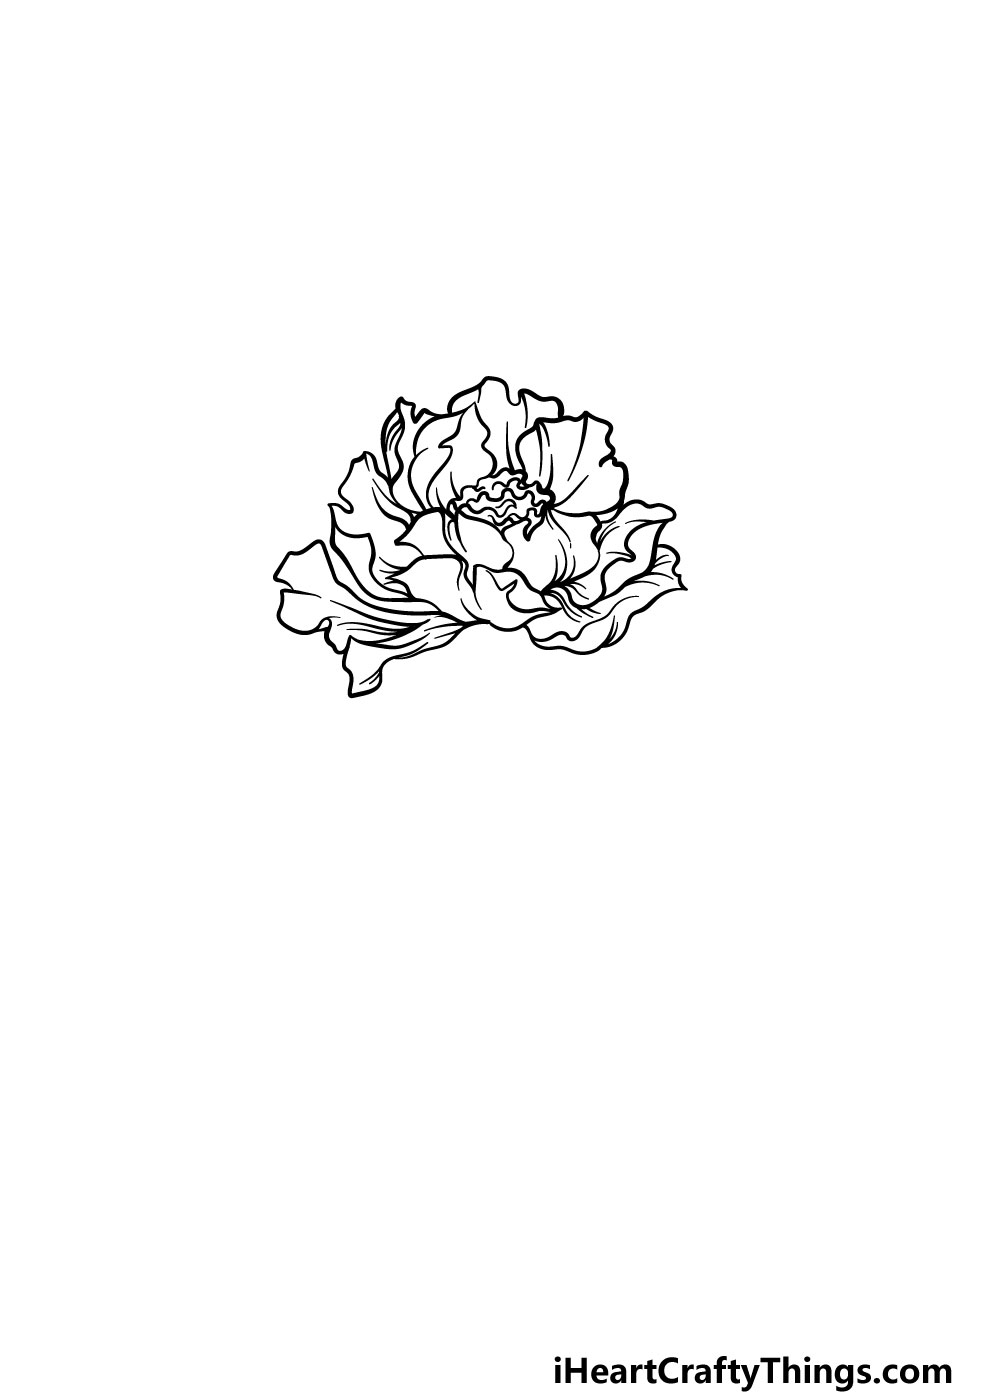
Step 2 – Keep building the layers of the peony
As we mentioned in the previous step, we will be building up your peony drawing in layers. For this step, you can draw the bulky center of the flower.
Then you will be drawing some petals coming off at the sides and underneath the center of the flower.
As you can see in the reference image, these petals will be wavy with some lines on them as well for some texture detail.
Step 3 – Now, you can draw some larger petals at the base of the peony
This step of our guide on how to draw a peony will see you adding more petals to the layers of the flower.
For this part, you will be drawing some larger, flowing petals underneath the flower near the base. These petals will be some of the biggest ones that you’ve drawn so far in this guide as well.
Step 4 – Next, draw the stem and more petals
You will be drawing the long stem of the flower in this step, but first we have some more petals to add to your peony drawing.
First, add some more large, flopping petals underneath the flower. Once you have these petals drawn, then you can start to draw the stem.
It will be long and quite straight with just a few little edges and bumps. Be sure to leave a gap near the top of the stem, as you will be drawing a leaf there in the next step.
Step 5 – Now, you can add some leaves to the flower
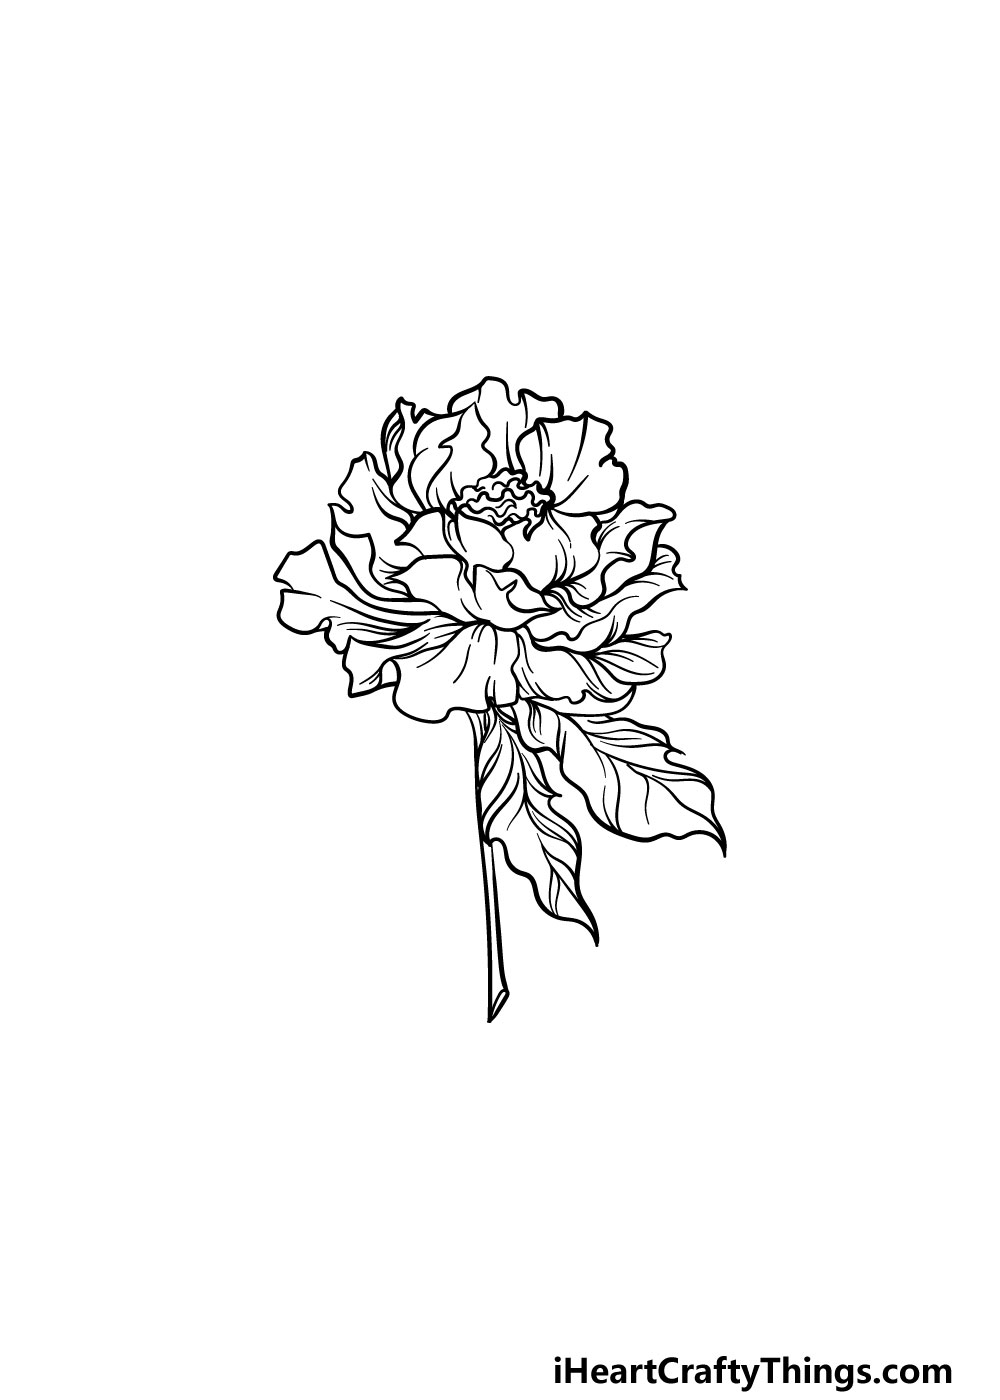
It’s almost time to add some beautiful colors in our guide on how to draw a peony, but before that we have just a few more details to add!
First, you will be filling in the space that you left on the stem by drawing a large leaf. Then, you can add another leaf underneath the petals and above the other leaf.
That will finish all of the elements of this guide on how to draw a peony, but before you move on to the final step you should be sure to add any details of your own!
You could draw a beautiful garden for the background.
If you did this, then you could draw some more peony variations or fill it with your favorite flowers!
There are so many ways that you can put your own spin on this picture, so be sure to let your creativity flow. We can’t wait to see what you come up with!
Step 6 – Finish off your peony drawing with some color
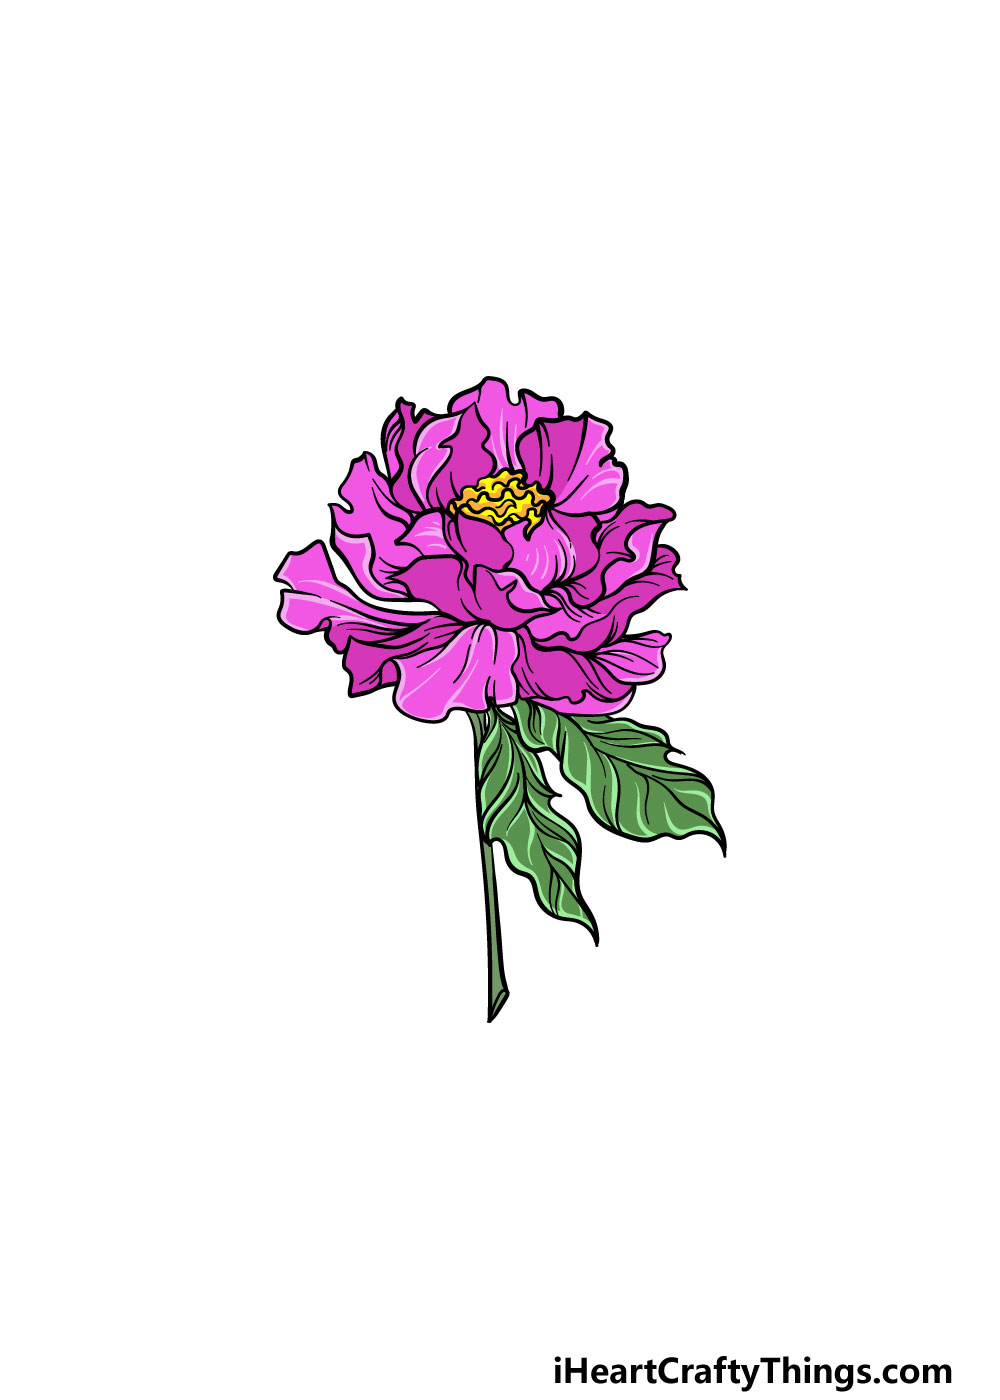
You’ve worked hard and reached the end of your peony drawing, so now it’s time to relax with some beautiful colors!
In our reference image we used a lovely pink for the petals while incorporating some yellow for the center. Then, we finished it off with a bright green for the petals and leaves.
This will serve as a guide for you if you would like to keep the colors more realistic, but you can also experiment with your favorite colors for even more variations!
You could use any colors that you love to bring this peony drawing of yours to life.
If you drew a background or added more flowers to the picture then coloring in those elements gives you even more color choices to incorporate.
Choosing the colors you will use is just part of it, though! You can also have some fun choosing which art mediums you will use to bring them to life.
If you want a softer, pretty look for your flower then you could use a more subtle medium such as watercolors or colored pencils to get the job done.
You could also add some brighter colors using mediums such as pens, acrylic paints or markers for colors that pop. What will you use to finish it off?
4 More Ways To Make Your Peony Drawing Unique
Make your beautiful peony sketch look even better with these tips!
This peony looks gorgeous just on its own, but it could look even better if you added more to this peony drawing! Now that you know how to do it, you could add as many peonies as you like.
Simply follow the steps of the guide and then change a few minor details in order to make them look distinct. How many peonies do you think you would like to add to this bunch of flowers?
Adding more of the same flower is just one way you can build up the bouquet in this drawing of a peony. There are so many other flowers you could also add that would look amazing!
If you love any other flowers, you could add as many as you like to build up the image. Whether they’re big, small, colorful or subdued, they will look incredible.
What are some flowers you could add to make this arrangement look even more incredible than it already does? We would love to see what flowers you choose!
Once you have decided whether to add more flowers to your peony sketch, you could then add more elements as well. For example, many people like to arrange flowers in a basket.
Drawing a basket would be a great way to finish off this design! The basket could also have a ribbon or other pretty elements around it.
This is just one way of displaying these flowers, but what else could you use?
Finally, we would highly suggest adding a background to your peony drawing to finish it off. Adding a background would work whether you decide to go with our previous tips or include some of your own.
The background could really be any kind of setting you like! It could be in a simple garden setting or something like an elaborate flower show with tons of decorations.
These are two possibilities, but what other background ideas do you have for this peony artwork you have created?
Your Peony Drawing is Complete!
That brings you to the end of this guide on how to draw a peony!
The peony is quite a complex flower to draw, but we hope that with the help of this guide you found drawing it to be not only much easier but also more fun!
You should definitely be very proud of reaching the end of this guide and ending up with an amazing drawing!
Now that you have mastered this guide, you can take it even further with your own details, elements and additions.
You could add a beautiful garden background, some different flower types or even some small critters frolicking amongst the flowers! We can’t wait to see how you complete this picture of yours.
When you’re ready for more drawing challenges then we have plenty of amazing guides on our website for you to enjoy!
We also upload new guides frequently, so be sure to check in often to never miss out!
We would also love to see your amazing peony drawing once it’s done, so please be sure to share it on our Facebook and Pinterest pages for us to enjoy!