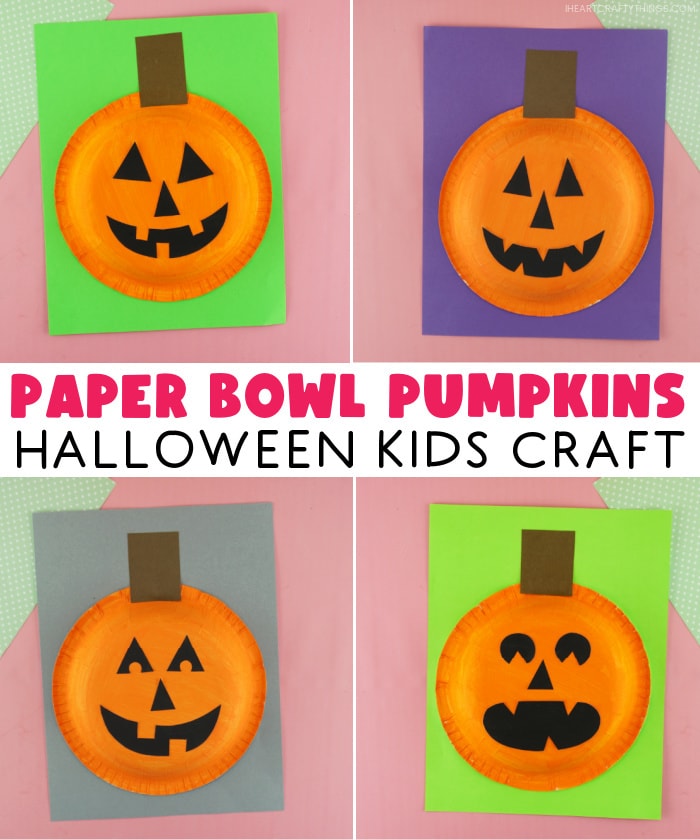
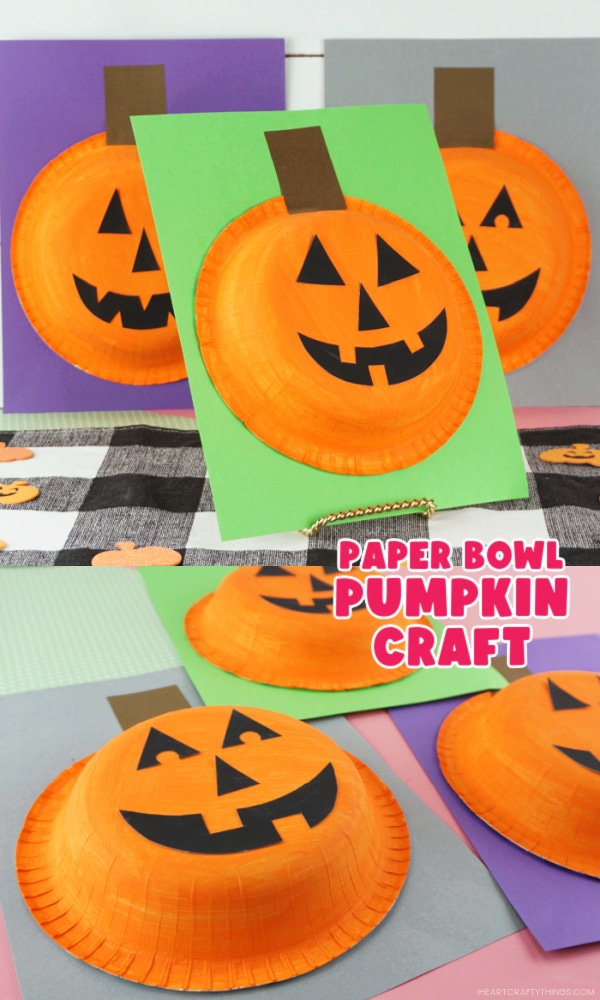
This paper bowl pumpkin craft is easy for preschoolers and kids of all ages to create and the 3D effect of the pumpkin face popping of the page makes it fun to display at home or school for a Halloween decoration.
I’m always on the hunt for fun ways to use simple materials we already have on hand at home in a resourceful way for crafting. Here’s a fun and simple way for kids to turn a paper bowl into an easy pumpkin craft this Halloween.
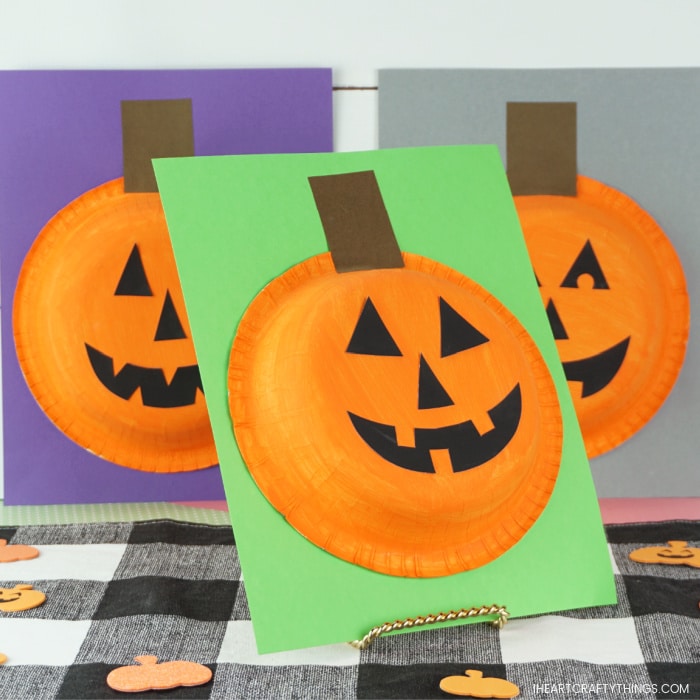
What I love most about this fun pumpkin craft is how the paper bowl raises off the colored cardstock background giving it a three-dimensional rounded effect. It helps make the jack-o-lantern face come to life.
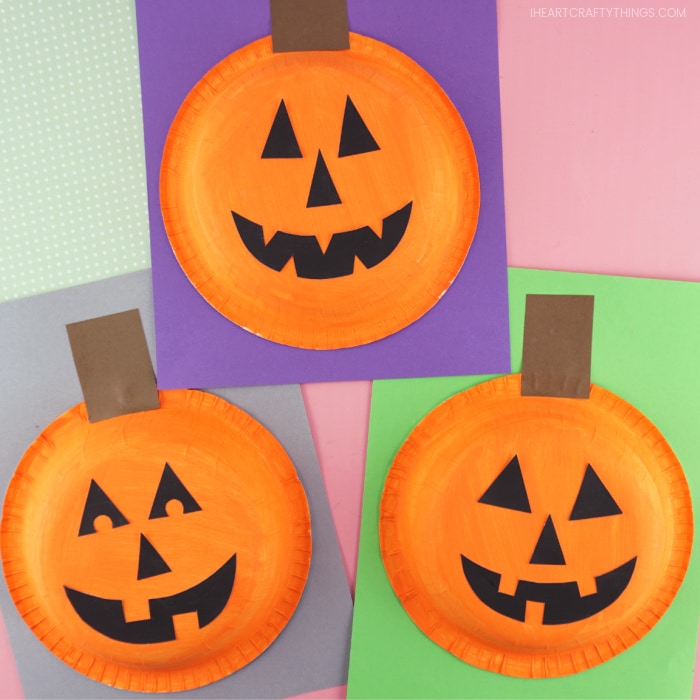
We created a pumpkin face template for kids to use to mix and match and create the jack-o-lantern face of their choosing. Or children might enjoy cutting out and creating their own face for their pumpkin crafts.
Read our easy step-by-step instructions below for how to create your own paper bowl pumpkin craft. We also have a video tutorial inside this post you can watch before you get started.
Supplies needed for this easy pumpkin craft:
- Pumpkin Faces Template (optional) <—– Get the printable template Here
- paper bowls
- orange paint and black paint (optional, can also color pieces with crayons, pencils or markers)
- paint brush
- brown and colored cardstock paper
- scissors
- glue
Instructions for making your paper bowl pumpkins
1. Paint the back of paper bowl with orange paint
Turn your paper bowl face down and paint it completely with orange paint. We love using a sponge brush for painting paper bowls. It helps the paint easily spread around all the different crevices of the bowl. Set your paper bowl aside to dry completely.
2. Print out pumpkin faces template and paint or colour it
Download and print out the pumpkin faces printable template on white cardstock paper. Place the paper face down and paint it with black paint. Let it dry completely. If you don’t want to paint the face pieces, children can also color the pieces with black crayons, pencils or markers. You could also color them yellow to look like they are lit up from the inside.
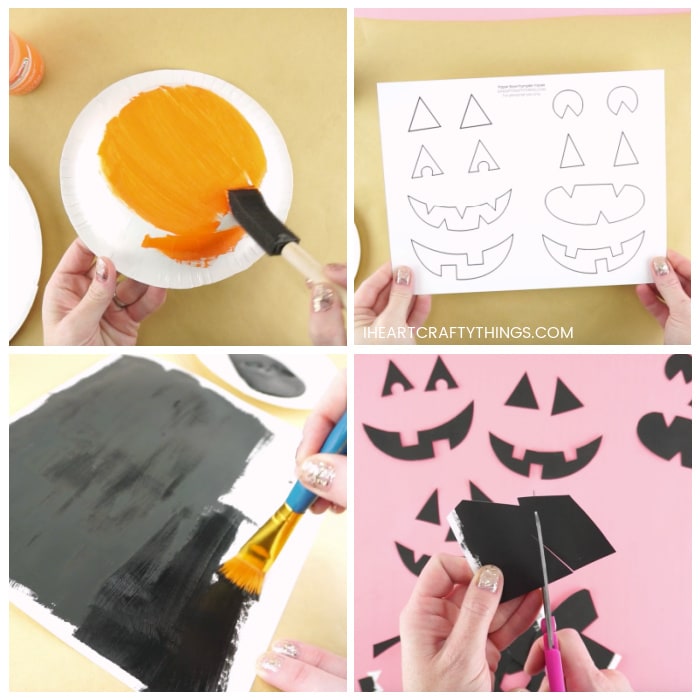
3. Cut out pumpkin face pieces
After your painted pumpkin face pieces are completely dry, cut out the pieces from the template you want to use to make your jack-0-lantern. Then use the scrap pieces to cut out a triangle shape for your pumpkin, if desired.
4. Glue pumpkin eyes, nose and mouth onto paper bowl
Use a glue stick or school glue to glue your pumpkin eyes, nose and mouth onto the painted paper bowl.
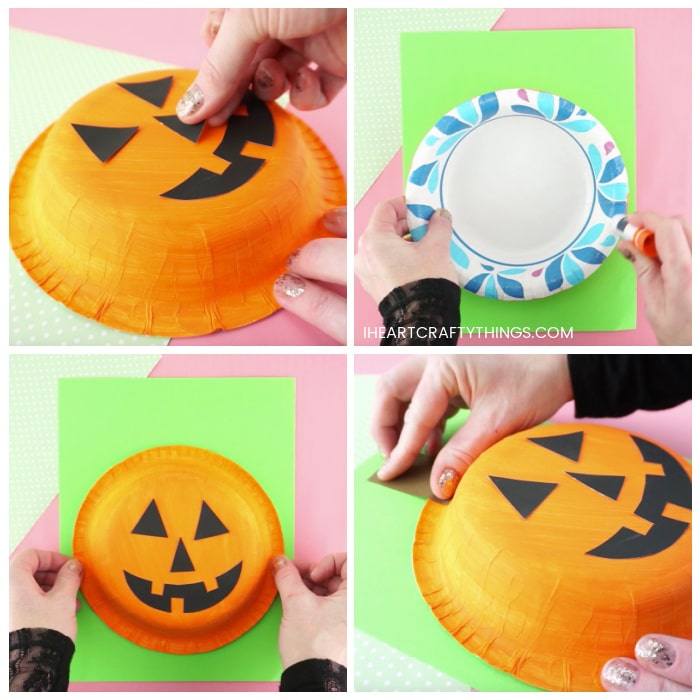
5. Glue paper bowl to the cardstock paper
Add a generous amount of extra strength glue stick or school glue along the rim of the paper bowl. Place the paper bowl pumpkin down on a sheet of colored cardstock paper. Use your fingers to press the rim down onto the cardstock so the glue adheres to the paper.
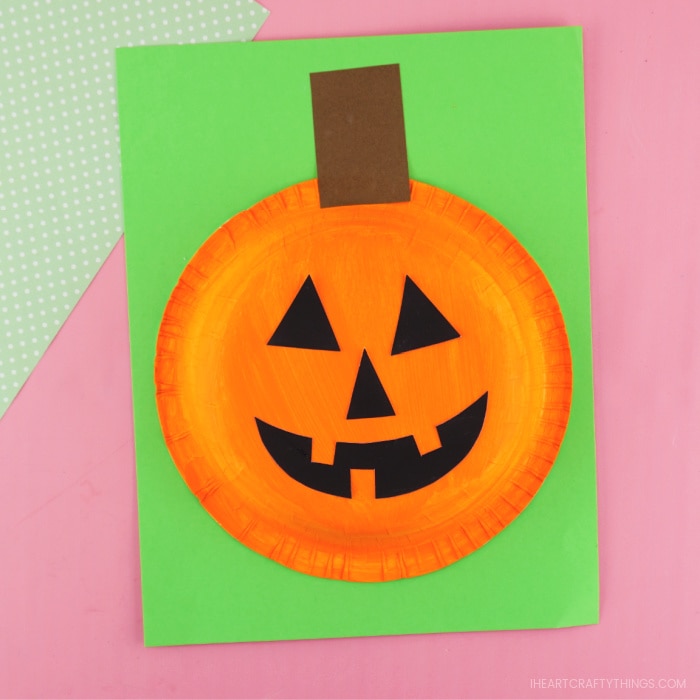
6. Cut out and add pumpkin stem
Cut out a rectangle shaped pumpkin stem from brown cardstock or construction paper. Glue it at the top of your paper bowl pumpkin. Your paper bowl pumpkin craft is complete!
There are so many fun ways children can customize their pumpkin craft starting with the colored background they choose. Halloween colors like green, black, purple or gray are fun to use and a group of several different colors would make a fun Halloween display in the classroom.
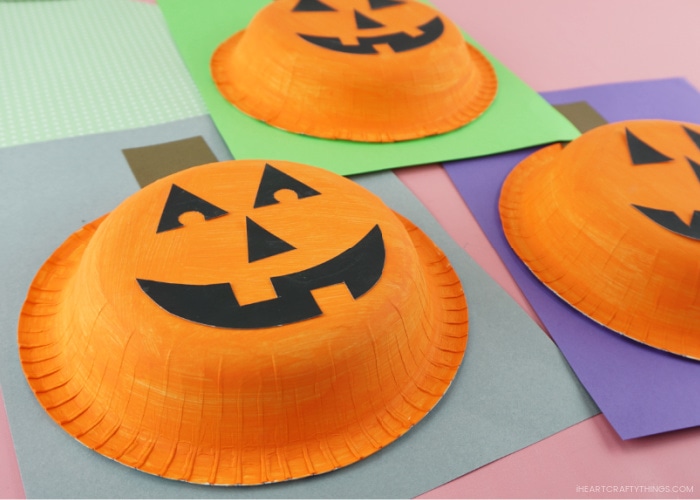
Children might also want to cut out and create their own jack-o-lantern face for their pumpkin instead of using our template. Kids may choose to paint or color their shapes with yellow so it looks like their pumpkin is lit up on Halloween night. Either way, each child’s pumpkin is sure to turn out unique and special. You can easily make this craft with paper plates instead of paper bowls.
