Supplies you will need:
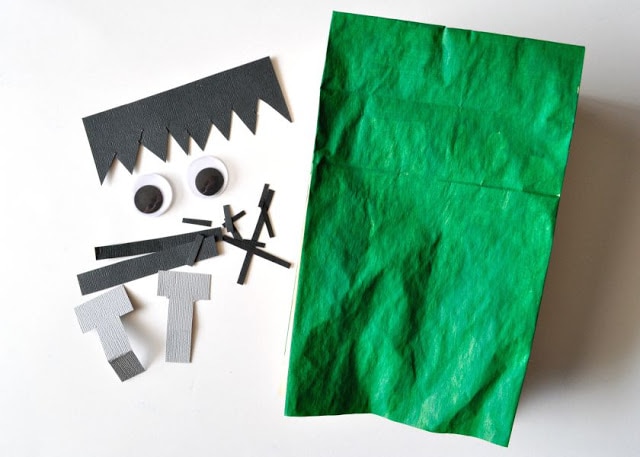
- paper lunch bag
- green paint
- black and gray cardstock paper (you can also use a black marker)
- googly eyes
- scissors
- tacky glue
Directions:
1. Paint front of paper bag
Start by painting the front of your paper bag with your green paint. Set it aside to dry completely.
2. Cut out hair, eyebrows, mouth, scar pieces and bolts
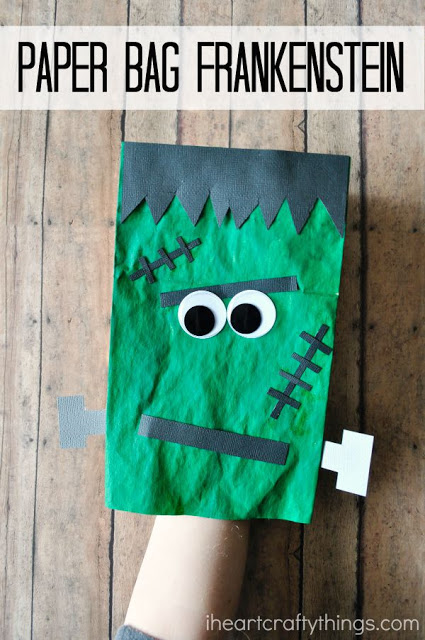
While your paper bag is drying cut out pieces for your Frankenstein: hair, eyebrows, mouth, scar pieces and bolts.

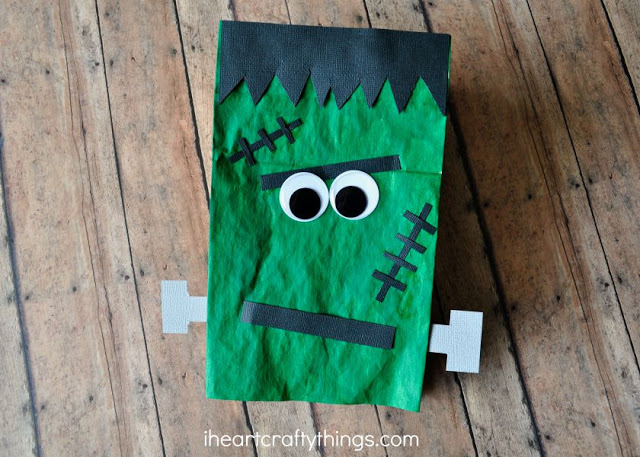
3. Glue all pieces onto paper bag
Use your tacky glue to glue your pieces onto your paper bag. This can be a little bit tricky since the bag has to stay open. I put my hand inside the bag to stable it while gluing on the pieces. You could also opt to use a black marker to draw on the facial features.


