


For some reason now that it’s September all I can think about is Halloween getting here. I know, I know, it’s way too early, but my kids have already been discussing what they are going to dress up as for Halloween this year so it’s made me extra excited. To keep up with our excitement we have already started some Halloween crafting this week. We started with this fun Paper Bag Bat Halloween Craft for Kids. It is super simple to make for kids of all ages so it makes a perfect family activity.
{This post contains affiliate links for your convenience. Read our Disclosure Policy for more information.}
Supplies needed:
- paper lunch bag
- black paint
- paintbrush
- black and white cardstock paper
- googly eyes
- white chalk marker
- glue
- scissors
Tutorial:
1. Paint your paper bag
Start by painting the front of your paper bag black and then set it aside to dry completely.
2. Cut out shapes
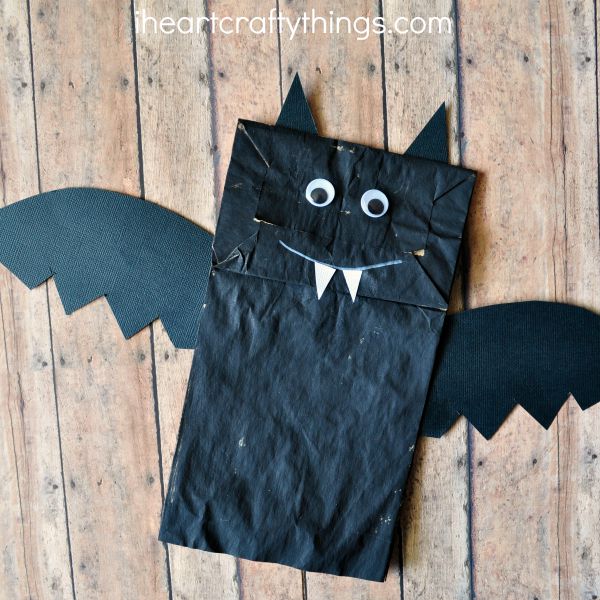
Cut two wings and two triangle ears out of your black cardstock paper and two little teeth out of your white cardstock paper.
3. Glue all details to a bag
When your paper bag has finished drying, glue your wings on the sides of your paper bag, your ears at the top of your paper bag and your googly eyes onto the paper bag.
4. Draw a smile
Lastly, draw a mouth with your white chalk marker and then glue your teeth on your bat. (For a less scary-looking bat, kids can always leave the teeth off.)

