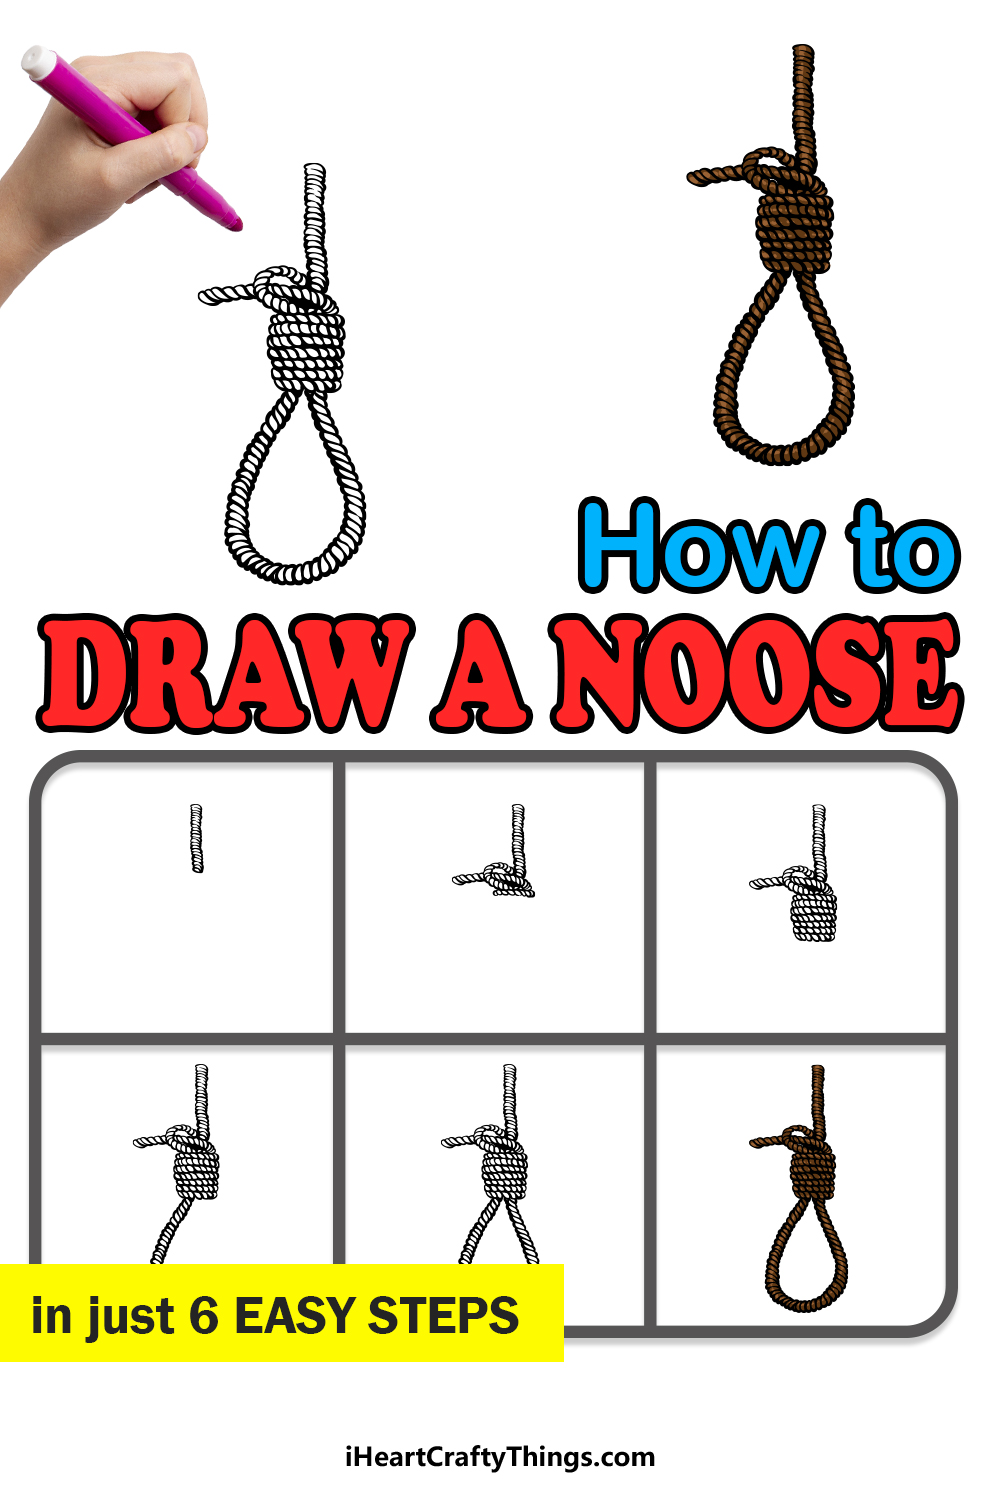
A noose represents a rather simple yet sinister creation. This knotted loop of rope would be used by various governments to execute criminals and enemies, and it would often be done in quite a public fashion.
Thankfully, noose executions are much less prevalent these days, but they are often still seen in movies, video games and other media that are typically set in the past.
While it may not be a very pleasant object, the noose does present quite an interesting drawing challenge. Learning how to draw a noose can actually be quite a difficult endeavor to take on!
If you would like to know how you can draw one with no difficulty, then this guide is here to help you.
After this step-by-step guide on how to draw a noose in just 6 steps, you will know everything there is to know about how to draw this sinister relic of time.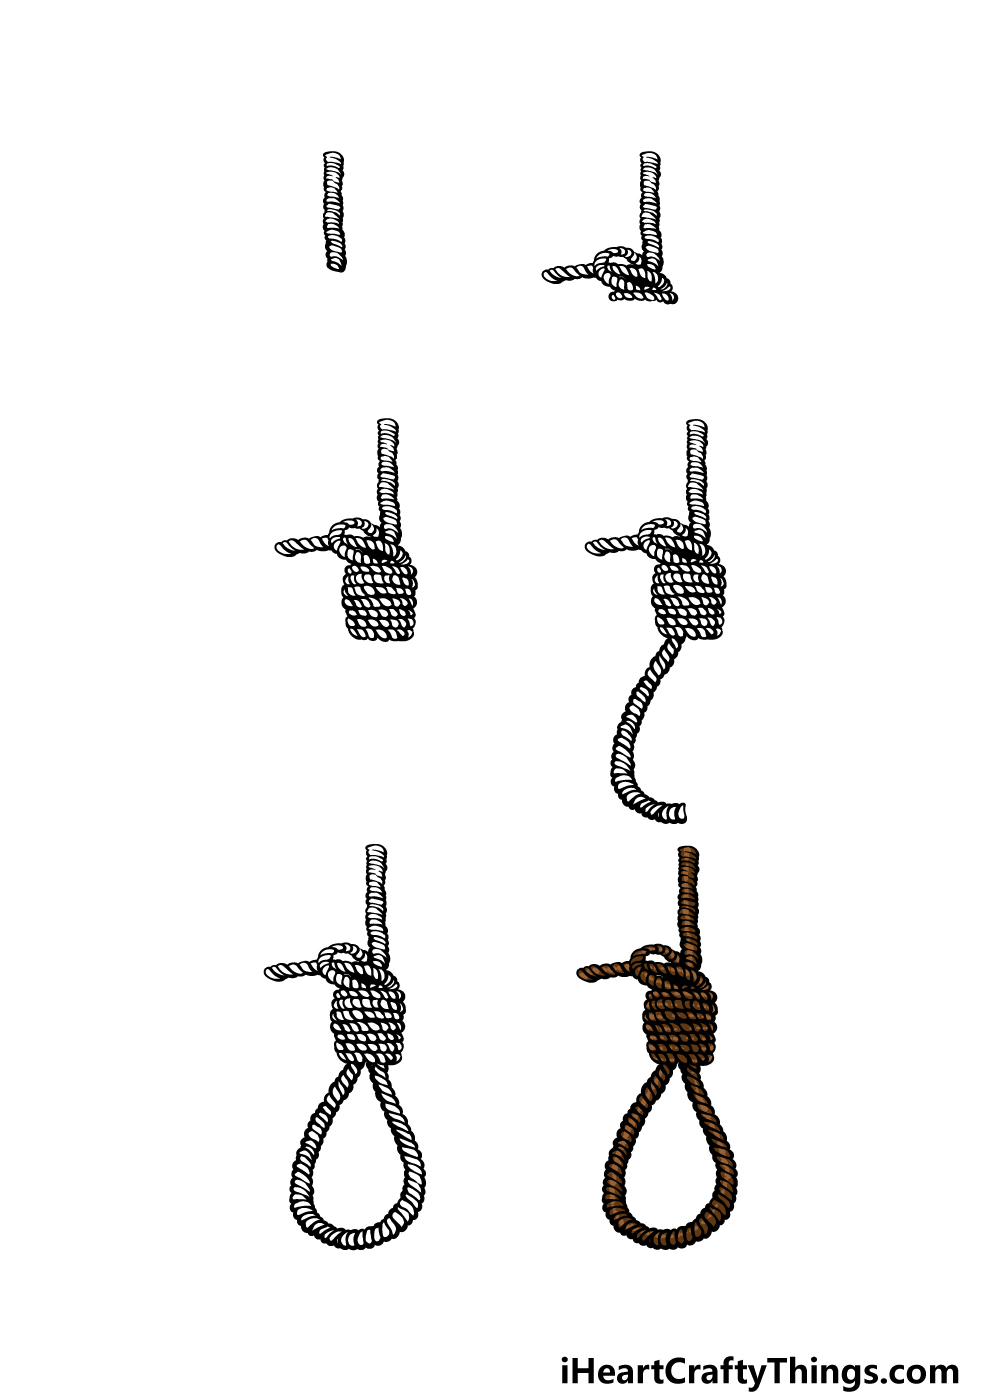
How to Draw A Noose – Let’s Get Started!
Step 1
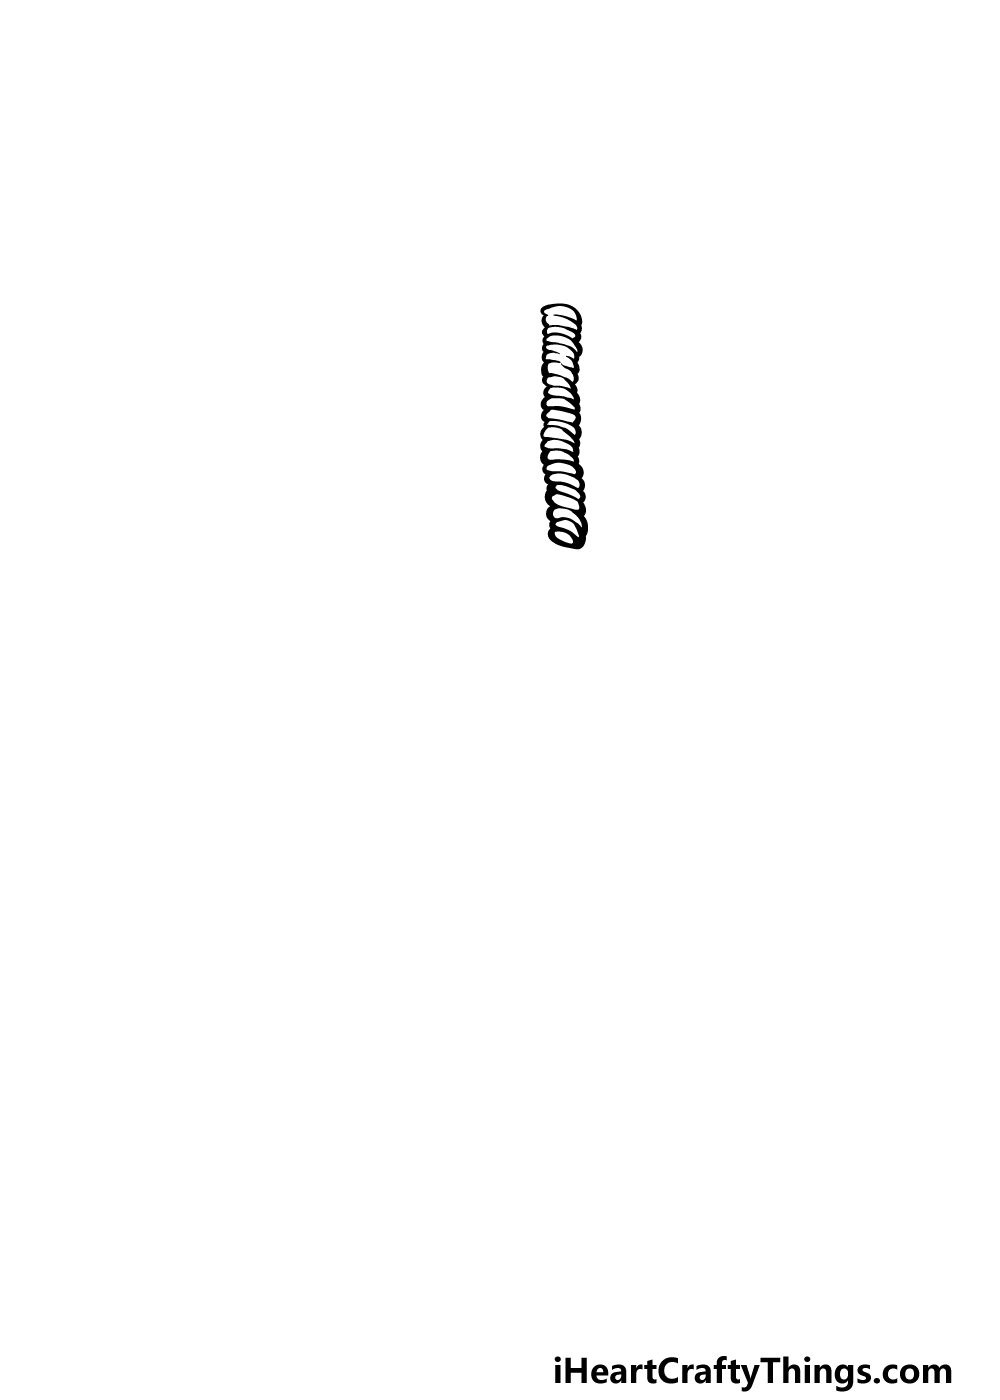
We will be drawing the rope that the noose is hanging from for this first step of our guide on how to draw a noose.
To make things a bit easier for yourself, you could start by drawing two lines close to one another using a light pencil.
This will be to guide you as you draw the textured rope. If you go for this method, once the lines are drawn you can then use your pen to draw the rope.
The rope will be drawn by connecting lots of thin, curved lines together to form many small sections. The reference image will guide you as to how this section of rope should look.
We will be drawing the entire noose in this way, so if you can get the hang of it in this step then it will be much easier for you to do the following steps!
Step 2 – Now, draw the start of the loop for the noose
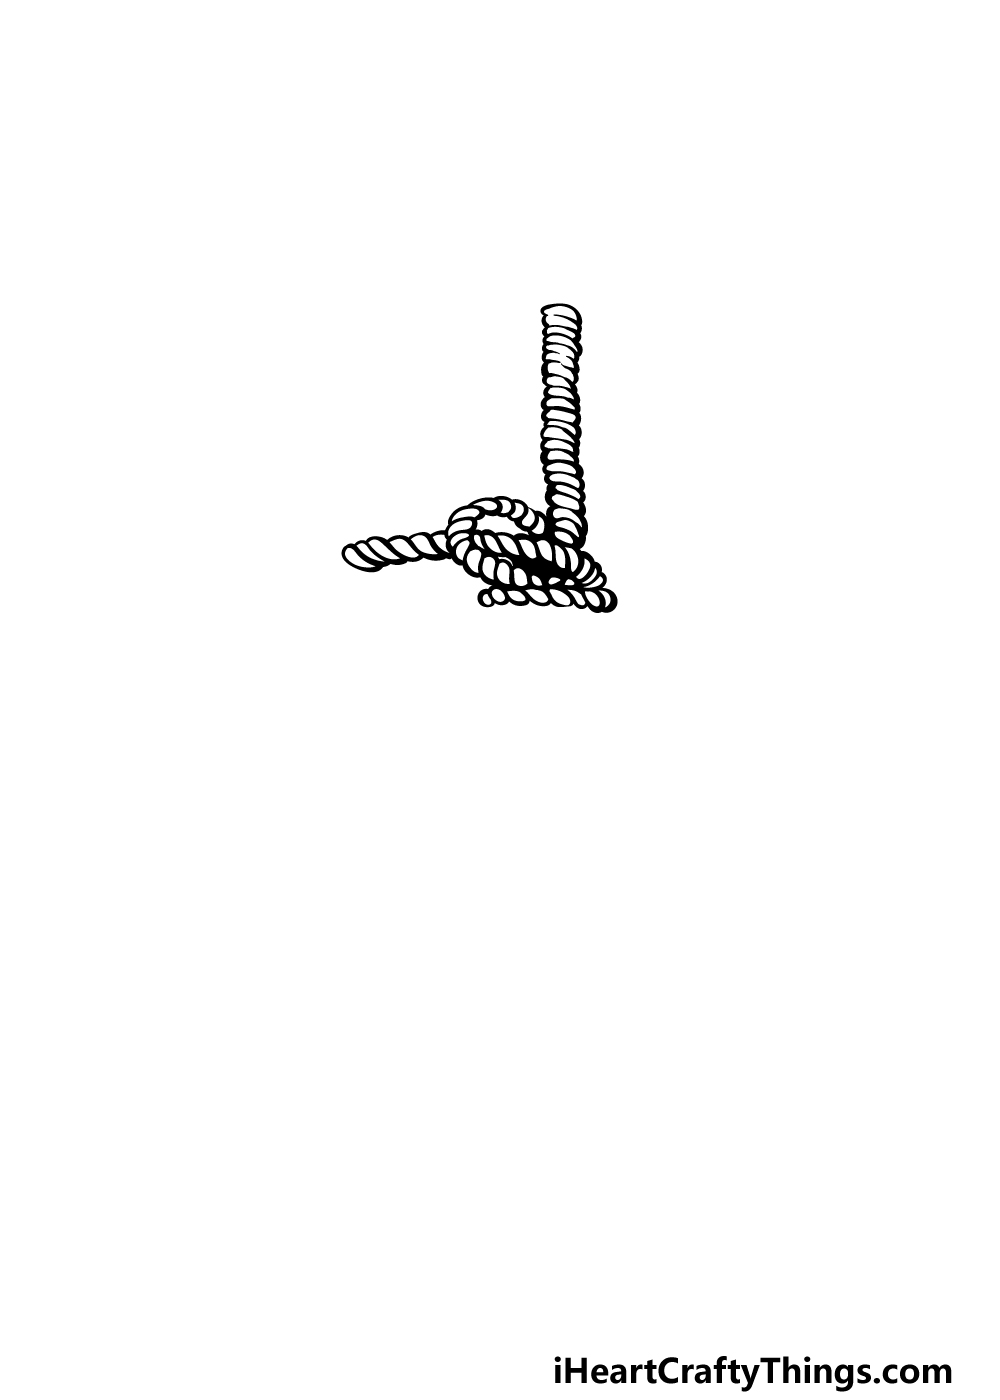
This second part of your noose drawing may be the trickiest segment of the picture to do, but as long as you follow the reference image then it doesn’t have to be difficult!
We will be drawing the actual knot of the noose, and this means that the rope will be positioned very specifically.
First, draw some more of those small, rounded sections that you used for the first piece of rope to create a loop. Then, draw another piece going through it.
There will be one more layer of rope beneath that, and then we can move on to step 3.
Step 3 – Next, draw a bundle of rope
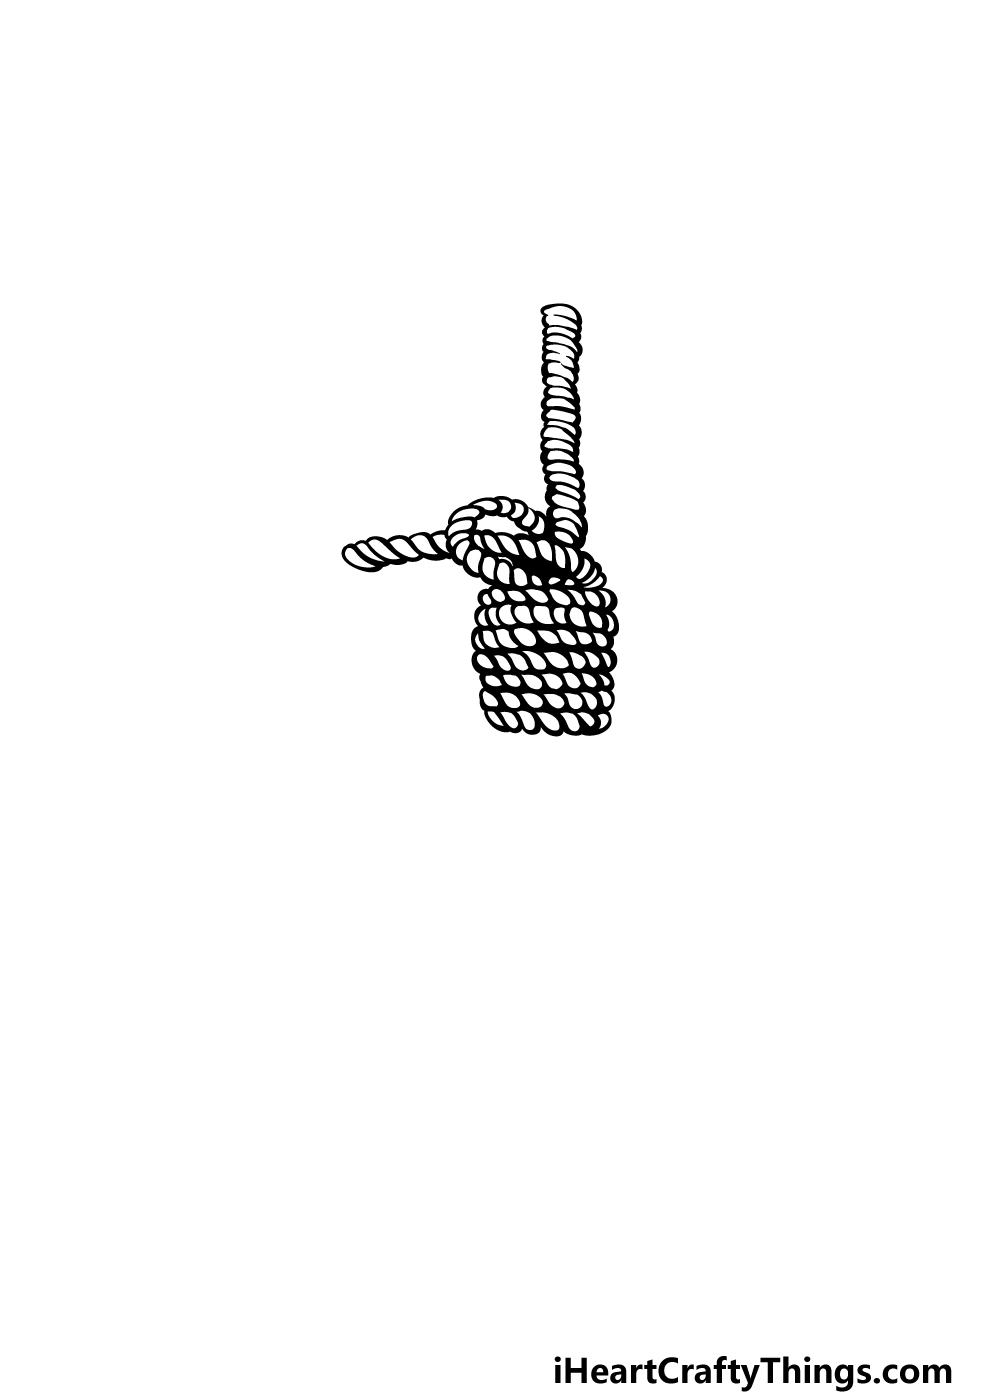
For the third step of our guide on how to draw a noose, we will be drawing a rectangular bundle of rope.
This is the section of the noose that would slide up or down the initial rope that it is hanging from.
We will be drawing six more rows of this rope, and they will attach to the first layer that you drew in the previous step.
Once this segment is drawn, we will then be ready to draw the actual loop of the noose.
Step 4 – Start drawing the loop of the noose
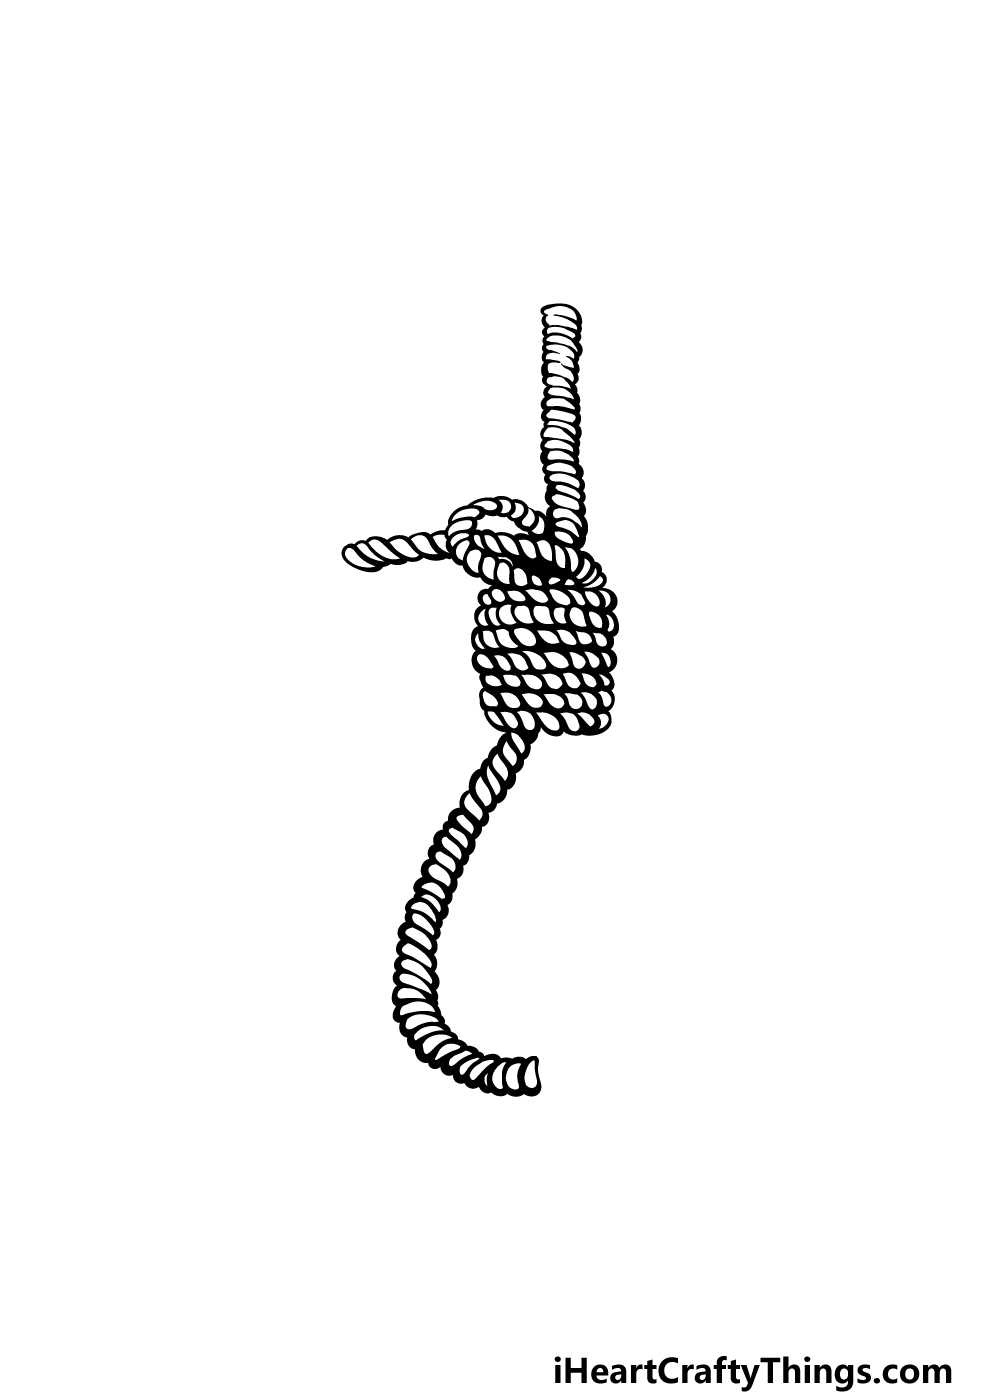
Now you are ready to draw the hanging loop at the end of your noose drawing in this step. For now, we shall be drawing only the first half of the loop.
Much as you did in the previous step, you could use a light pencil to draw the center of the loop so that you have a guide to follow.
Then, when you’re ready you can then use your pen to draw the rope in the same way that you have been so far.
In the next step, we will draw the other half of the loop, and you will be able to add any final details of your own.
Step 5 – Add the final touches for your noose drawing
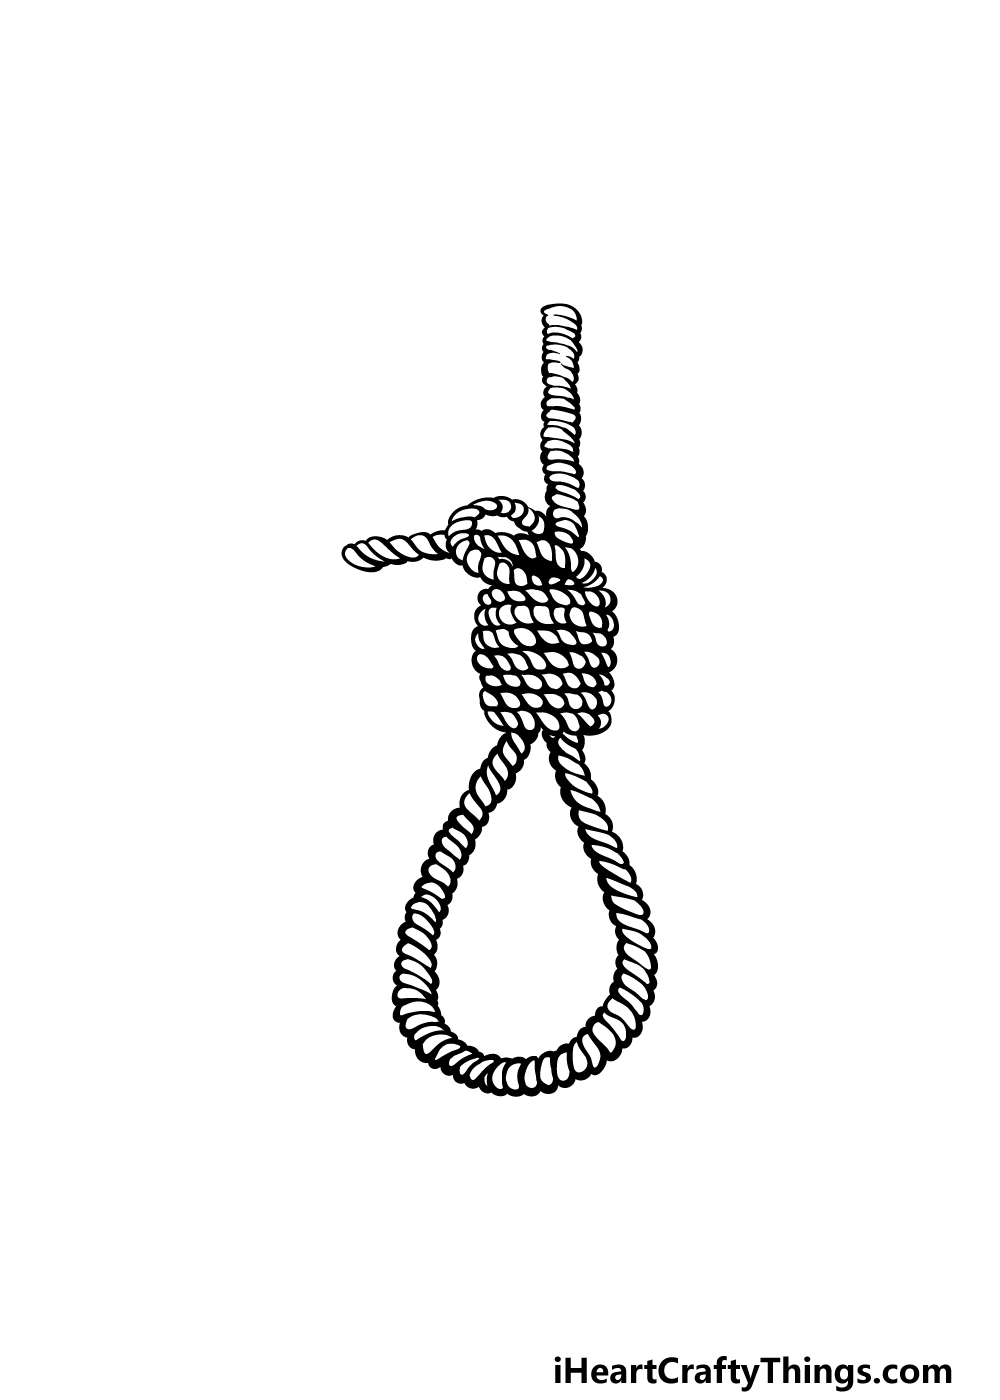
You have almost completed this guide on how to draw a noose, and in this one we shall finish off the loop of the noose.
To do this, you will essentially be recreating what you did in the prior step. That means completing the loop of the rope using the same methods you have been using for the rest of the noose.
If you drew any pencil lines to guide you in previous steps, you can now erase them as you won’t be needing them anymore. Just be sure to let all of the pen ink dry before you start erasing!
Step 6 – Finish off your noose drawing with some color
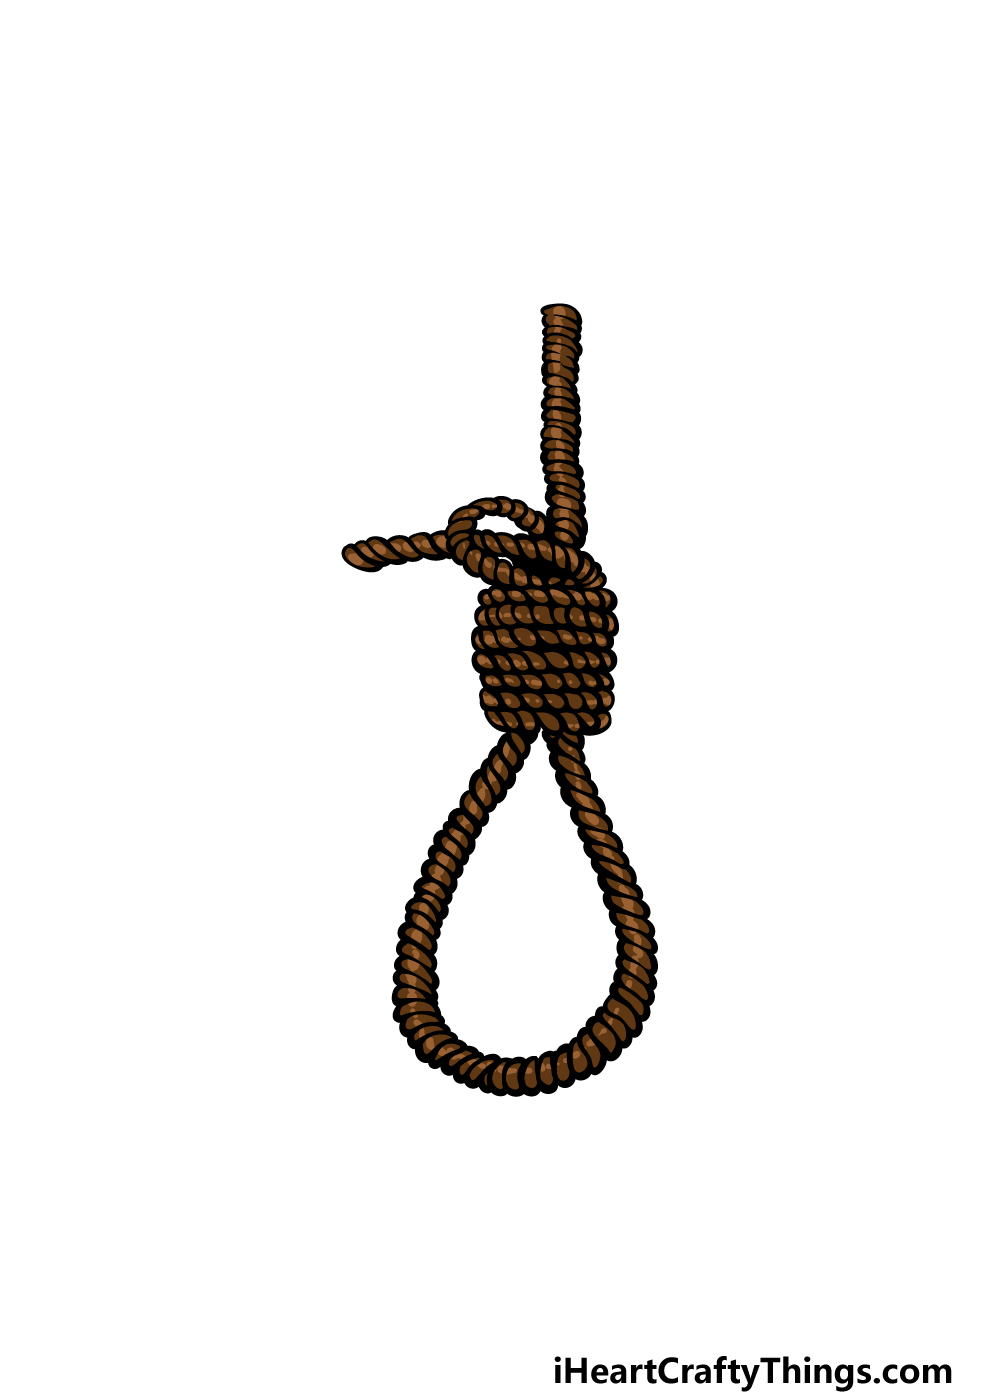
This final step of your noose drawing will see you finishing it off with some color. As it is made of rope, we went with a brown color scheme as we colored in our own example image.
Even if using one predominant color like this, you can still create a more dynamic image by changing up the shades of the color for some variation.
When coloring in an image with lots of small sections like this, you may want to use a medium that gives you precision.
Colored pens, sharp pencils or paintbrushes with very thin tips would be your best bet, but how do you plan to color your noose drawing in?
5 Tips To Make Your Noose Drawing Even Better!
Find out how to make your noose sketch even better with these fun tips.
One of the best ways to make a drawing better is by adding a background setting. Doing this would allow you to create a scene around this noose drawing.
One way to do this would be to create a pirate setting. There could be an old skeleton in the noose with some living pirates digging for treasure nearby.
That’s one possible scene you could create, but there are all sorts of backgrounds you could create.
We made this drawing of a noose very realistic by drawing the contours of the rope. This looks really cool, but it can be quite fiddly to draw.
You may just simply not be a fan of this detailed design as well! You could change it up by going with a simpler, more cartoony design.
While the purpose of a noose is quite grim, it is still quite an intricate knot. One way to make this noose sketch more interesting would be to draw different examples of other knots.
If you were to do this, you can find different knots such as a sailor knot online to use as examples. How many kinds of knots could you recreate?
Using colors is the best way to enhance a drawing. You may want to try out some interesting colors and art mediums for this noose drawing!
We created a dark brown for the rope, but you could go for different shades. The drawing is quite intricate, so you may want to use colored pens and pencils to give yourself more precision.
Traditional art mediums are great to use, but you can take your artwork to the next level by using some crafts! For one idea, you can buy small pieces of rope material at most craft stores.
If you had some, you could stick it over the rope portions of the drawing to give it a real textured look. What are some other crafts you could use to make this drawing even better?
Your Noose Drawing is Complete!
Drawing objects like this can be surprisingly difficult, as there is a very specific structure to them.
That’s why we hope that this guide on how to draw a noose made it much easier for you to take it on as we broke it down into smaller steps that would make it more manageable.
As long as you follow all of the steps then you will master this picture in no time!
Once you know how to do it, you could also add some details of your own. Perhaps you could draw a background, or maybe even incorporate the noose into a Halloween poster. There is a lot that you can do, so how will you finish it off?
When you’re ready for more, our website is full of amazing drawing guides for you to enjoy. You can expect many more soon as well, as we often upload new ones.
You can also show us how your noose drawing came out by sharing it on our Facebook and Pinterest pages for us to see.