The ninja, also known as shinobi, is a covert agent and mercenary in feudal Japan. Ninjas are exceptionally skilled in the Japanese art of ninjutsu.
They first existed in the 15th century, wherein they were hired as spies, raiders, arsonists, assassins, and even terrorists. But until now, the fascination with ninjas remains unwavering.
Ninjas have also long been the subject of numerous films, among the most notable ones are Naruto and Ninja Turtles.
The idea of ninjas not only appeals to young children, but people of all ages are also The extreme popularity of ninjas have created a huge demand for a free ninja drawing tutorial.
You’ve asked for it, so we delivered.
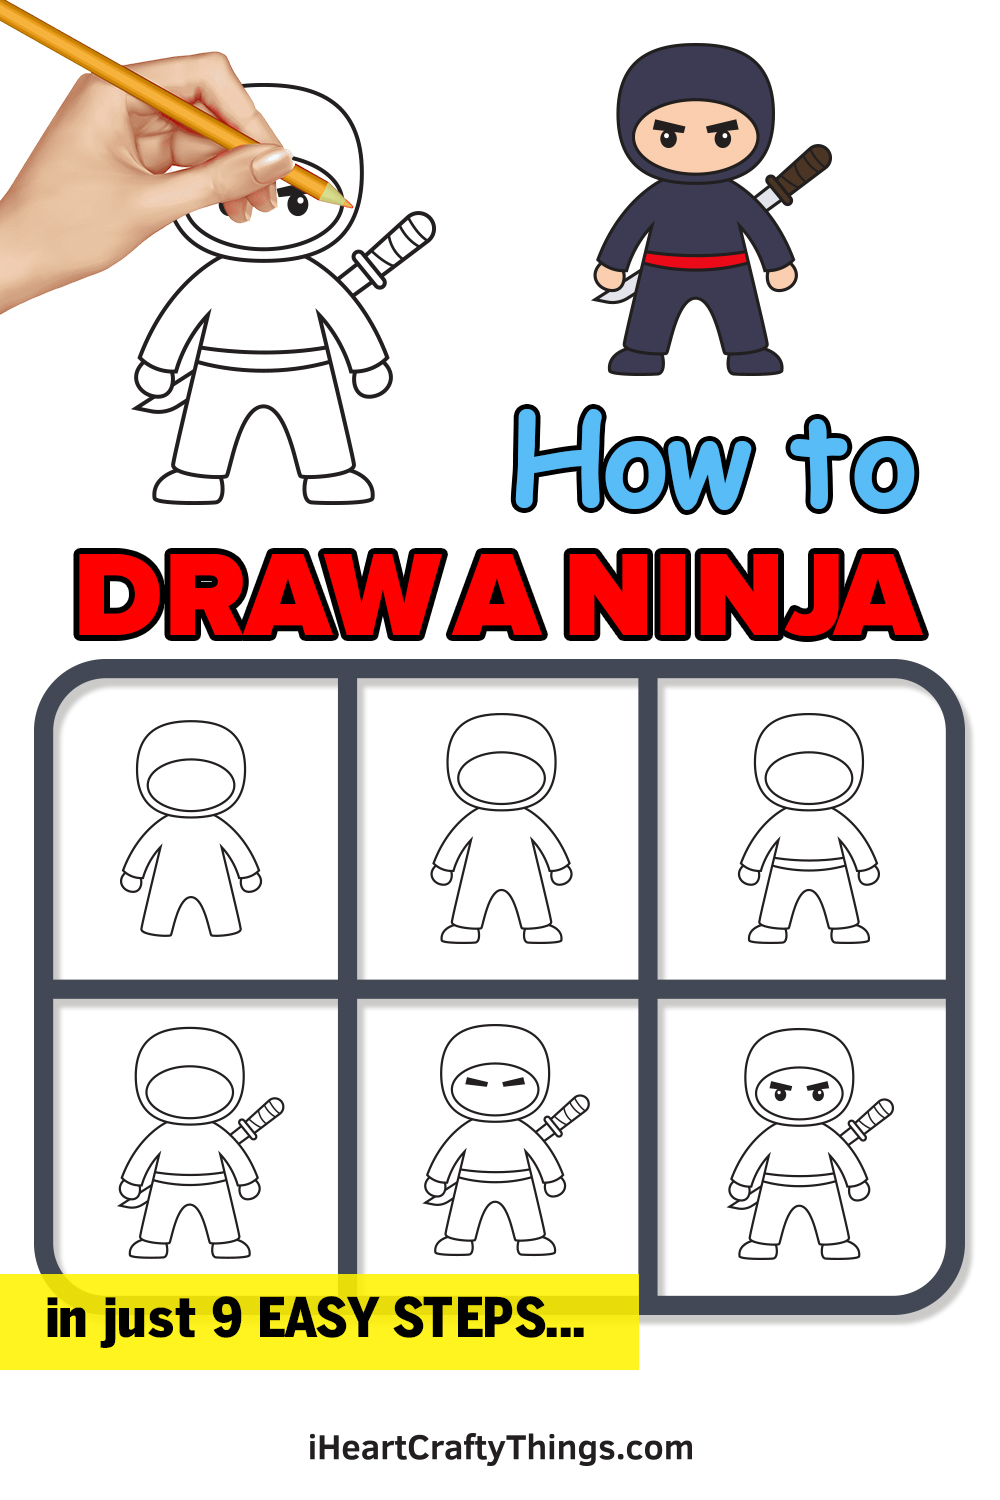
We have created a step-by-step process on how to draw a ninja, made easier with 9 simple steps.
What’s more, each detailed—yet brief—instructions are accompanied with elaborate illustrations to serve as your visual guide as you follow the instructions one by one.
All you need is a piece of paper and your favorite drawing tool and you’re all set!
Have fun putting your imagination into paper!
How to Draw a Ninja – Let’s get started!
Step 1
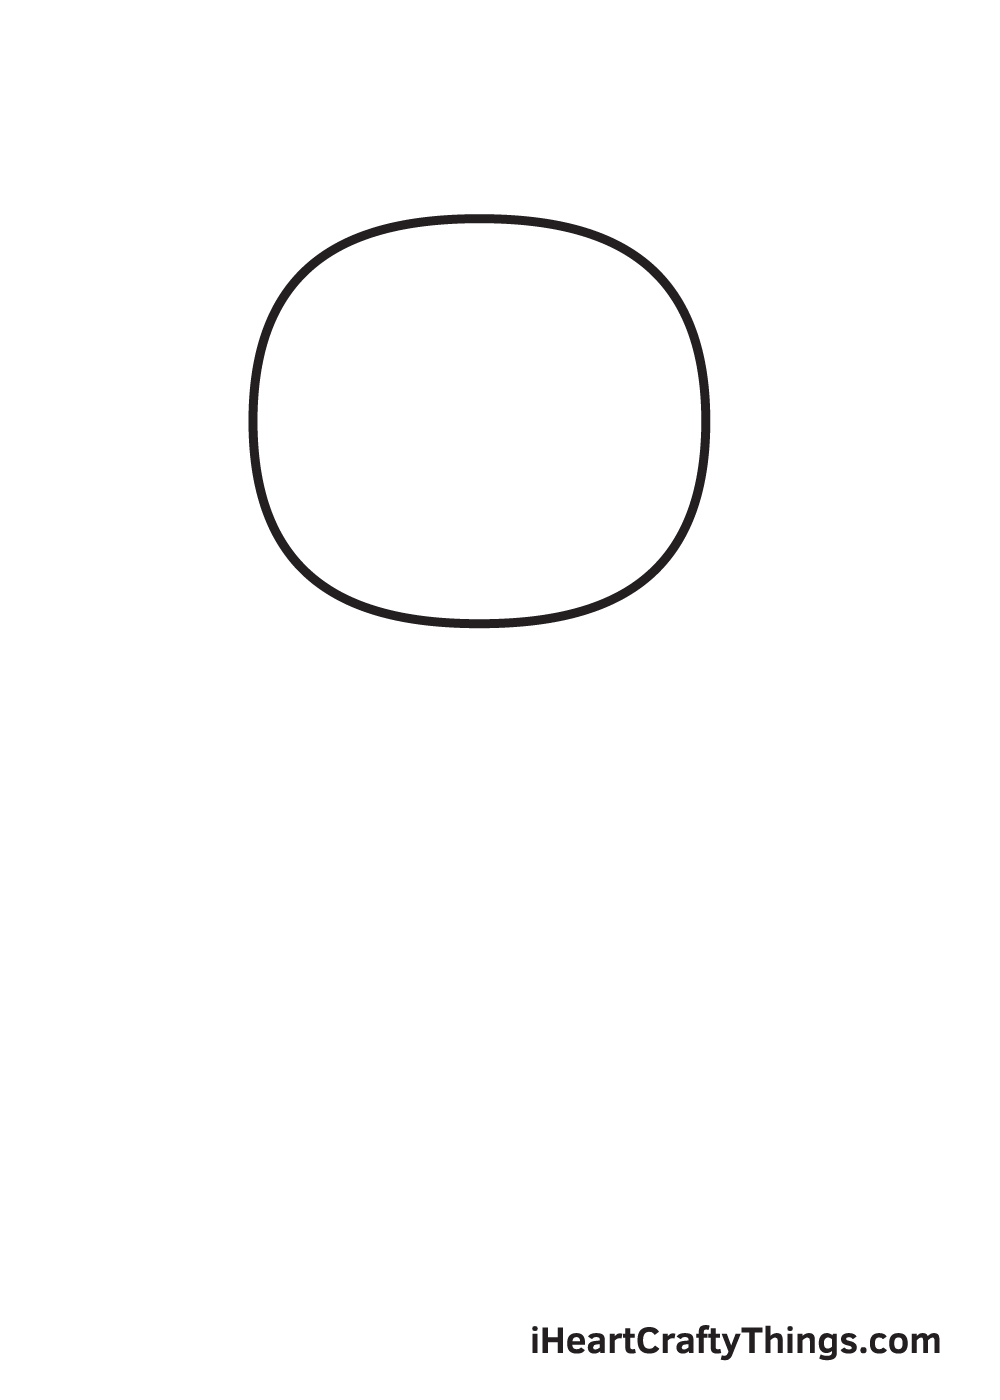
Start by drawing a square shape with rounded edges on the upper portion of your paper. This forms the shape of the ninja’s entire head.
By starting on the upper portion of your paper, you will have enough space for the entire body of the ninja.
Step 2 – Create an Outline of the Ninja’s Head
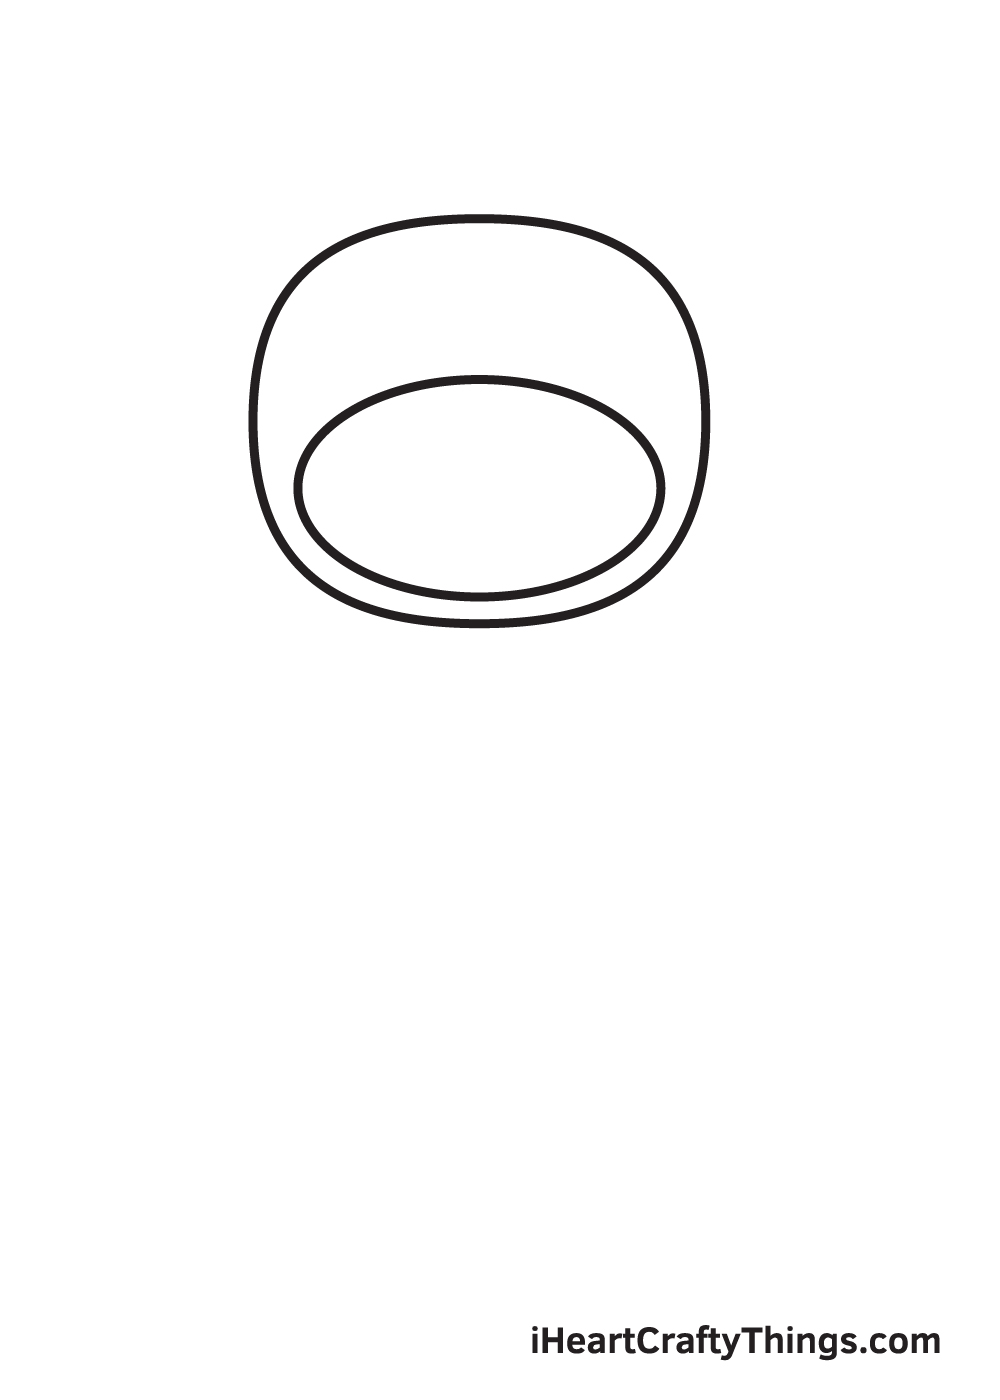
Draw a sideways oval shape within the round-edged square that we drew in the previous step.
This outlines the hem of the hood the ninja is wearing, creating a division between the ninja’s head and its face.
Step 3 – Afterwards, Draw the Body of the Ninja
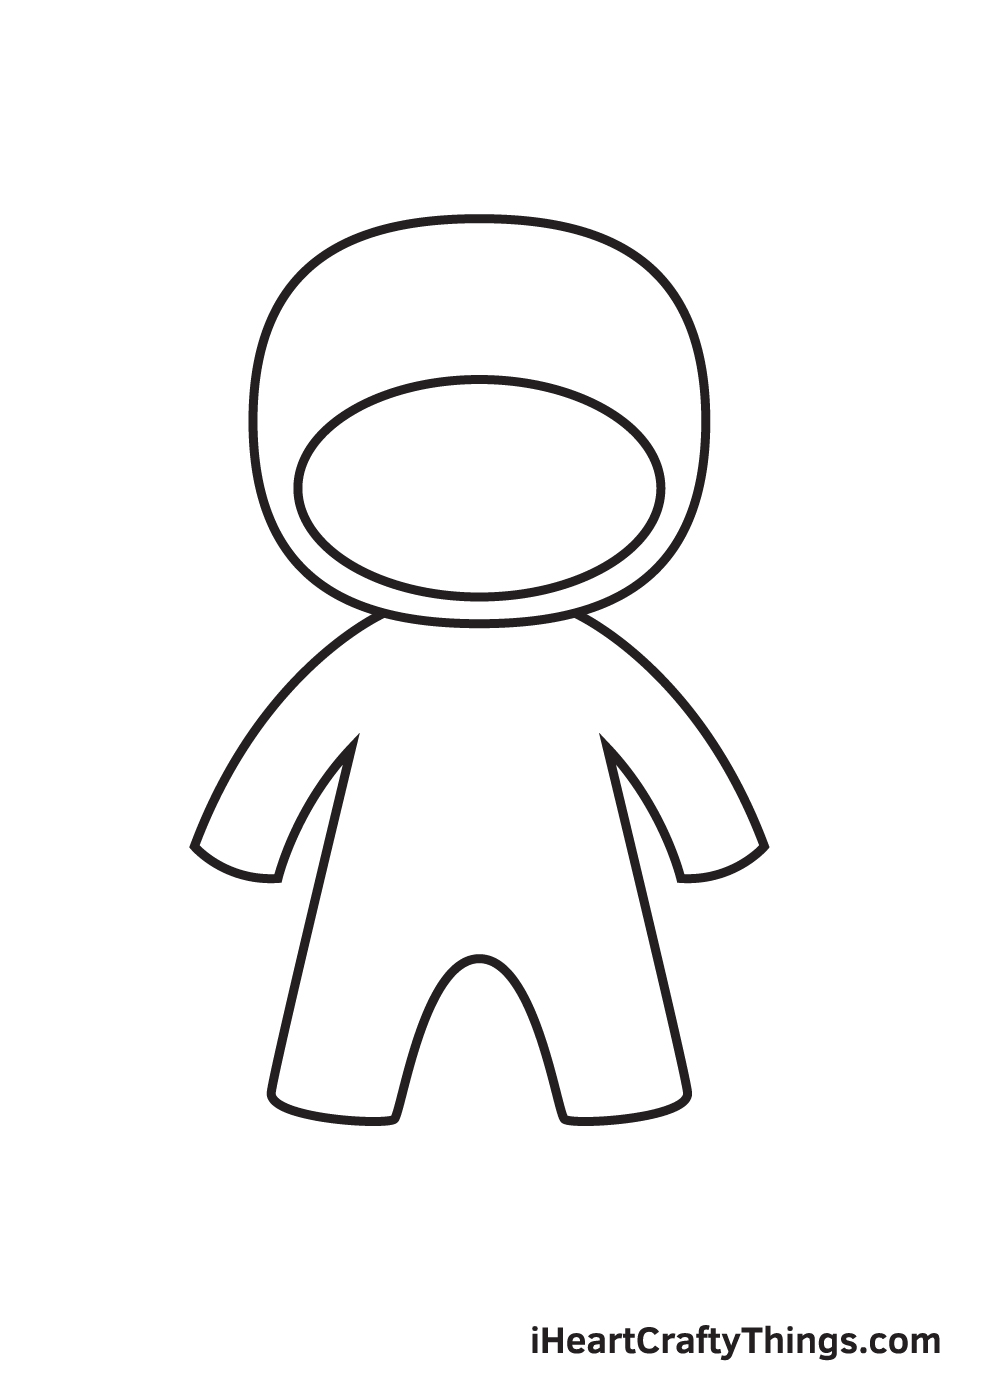
Create the body of the ninja underneath its head. Start by drawing an elongated figure for the arms and another one to structure the leg
. Then, draw a mirrored figure on the opposite side to form the ninja’s entire body.
Make sure that both arms and legs are symmetrical. This shape outlines the long-sleeved shirt and the trousers the ninja is wearing.
Step 4 – Draw the Ninja’s Left and Right Hands
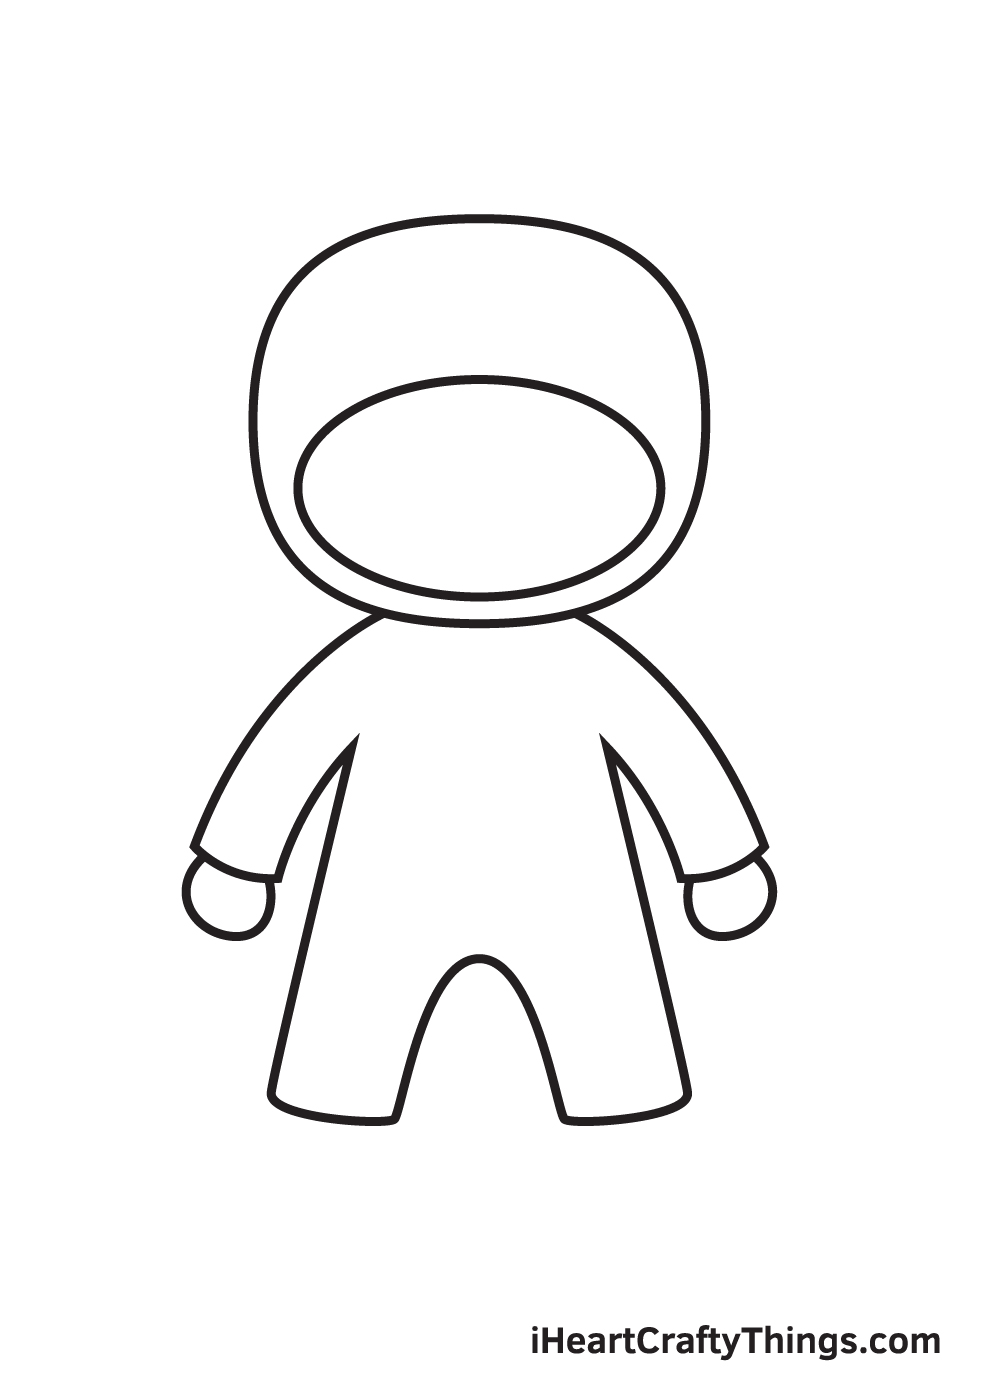
Draw a circular shape at the bottom of each arm This creates both hands of the ninja.
Bear in mind that the hands should have the same size.
Step 5 – Next, Create the Ninja’s Pair of Shoes
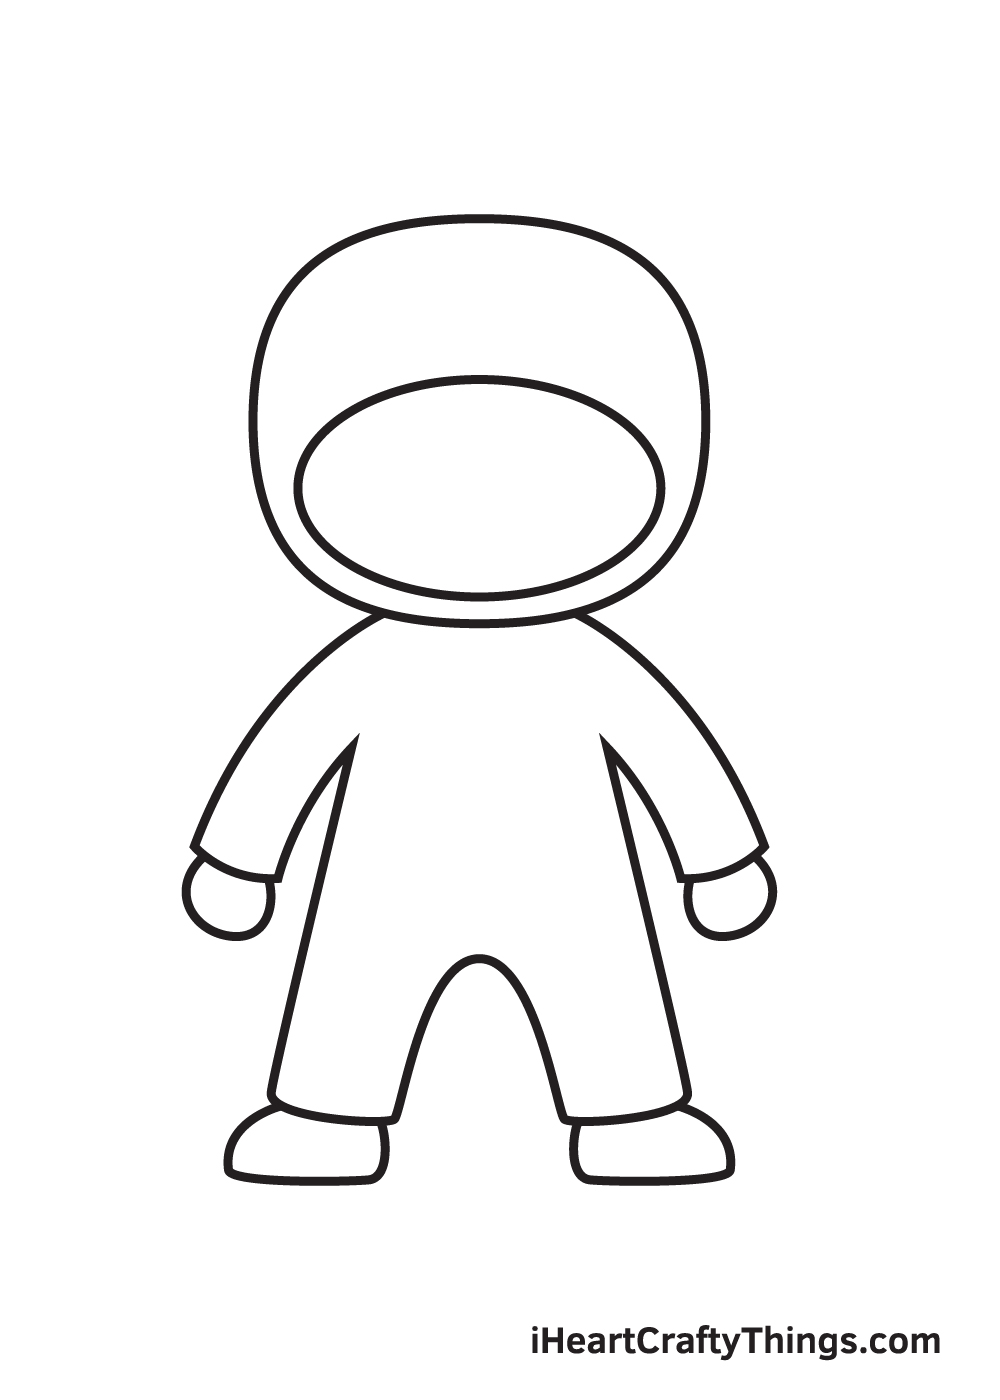
Draw two curved lines with a horizontal line at the bottom beneath each leg. This creates the pair of shoes the ninja is wearing.
As you can see in the illustration, the ninja’s feet are facing opposite directions.
Step 6 – Then, Add a Belt on the Ninja’s Clothing
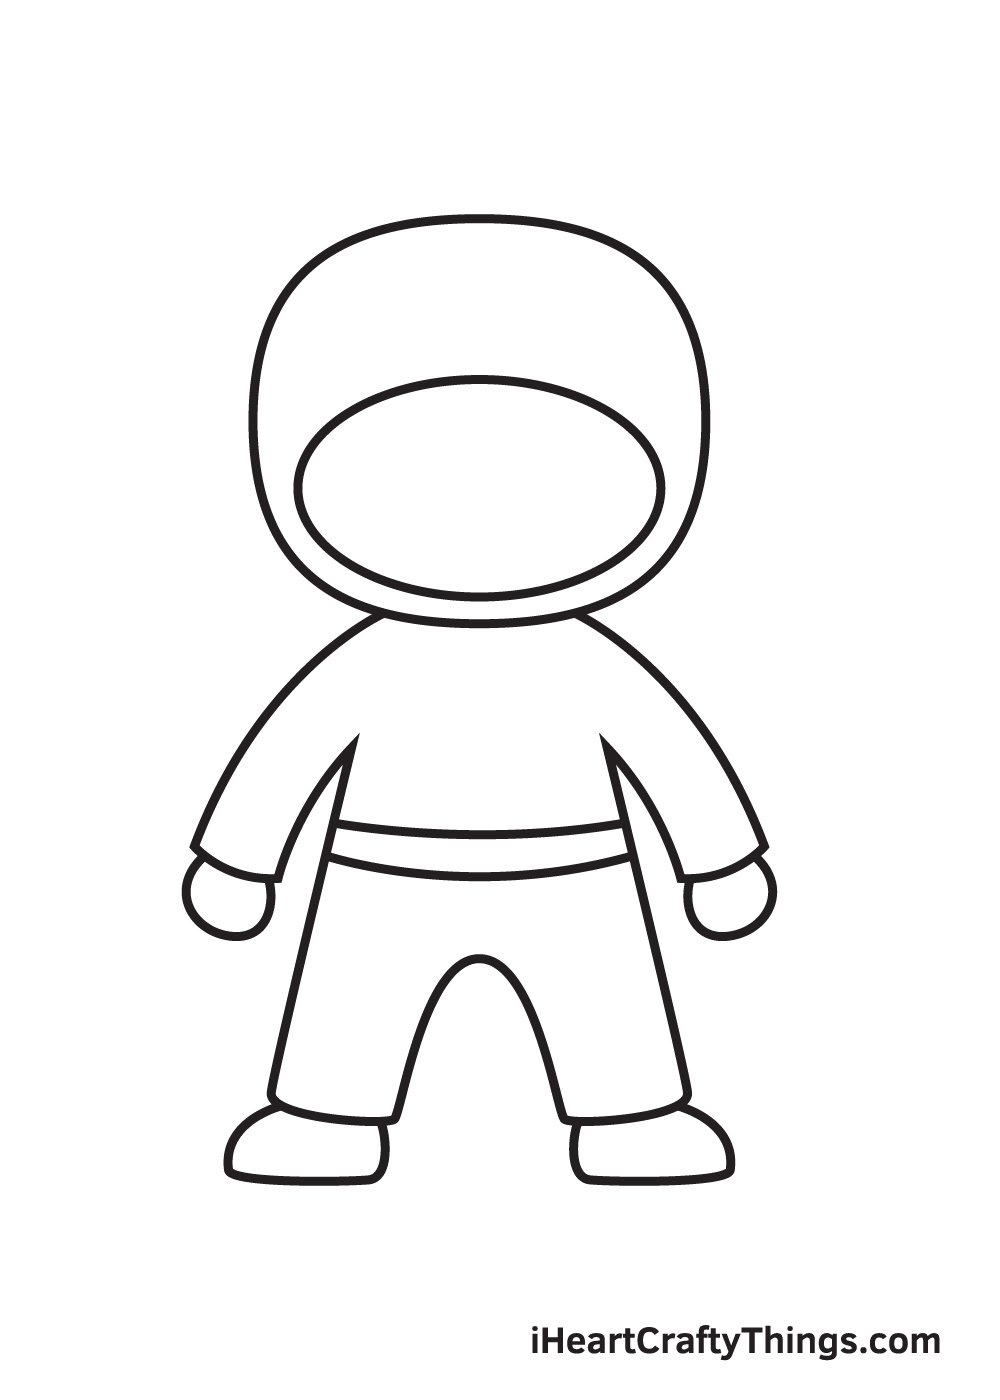
Draw a parallel horizontal line on the abdomen part of the ninja’s body.
This creates the belt to complete the traditional outfit of a ninja.
Step 7 – Draw the Sword on the Ninja’s Back
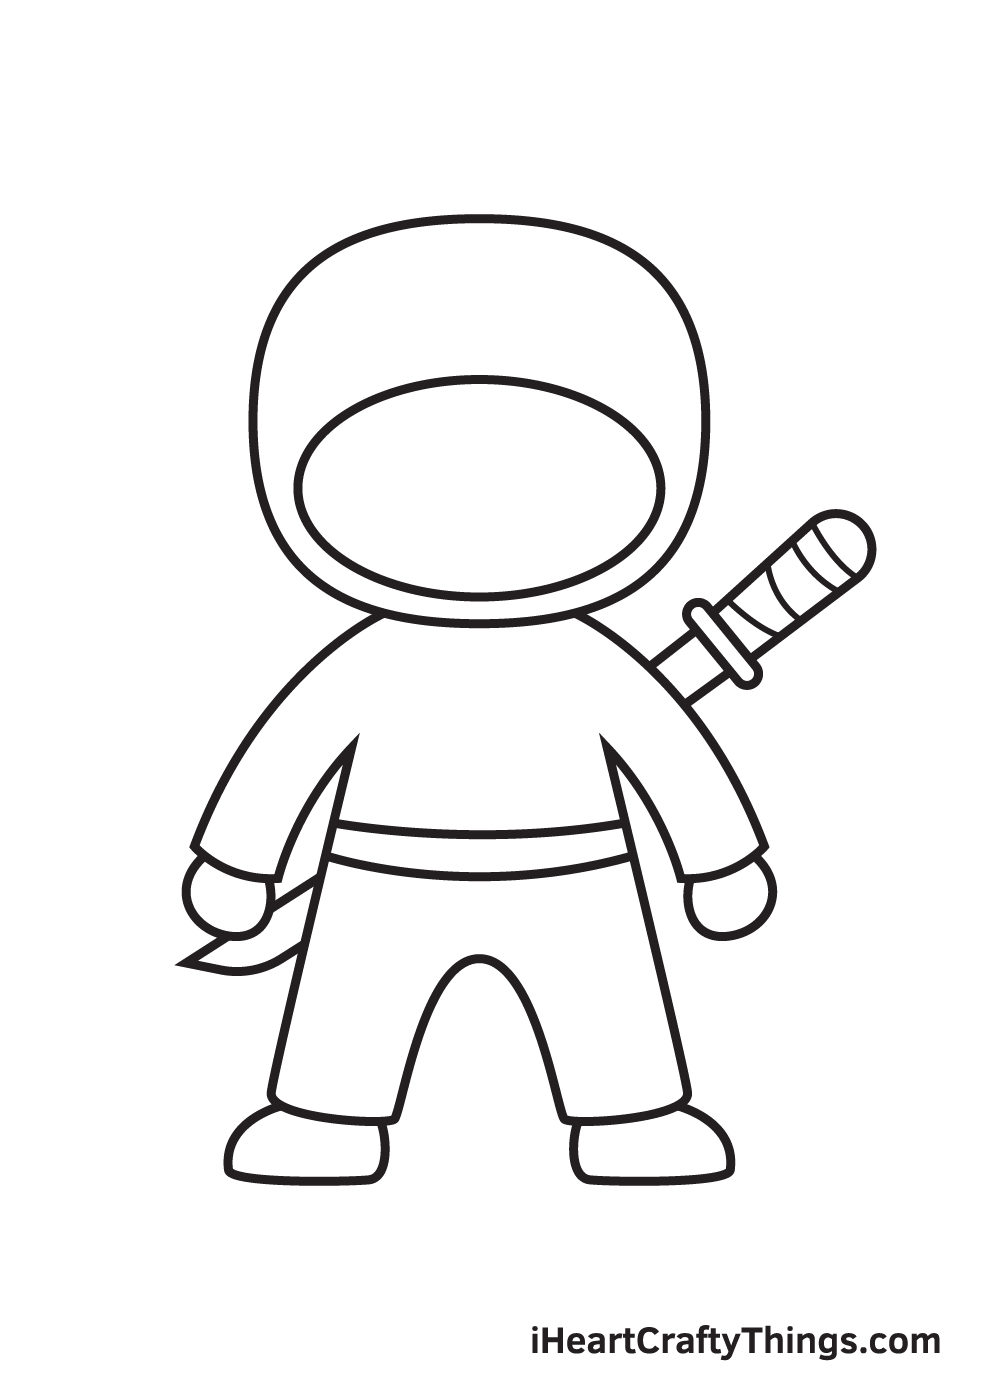
Ninjas typically have a long, sharp sword affixed on their backs. This sword serves as their primary weapon during combats. In this step, we’ll be drawing the sword.
Continue by drawing the handle of the sword first, then draw a sharp-edged blade directly connected to it. Don’t forget to add patterns on the sword’s handle!
Step 8 – Next, Draw the Ninja’s Thick Eyebrows
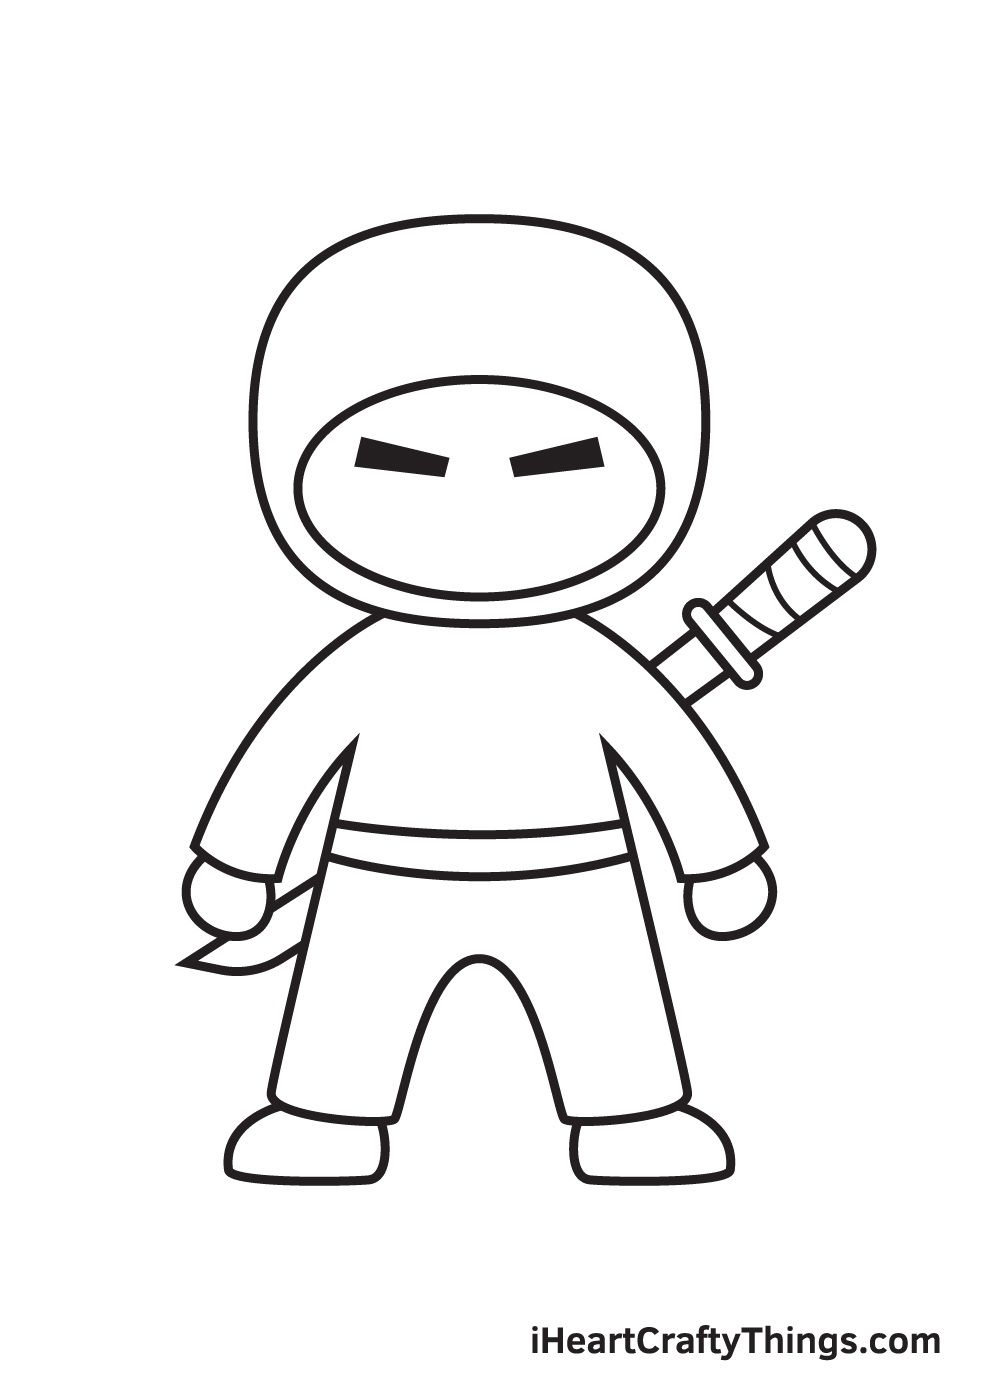
Draw two sideways rectangular shapes below the ninja’s forehead to outline the eyebrows. Then, add shade to both eyebrows to make it look thicker and fuller.
Remember, men’s eyebrows are typically thicker and more defined than women’s eyebrows, so make sure to keep that in mind when drawing your ninja’s eyebrows.
Step 9 – Now, Draw the Eyes to Complete the Look
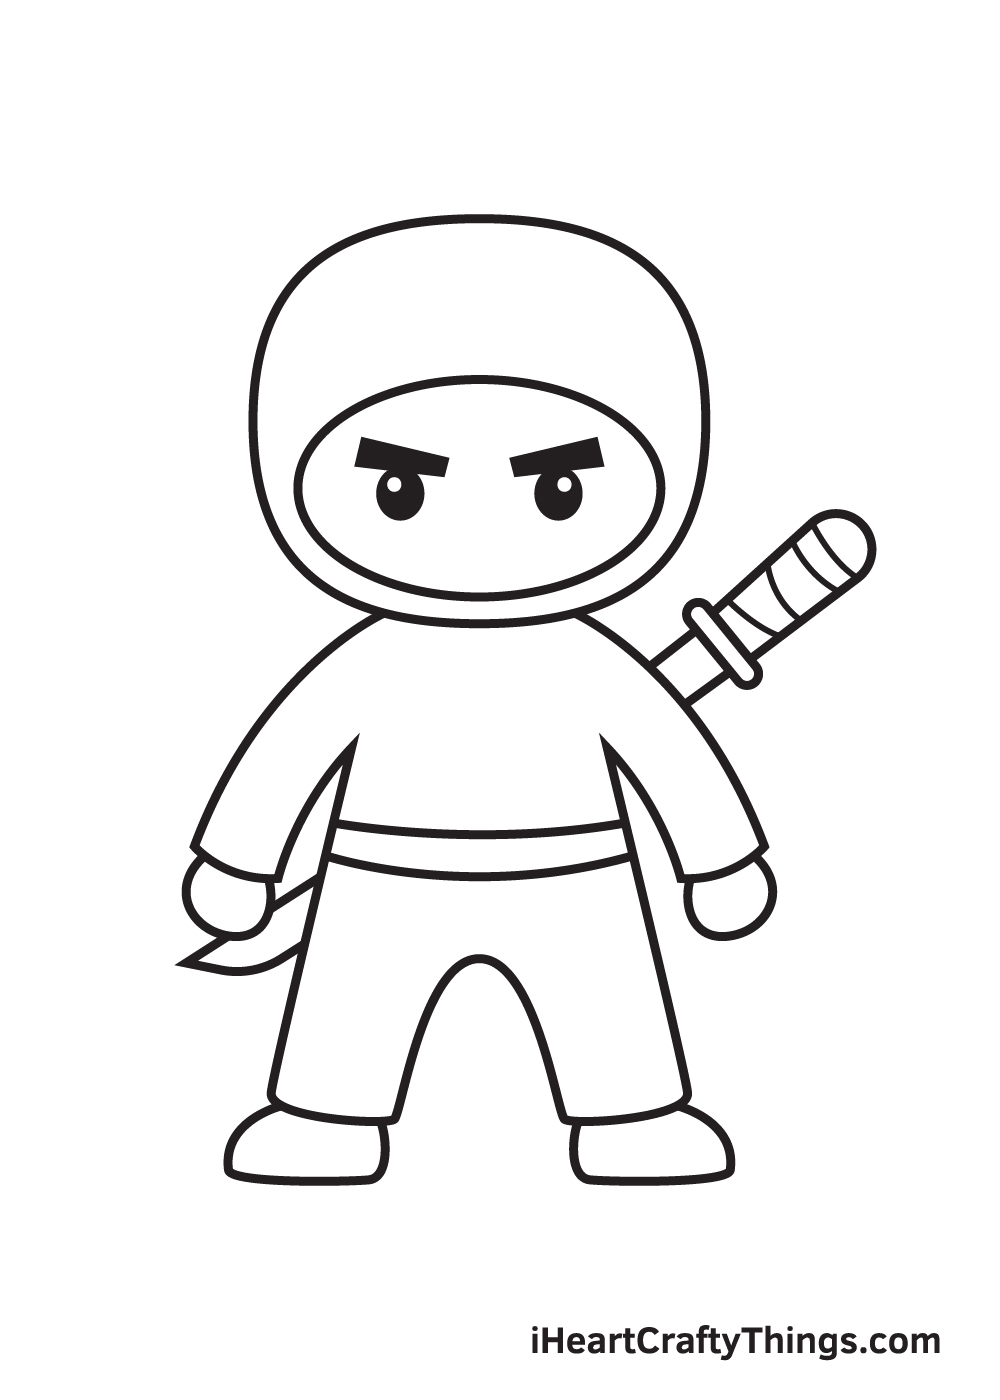
Finalize your ninja drawing by drawing a pair of eyes. Proceed by drawing two circle shapes underneath each eyebrow.
Then, draw a tiny circle shape inside each eye to create the pupil. Add shade on both eyes while leaving out the tiny circle unshaded. This creates a dramatic “gleaming eyes” effect.
Now that we’ve successfully drawn a ninja, it’s finally time for the most fun part, which is handpicking the colors and making your drawing colorful.
This is the part where you can show off your artistic skills, especially your ability to mix and match colors.
Did you know that the ninja’s costume is called a ninja-yoroi, or ninja armor in English? It typically consists of all black clothing, including jacket, trousers, shoes, and hooded cowl.
As you can see in the illustration, we followed the standards when we colored our ninja drawing.
You can opt to do the same or use a unique set of colors. We recommend doing the latter so you can customize your artwork.
Have fun playing with colors and watch as the ninja ultimately comes to life!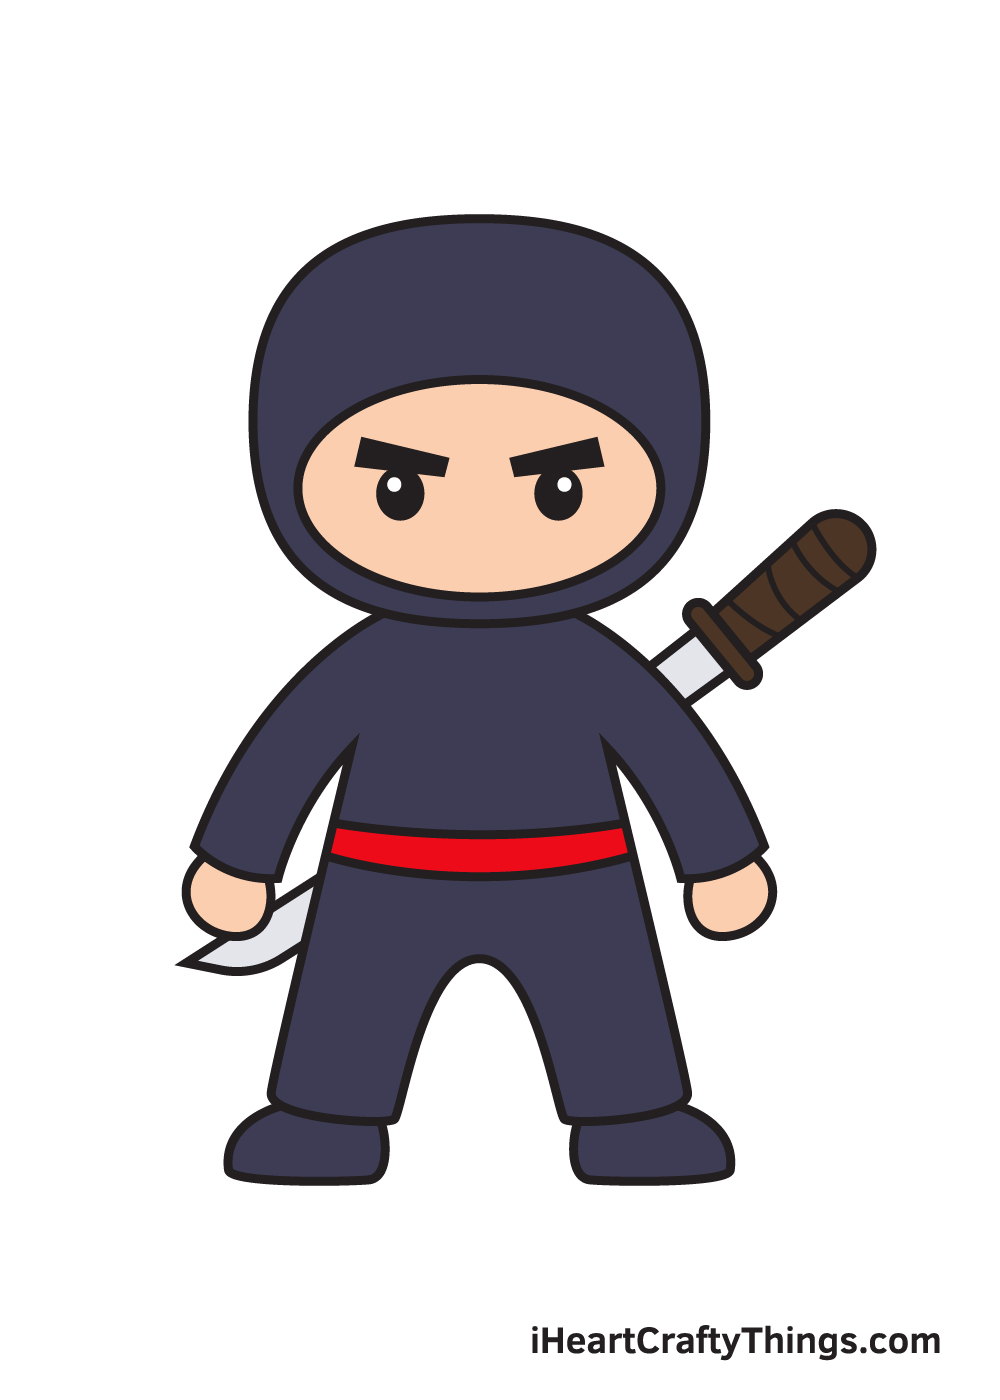
Here’s how you can make your ninja drawing even better…
Ninjas may be hard to see, but these tips will make your ninja drawing stand out!
Ninjas need to operate in many different conditions, and you could show this for this ninja sketch. For example, maybe you want this ninja to operate in snowy environments.
You could show this by making a camouflage pattern using some light grey and blue spots for the outfit.
Or, maybe you could go for a green color scheme instead to make this into a jungle ninja.
What are some other color schemes you could use for this sneaky ninja?
Ninjas don’t always work alone, and they will sometimes work in elite ninja teams. You could make this ninja drawing even more fun by adding some ninja buddies for this one.
Now that you have mastered drawing this ninja, adding more should be a breeze. The best part is you’d probably want them to match closely, so you don’t even need to change many details.
How many ninjas do you think you would like to have on this page?
As we mentioned, ninjas will operate in all kinds of settings. You could make this drawing of a ninja even more unique by adding a creative background!
Maybe the ninja could be sneaking into a well-guarded facility, or it could be training at a mountain monastery. These are just a few fun locations you could depict in this drawing, but there are many more!
What kinds of fantastic locations can you think of for this image? Maybe you could make a few different versions!
Ninjas are also known to use all kinds of distinctive weapons. This one has a katana at his back, but there are many more you could outfit him with.
You could have him wielding the katana or maybe add some of those other weapons we mentioned. These could include ninja stars, sais or maybe a staff.
If you added more ninjas to the scene, maybe you could give each of them a unique weapon set for another cool idea.
Your Ninja Drawing is Complete!
We hope you enjoy this step-by-step ninja drawing tutorial. This comprehensive guide gives you complete freedom to customize your drawing and handpick its colors as well!
This is surely a fun and enjoyable way to further hone your artistic skills.
We’re uploading new content on our “How to Draw” catalog on a regular basis, so make sure you keep re-visiting our website so you can continuously enjoy brand-new drawing tutorials.
If you would like to learn how to draw something new that we haven’t covered yet, feel free to connect with us and let us know about it!
Once you’ve finished drawing and coloring your ninja artwork, don’t forget to show off the results of your hard work!
Take a picture of your masterpiece and share it on our Facebook page and on Pinterest. While you’re at it, take time to like our Facebook page too! Your support means the world to us.
We can’t wait to see your awesome ninja drawing!