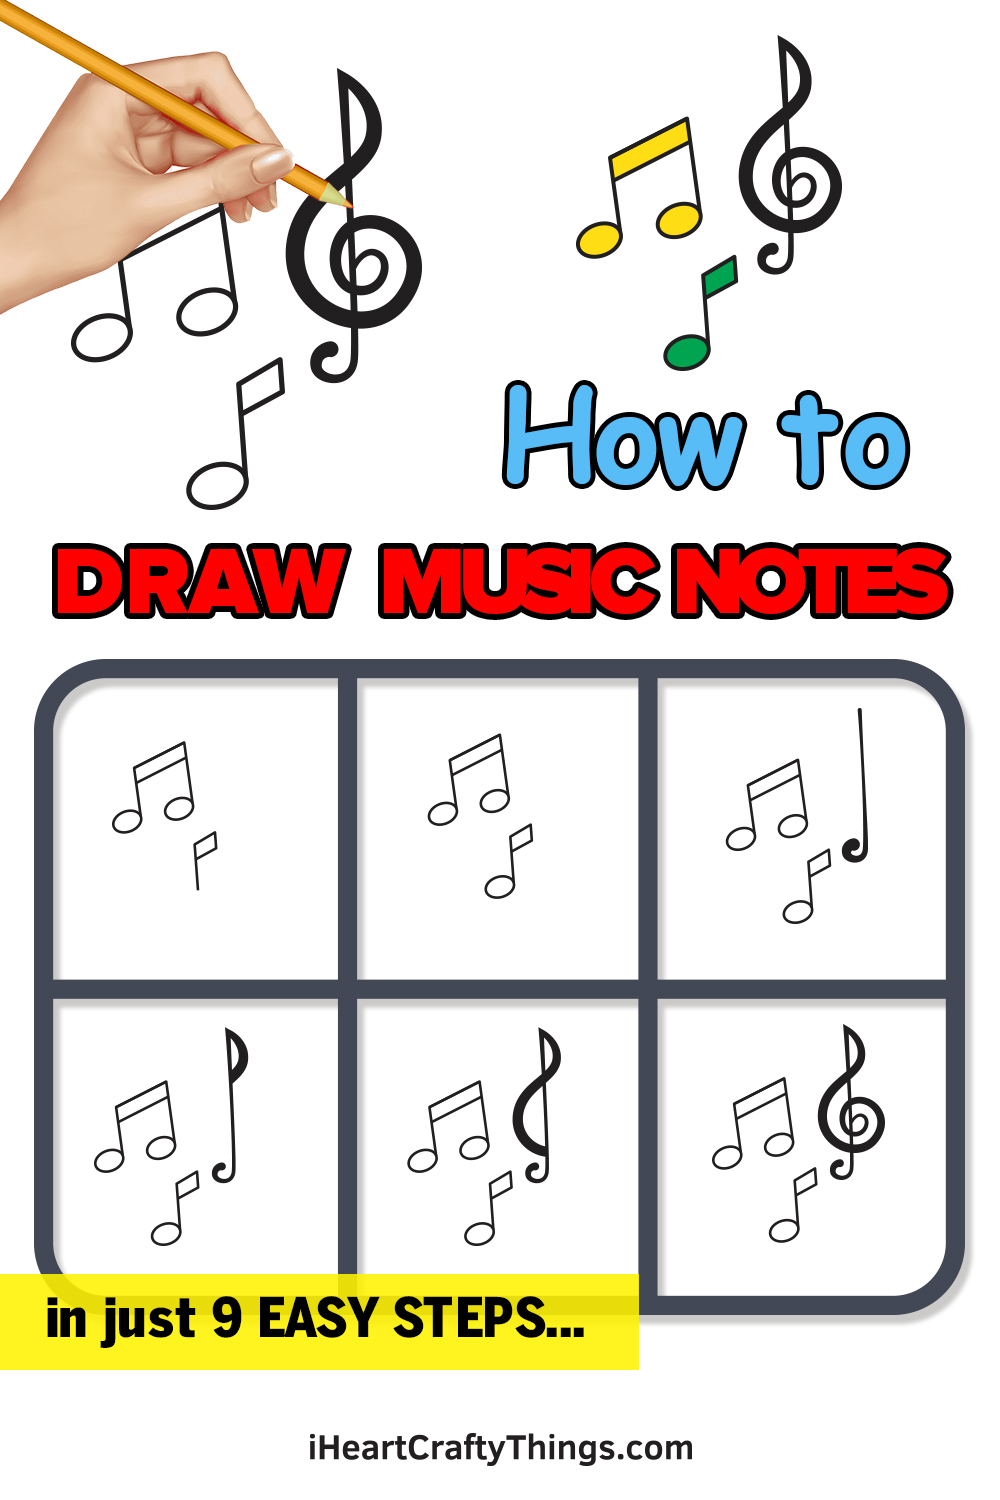
Discover the easiest way to learn how to draw music notes by following this guide for kids! Anyone can create a lyrical drawing by working through each step of this fun tutorial.
Even people who don’t read music will recognize music notes when they see them. Even in cartoons, they will be used as a shorthand way of showing that music is in the air.
Drawing these notes isn’t always easy, even if you’re familiar with how they look, though. It can start to get a bit frustrating when you go in blind, but that’s what this guide is for!
I have three recognizable music notes for you, and I will show you the process of drawing each one. They would be great to incorporate into other drawings or use as decorative elements on crafts you’re making.
One thing is for sure, it will be a fun and easy process, so let’s embark on it together.
Watch And See How To Make Your Music Notes Drawing
How to Draw Music Notes – Let’s get started!
Step 1
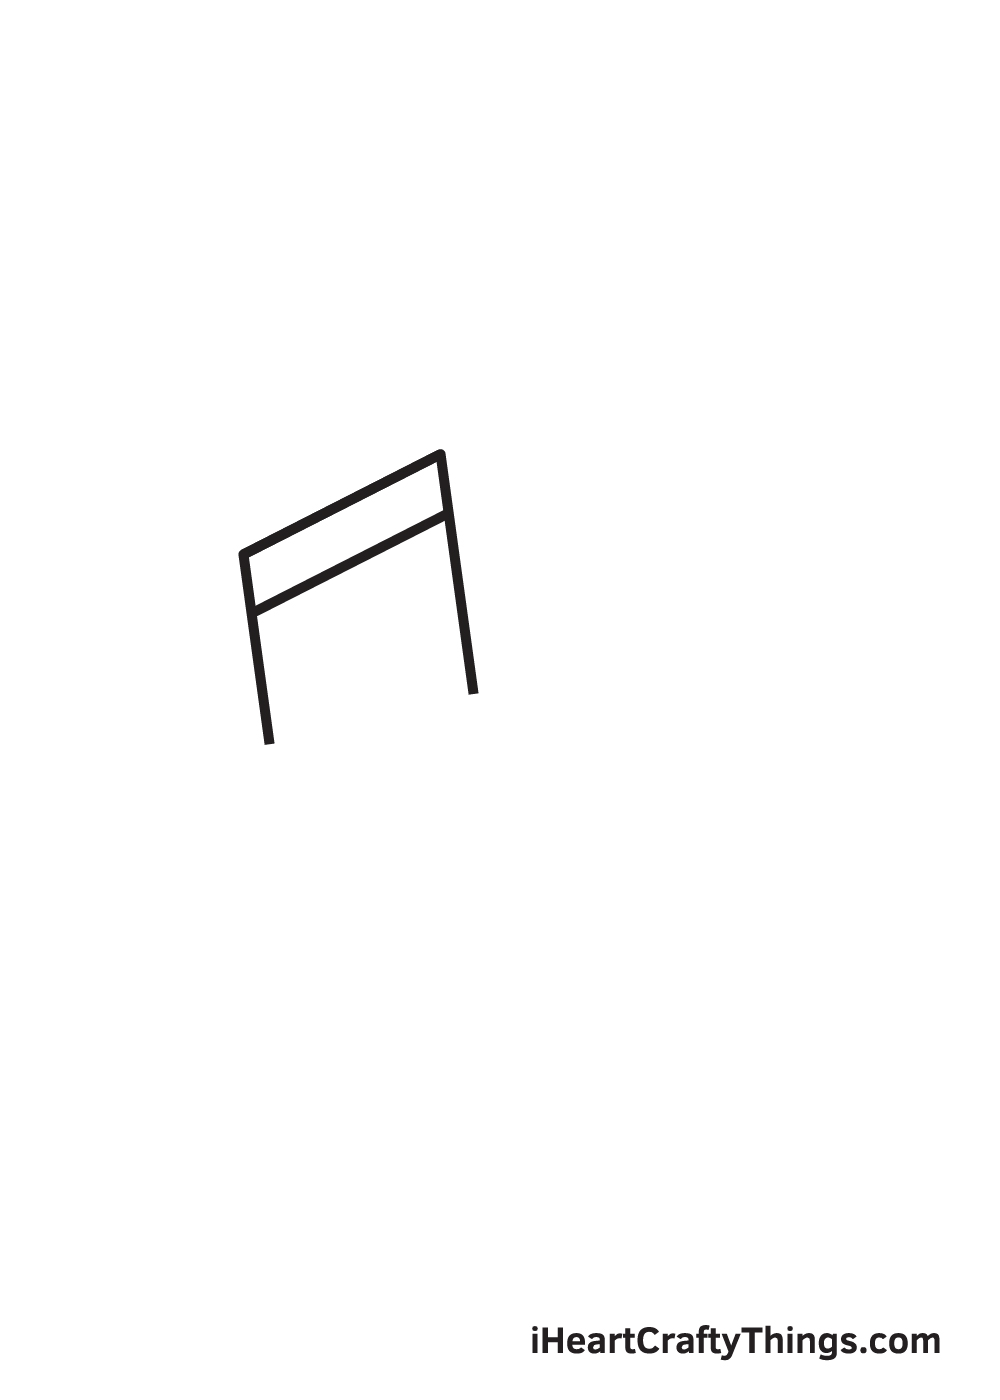
Start by drawing the first music symbol, which is the beam note. A beam note is essentially two consecutive quaver notes combined in one symbol.
Begin by drawing parallel diagonal lines on the left portion of your paper. Then, draw a vertical line on both endpoints of the parallel diagonal line. Keep in mind that all lines should have similar length.
Step 2 – Draw the First Symbol of the Beam Note
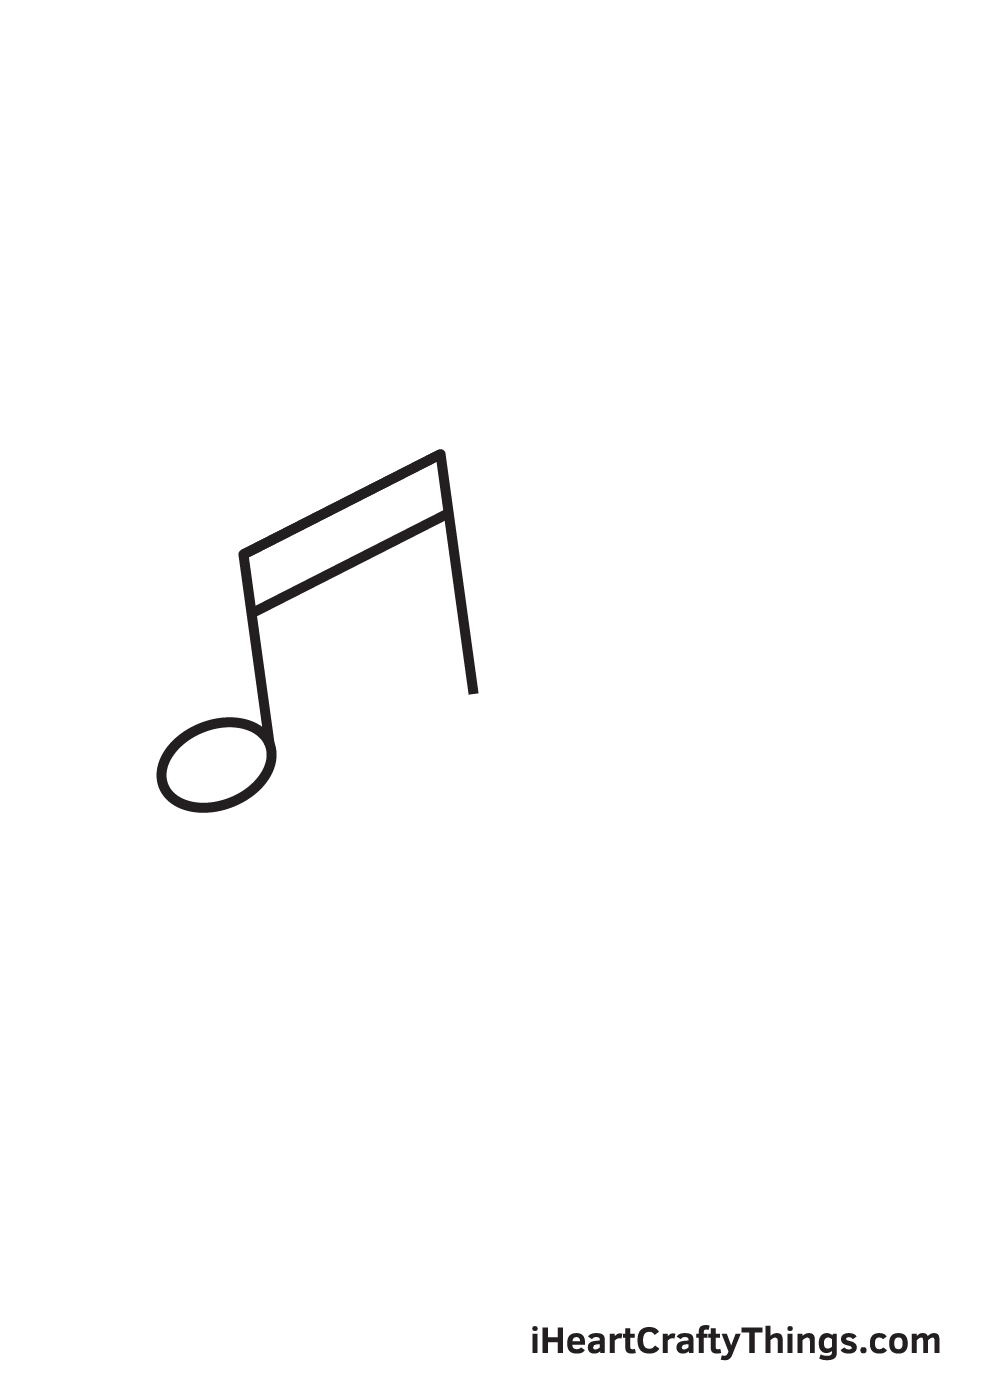
Draw a sideways oval shape on the left side of the left vertical line we drew in the previous step. This forms the left quaver symbol of the beam note.
The oval shape should be directly attached at the bottom of the left vertical line to form a quaver note, as shown in the illustration.
Step 3 – Now, Finalize the Form of the Beam Note
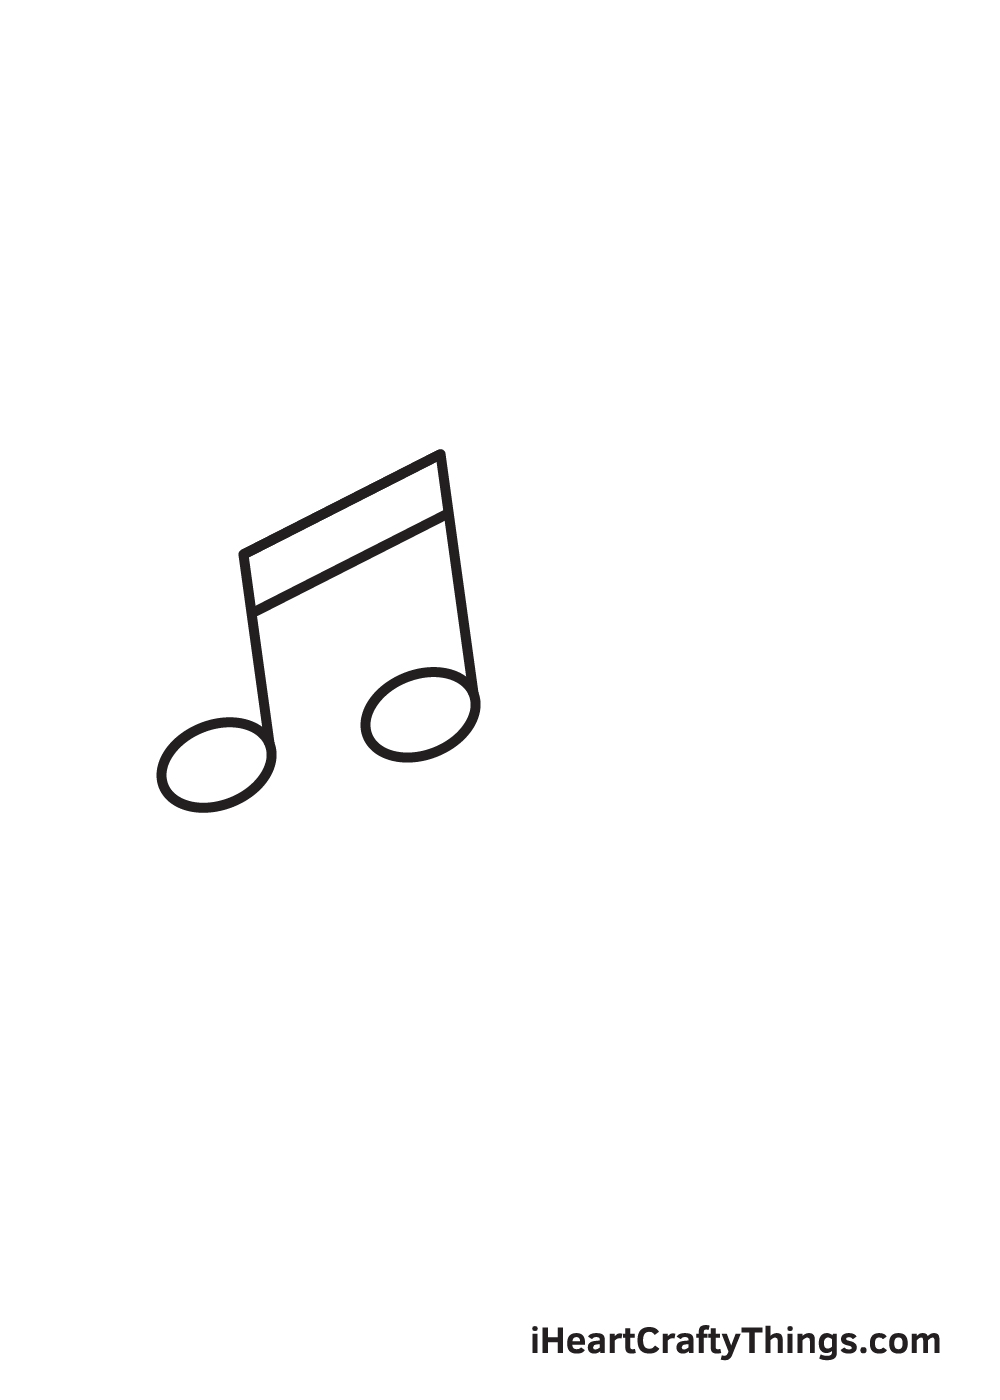
Repeat the previous step on the right vertical line. Similar to the previous step, the sideways oval shape should also be drawn on the left side of the vertical line.
After completing this step, you should now have two connected quaver notes, thus completing the form of the first music symbol in your drawing—the beam note.
Step 4 – Then, Draw the Flag of the Quaver Note
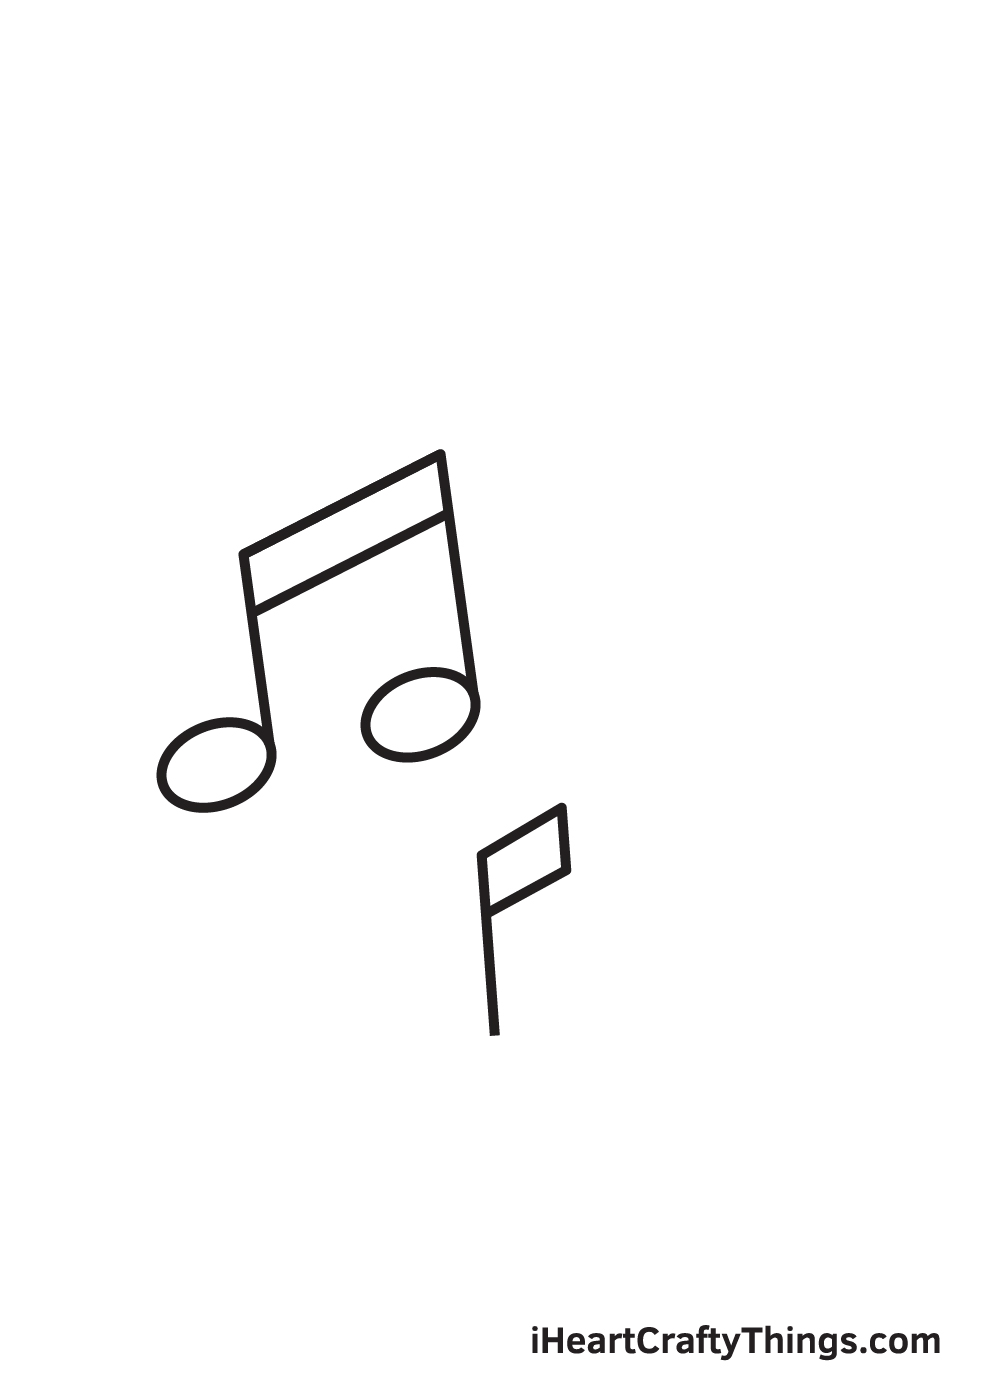
Moving on to the second symbol, which is the quaver note, continue by drawing a vertical line below the beam note. This line serves as the stem of the quaver note.
Afterwards, draw a diagonal rectangle shape on the upper right side directly connected to the stem. This forms the flag of the quaver note.
Step 5 – Next, Draw the Head of the Quaver Note
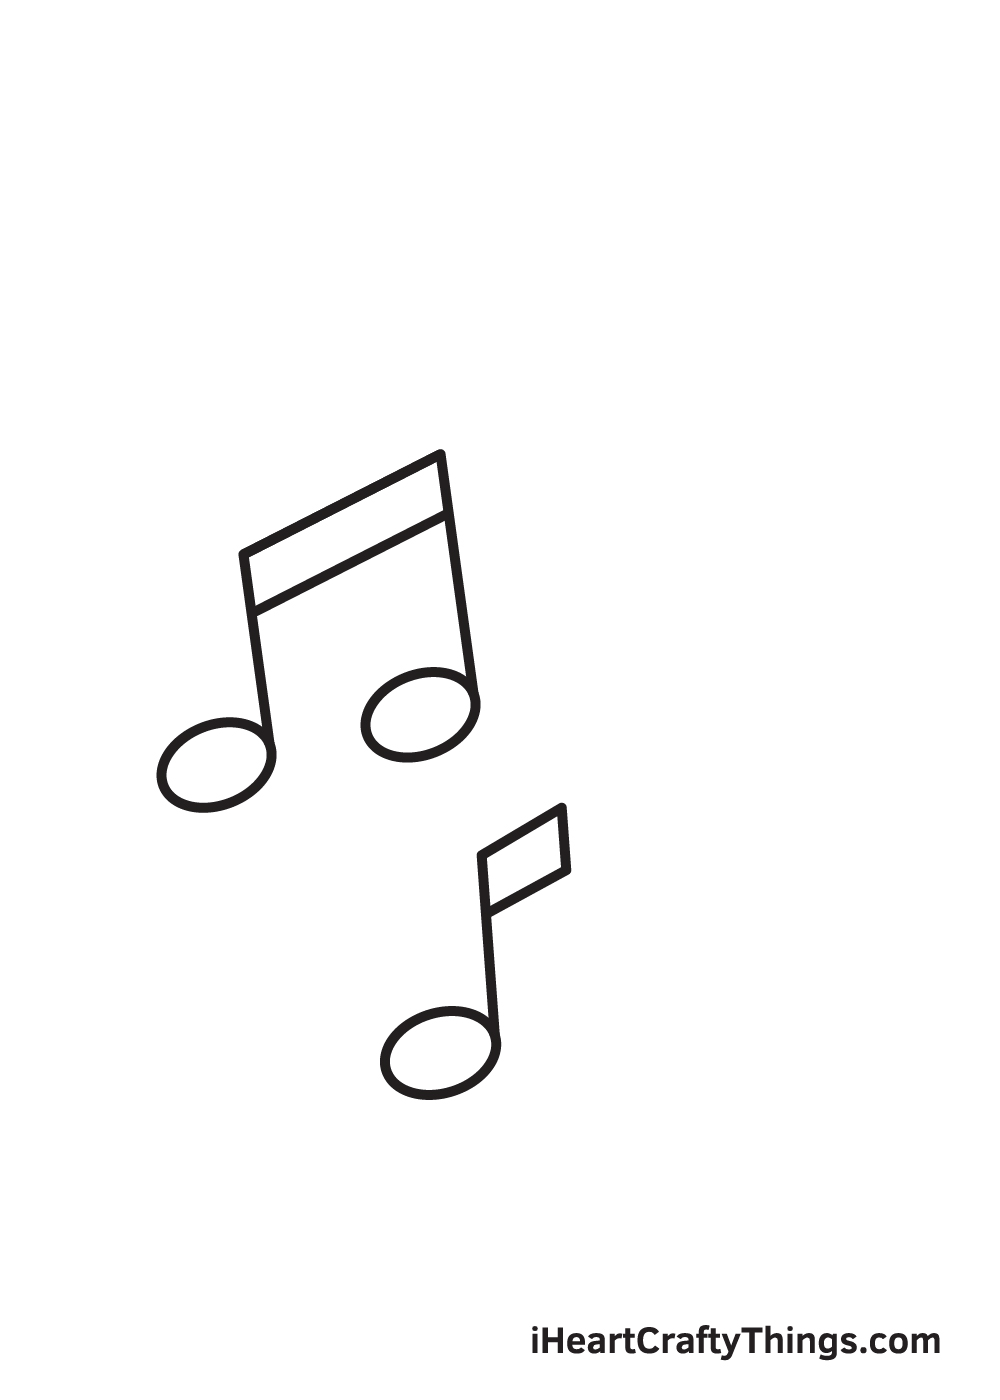
To complete the quaver note, simply draw a sideways oval shape at the bottom left side of the stem that we drew in the previous step.
At this point, the form of the quaver note should be complete. And there you have it—you have successfully finished drawing the second music symbol. We’re almost done, so keep going!
Step 6 – Draw the Straight Line of the Treble Clef
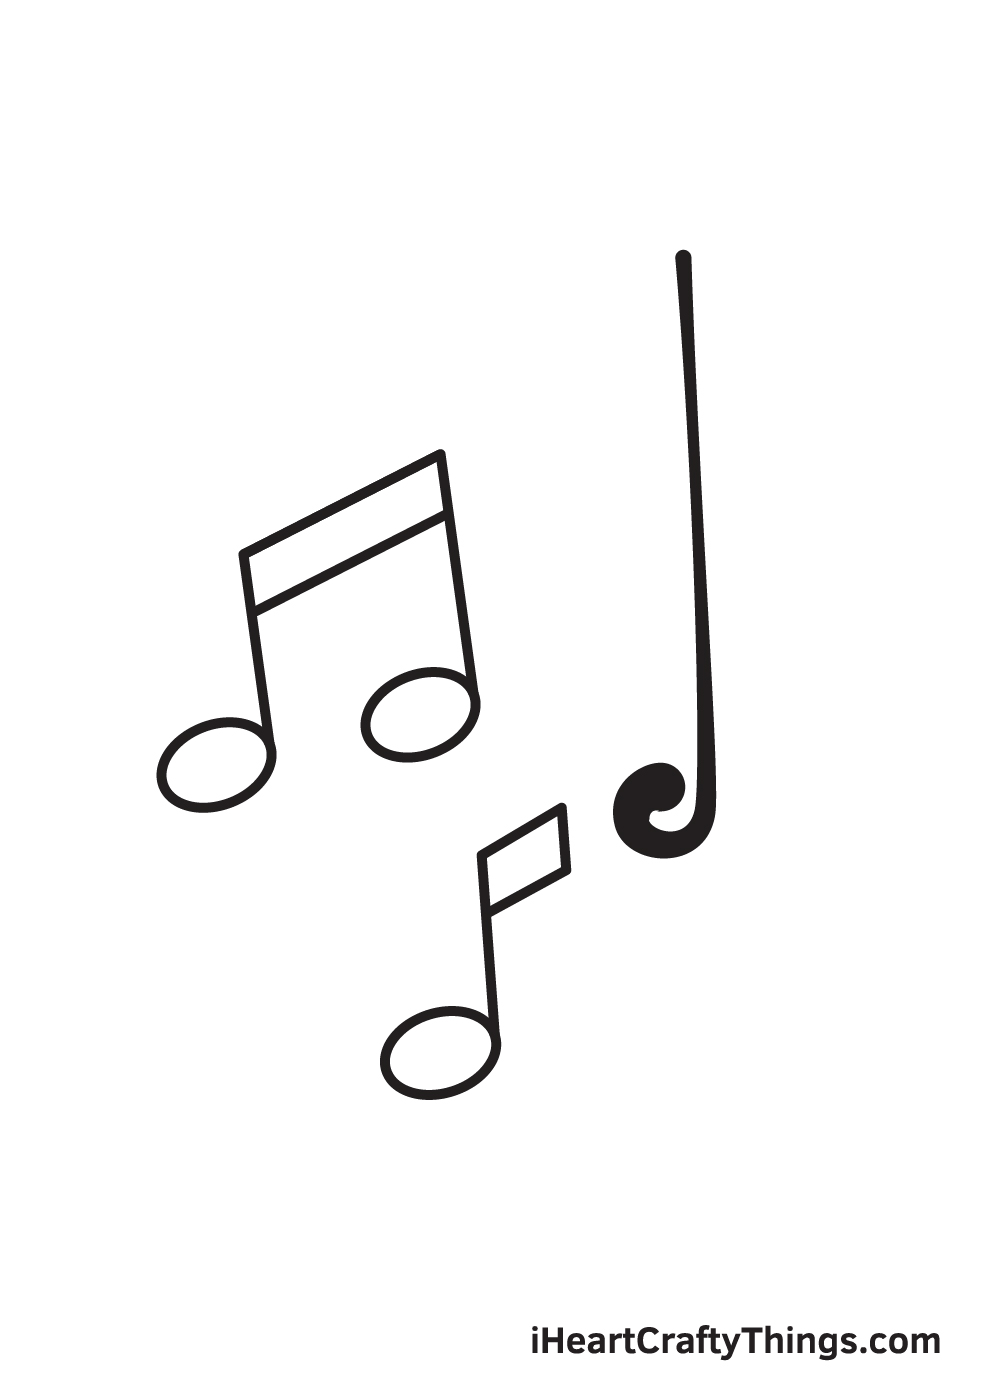
Now, we’ll be working on the third and the last music symbol in our drawing, which is the treble clef.
Draw a vertical line with a spiral bottom endpoint. This creates the stem of the treble clef. Remember, the lines forming the treble clef should be relatively thicker compared to the lines shaping the other music symbols.
Step 7 – Draw a Small Curve on the Right Side
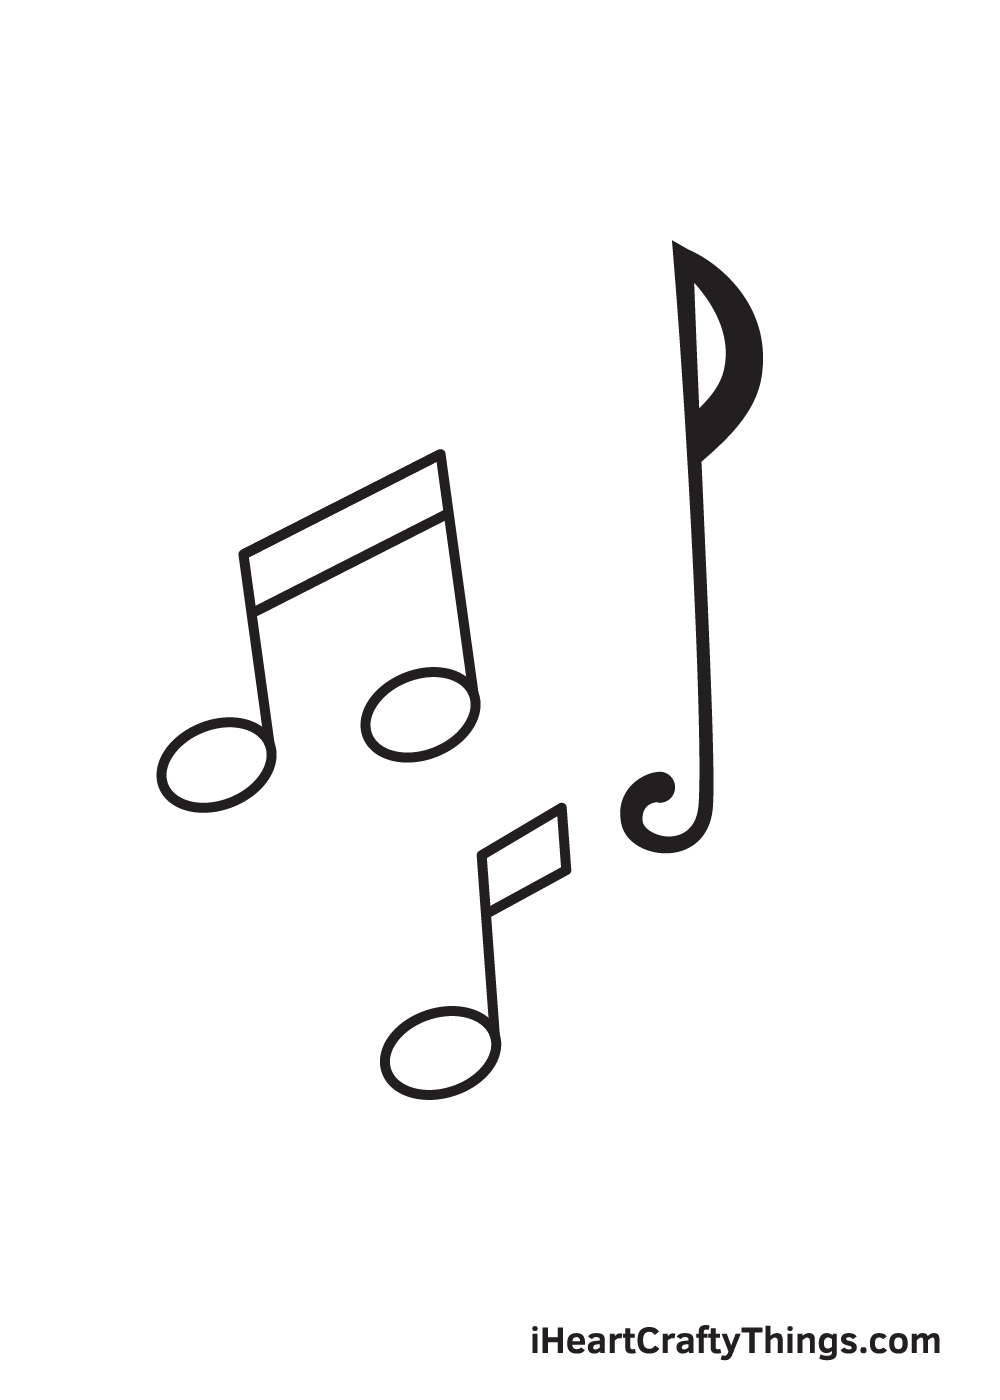
Continue by drawing a curved line at the top of the treble clef’s stem.
Keep in mind that the top part of the treble clef should be pointed, as shown in the illustration above.
Step 8 – Next, Draw the S-Shaped Line of the Clef
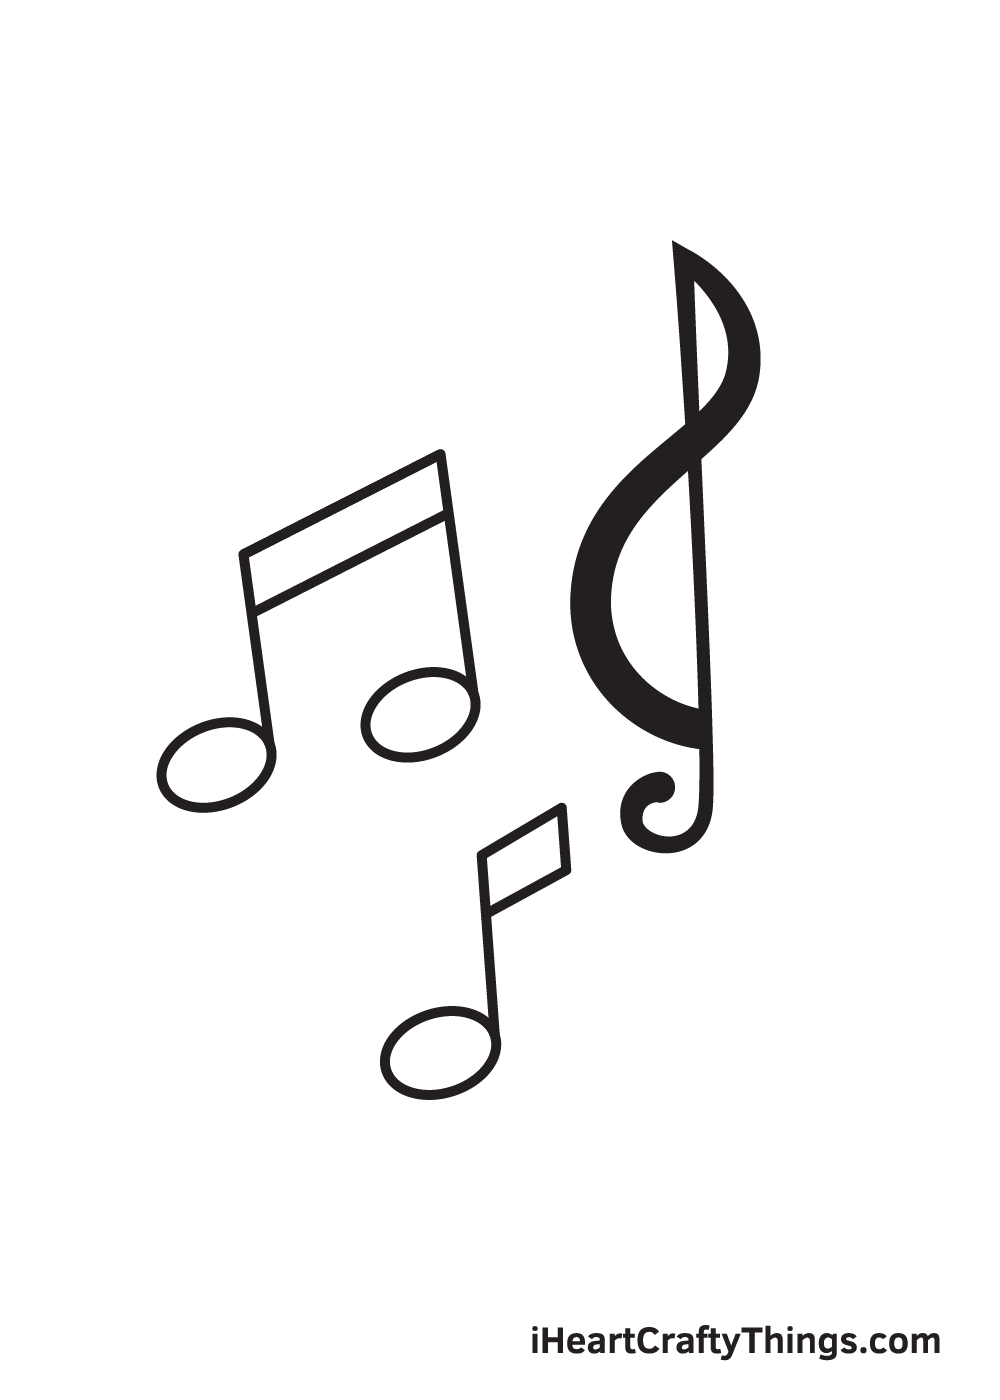
Extend the lines of the curved line by drawing a relatively bigger curve on the opposite side of the bottom of the stem.
Take note: the curve at the top of the stem should be facing the left side while the one at the bottom should be facing the right side.
When drawn correctly, the entire curved line should nearly form a letter “S”
Step 9 – Complete the Form of the Treble Clef
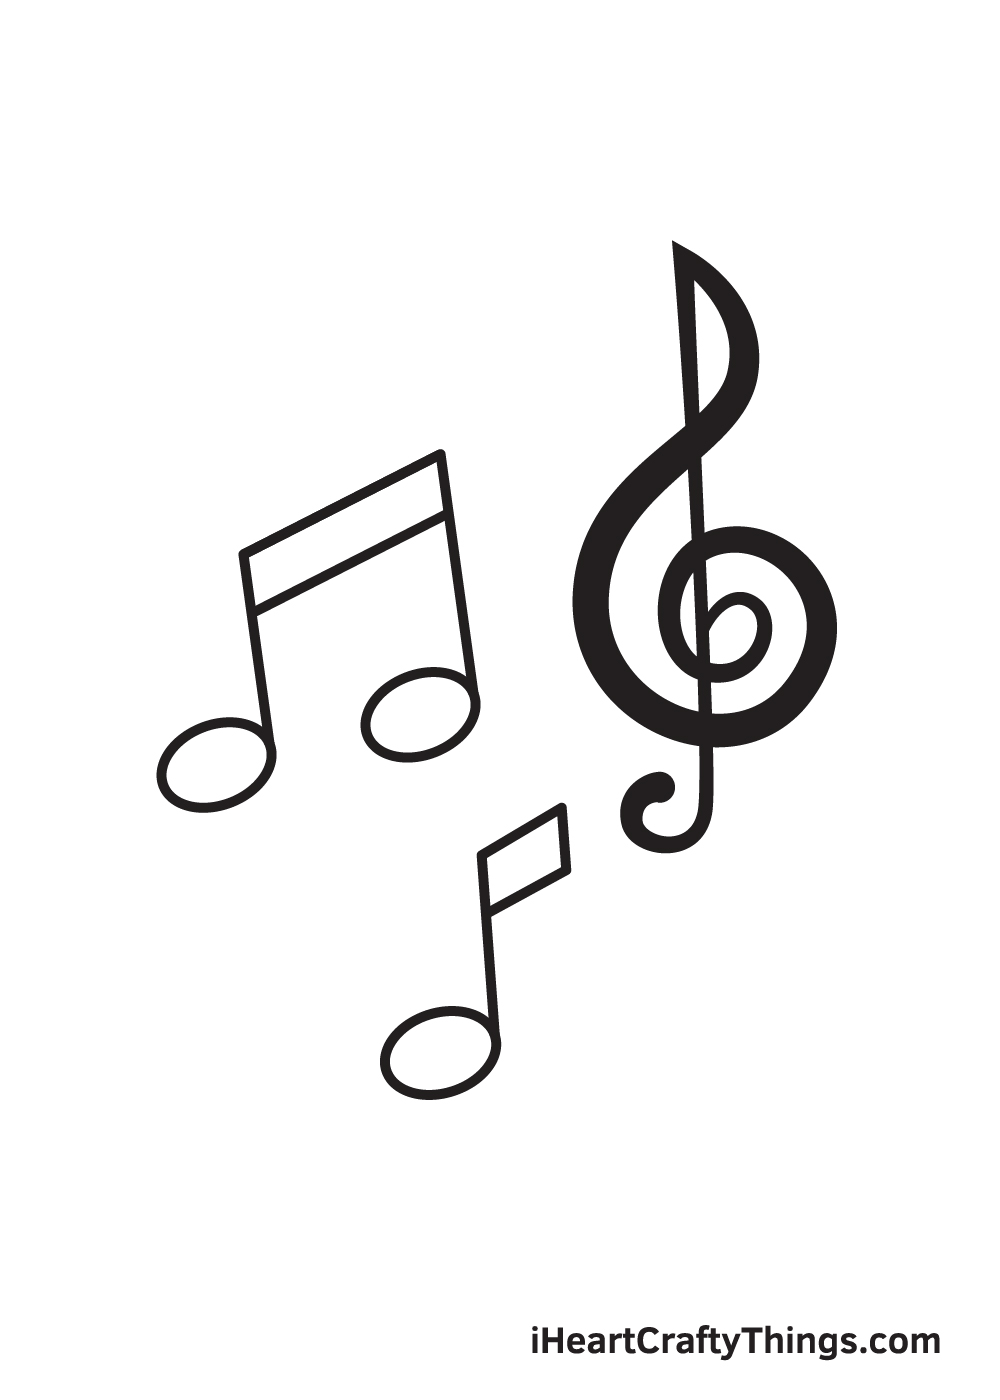
Draw a spiral beginning from the bottom endpoint of the S-shaped curve we drew in the previous step.
The spiral should overlap with the stem of the treble clef. At this point, the treble clef should now be fully structured.
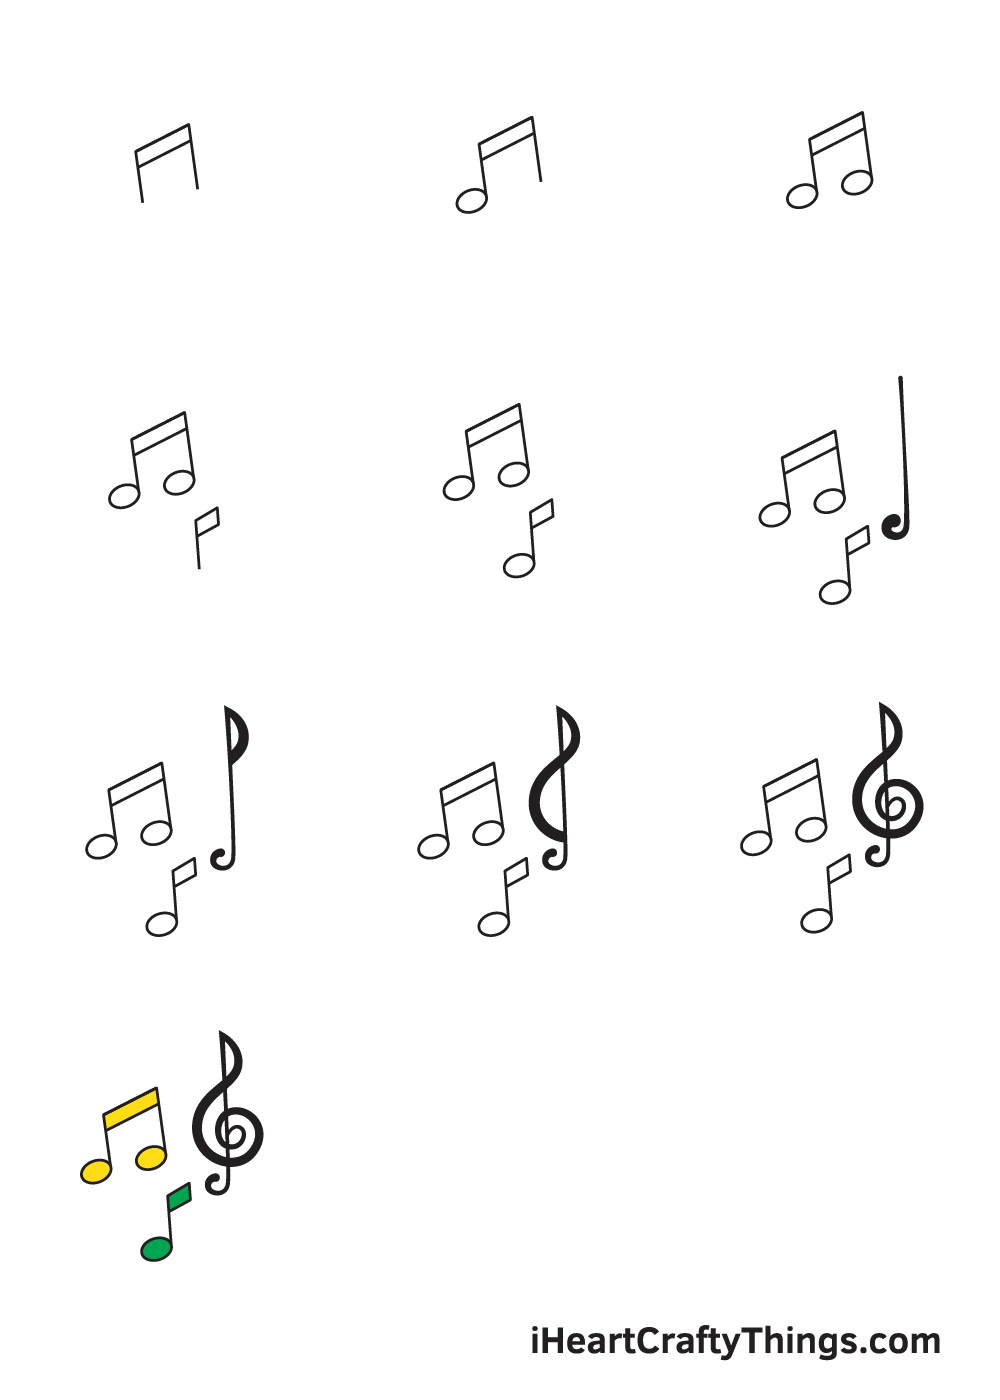
Now that we’ve successfully drawn three musical symbols, it’s time for the part you’ve probably been waiting for the most. In this step, we will now be adding colors on the music symbols!
As you can see in the illustration, we kept the colors of the music symbols pretty simple. We used color yellow for the beam note and color green for the quaver note.
The treble clef, on the other hand, doesn’t have any color because the lines were bold and pitch-black.
What’s fun about this step is that you can handpick a unique set of colors and color the music symbols however you like! You can even make them multi-colored if you want to—it’s all up to you!
Have fun playing with colors and make the music notes vibrant and colorful!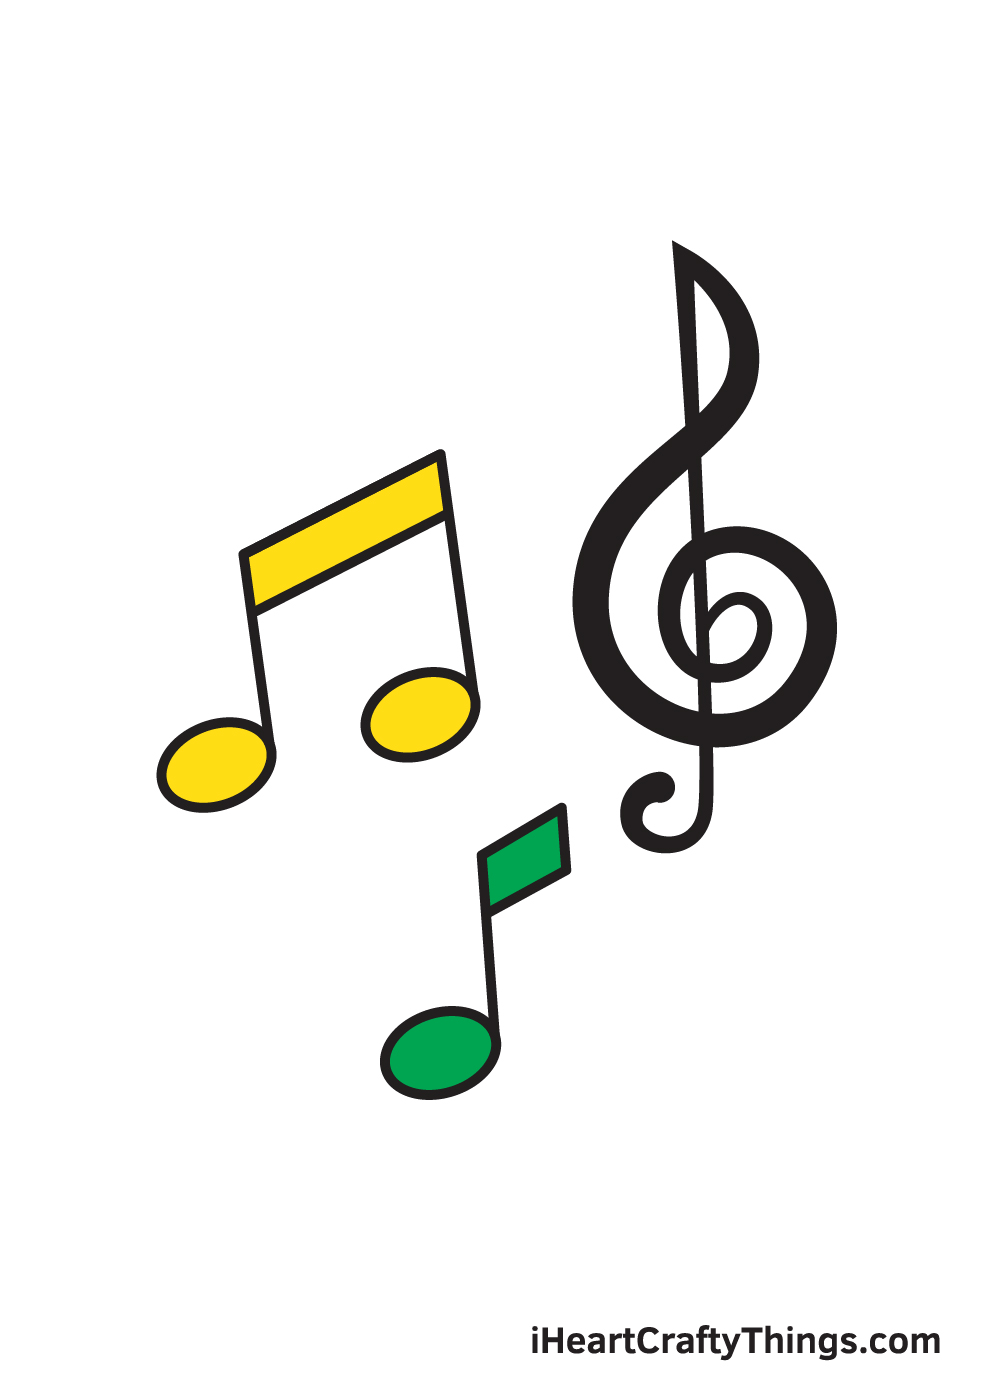
Do this to take your music notes drawing to the next level
These tips for making your music notes drawing even more stunning will be music to your ears!
At the moment, this music notes sketch is showing the notes floating around. This looks really nice, but you could also create more of a relevant scene around them.
For example, you could use a ruler to draw lines behind them to make it look like the notes are part of a page of music.
Or you could draw a cartoon person listening to headphones on a beanbag with the music notes floating above. These are two ideas, but what else can you think of?
We included three music notes in this guide, but they are far from the only notes that musicians use.
A brief search online will show you the many shapes and forms that music notes take, and you could use this to help you add some more to the arrangement.
You can use what you have learned in this guide to help you draw these new music notes!
The colors for this music notes drawing were kept fairly minimal, but you could use any other colors you like.
Music makes us feel all kinds of emotions, so you could make the colors nice and bright to create a happy mood.
You can also use a large paintbrush to create some lovely flowing colors behind the notes to represent the music flowing.
Which colors and art tools do you think would suit this beautiful arrangement?
When drawing, you can use all sorts of different art tools. We recommended using a pencil and pens to make this music notes drawing easy to do, but you could use many other tools as well.
Colored pencils and pens can be great options, and you can also go for markers and paint. These can be nice if you want to avoid having big bold outlines for the music notes.
We’ve given you a few ideas for some great art mediums you can draw with, but do you have any we haven’t mentioned?
Your Music Notes Drawing is Complete!
Now that you’re capable of drawing three kinds of music symbols, you can incorporate this on more complex drawings in the future.
Perhaps you can draw a character playing a musical instrument with various music notes surrounding the image next?
Perhaps you can draw musical notes on a staff to compose your very own music? That would be so cool!
Once you’ve finished drawing and coloring the music notes, don’t forget to show off your masterpiece!
Take a picture of your artwork and share it on our Facebook page and on Pinterest. Don’t hesitate to share your work of art. You’ve worked hard for it, so we can already tell that it looks incredible for sure!
We can’t wait to see your wonderful music notes drawing!