In ancient Egypt, mummification was a common practice in preserving the dead.
In modern times, many of these mummies have been discovered, and it didn’t take long for them to be a common type of monster showing up in many forms of media.
It’s a really classic monster design, but even though we have all seen a living mummy at one point or another, learning how to draw a mummy can still be tricky.
That’s what this tutorial is here to help you with, however! By the end of it, you will know everything there is to know about drawing one with ease.
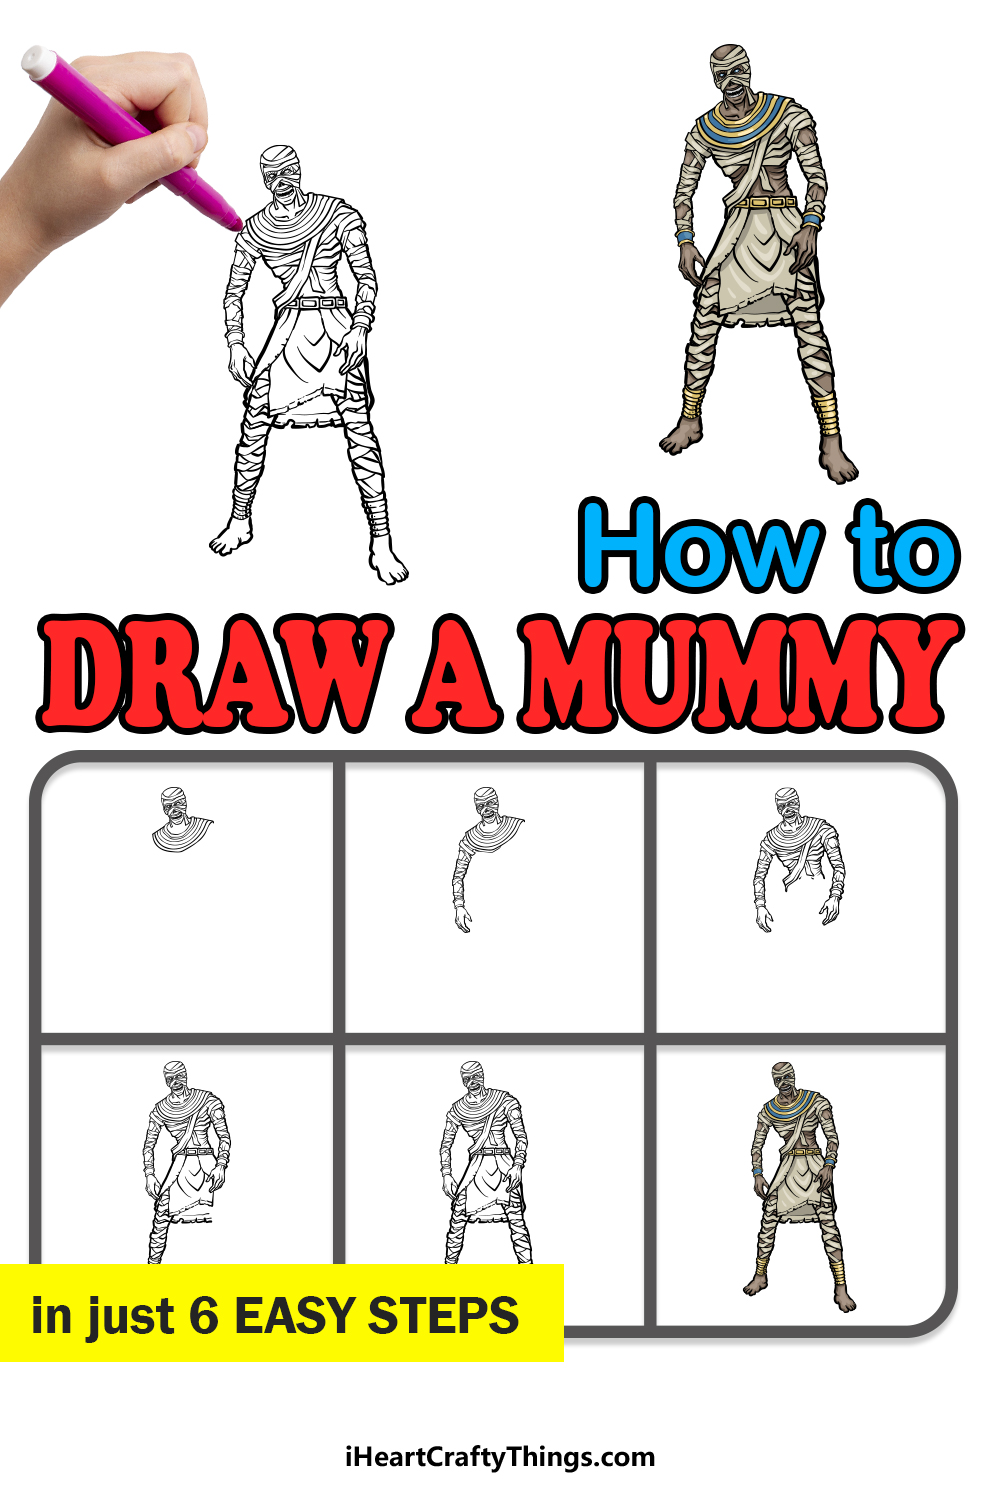
Our step-by-step guide on how to draw a mummy will show you that it can be fun and easy to recreate one of these spooky monsters in just 6 easy steps.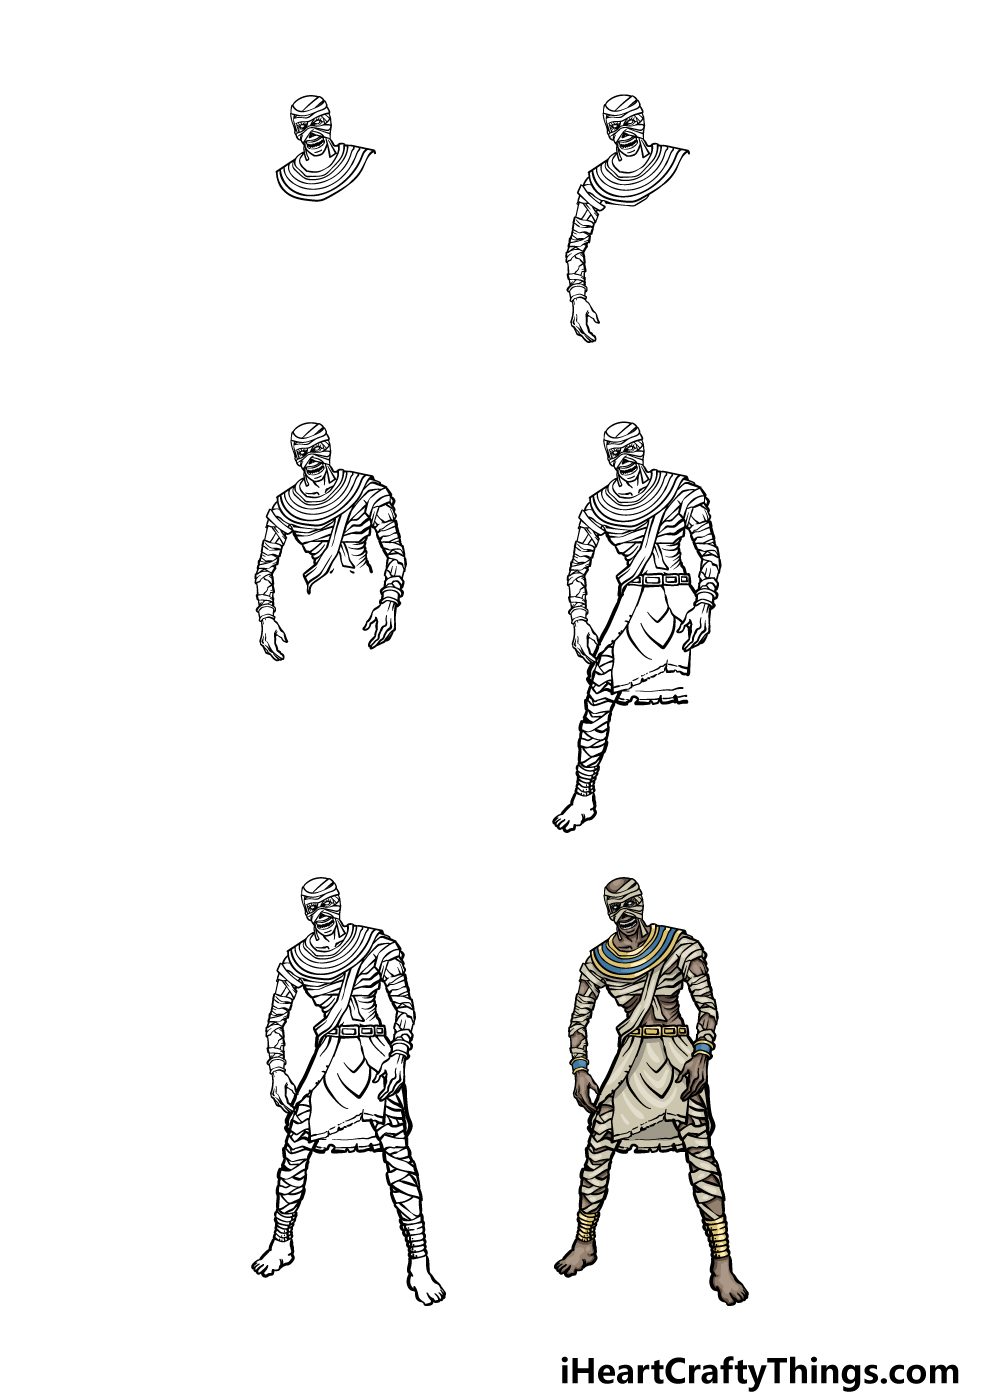
How to Draw A Mummy – Let’s Get Started!
Step 1
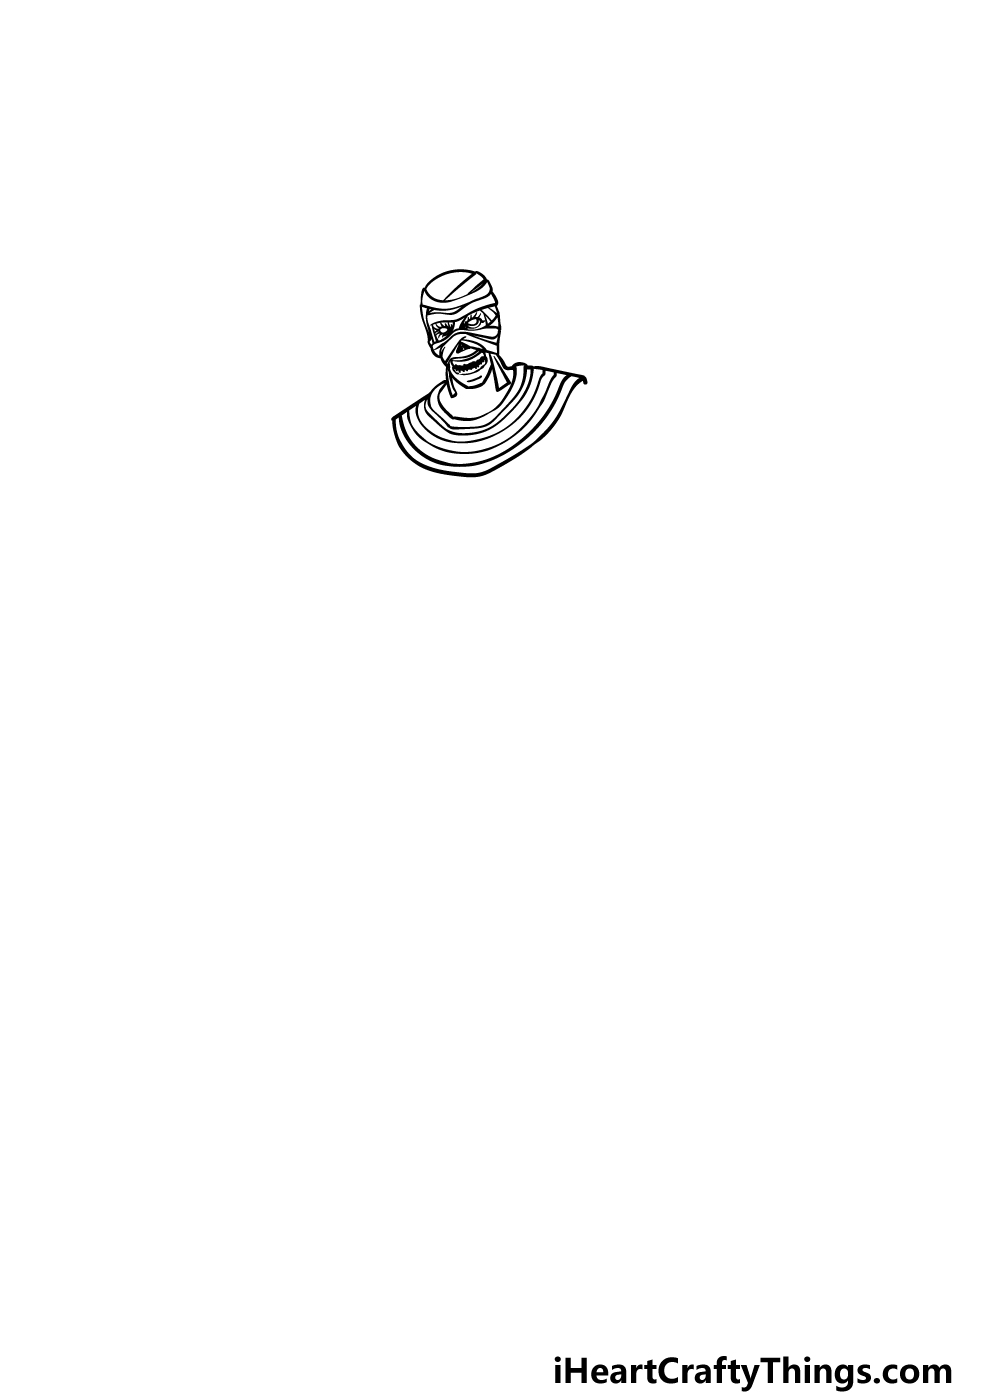
To kick off this guide on how to draw a mummy, we will start with the head first.
Mummies would usually be wrapped in many strips of fabric, and so we will be drawing lots of these strips throughout this guide.
Use some curved lines to draw the head of the mummy covered in these thin strips, but be sure to leave the bottom half of the face uncovered.
We will also be leaving a gap in the cloth near the eyes, and these will be drawn as two blank rounded shapes.
Then, draw the nasal cavity and add a toothy mouth beneath that. Finally, use some more rounded lines to draw the patterned garment covering the shoulders of the mummy.
Step 2 – Now, draw the first arm for your mummy in this step
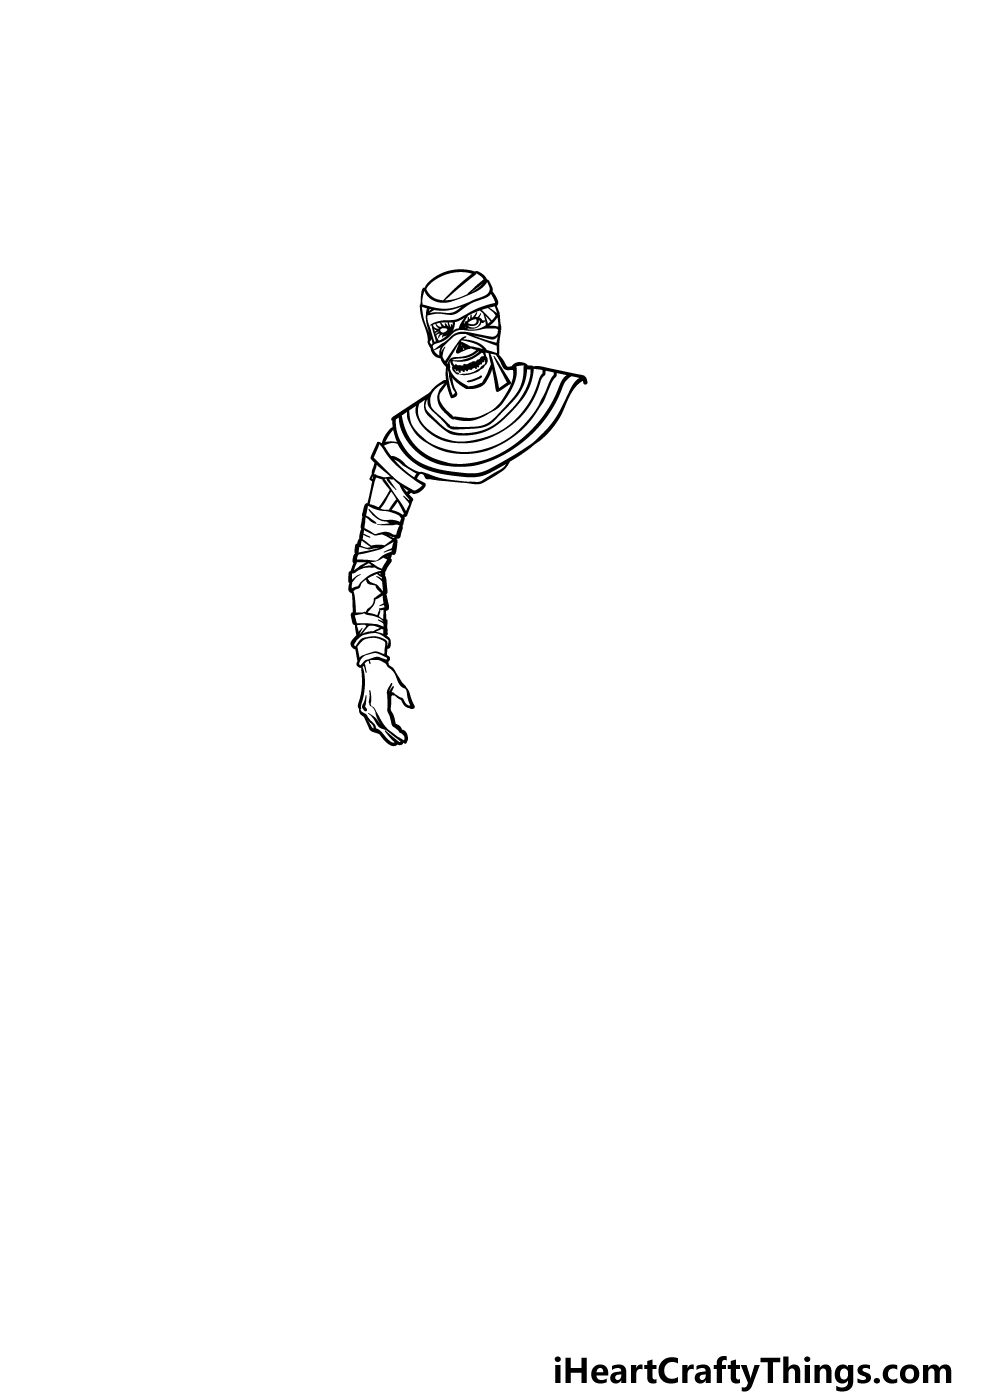
In this second part of your mummy drawing, we will be drawing the first arm for the monster. Before you start drawing the details for this arm, you may want to use a pencil to draw the general outline of this arm on the left.
Once you have that outline drawn, you can then use your pen or a darker pencil to draw the strips of cloth wrapped around it.
There will also be a small bangle over the wrist that you can draw with some smooth lines. Then it will be time to move on to step 3 of the guide!
Step 3 – Next, draw the other arm and some of the chest

For this step of our guide on how to draw a mummy, we will be adding the other arm to it along with beginning to draw the chest of the mummy.
First, for this second arm you can use a similar method to the one you used for the previous arm, as this one will be positioned very similarly to that one.
Then, we will be drawing the chest for the mummy.
Much like many other parts of the mummy, this part of the body will be drawn with lots of thin strips of cloth.
You could also draw an outline in pencil first and then go over with a pen for more details for this part as well.
Step 4 – Now, draw the first leg and skirt
Continuing with this mummy drawing, we will now be adding the first leg along with the skirt-like garment that it is wearing.
We shall start with that, and it will have a belt made up of several small rectangle shapes at the top of it.
Then, we will draw the skirt with some solid, slightly bent lines for the outline. It will also have some lines inside of it that will make it look a bit stitched up.
Finally, we will draw the first leg for the mummy. Once again, you could draw a pencil outline and then draw the cloth details over these to make it easier for you.
Once you have drawn these aspects, we will be ready for some final details in the next step!
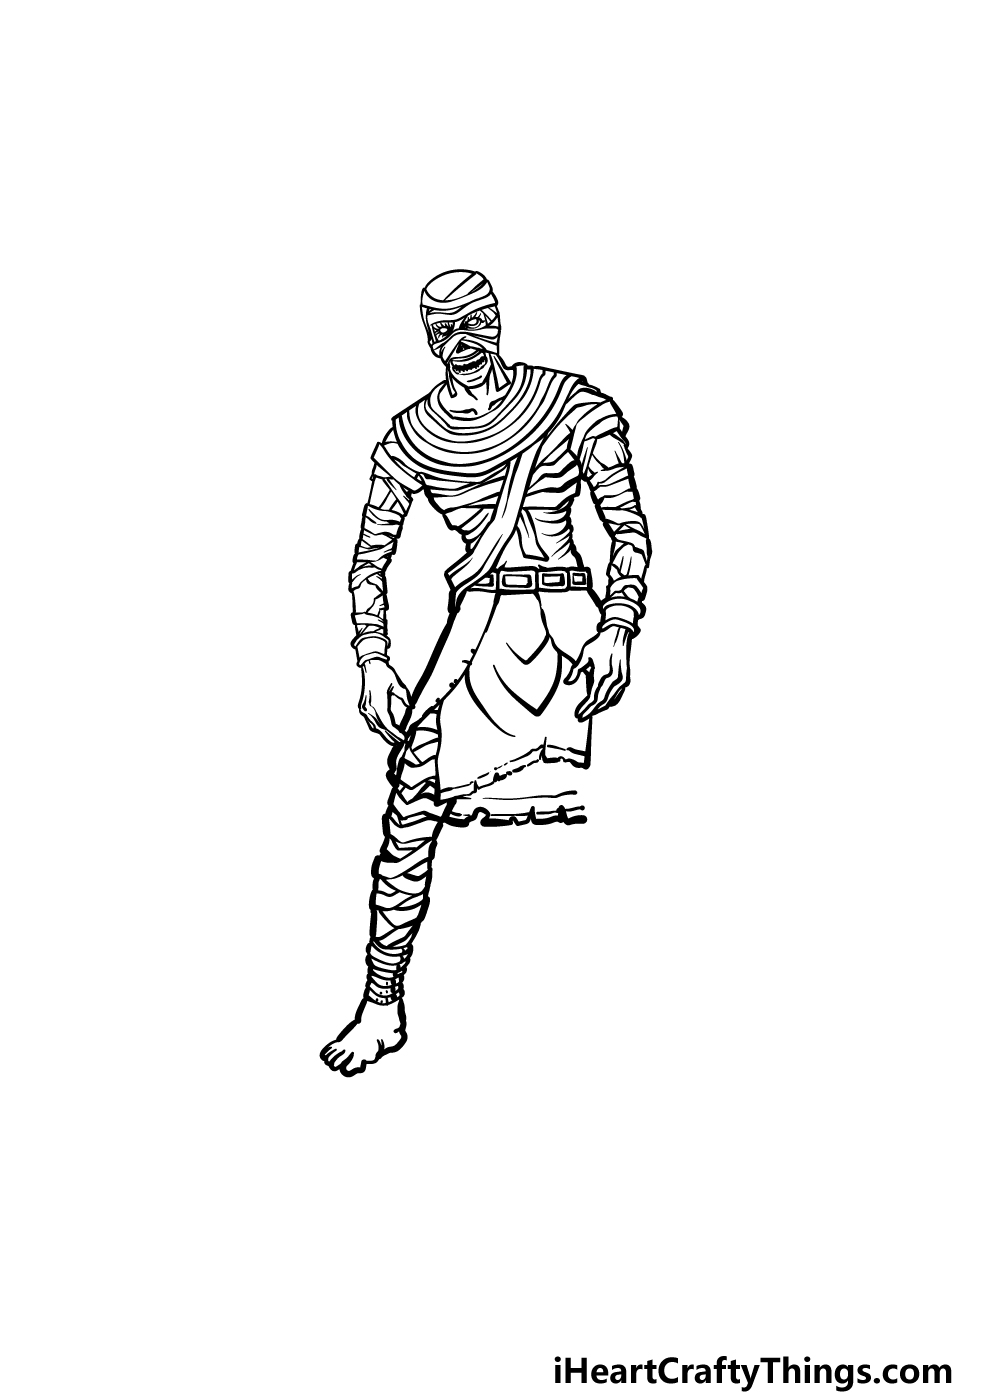
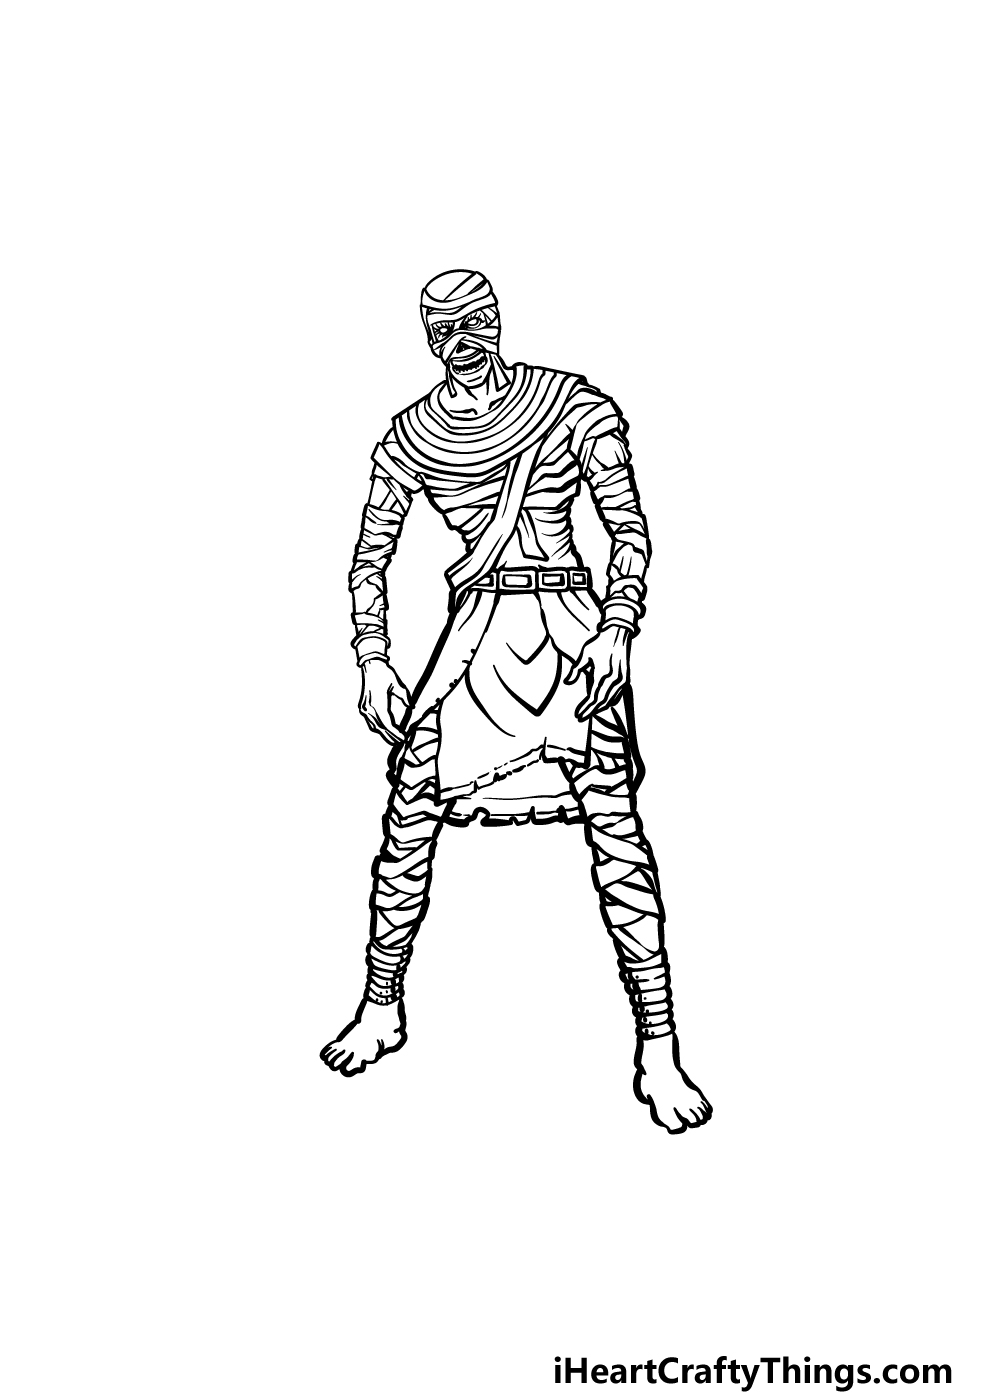
Step 5 – Add the final details to your mummy drawing
Now you’re ready to finish off the final elements of your picture in this step of our guide on how to draw a mummy.
This will get you ready for the final step where you will be coloring your picture in. First, we will be adding one more leg to the mummy.
Simply draw this one in the same way that you did the other leg, and then you can add some other smaller details.
Before you move on to the final step, be sure to add any background details you may want! Maybe you could draw some pyramids or a desert in the background for a few ideas.
What else can you think of to finish this mummy off?
Step 6 – Finish off your mummy drawing with color
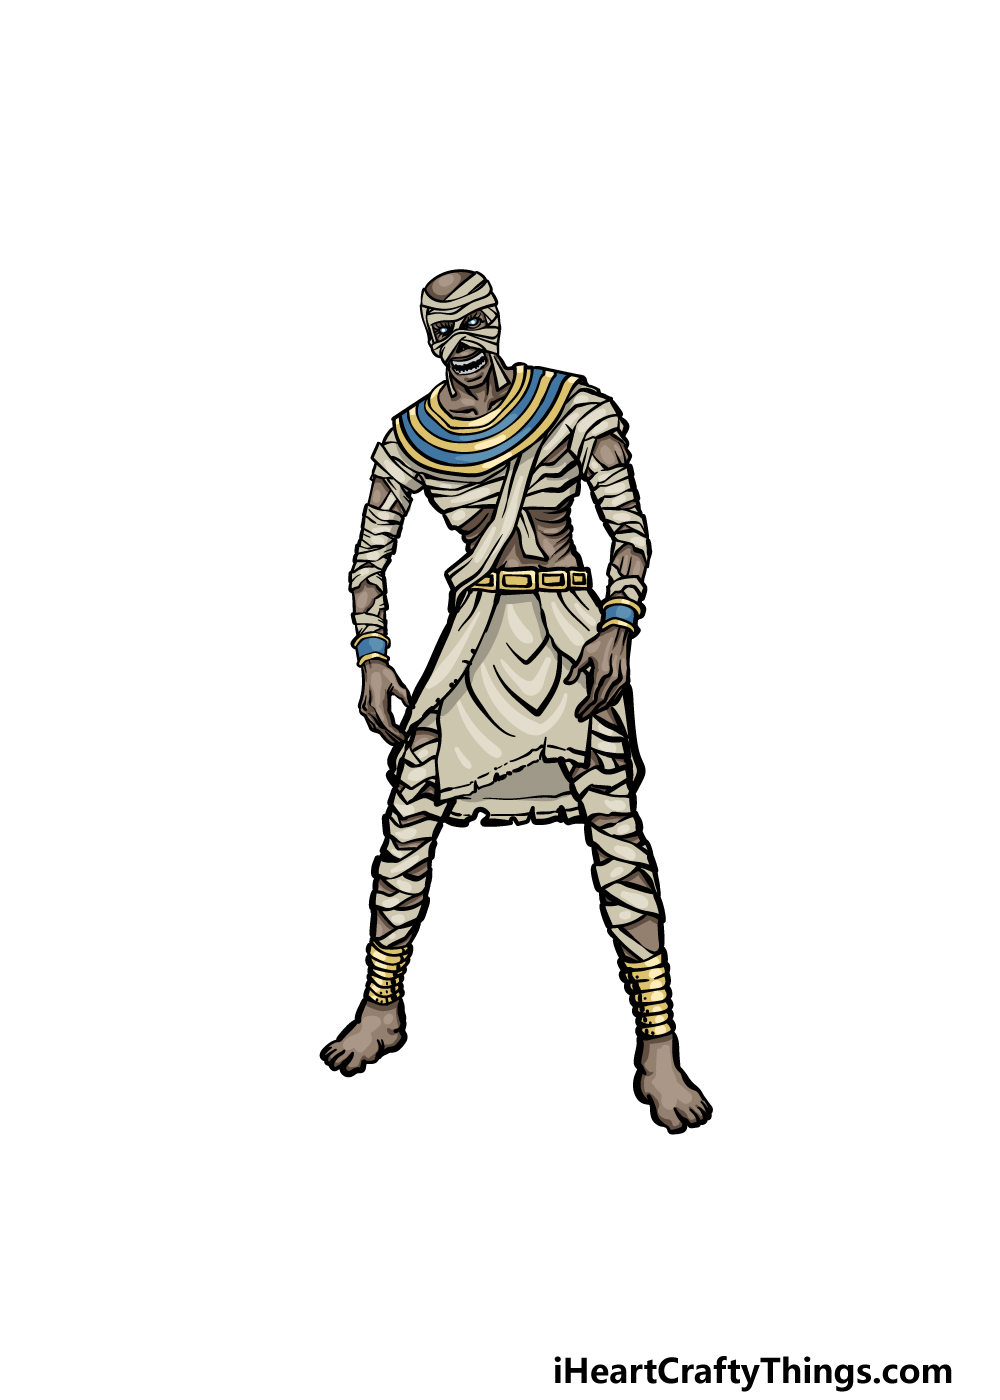
In this final step of your mummy drawing, you can finish it off with some color. In our reference image, we went with light browns and beige colors for the cloth wrappings.
We then used a darker brown for the areas in between and incorporates yellows and blues for the rest of the garments that it is wearing.
There are a lot of smaller areas to color in this picture, so you may want to use a medium that gives you extra precision such as a colored pen or thin-tipped brush.
What colors and art mediums do you think would best suit this scary drawing? We will be interested to see what you choose!
5 Tips To Make Your Mummy Drawing Even Better!
Unwrap these 5 fun tips we have for making your mummy sketch even greater!
Real mummies would often be dressed in elaborate jewelry and clothing, and this drawing of a mummy shows traces of this. You could take this even further by adding more items to the mummy.
This could include some more jewelry, a cane or even a headdress. You can look up some of the items that have been found on real mummies for some inspiration.
Seeing one live mummy would be bad enough, but imagine if you encountered a group of them! You could make this scene even more intimidating by adding some more mummies to go with this one.
They could look similar, but you could try to depict different poses for each one to make each mummy unique. How many mummies would you like to add?
Another way you could make this mummy drawing even more harrowing would be to draw some fleeing victims. In the foreground of the image, you could have some living humans running in terror!
These could be drawn in a cartoony style, and you could use your friends, family and even yourself as inspiration for these various characters.
Mummies are classic monsters, but there are many others that are depicted in film and other media. You could add some of these classic monsters to this drawing to make it even scarier!
There are a few examples of some famous monsters you could add. There are vampires, werewolves, zombies and swamp monsters to name a few.
What are some other famous monsters you could use to make this a terrifying crew of spooky folks?
No matter what you do or do not decide to add to this mummy sketch, you could finish it all off with a background setting. The obvious choice would be to draw an Egyptian tomb.
You could also have the great pyramids in the background to highlight the origin of this monster. Can you think of some other awesome backgrounds you could use to finish this off?
Your Mummy Drawing is Complete!
You have finished all of the steps in this guide on how to draw a mummy! We hope that this guide helped to ensure that completing this drawing wasn’t nearly as scary as the mummy itself!
As long as you follow all of the steps then you will definitely do a great job with it.
When you have completed this picture, be sure to also add any additional ideas or elements that you would like for it! What can you think of to personalize the image even more?
Please be sure to head on to our website when you are ready for more drawing fun. We have tons of guides available and there will be many more coming soon!
We hope that you will also share your finished mummy drawing on our Facebook and Pinterest pages for us to admire!