


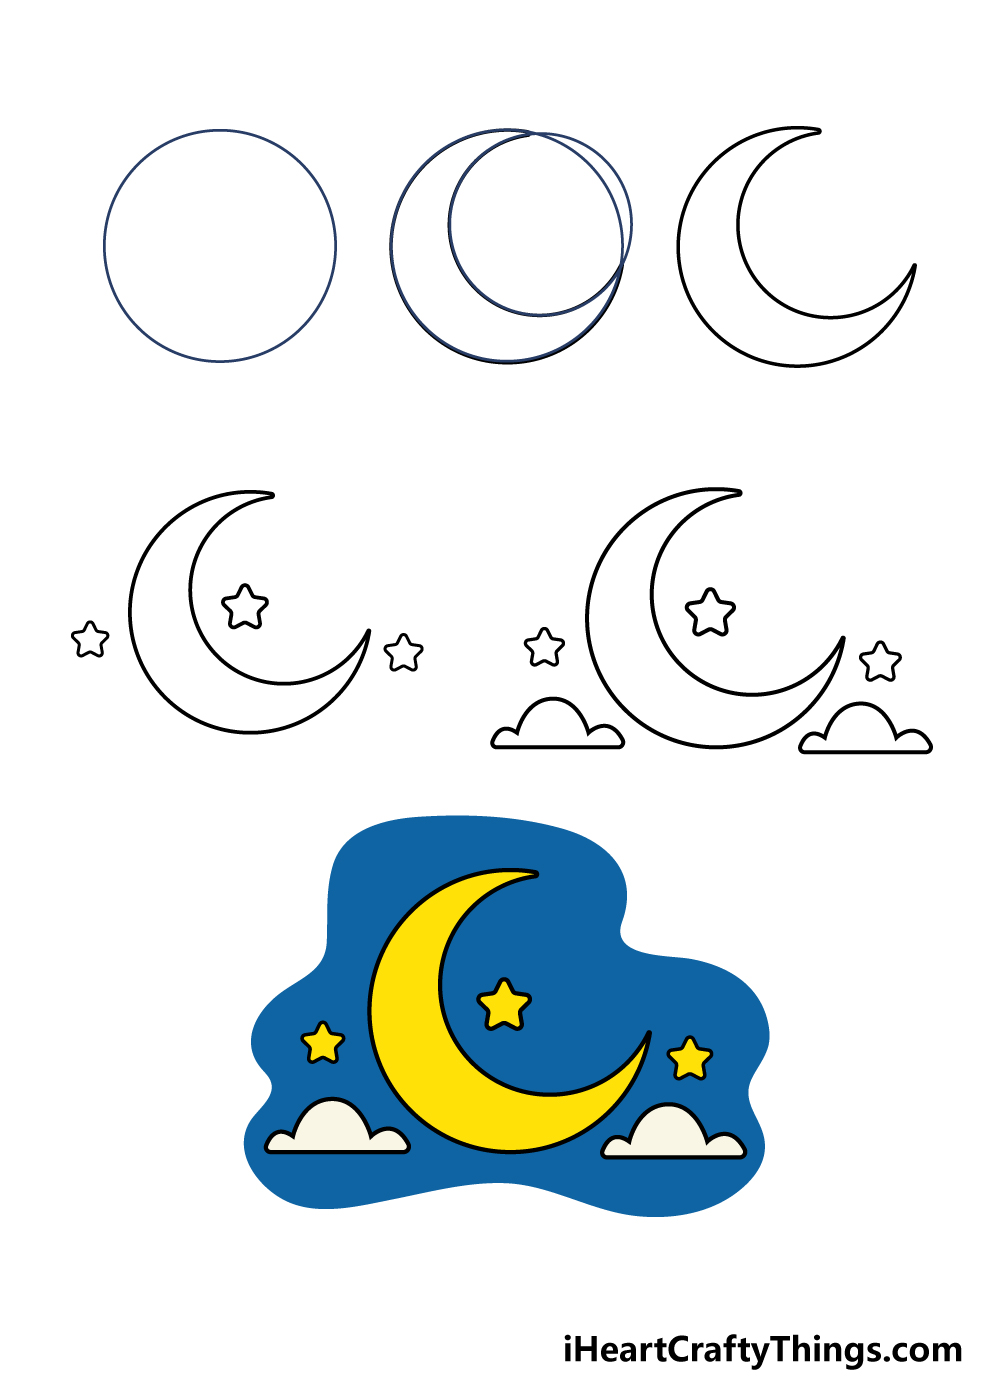
Learning how to draw a moon is simpler than ever before with this step-by-step guide for kids! You’ll learn everything there is to know about making your own beautiful lunar drawing in no time.
It’s easy to take the moon for granted, even though it’s a magnificent wonder we can observe each night. The beauty of the moon has made it popular in all forms of art, and you may have wondered how to create some of your own.
This guide is perfect for anyone who has wanted to capture the beauty of the moon. I’ve made this design nice and simple so that anyone can take the steps and complete the drawing.
Once you’ve finished it, you could make it more complex if you want to take it further. That way, the guide is perfect for all ages and skill levels, but the sky is the limit if you want to customize it further!
Watch This Easy Guide To Creating Your Own Moon Drawing
How to Draw A Moon – Let’s get Started!
Step 1
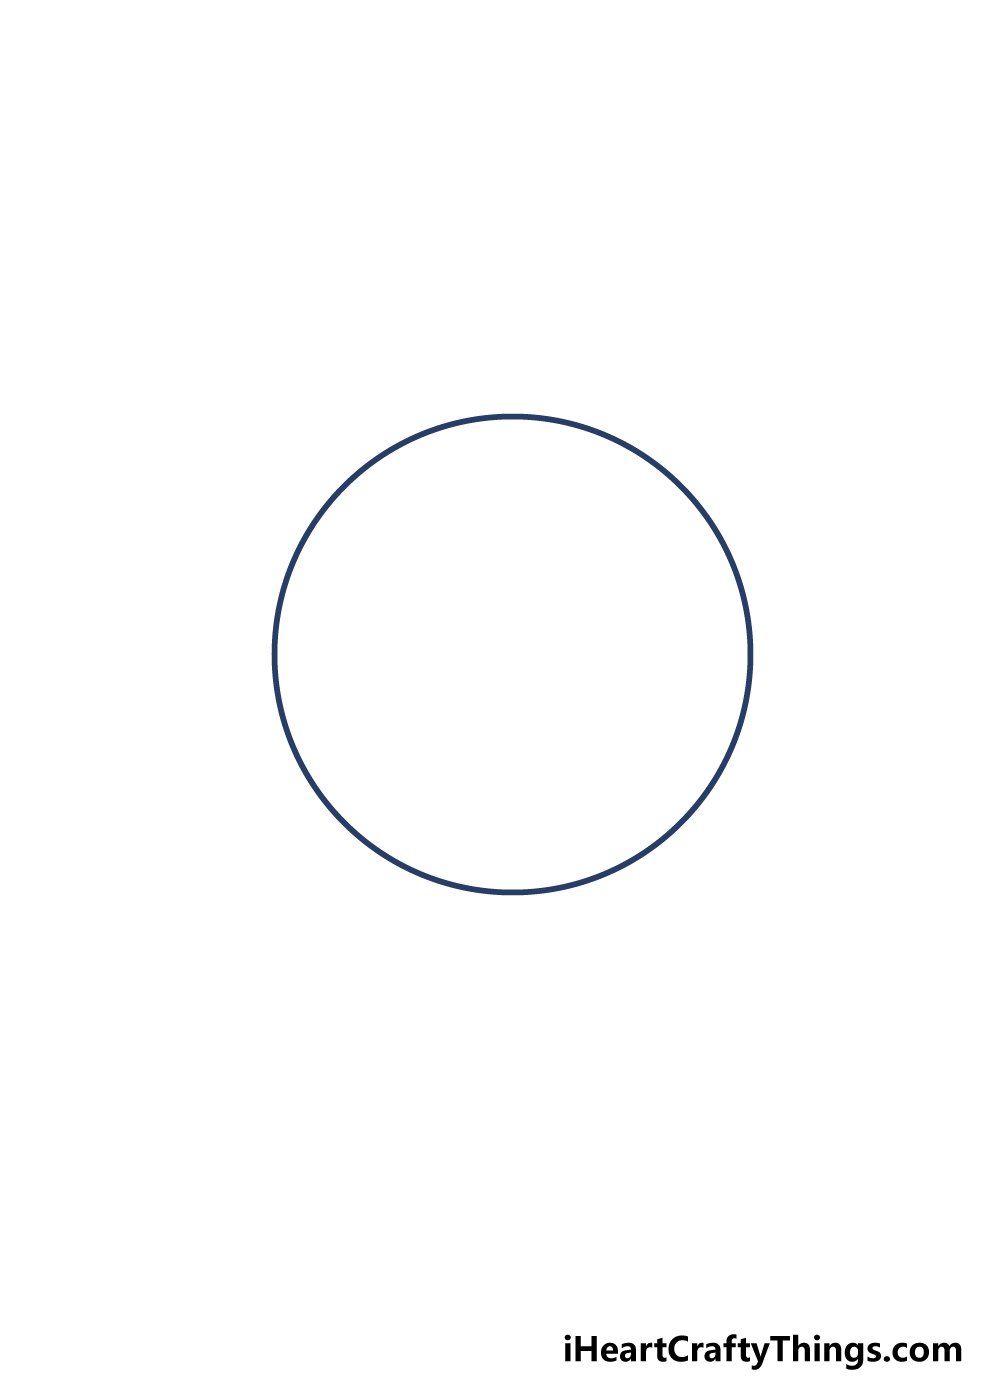
This first step in our guide on how to draw a moon, we’ll start simple with a perfect circle. For this step, we will be using a light pencil to draw it which we will erase a bit later.
Drawing a perfect circle freehand can be pretty difficult, so there are some tools you can use to make it easier.
A drawing compass is the best tool to use if you have one. These tools have a sharp point that you can use to rotate around to draw a perfect circle easily.
Step 2 – Draw a second circle
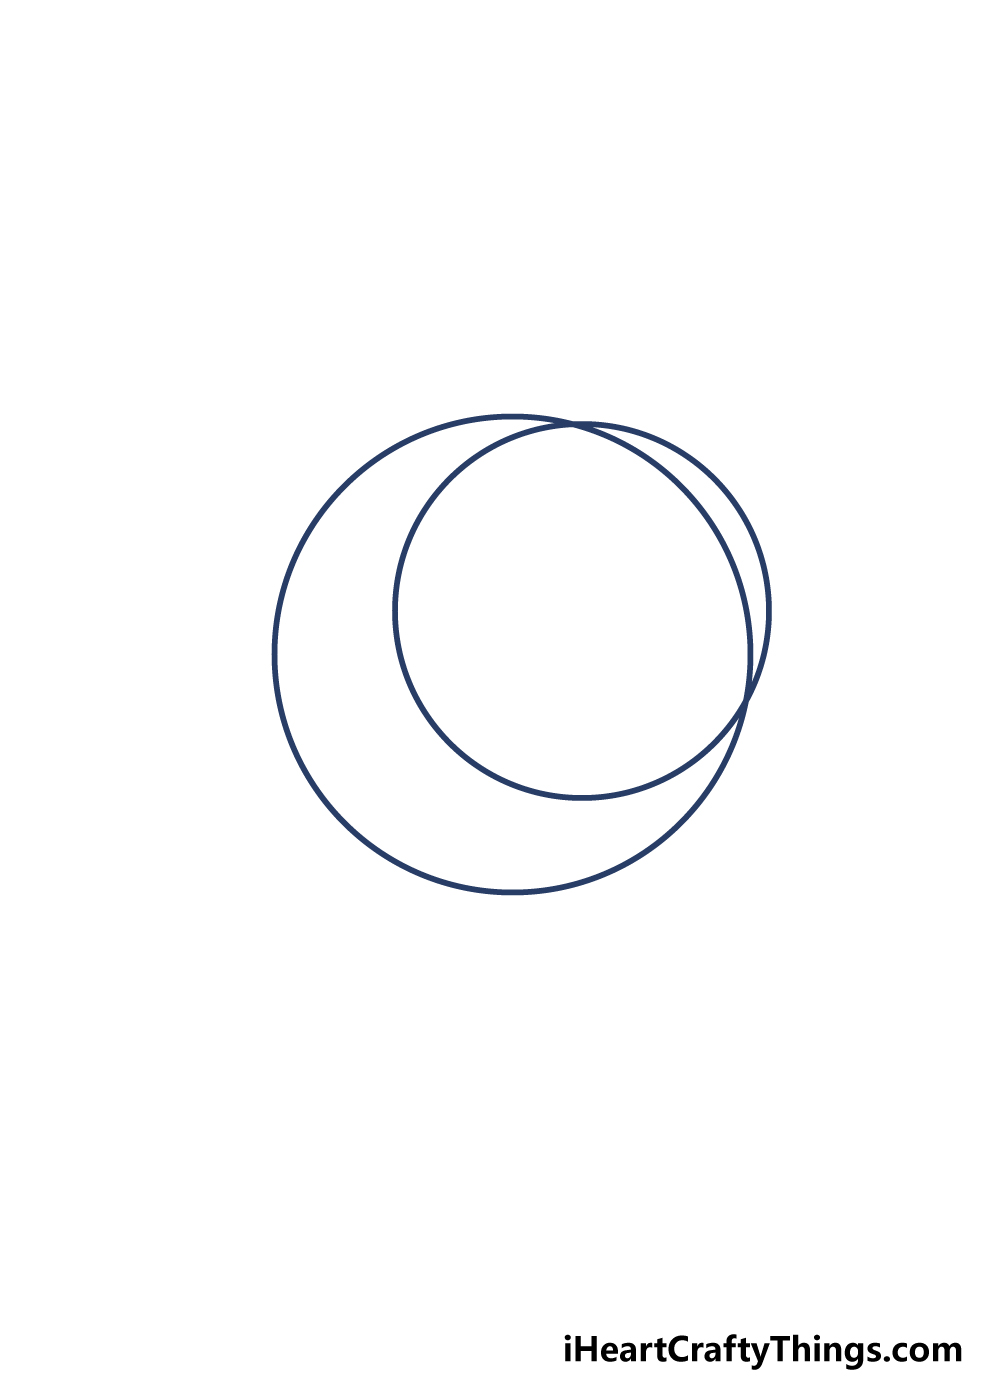
In this second step of your moon drawing, we shall continue using a pencil as you did in the previous step.
This circle will be mostly within the first one you drew with just a small slice of it outside the original circle.
Using the reference image will be very helpful for the placement of this second circle, and as you can probably see this will be to help us draw a crescent moon a little later on.
Step 3 – Next, start to draw in the moon
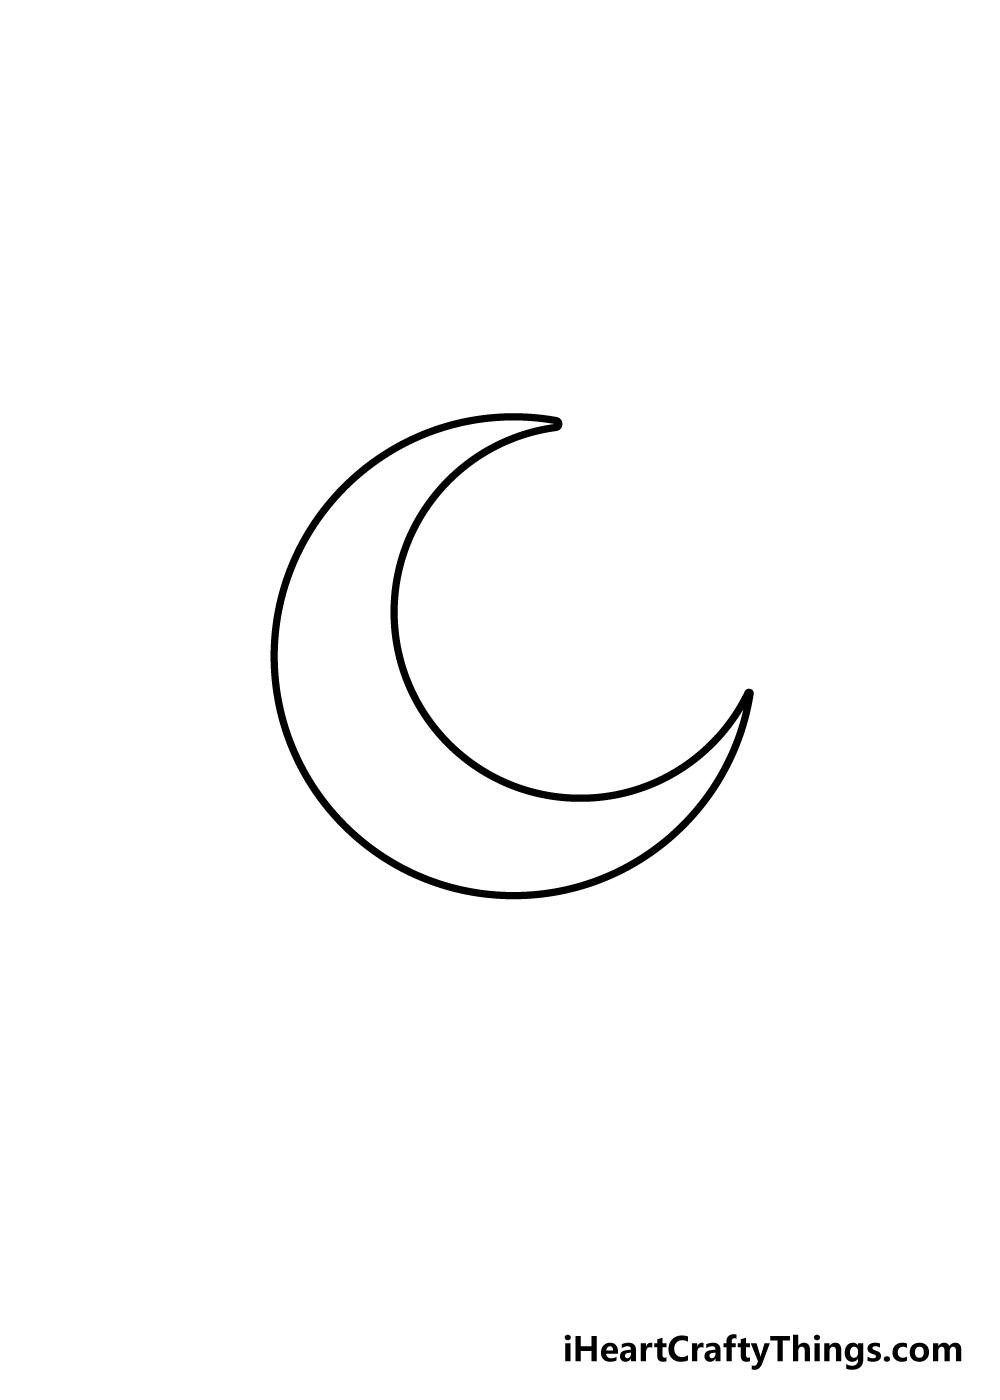
In this step of our guide on how to draw a moon, we shall start drawing in some of the final lines.
There’s a moon shape already within the two circles, so in this step you shall erase the parts that won’t be a part of the final moon shape.
Once you’re left with the crescent moon shape as it appears in the reference image, carefully go over the pencil lines in pen and then erase the remaining pencil lines.
Once you’ve drawn in pen, be sure to let the ink dry fully before starting to erase!
Step 4 – Draw in some star details for your moon
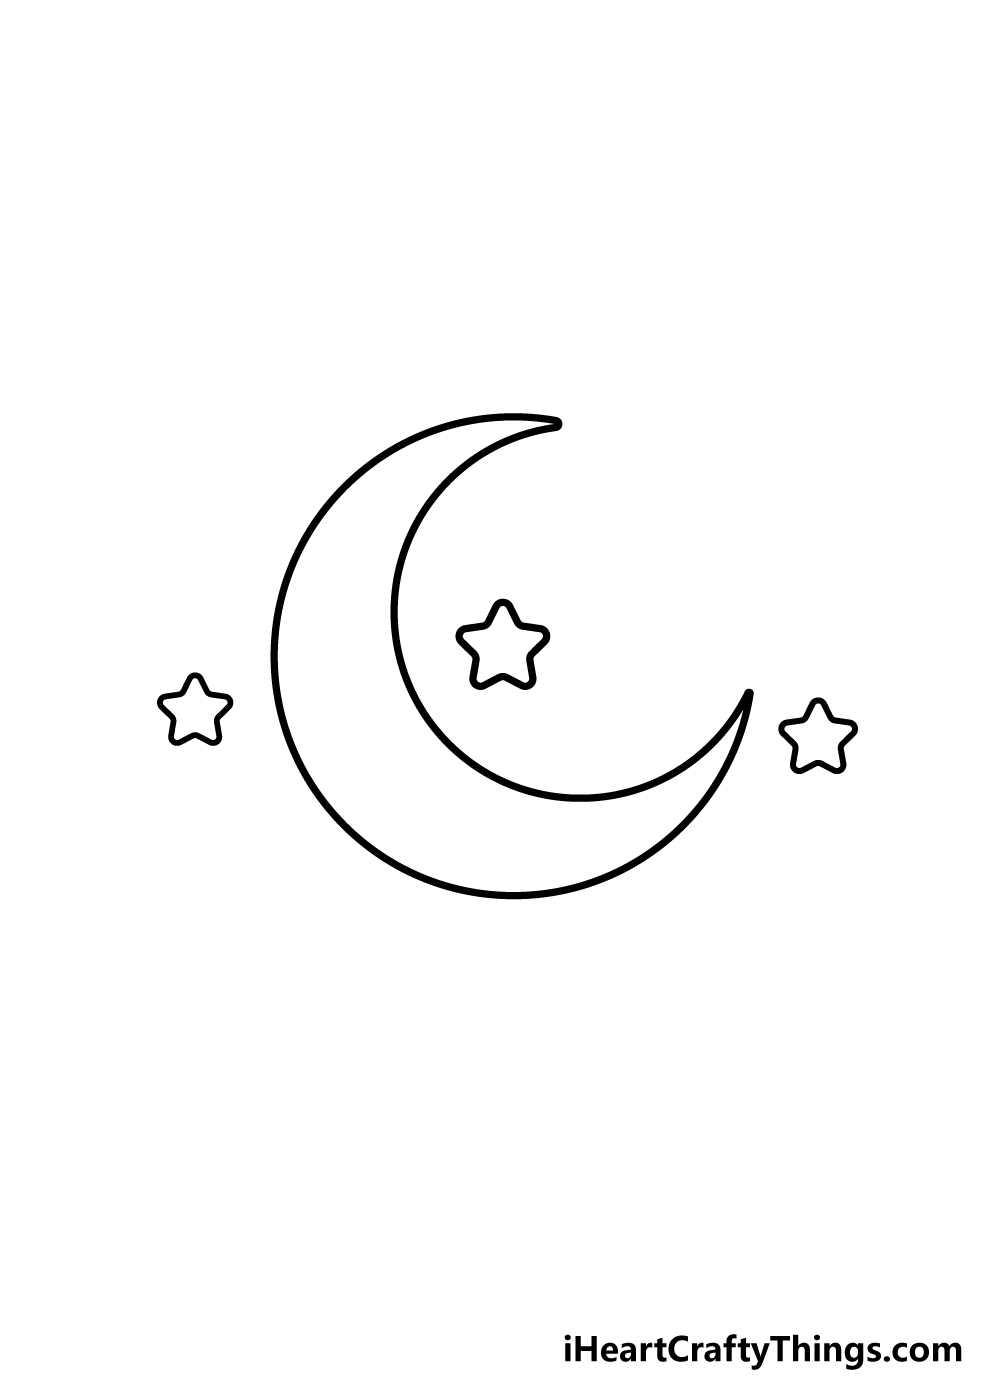
Now that you have the main part of your moon drawing, we can start to add some fun details! We shall be drawing in some little stars in this step.
In our example, we drew in three stars around the moon, but you should feel free to draw in as many as you like!
You could also change up the style, size or shape of the stars to look how you’d like them to. There are no wrong answers here and you should do any details that you love!
Step 5 – Now, add in some final touches
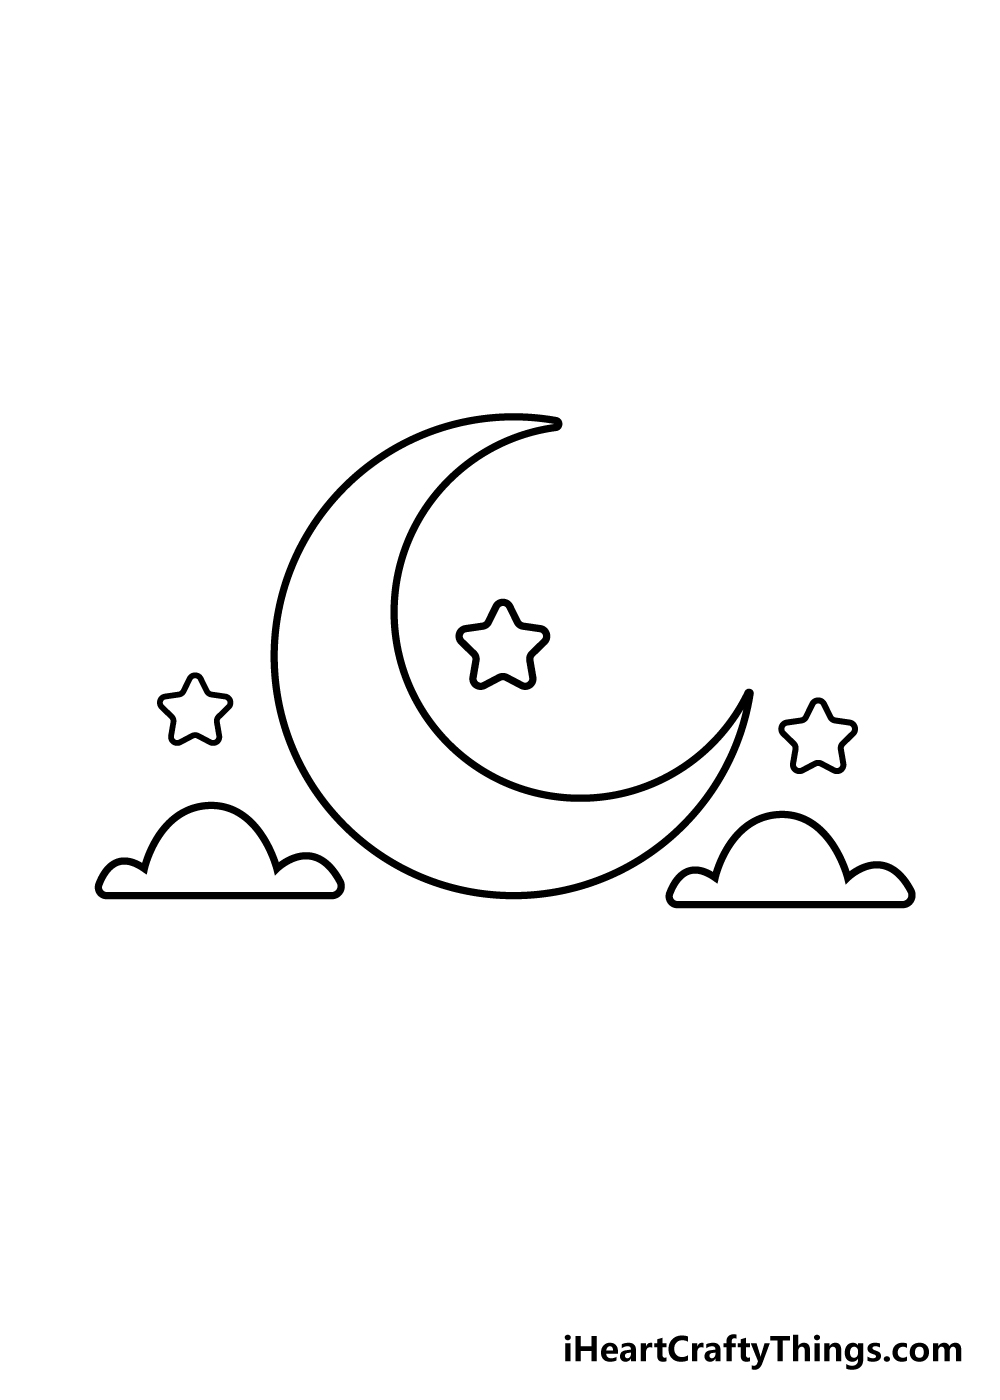
Your moon drawing is very nearly complete, so let’s take it over the finish line with some final details in this final step.
In our example, we drew in two small clouds underneath the moon to give it a more atmospheric look.
This is another step where you could get a bit creative with it and change up these details as you like!
You could make the clouds bigger, change the shape or even get crafty and use some cotton balls to stick on and make some 3D clouds!
What fun touches and details do you think you will use to finish up your moon drawing?
Step 6 – Finish off your moon with some color
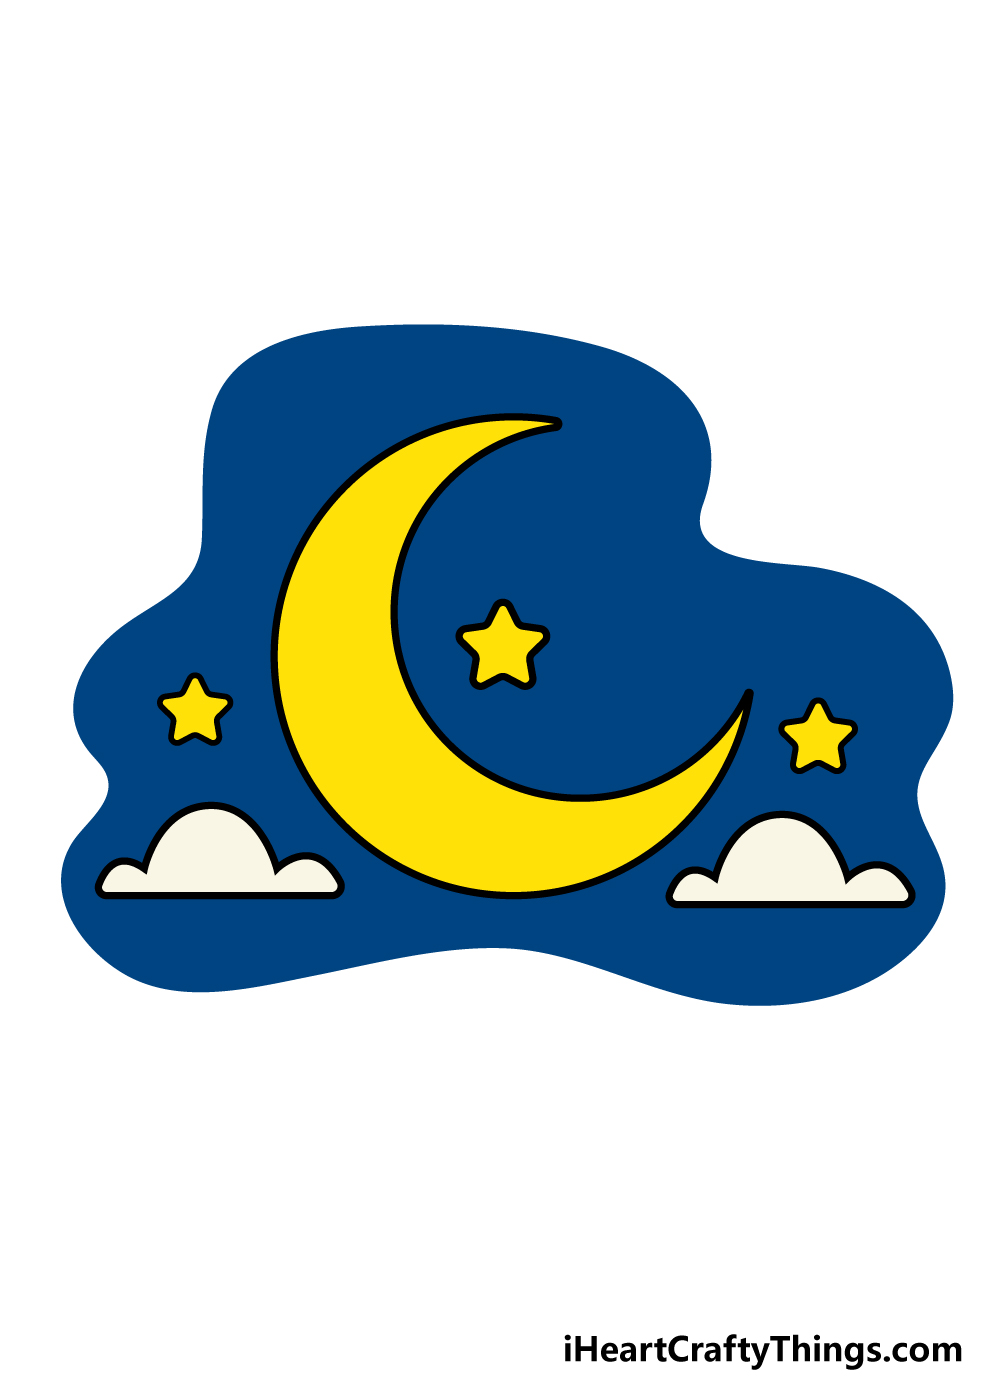
In this final step of our guide on how to draw a moon, you’ll have the chance to really show us your creativity!
This step is all about adding some beautiful colors to your drawing, and the best part is that there’s no right or wrong way to do this.
You can completely let your creativity flow and use any of your favorite colors! We have shown you one way you can go about it, but it’s just a suggestion and you can use all manner of colors to finish it off.
Choosing the colors is just half of the fun though, however, as you can also have a great time choosing some great art tools and mediums for the colors.
You could use acrylic paints if you want some thick, bright and intense colors. There are also options like colored pens and pencils for more intricate and bright color details that you could use as well.
I also think that some pretty watercolor paints would be amazing to give this image a softer look to it.
These are just a few examples of what you could use, but which fun art mediums and colors do you think that you will use to bring your moon drawing to life?
Here’s how you can make your moon drawing even better…
Before you call it a night on this moon drawing, here are some tips on making it even better!
When it comes to creating a picture, there is always more that you can do to make it look even better. For this moon sketch, there are loads of interesting details that you could add.
There are already a few details such as some clouds and stars around it, but you could add even more of these for a stunning night sky! Can you think of some other details you could add?
The moon has various different phases that it goes through, and with each phase it takes on a different appearance.
In this design, it is in a recognizable crescent shape, but if you wanted to put your own spin on it then you could choose a different phase.
There are 8 phases to choose from, and maybe you could make one of each if you’re feeling ambitious! You can easily find a picture of all the phases in the cycle to help you out as well.
This moon drawing is looking pretty serene at the moment, but you could also create a spookier feeling.
If Halloween is drawing close, you could celebrate by adding some bats flying around and some big dark clouds.
Maybe there could be a scary castle in the background or a witch flying past the moon! These are a few ways you could make this picture spooky, but what other fun details could you use?
Your drawing of a moon is finished, but now you can choose how you would like to color it in.
This is the kind of picture that would look great whether you use lighter colors and mediums or make the colors bright and bold.
For lighter colors, you can use mediums like colored pencils or watercolors, whereas colored pens and markers would be perfect for bright shades.
Maybe you could make the moon nice and bright and then use some watercolors for the softer clouds as one idea.
Your moon Drawing is Complete!
That brings us to the end of our step-by-step guide on how to draw a moon!
Getting the moon shape looking right can be harder than it looks, but we hope that the technique of using two circles within one another was a helpful tip for you to use when drawing some beautiful moons.
The best part is that this technique can be easily modified, so if you want to create a fuller moon or an even thinner one, you can use the same technique but just change the position of the circles a bit.
That’s just one way you could personalize this drawing, though. You could also add in some fun details of your own, such as a nightcap on the mood with a snoring face on it!
Details like this along with your own unique color choices and art mediums used can really help to put your own personal touch on a drawing.
We’ll be very interested to see what you all come up with!
This doesn’t have to be the end of your drawing journey though, as there will be plenty more drawing tutorials that we will be bringing out for you to enjoy.
Be sure to keep checking our site to make sure you never miss out!
We also really hope that you’ll share your finished moon drawing on our Facebook and Pinterest pages for us to enjoy! We can’t wait to see your amazing drawings.