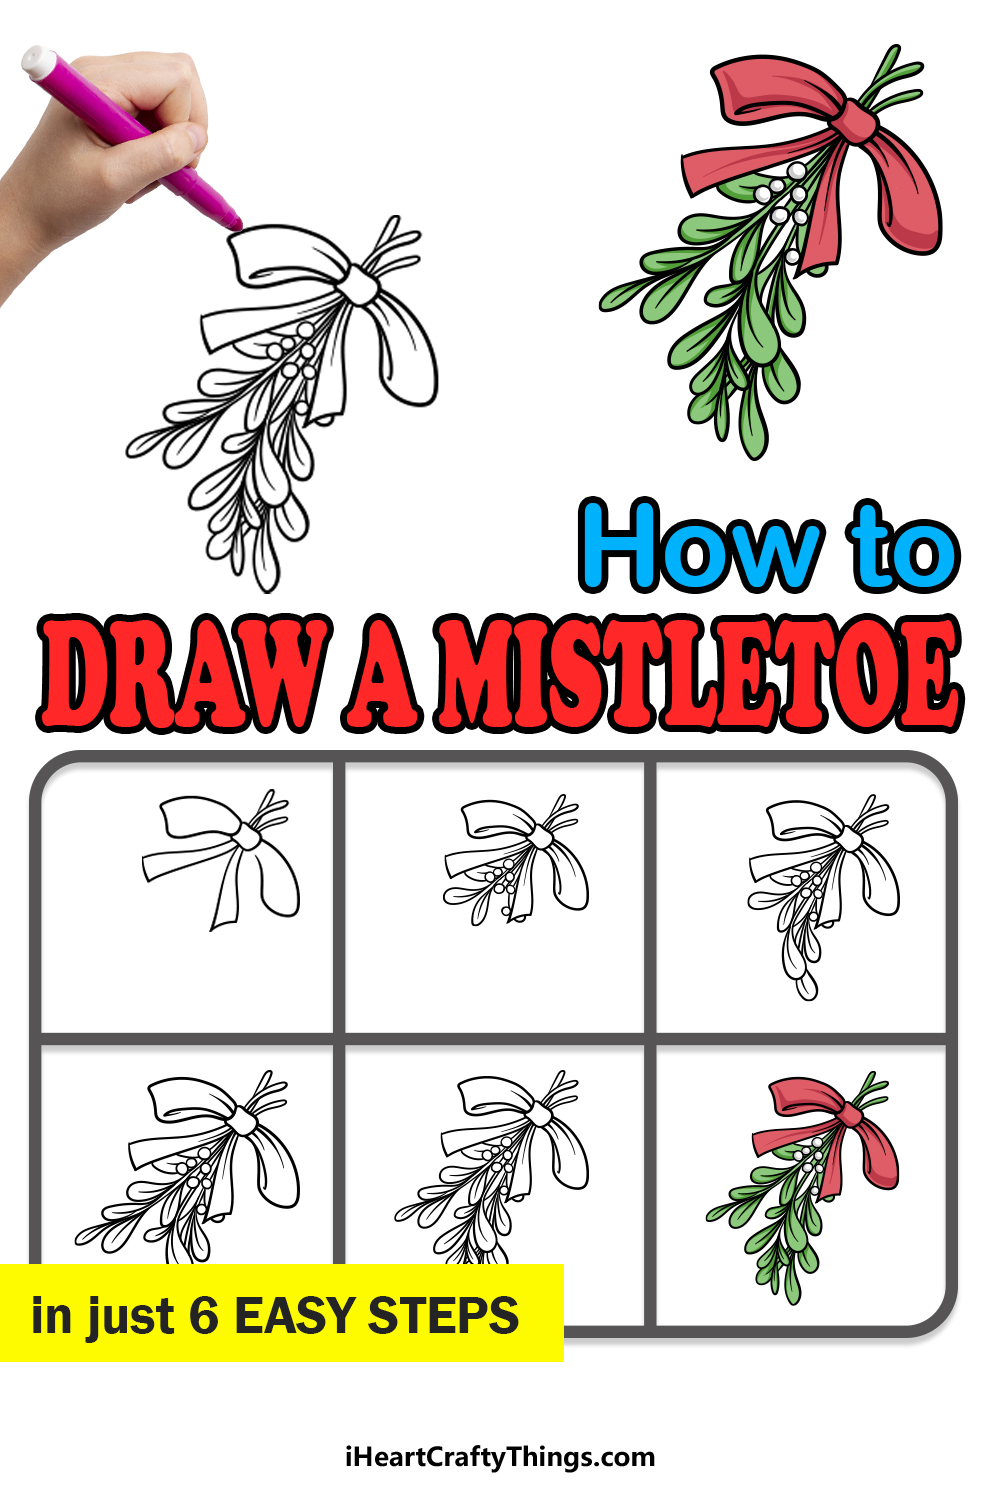
It’s so much easier to learn how to draw a mistletoe than you thought! Follow along with me to find out how to make this classic Christmas decoration.
There are so many things you can display around the festive season to bring some holiday cheer to your home. One of the most classic traditional decorations is the mistletoe.
There is even a tradition that anyone who meets someone else beneath a sprig of mistletoe needs to share a kiss! This plant is also common in Christmas art, but not everyone knows how to draw it effectively.
Following these steps will show you the quickest and easiest way to make your own mistletoe art. Then, you can incorporate it into your own Christmas art and create some incredible designs!
Let’s begin as I take you through these simple steps to make this beautiful drawing yourself.
Watch And See How To Make Your Mistletoe Drawing
How to Draw A Mistletoe – Let’s Get Started!
Step 1
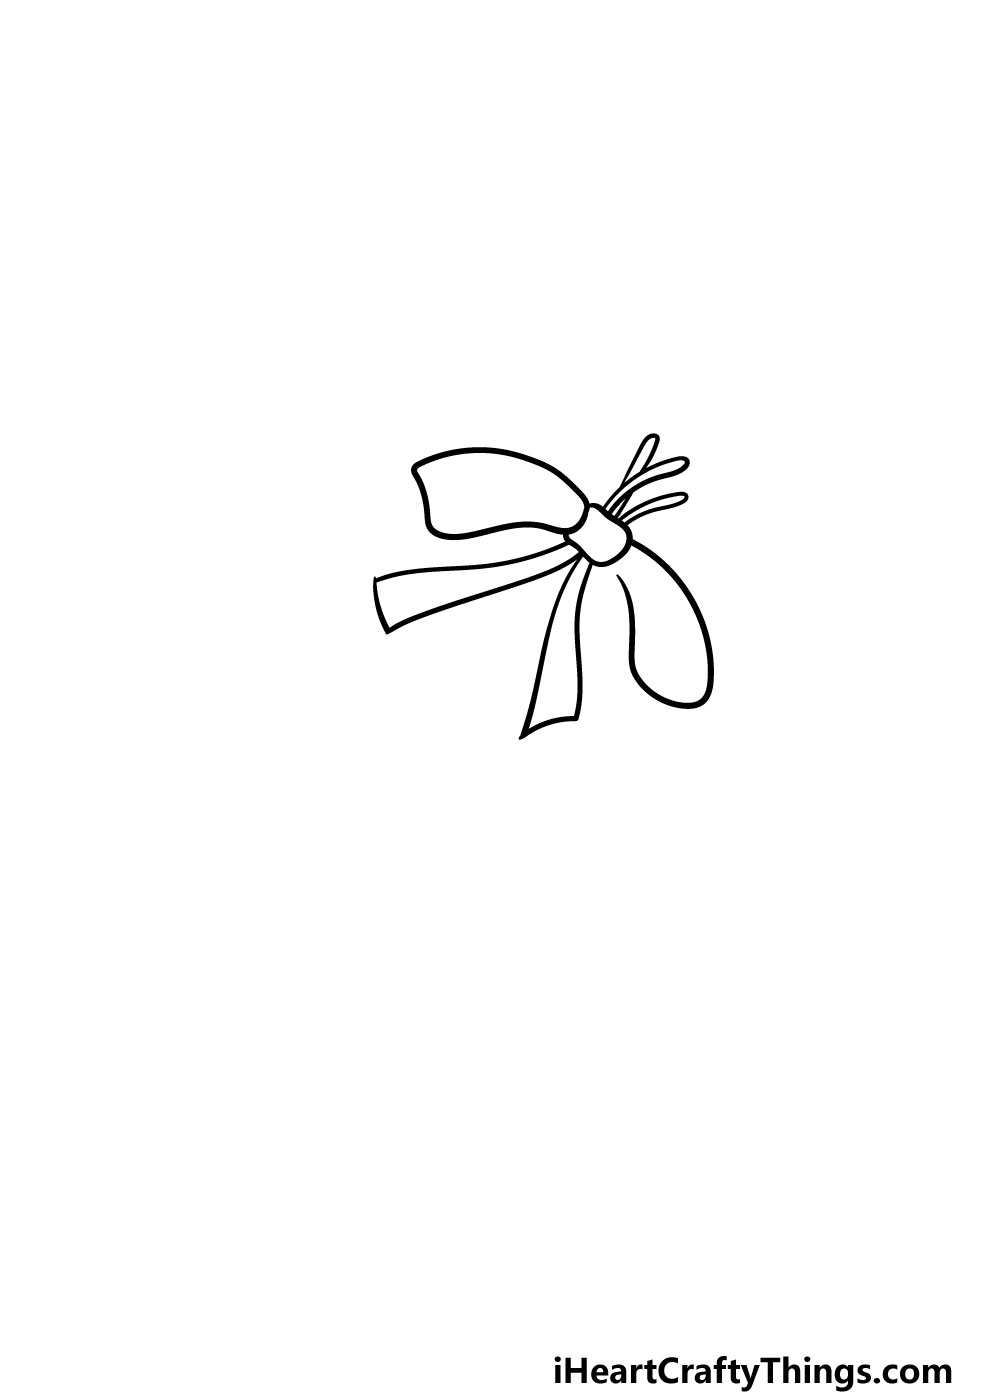
Mistletoe often has a pretty bow tied around it, and that is what we will be drawing in this first step of our guide on how to draw a mistletoe.
First, you can start by drawing a small, rounded rectangle for the center of the bow.
Then, there will be two strands coming out from the bottom of the bow that will be thin at the top and get a bit thinner as they go down.
Then, there will be two large pieces coming out from the side of the knot and drooping down ever so slightly.
Finally, you can draw some small, thin strands of the mistletoe poking out from the bow. Once you have these aspects, you’ll be ready for step 2!
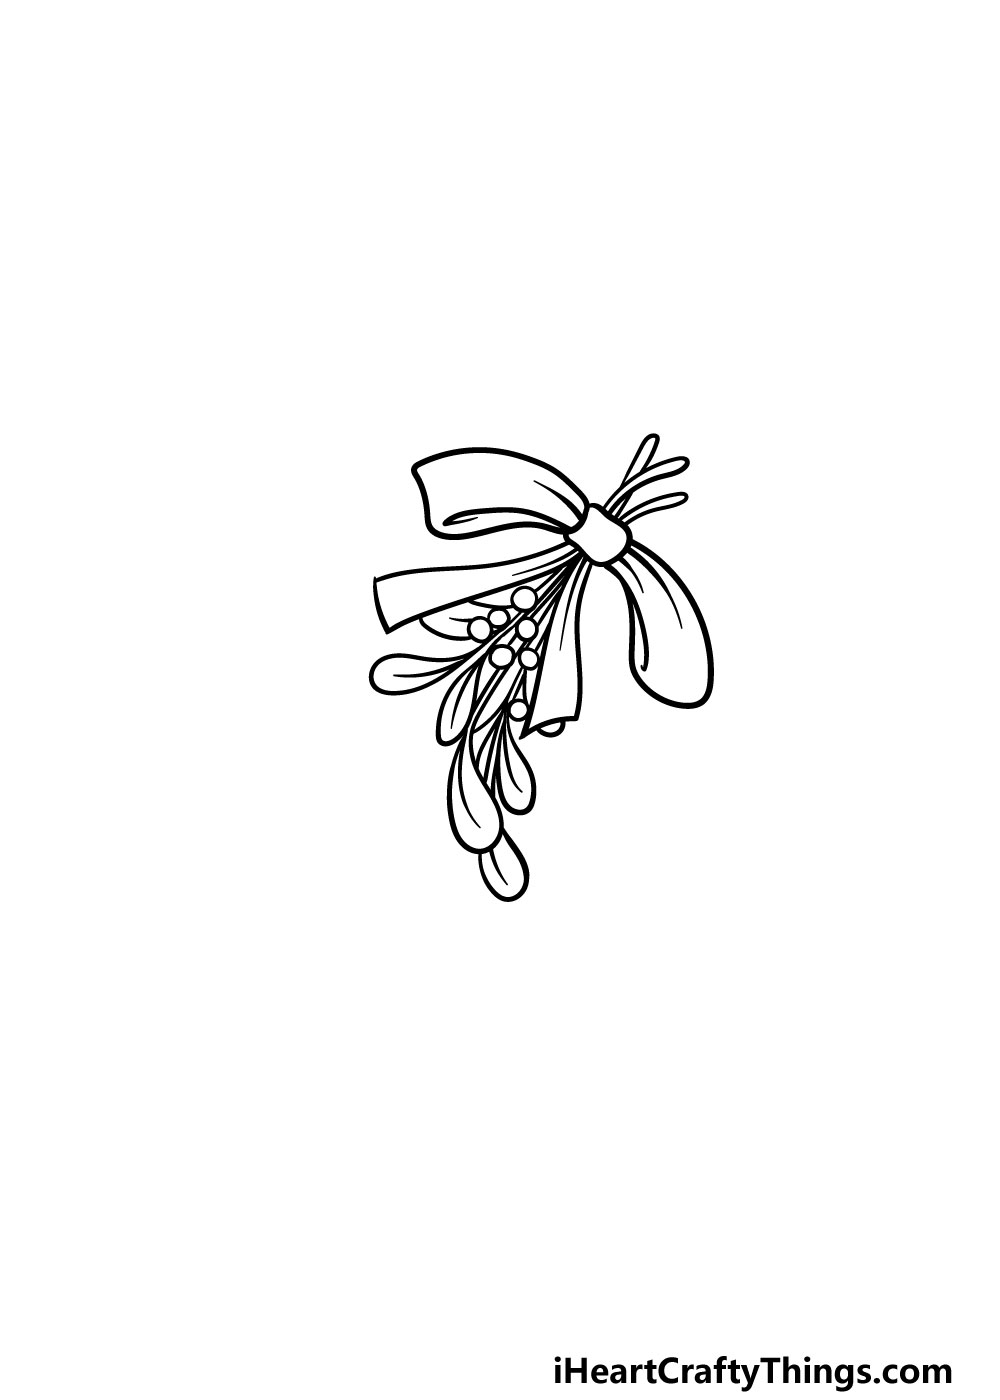
Step 2 – Draw details for the bow and add to the mistletoe
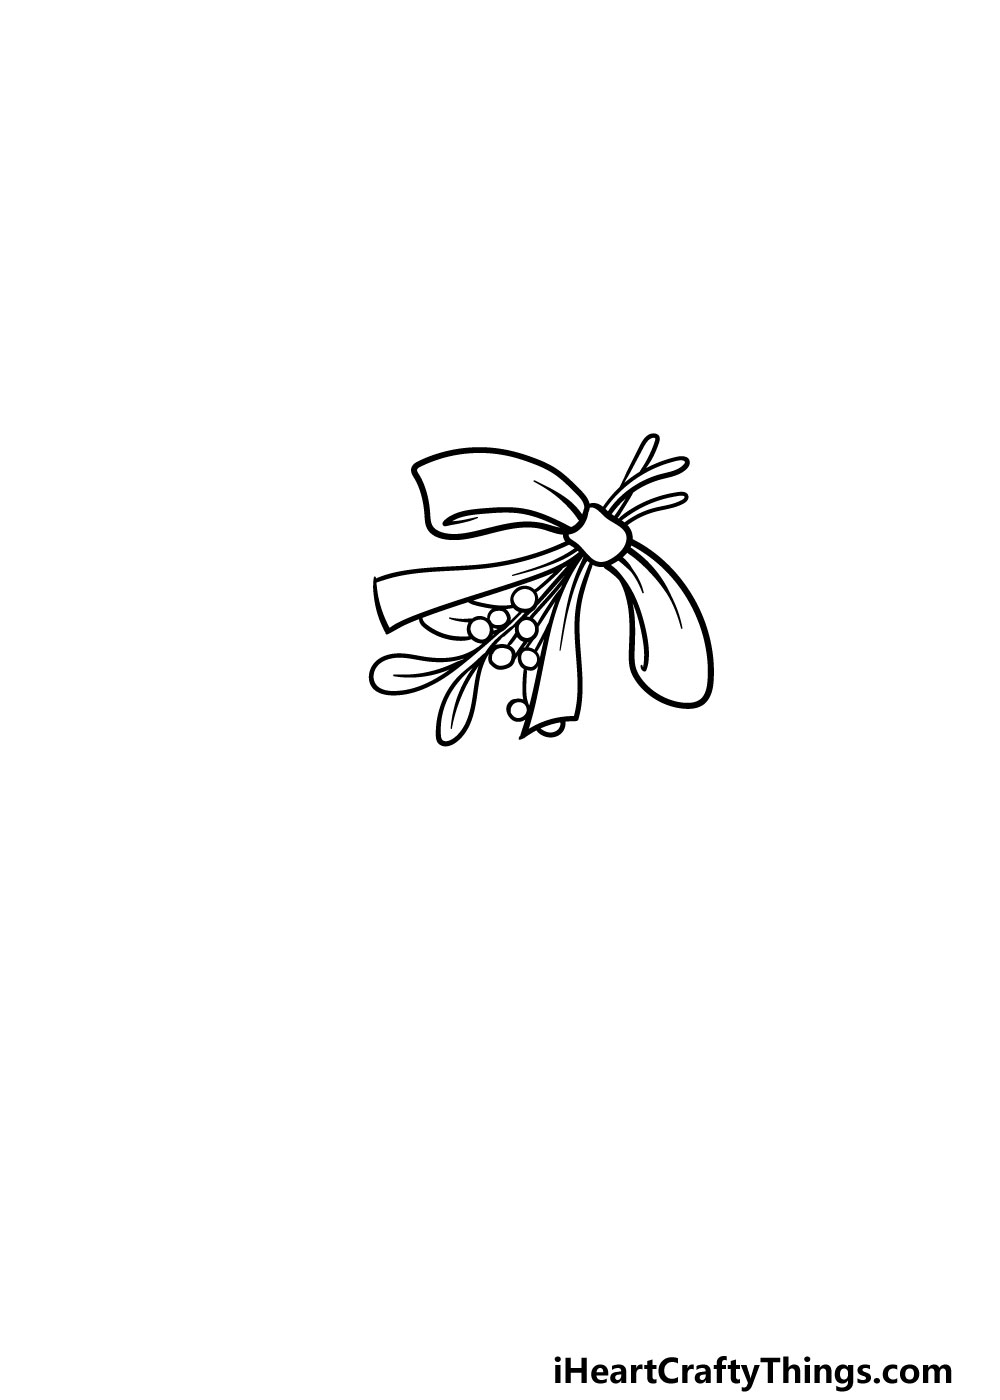
In this part of your mistletoe drawing, we will add some details to the bow and also add some more of the mistletoe plant.
Starting with the bow, you can draw some thin, curved lines onto the bow, as shown in the reference image. These will help to show both the creases in the ribbon fabric and also where it loops over itself.
Then, we will be drawing some thin stalks coming down from the mistletoe plant. On these stalks you can then draw some round little berries along with some rounded leaves poking off of them.
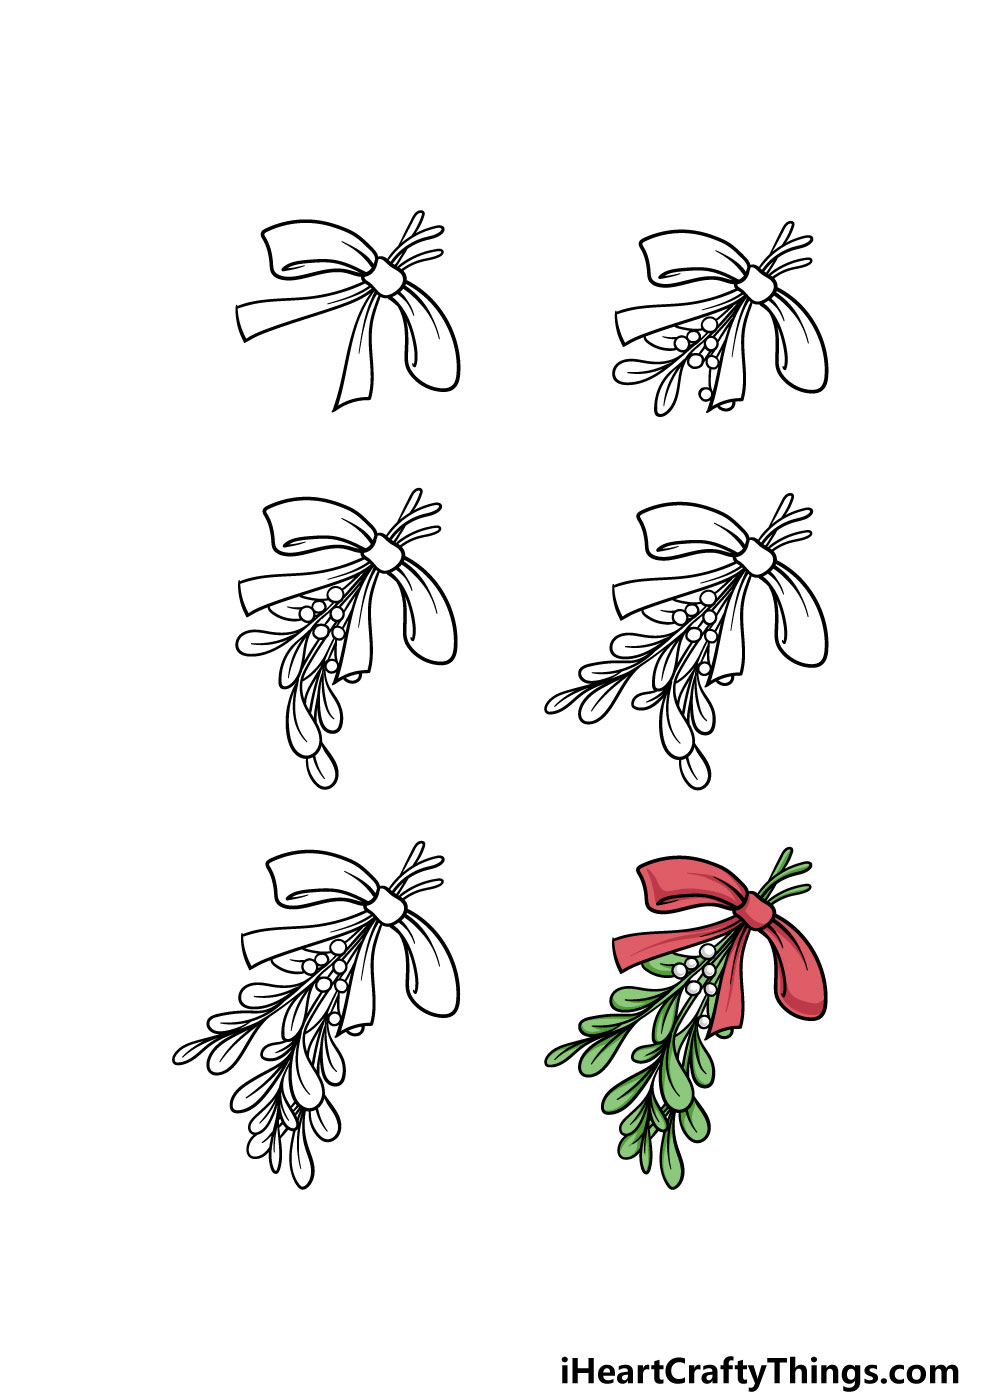
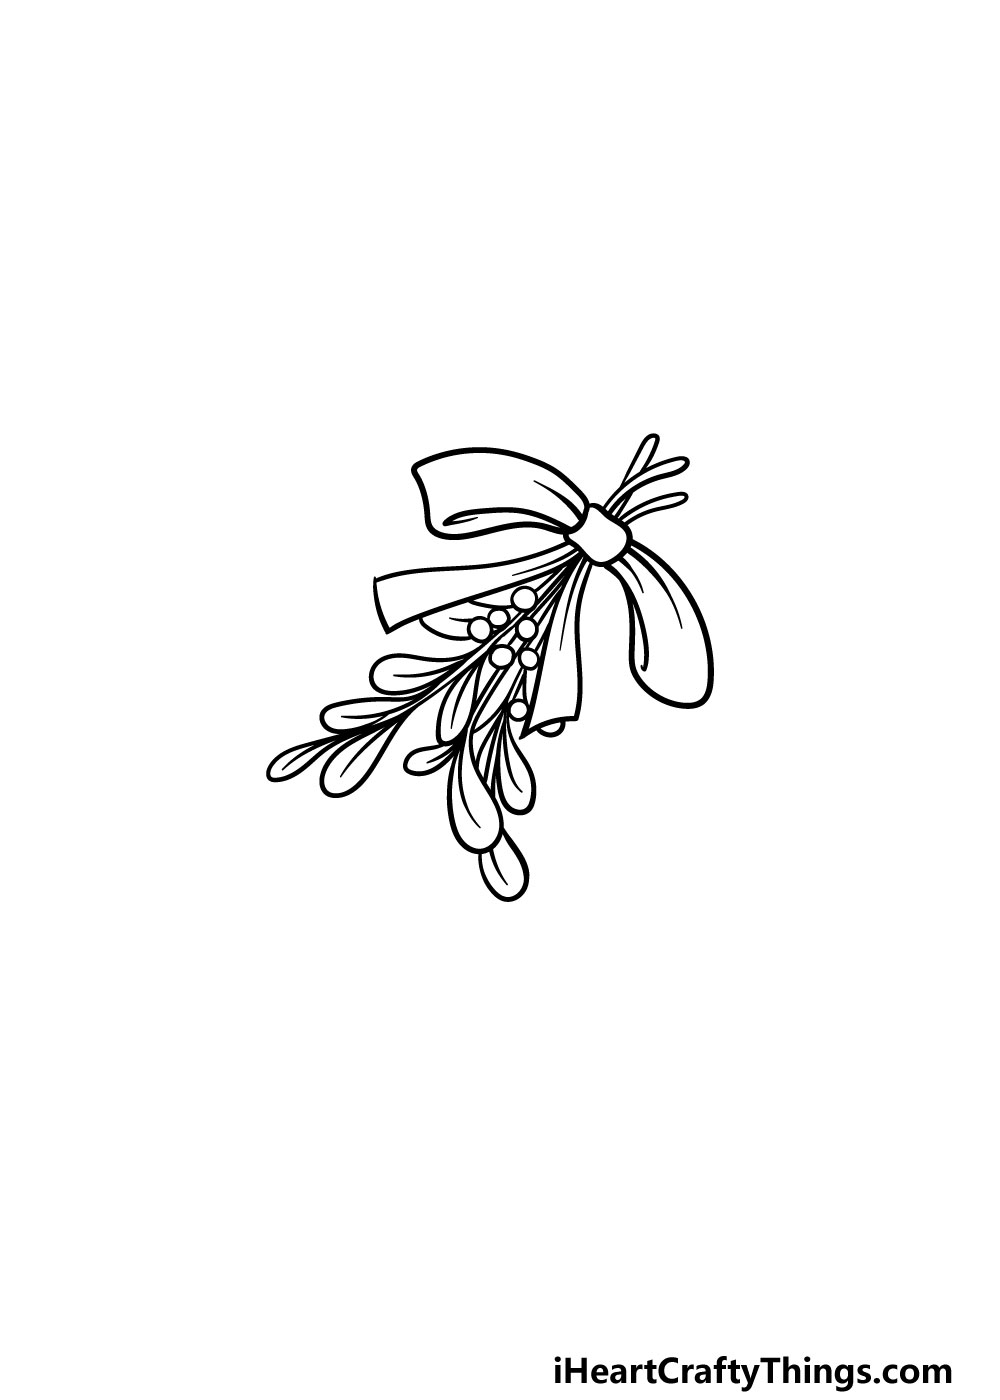
Step 3 – Next, add some more leaves onto the mistletoe
For this next step of our guide on how to draw a mistletoe, we will be adding even more to the mistletoe plant.
Mainly for this step, we will be drawing some more leaves onto the plant. The leaves of the mistletoe are quite large and round at the ends, as shown in the reference image.
You drew a few smaller ones earlier, but these ones will be considerably bigger.
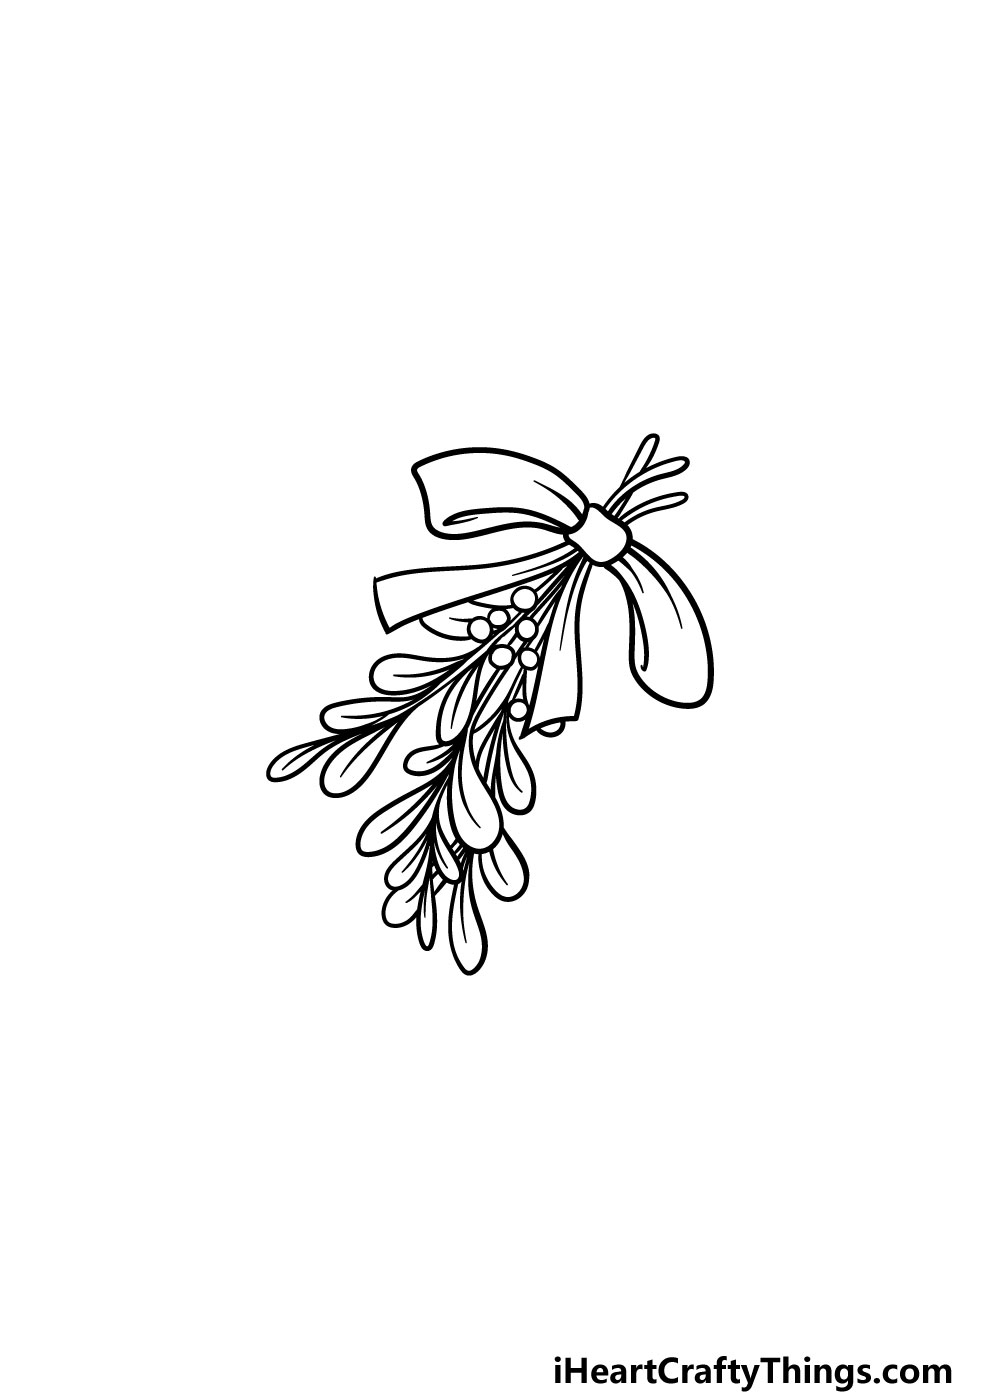
Step 4 – Keep adding some big leaves
Your mistletoe drawing is already looking really great! We will keep adding to the volume of the plant by drawing some more leaves.
You can extend more stalks down on the left-hand side of the mistletoe for this part, and then add more of the big round leaves to it.
This is a step where you could also add a few more or a few less leaves depending on your preference.
Once you have drawn these leaves, there will just be a few more to add in the next step!
Step 5 – Now, you can add some final leaves to the mistletoe
This fifth step of our guide on how to draw a mistletoe will see you adding the final leaves onto your picture. These leaves will be going under the clump of leaves on the right-hand side to finish it off nicely.
As with the previous step, you could also change the number of leaves to be greater or fewer depending on your preference. Then, you’re ready to move on!
Before you do, however, there are some extra details that you could add to take this drawing even further. Some examples could be to draw a background, and there are lots of examples that you could go for to do this.
Mistletoe is a Christmas decoration, so you could go for a real theme for this drawing. You could draw your favorite Christmas decorations, or even add a Christmas tree nearby the mistletoe. Maybe you could even draw yourself and a special someone poised beneath the mistletoe!
These are just a few ideas, but what else can you think of to finish off this amazing drawing?
Step 6 – Finish off your mistletoe drawing with some color

Your mistletoe drawing looks great now that you have added all of the final details, but it’s still missing something: some amazing colors! In our reference image, we kept the colors nice and realistic with some more muted greens and whites for the mistletoe.
Then, we went with a nice Christmas red for the bow around the mistletoe. This is just one way that you could go about coloring this picture, however!
You could change up the color of the bow or even the mistletoe itself. If you drew any background details or extra elements then you can have fun adding colors to those as well.
The mediums that you choose can also have a big impact on how you portray the colors you choose.
You could also add some crafts such as glitter or glitter glue for some extra Christmas magic! What colors and art mediums are you thinking of using for this mistletoe drawing?
3 More tips to make your mistletoe drawing easy!
Make this beautiful drawing even easier with these handy tips!
This drawing of mistletoe is a very fiddly drawing, so we would recommend using the right tools for the job.
If you’re using a pencil, you should try to keep it nice and sharp at all times, as this will allow you a lot more precision. If using a pen, you should try to find a drawing pen with a very thin tip.
Using a regular pen will make drawing the leaves and berries quite a challenge, so it’s best to avoid it if possible. It won’t be impossible, but having more precision makes it so much more fun to work on images like this!
If Christmas is just around the corner, you will probably see mistletoe hanging around. You may even have some displayed at your house!
If you do have some real mistletoe around, then you might want to use it as a model as you draw. If you have some real mistletoe and use it alongside the steps in this guide, you will master it in no time.
Having the real thing available also allows you to change up the angle and position of the mistletoe.
The object in hand will show you how these alternate angles should look! If you don’t have one handy, then using pictures you find online can be the next best thing.
The smaller you make this drawing, the harder it will be. This will be the case even if you use mediums that allow for precision.
We would recommend enlarging these pictures as large as you can on your screen.
Then, really use the space on the page. You can make it as large as you need to, and this will make it so much easier to do.
Drawing the mistletoe really big will also make the need for precise drawing mediums a bit less necessary.
We know you will find this mistletoe drawing easy to work on if you don’t have to worry about adding all of these miniscule details.
Your mistletoe Drawing is Complete!
You have reached the end of this step-by-step guide on how to draw a mistletoe!
We hope that you had a wonderfully fun and festive experience working on this guide, and we also hope that the guide made this drawing much easier for you to do. No matter what time of year it is, this guide can help get you in the Christmas spirit!
Completing this guide is just a part of the fun, however. You can also keep it going by adding some background details or other Christmas decorations.
There are so many options to go for, and we can’t wait to see what you choose!
When you are finished with this guide, be sure to visit our website, as we have many more for you there! We upload new ones for you to enjoy all the time as well.
We would also be thrilled if you would share your completed mistletoe drawing on our Facebook and Pinterest pages for us to admire!