There are many iconic and recognizable video game characters, yet the most iconic of them all is arguably Mario the plumber.
This character is known around the world, and yet his cowardly brother Luigi is also just as famous and beloved!
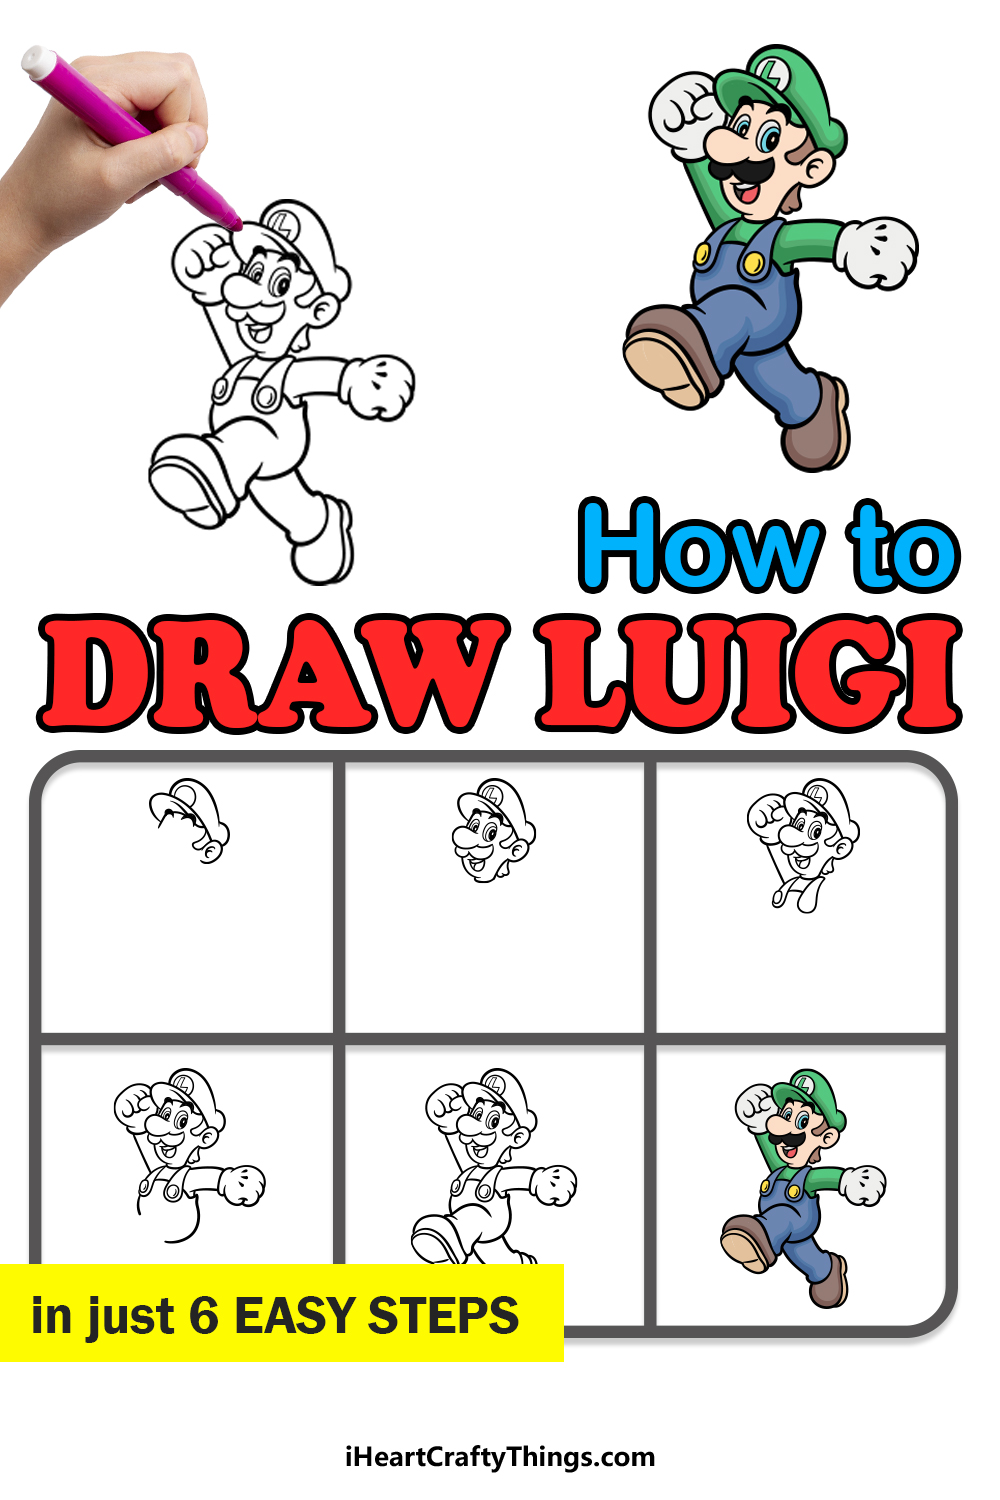
While Mario may get most of the spotlight, Luigi has starred in many games with many people even preferring him to his shorter brother. For fans of this character, it can also be lots of fun to learn how to draw Luigi
With this guide, you will know just how to do that!
We hope that you have fun working with us on this step-by-step guide on how to draw Luigi!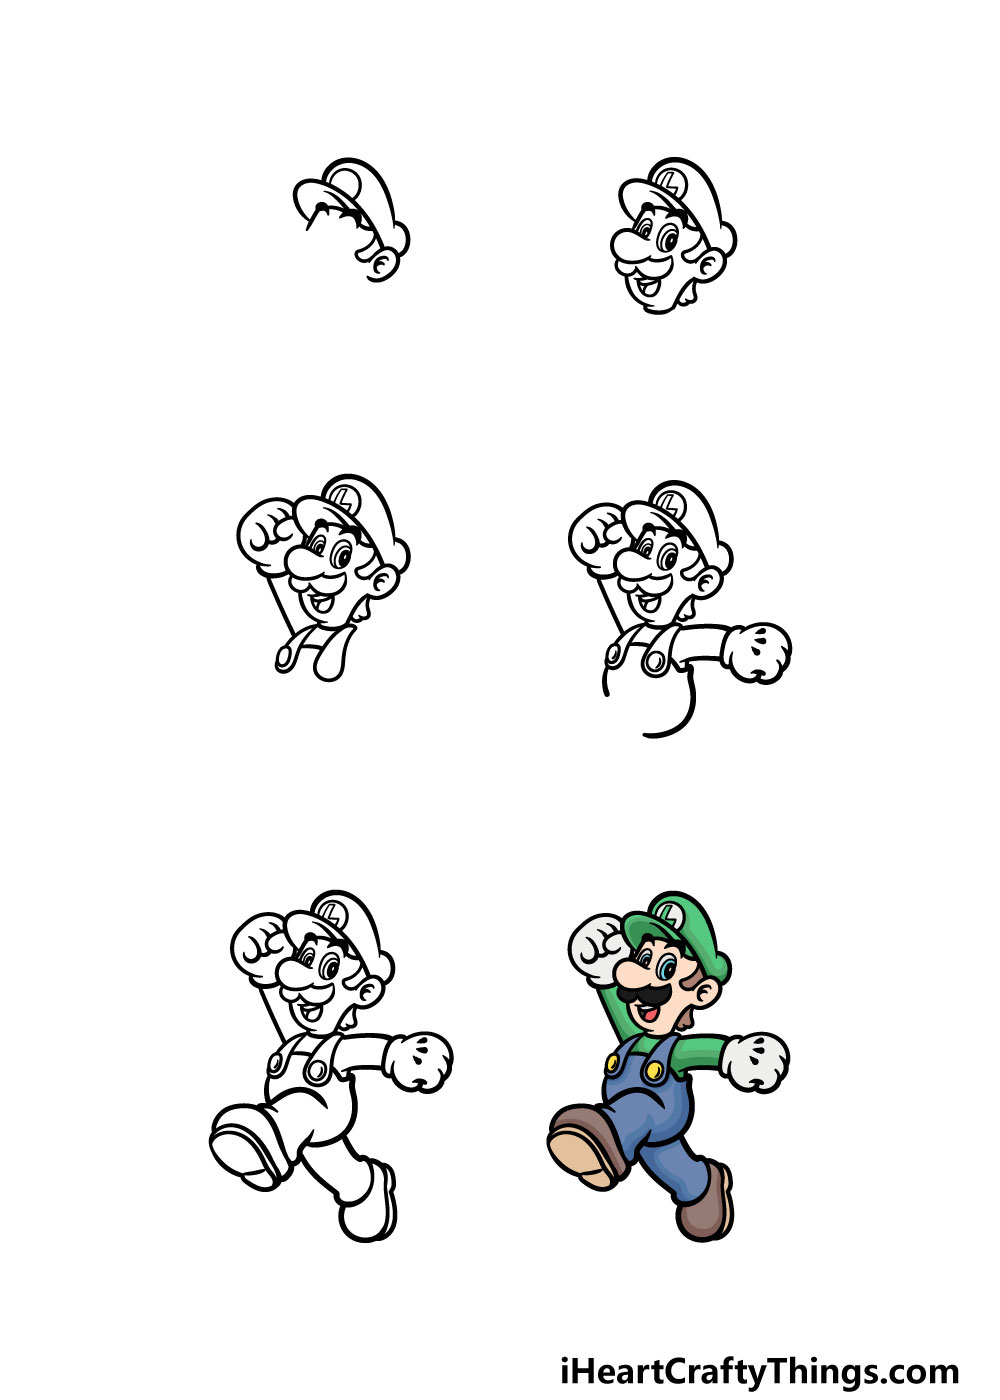
How to Draw Luigi – Let’s Get Started!
Step 1

One of the most recognizable aspects of Luigi is his bright green hat, and that is what we will start on for this first step of our guide on how to draw Luigi.
First, you can use a round line for his ear, and then add some curved lines inside of the ear shape. Then, extend another curved line up from the ear for the rim of his hat.
Then, the top of his hat will have a large rounded line at the front with a smaller bulge at the back. Finally for this step, you can then add some lines for his hair with some small, thick curved lines for his eyebrows.
That’s all there is to it for this step, and now you’re ready to move on!
Step 2 – Draw a face for Luigi now
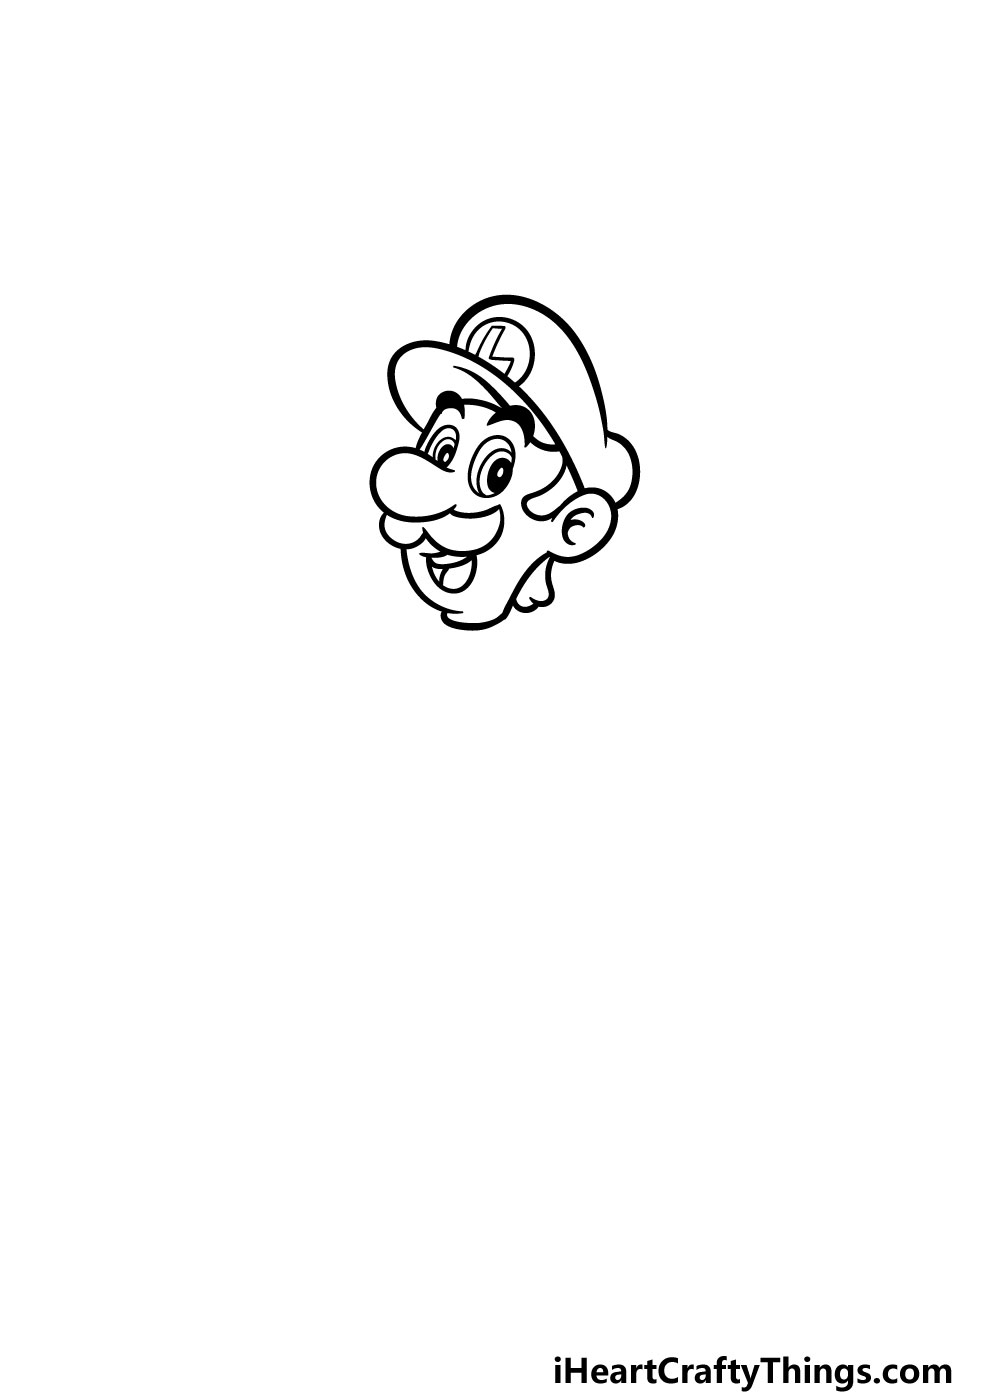
Next for your Luigi drawing, we will add his facial details and finish off his lat. you can start by drawing a big L in a circle on his hat.
Then, use a nice curved line for his big nose. His eyes are oval in shape with several smaller ovals inside of them for the pupils. Then, his mustache will be drawn with more curved lines, with his smiling mouth beneath it.
Then, you can finish off this step by adding his chin and the back of his neck.
Step 3 – Next, draw his first arm and start his overalls
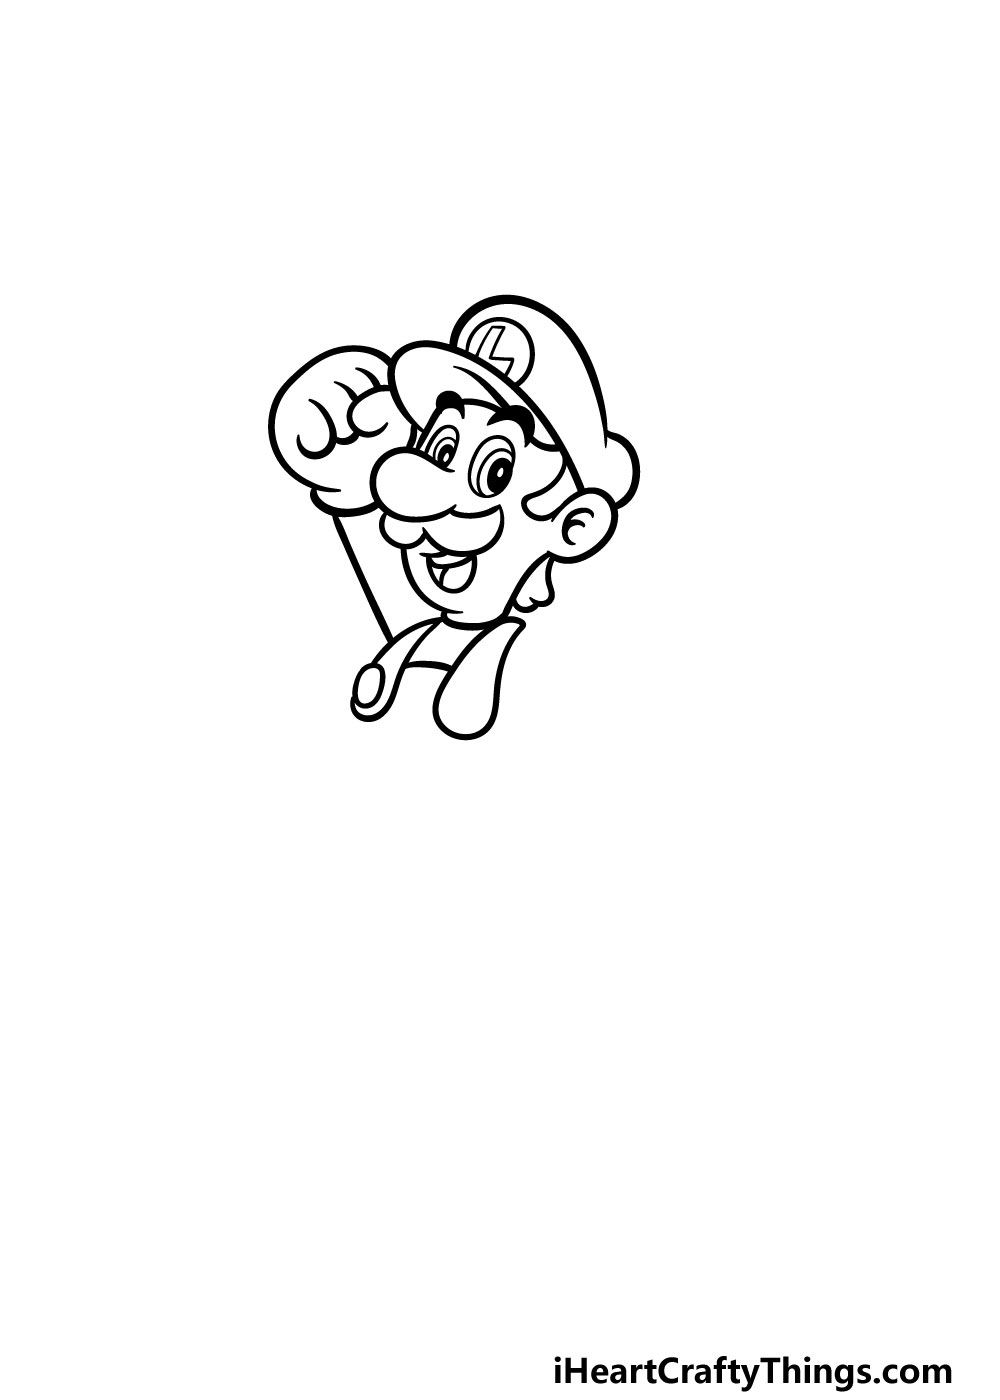
You’re doing a great job on this guide on how to draw Luigi! We will continue on by drawing his arm next.
First, you can draw his big gloved hand raised triumphantly by his head. You’ll then use a straight line down from the fist for his arm.
Then, once the arm is drawn we’ll use some curved lines to make the shapes of his overalls at his shoulder. You can then add a circle onto the left strap for a button.
Step 4 – Draw his other arm and hand in this step
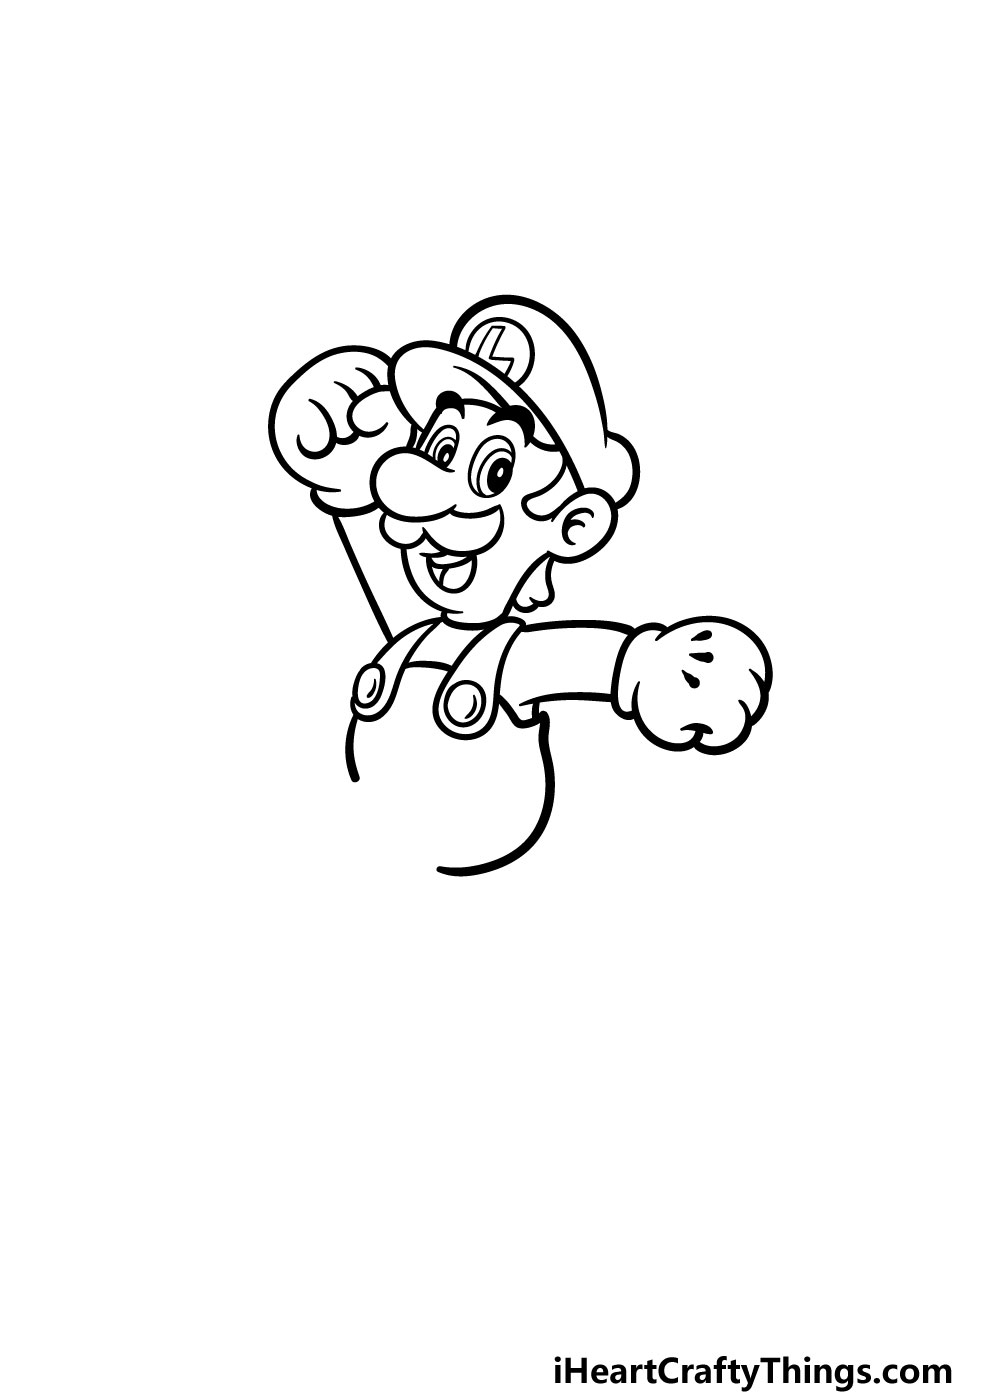
For the next arm of your Luigi drawing, extend two slightly curved lines coming out from his overalls, and then add another gloved hand.
This hand will be at a different angle from the first, so it will look a little bit different. Then, add another button onto the other strap of his overalls.
Then finally for this step, you can use a curved line for his round belly, and then a shorter one for his back. That will finish off this part, and then we have just a few final details to add in the next step.
Step 5 – Now, you can add some final details to your Luigi drawing
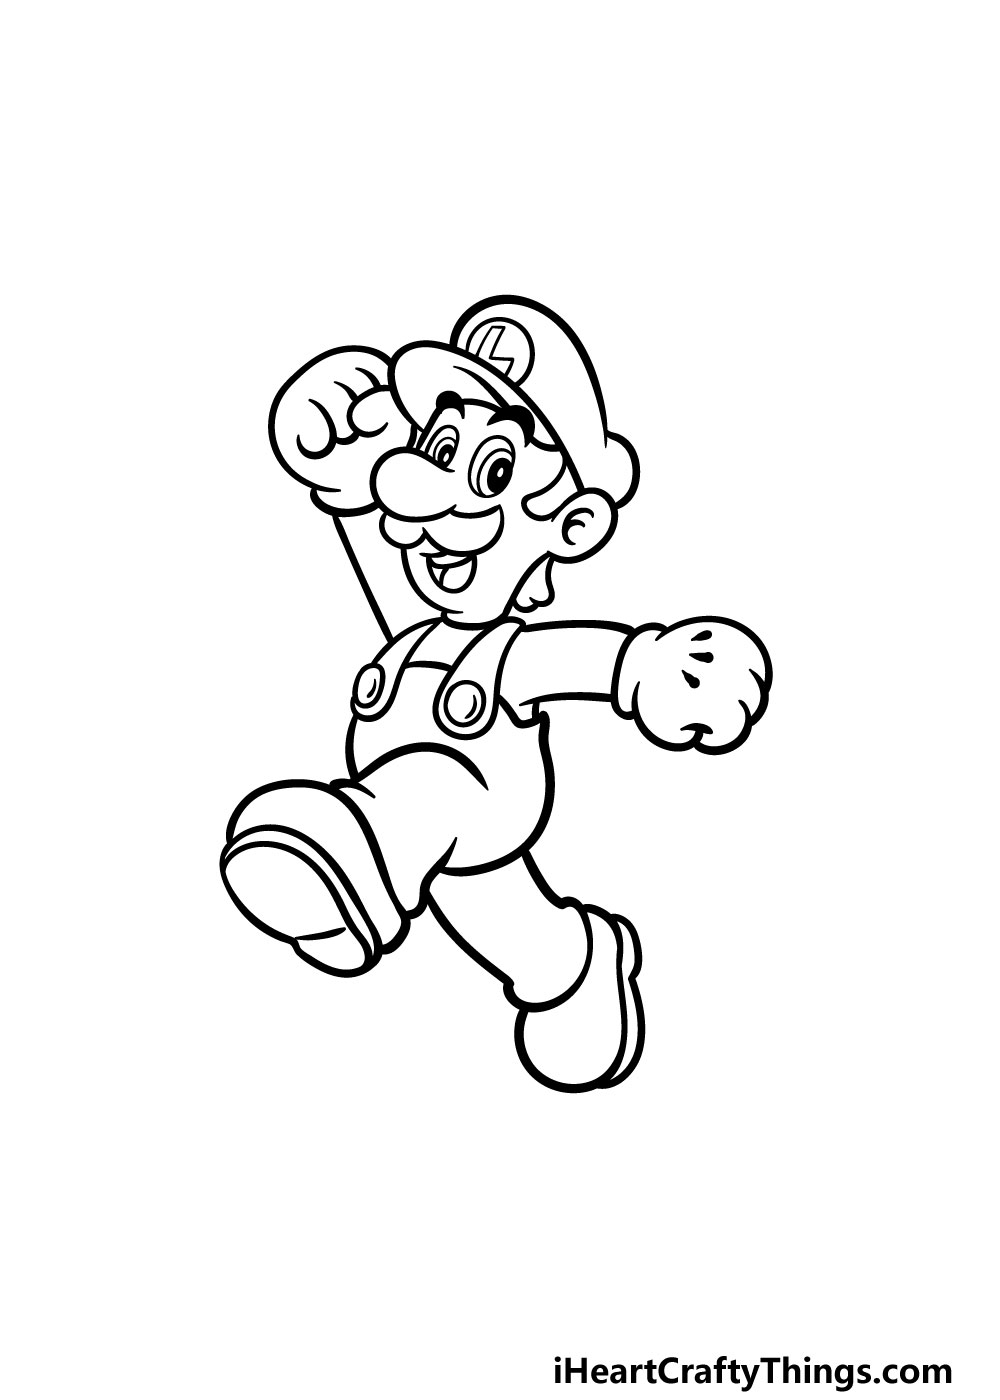
Luigi loves to run and jump around, so we will be adding his legs in this step of our guide on how to draw Luigi!
The first leg will be raised to show that he is running around. You can use a curved line for the top of the leg, whereas the bottom of it will attach to the line for his back. Then you can draw the base of his show with a rounded line for the top of it.
Then, his other leg will extend from under him, and we will only see the top of his shoe due to the angle. Once you have it looking as it does in the reference image, you’re ready for the final step!
Before you move on, you can also add some details of your own. Perhaps you could draw a background to show off your favorite level that Luigi has appeared in.
Maybe you could even look up pictures of Mario and draw his brother next to him! How will you finish off this fifth step?
Step 6 – Finish off your Luigi drawing with some color
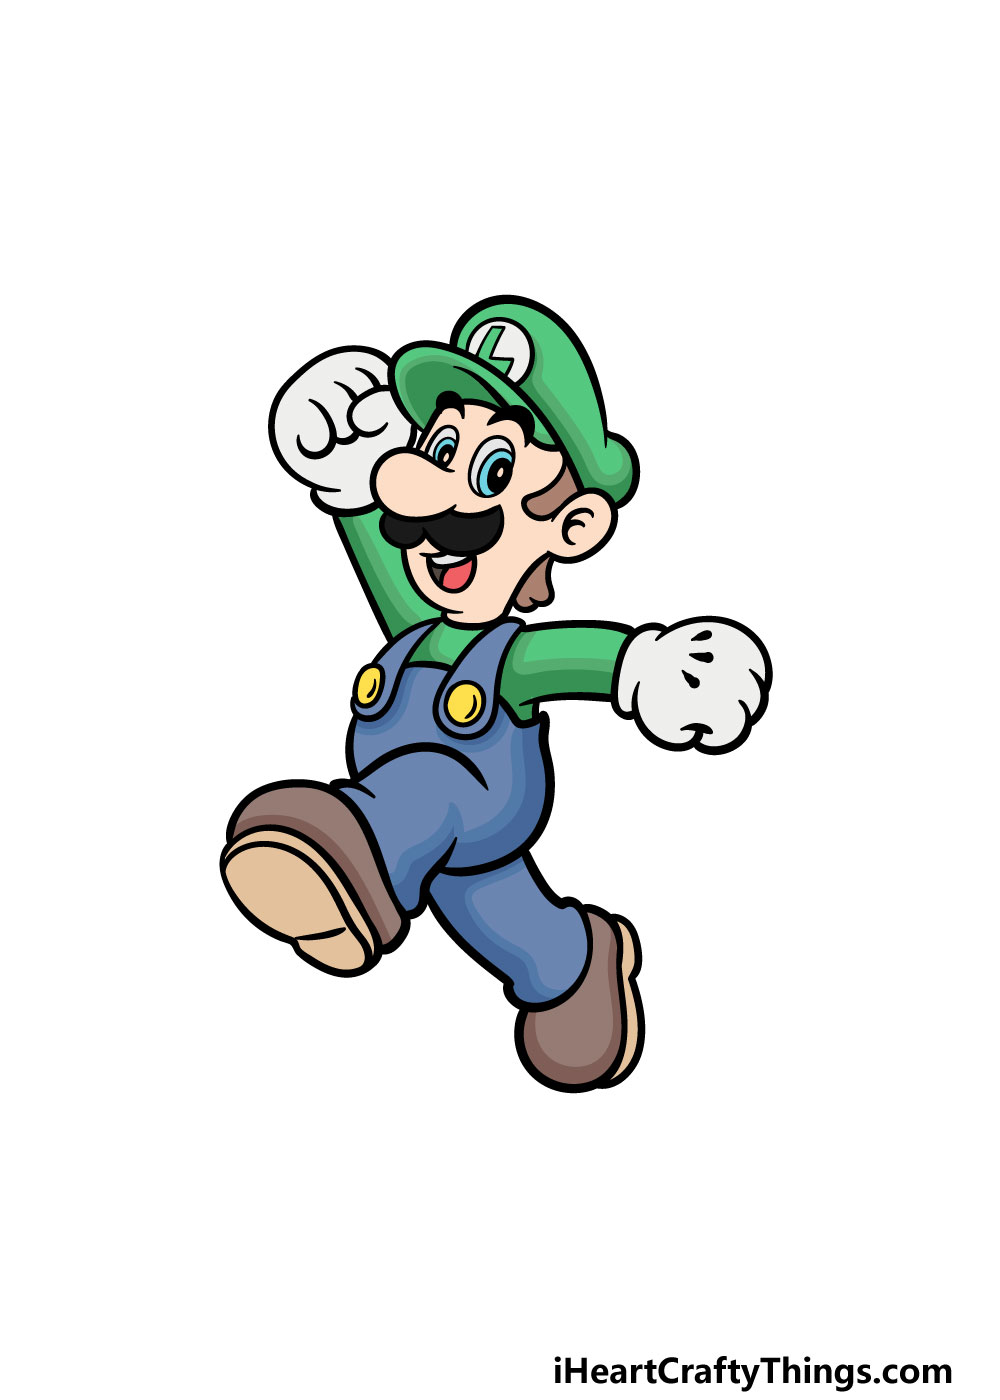
In this final step of your Luigi drawing, we will add some amazing colors to your drawing. In our reference picture, we kept Luigi in his classic green and blue color scheme.
You can use this as a reference for your own drawing to keep his colors accurate! Luigi has also had a variety of different colored outfits throughout his games, so you could go for those colors instead if you prefer.
You could also create a unique color scheme for him if you would like to put your own spin on it!
Once you know which colors you would like, you can also have some fun choosing which art mediums you will use to bring them to life.
We can’t wait to see what colors and art tools you will use for this image!
Do this to take your Luigi drawing to the next level
Celebrate this iconic video game icon as we make your Luigi sketch even better!
This character is one half of the iconic Mario brothers. For that reason, you may want to add his brother to this drawing of Luigi!
Luigi is leaping into action here, and so his brother Mario could be in a similar pose.
If you need some help with drawing Mario, you could use the games or pictures online to aid you.
Adding characters like Yoshi, Princess Peach and other heroes from the Mario series would also look amazing!
Adding heroes from the games is one way to go about it, but you could also add some of the enemies Luigi would encounter.
Some smaller enemies would include goombas, ghosts, turtles and mushrooms.
Then there is the big baddie Bowser that could also be added. In his own video games, Luigi faces off against many ghosts and ghouls that you could also go with.
Which favorite villains from Luigi’s games could you add to add some more peril to this picture?
This Luigi drawing shows him in his iconic blue and green outfit. While this is what he is most well known for, he has also worn many different variations on this and other outfits.
One outfit he wears is colored in green and white, so this could be an idea for an alternate look for Luigi. There are so many more to choose from, and you could also depict him in other video game styles.
Once your Luigi sketch looks as you want it, you could finish it off with a background. This is another one where you would have many different options to choose from!
A good place to start would be the games themselves. Any Luigi fan will likely have a favorite level that he has featured in.
If you have a favorite stage that you played through as Luigi, then that would make a perfect background! Or, you could also create a brand new setting or gauntlet for Luigi to run through.
Your Luigi Drawing is Complete!
You have successfully reached the end of this guide on how to draw Luigi! There are a lot of details to Luigi’s design, and it can make drawing him a bit tricky.
We hope that with the help of this guide that you found drawing this classic character to be much easier and even more fun than you imagined it would be!
The fun doesn’t have to stop here, however. You can do things like draw a background, add more characters or change up the colors to fit your preference. Be sure to get creative and have fun with it!
When you’re ready for more drawing good times, be sure to check out our website! You’ll want to visit often to catch the new guides we upload frequently.
Then, when you have finished your Luigi we would love it if you would share it on our Facebook and Pinterest pages! We can’t wait to see your amazing artwork.