


There are many different snakes to be found in nature, and they can come in all manner of different shapes and sizes.
Along with this visual diversity, they can also vary in how dangerous they are to humans and other animals.
The king cobra is definitely a snake that you would not want to get on the bad side of! These intimidating snakes pack some deadly venom, but they are also quite beautiful to behold.
This can make learning how to draw a king cobra a fun and exhilarating experience.
If you love this deadly yet beautiful snake, then this will be the tutorial for you!
Our step-by-step guide on how to draw a king cobra in just 6 easy steps will show you how to create some amazing artwork featuring this creature.
How to Draw A King Cobra – Let’s Get Started!
Step 1
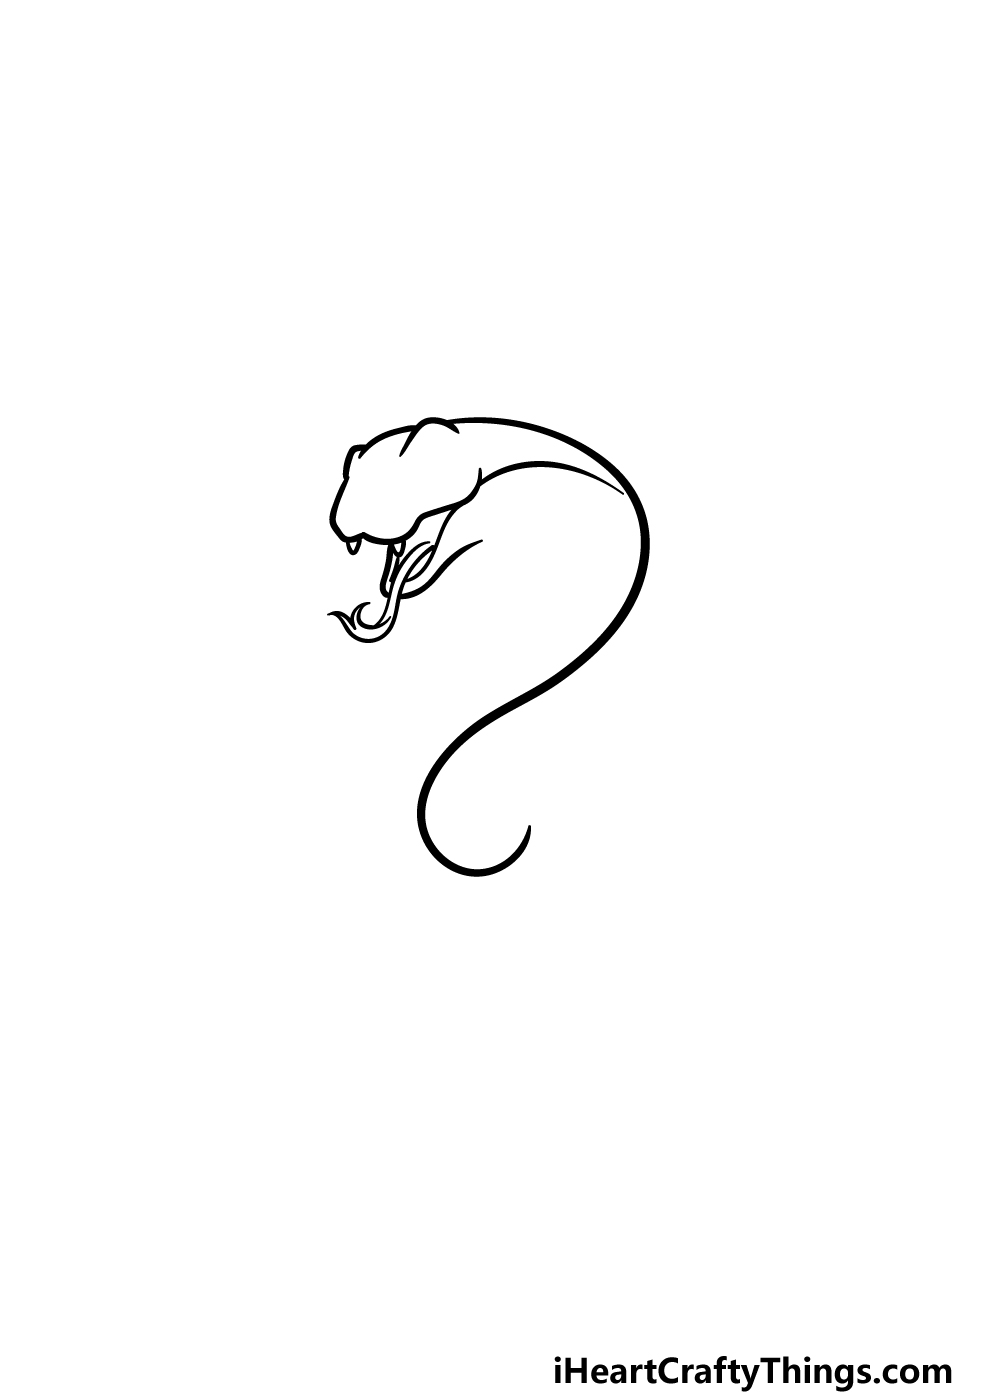
For this first step of our guide on how to draw a king cobra, we will begin with the part of the snake that you would least want to be on the business end of: the head!
First, use some curved lines for the top of the head, and then use some more rounded lines for the top of the mouth.
Draw some little sharp shapes onto the roof of the mouth for the fangs, and then you can use some more curved lines for the open mouth below.
This open mouth will also have a twisty forked tongue poking out of it. Then, use a wavy line extending from the back of its head for the start of the neck. Then it will be on to step 2!
Step 2 – Now, draw some more of the body outline for this king cobra

This next step of your king cobra drawing will see you adding some more of the body outline for the snake. First, draw a curved line around the bottom of the mouth for the edge of its jaw.
You can also draw a smaller round line around the base of the tongue.
Then, we will be drawing two curvey lines coming down from the head and twisting around. This will be the next section of the body as well as the outline of the belly of the snake.
This portion can be a bit tricky, so try to copy the lines exactly as they appear in the reference image.
When you’re ready, we can then take on step 3!
Step 3 – Draw the rest of the body outline for the snake
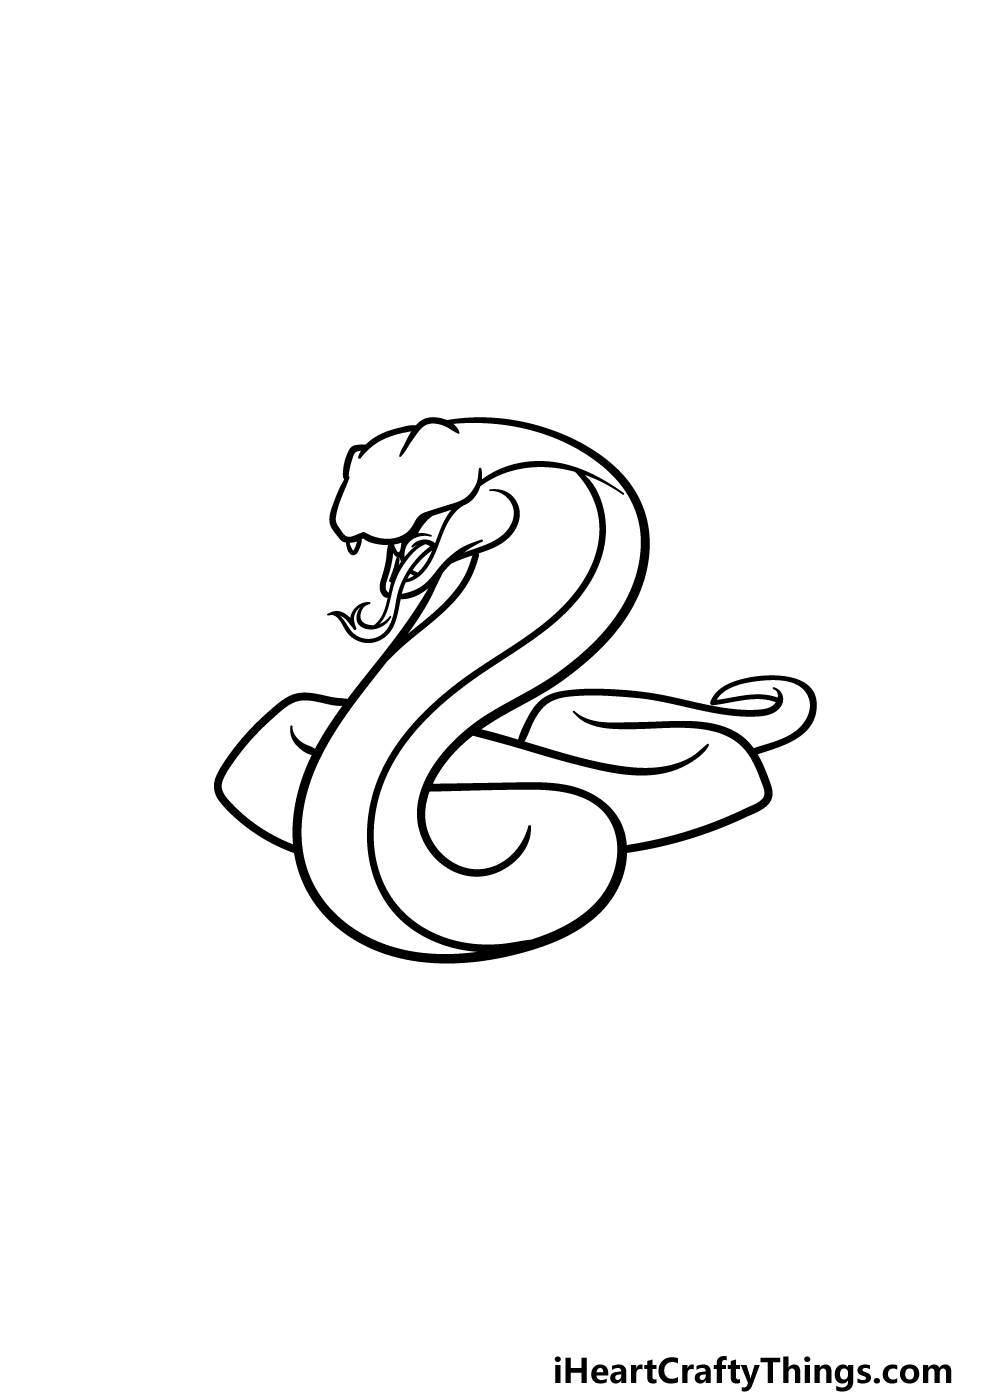
Before we add some more details, we will finish off the outline for the rest of the body in this step of our guide on how to draw a king cobra.
This next section of the body will be trailing behind the snake, and it will be quite twisty and wavy to show that the snake is slithering along.
This is another section that can be a bit hard to get right, so don’t be shy to closely copy the image we provided exactly!
Step 4 – Next, draw the first details for the snake
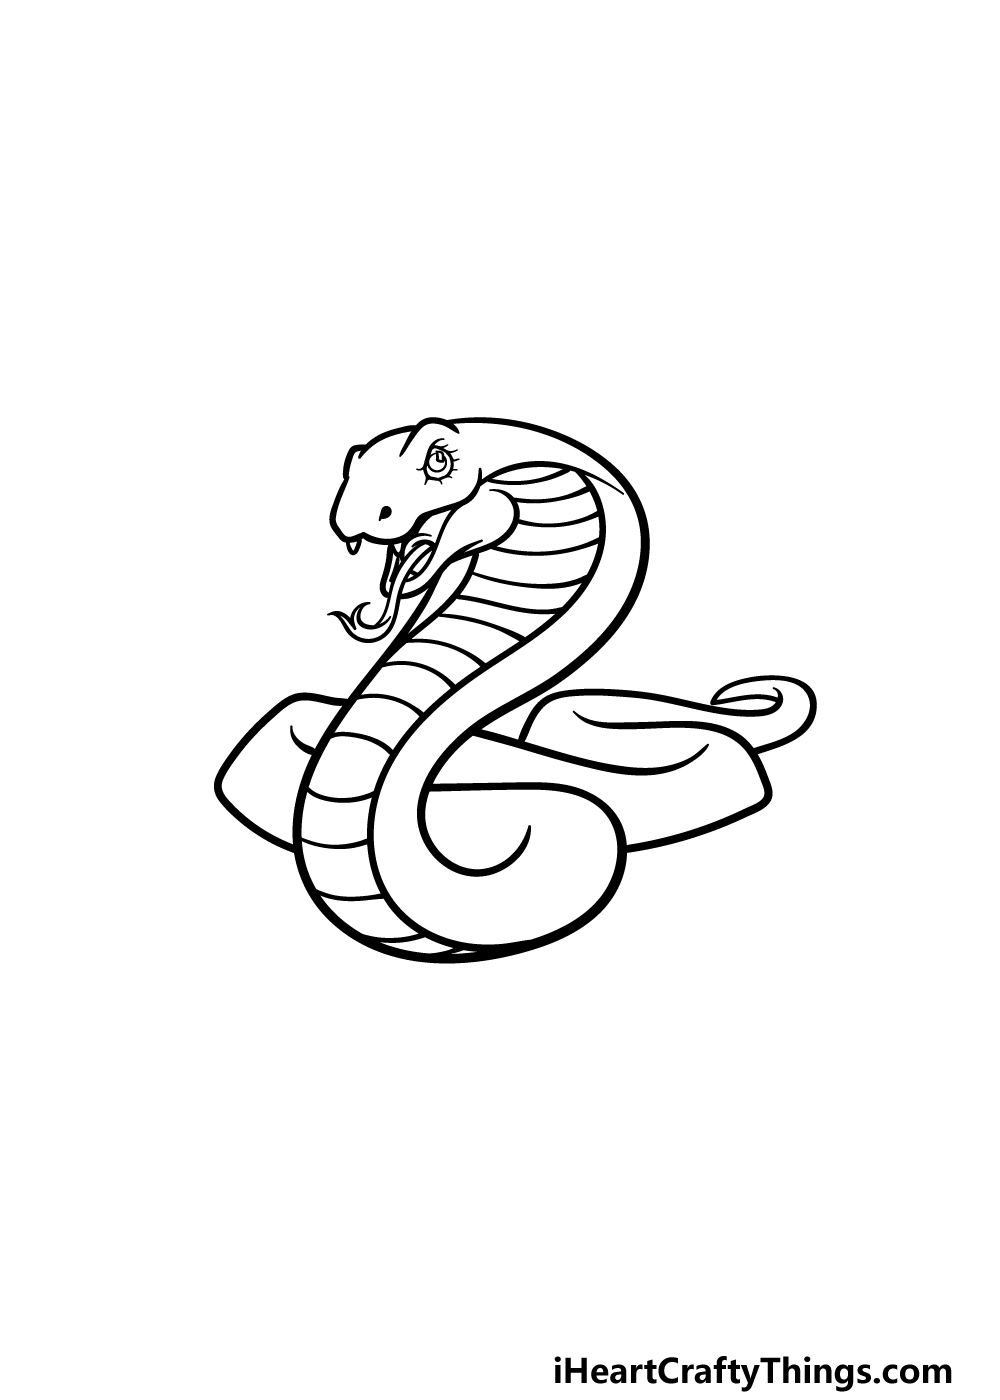
The entire body outline is complete now, so in the next few steps we will be adding the final details and touches.
In this step, we shall first be drawing the eyes for your king cobra drawing. To do this, first draw a small circle with another slightly larger one around it.
Then, draw a wavy line on top of it to give the snake a more intense expression. Finish off the eye by drawing some small lines poking off of it.
Then, we will be drawing some slightly curved horizontal lines across the belly of the snake. These would be used to provide friction for the snake to move around if it were real.
You will then be ready to add some final details and touches in the next step!
Step 5 – Add the final details to your king cobra drawing
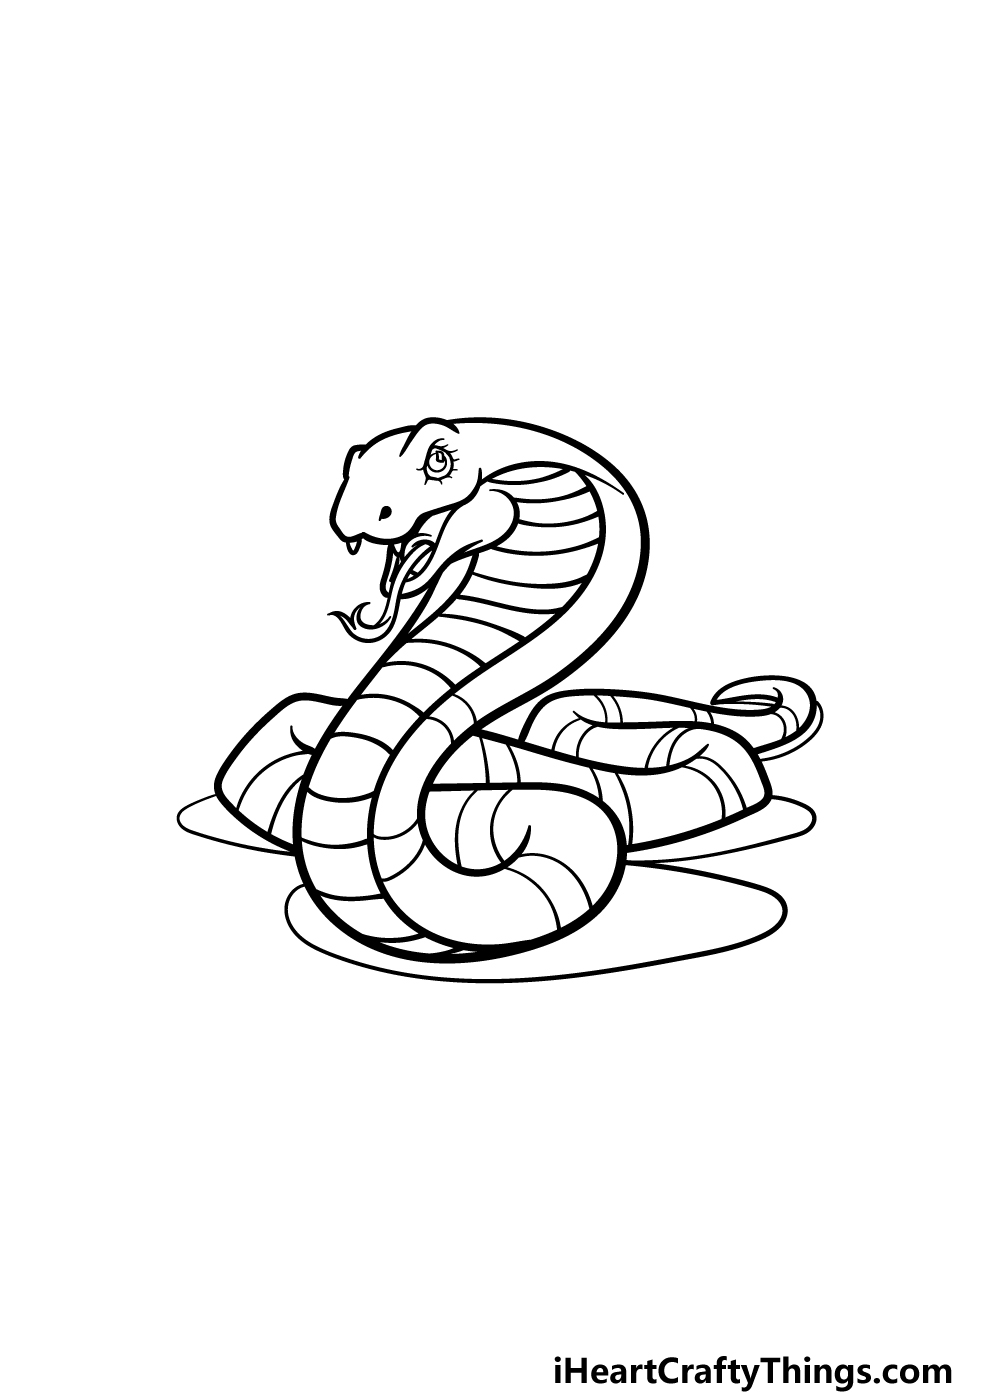
You’re now ready to finish off the drawing before heading to the final step of this guide on how to draw a king cobra!
To do this, we will finish off the final little details to have you ready for some coloring. The first details will be to draw some stripes along the body of the snake.
Once these are drawn, you can then draw some rounded shapes beneath it to show the shadow that the snake is casting.
Then, you’ll be ready for that final step! Before you move on, you should feel free to add any additional details of your own.
One idea would be to add a background, and this is a great way to show off what kind of environment you imagine this snake would be in. what ideas do you have to finish this image off?
Step 6 – Finish off your king cobra drawing with color
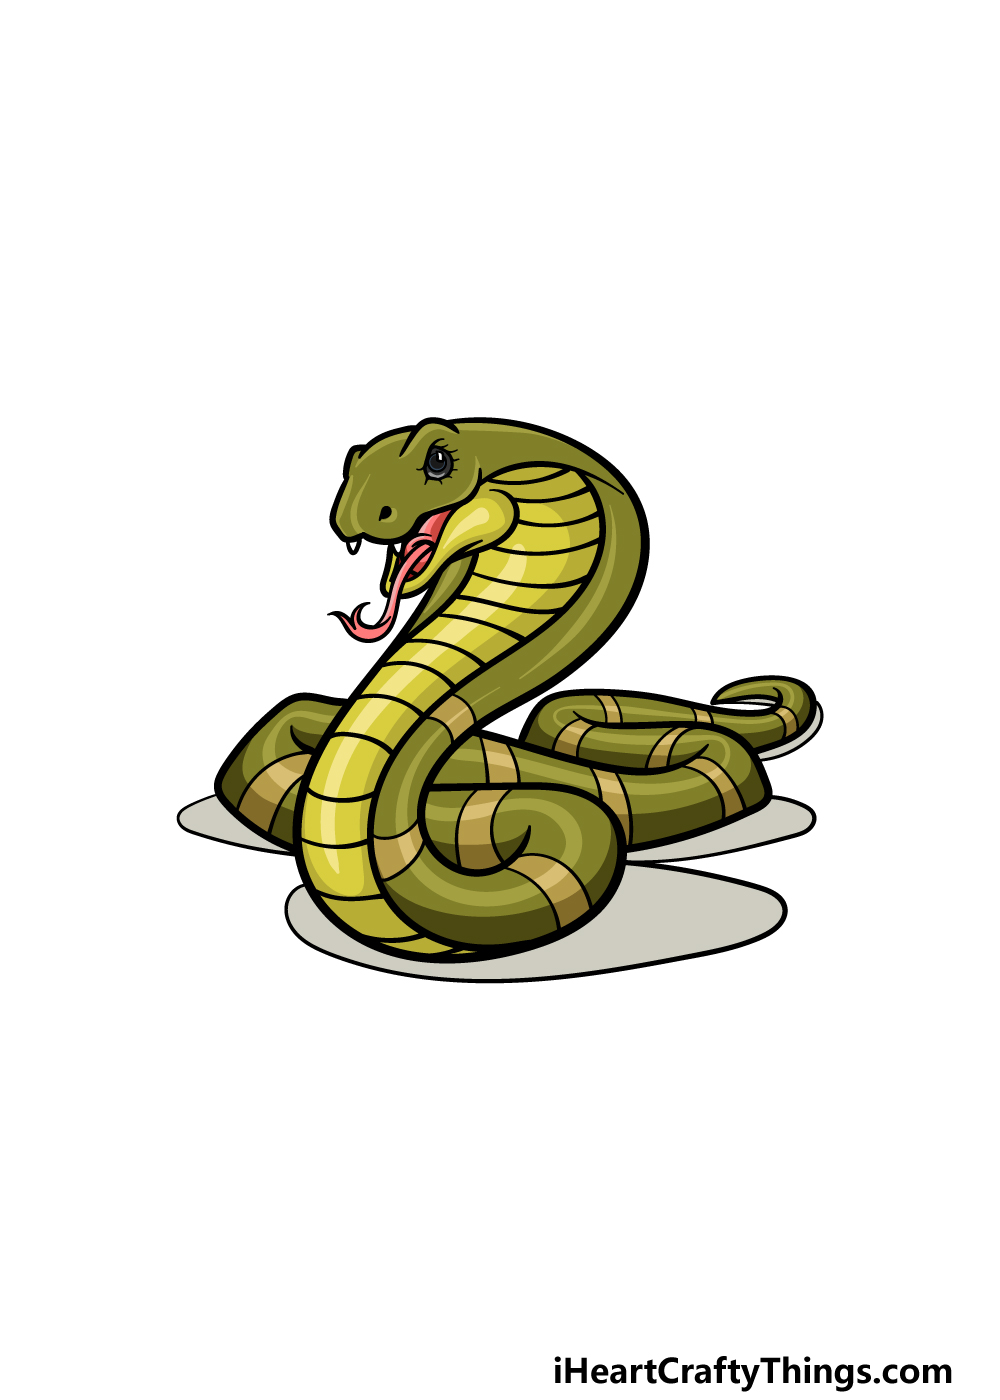
Now it’s time to relax with some coloring fun in the final step of this king cobra drawing! We showed you just one set of colors that you could use for it in our example image.
We chose some shades of light and dark greens and yellows for the body of the cobra for a bright and vibrant look.
This is just one approach, and you should feel free to use any other colors you would prefer for it!
There are tons of colors and art mediums that you could choose for it, so let your creativity flow and see what happens!
4 More Ways To Make Your King Cobra Drawing Unique
Find out how to make your king cobra sketch even more stunning with these tips.
We went with a green and yellow color scheme for this particular king cobra drawing. This color scheme looks great, but you don’t need to go with these colors if you have others you prefer!
The king cobra can come in a wide range of different colors and patterns, so you would have many colors to choose from. Even if you want to use unrealistic colors that would still be an option!
What colors would you choose?
This drawing of a king cobra shows this famous snake in a cool and simple pose. Even so, you could also portray it in a different pose if you prefer.
Changing the pose would be possible by changing just a few details or aspects of the positioning. If you need some help with a new pose, you could look up some king cobra pictures.
What are some other cool poses that you could use for this awesome king cobra?
The king cobra can be found in many different environments. They are most commonly found in forest and wetland areas, and these could serve as great backgrounds for this king cobra drawing.
Once again, you could look up some pictures if you need some help drawing these backgrounds. You also don’t necessarily have to go with a realistic background if you prefer not to.
Maybe it could be in a zoo or even a house setting, for a few more ideas.
This king cobra drawing is cool enough as it is, but you could always add some more animals to the image! For example, maybe you could even add another king cobra to the scene.
Or, you could draw any of your other favorite snake species to join this king cobra. Of course, you don’t need to stick to snakes.
In fact, you coil add any other animals that you love to finish up this artwork. What other animals might you add to this picture?
Your King Cobra Drawing is Complete!
This snake is a deadly and formidable creature, but we hope that learning how to draw a king cobra was still a fun and easy experience for you to take on!
As long as you follow all of the steps that we laid out for you, you will be able to draw this amazing snake in no time.
Don’t forget to also add your own details, ideas and color choices to really finish it off!
This guide is just the start of the drawing fun, as we have some more awesome guides to enjoy on our website! We have many more we plan to upload soon, so please stay tuned for those.
We would also love to see your amazing finished king cobra drawing, so you can show off your creation by sharing it on our Facebook and Pinterest pages.