


The husky, or more specifically Siberian Husky, is a classic northern breed of dog most commonly used as a sled dog in the polar regions.
Because of the huskies’ beautiful fluffy coat and adorable features, they are one of the most sought-after pet dogs all over the world.
The extreme popularity of huskies have created a huge demand for a free husky drawing tutorial.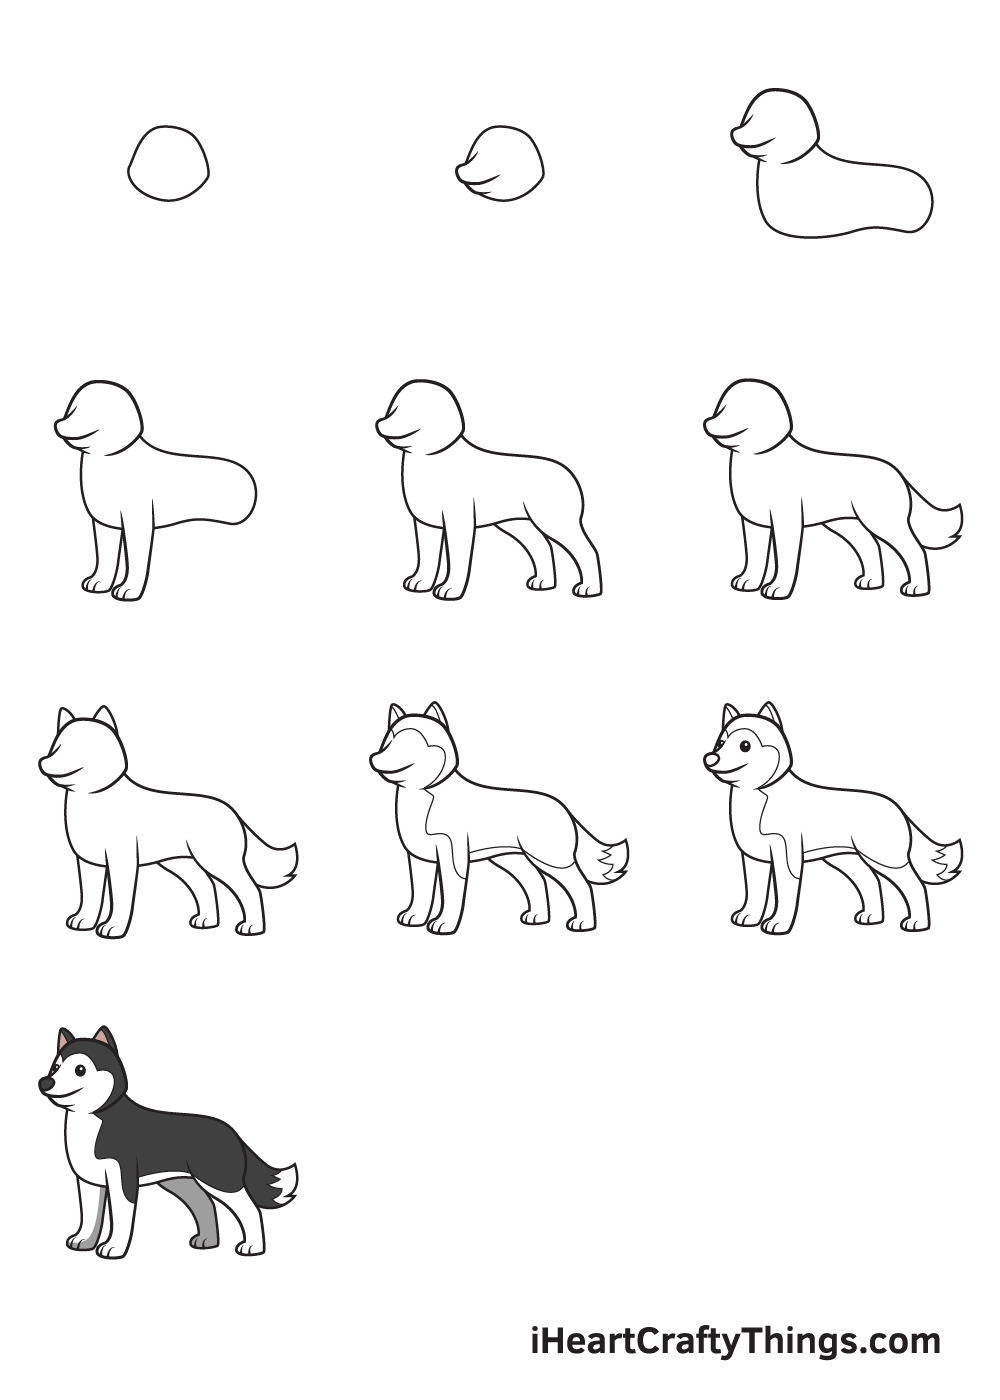
We have created a step-by-step tutorial on how to draw a husky, summed up in 9 basic instructions.
This tutorial is made up of elaborate, yet brief, steps accompanied with visual illustrations, making it a lot easier for you to follow!
All you need is a pen and paper and you’re all set to start drawing. Don’t forget to grab your favorite coloring materials so you can color your drawing too!
Have fun drawing your very own unique husky dog!
How to Draw a Husky – Let’s get started!
Step 1
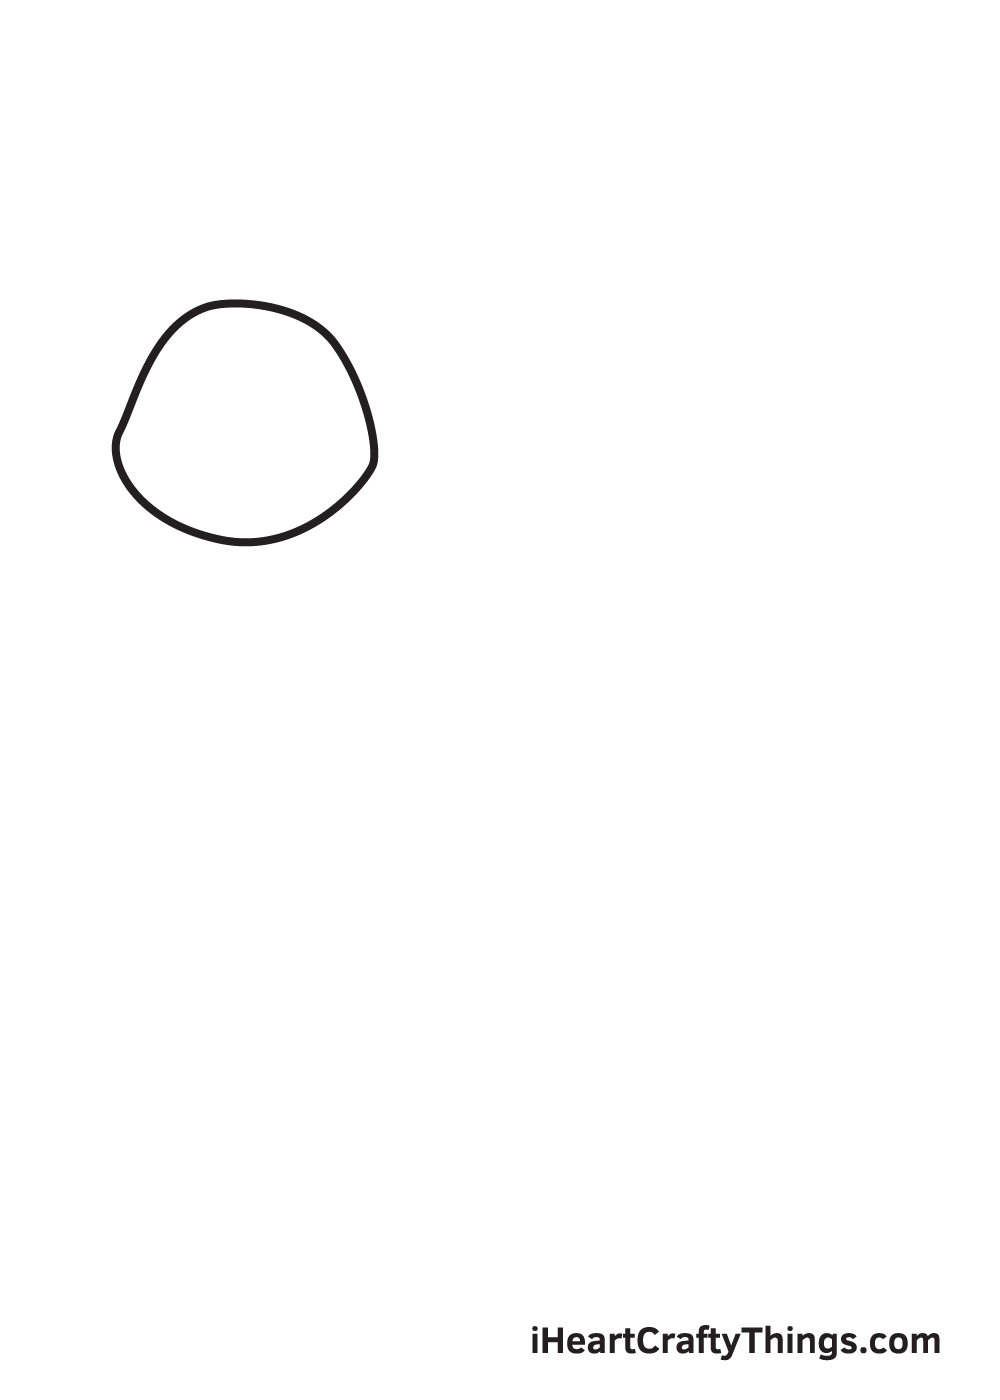
Starting on the upper left portion of your paper, draw an irregular circle shape with slightly pointed sides to structure the shape of the husky’s head.
Avoid pressing down too hard with your pencil when drawing the outline for your husky’s head. It’s crucial to sketch lightly so you can easily draw some parts of the outline when you no longer need them later on.
To ensure that the husky will be drawn in the center of your paper, create reference lines by drawing an intersecting horizontal and vertical line across your paper.
This guideline should divide your paper into four square spaces. The first space in the upper left corner of your paper is where you should draw the outline of the head of your husky.
Step 2 – Create an Outline of the Husky’s Head

Using the outline we drew previously as a guide, draw the snout on the left side, directly connected to the outline.
Afterwards, get rid of any overlapping lines from the outline using an eraser. This will help keep your drawing neat and tidy.
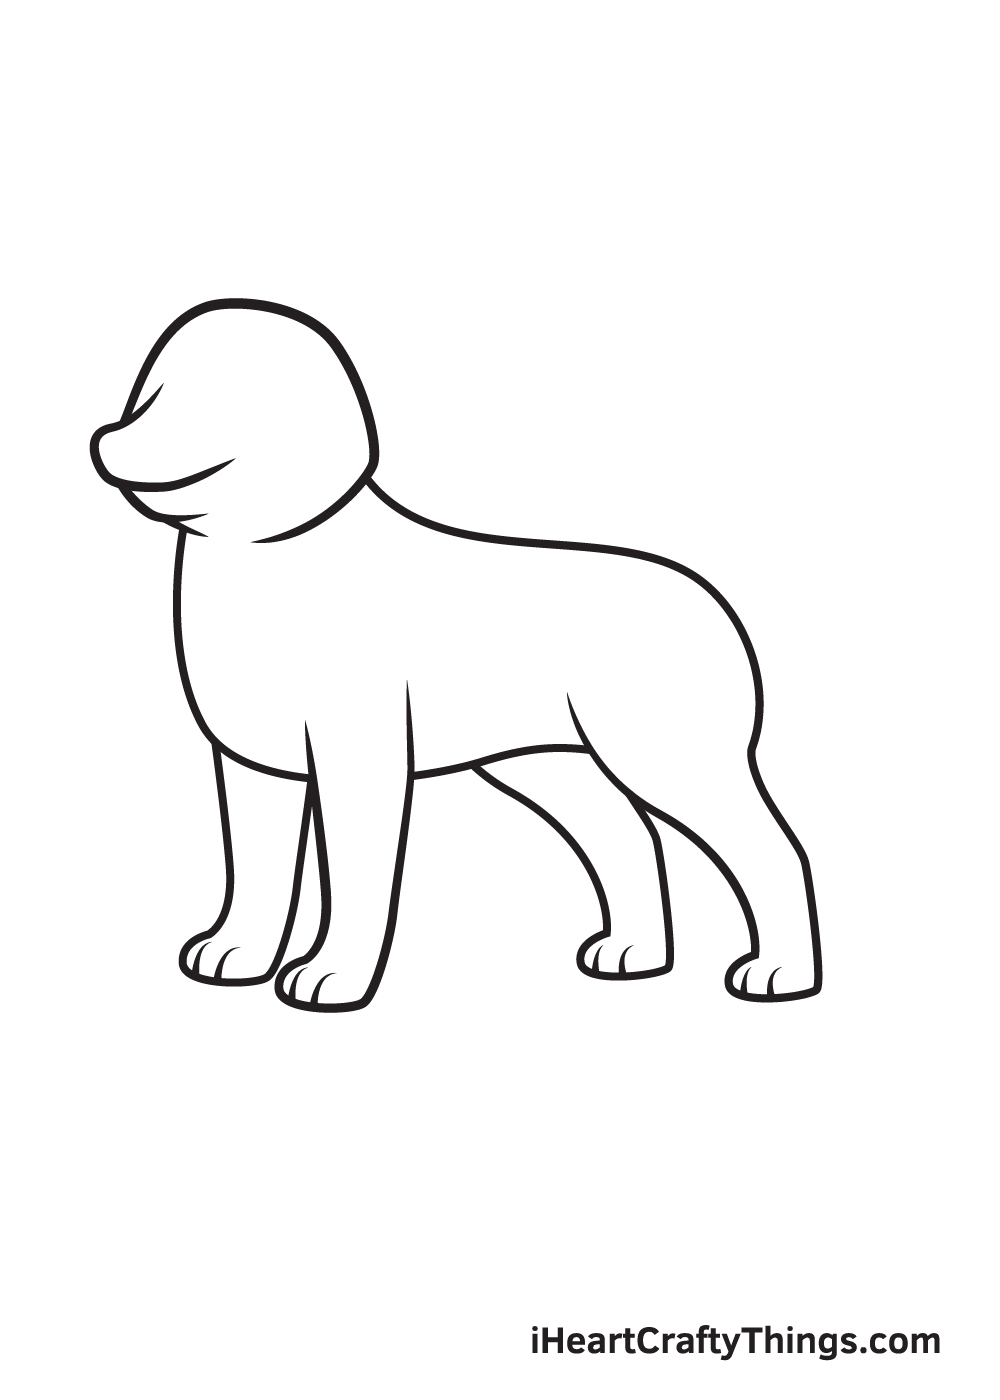
Step 3 – Next, Draw the Body of the Husky
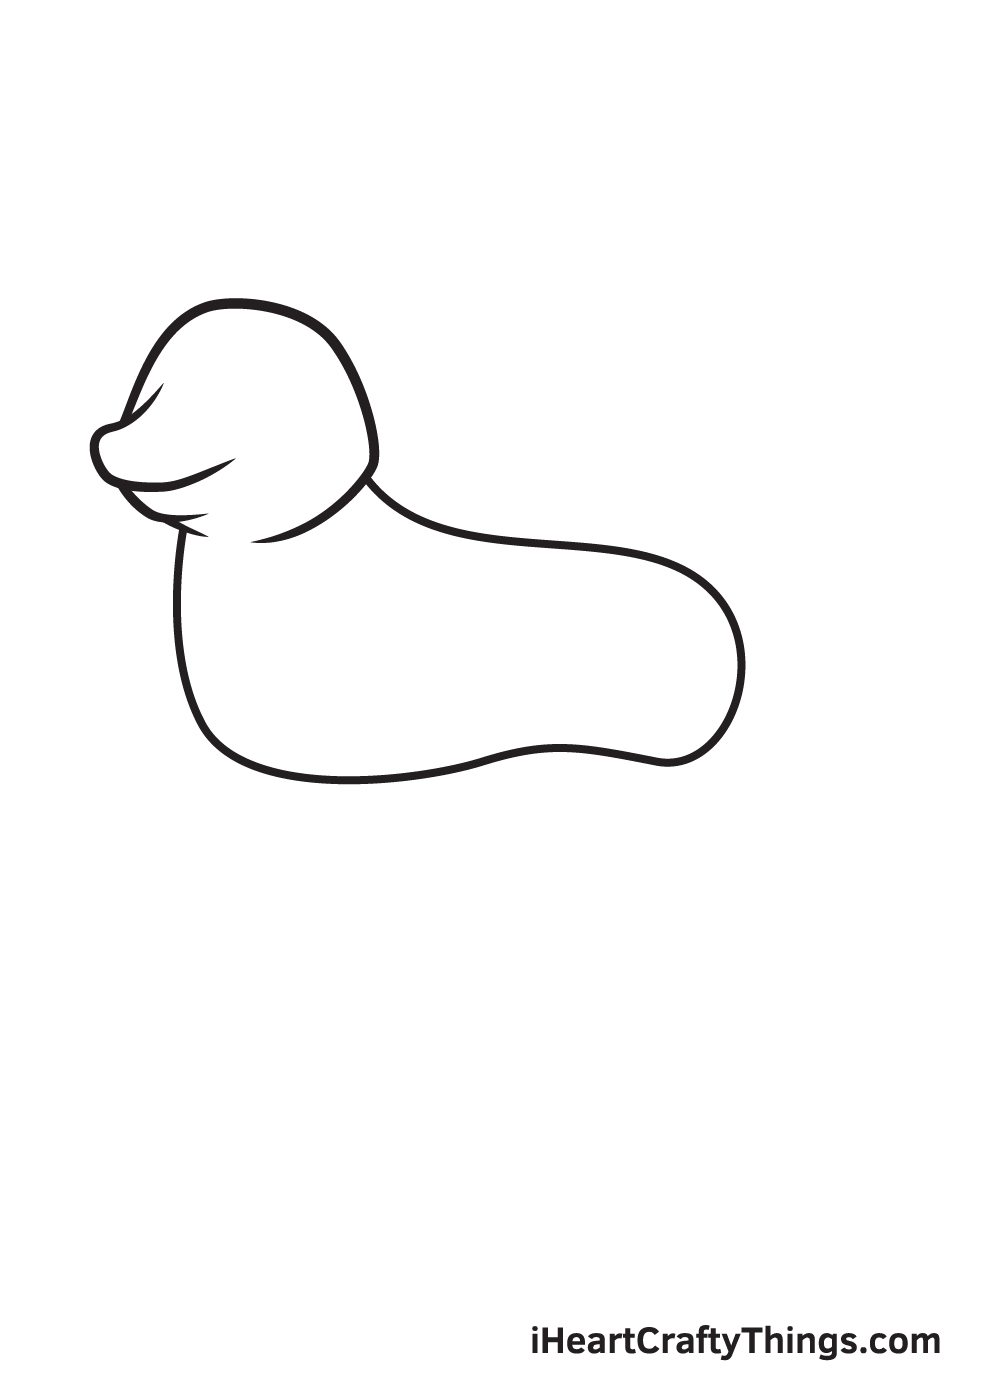
Continue by drawing the body of your husky starting from the back of its head extending all the way to the bottom of the chin. This outlines the entire torso of the husky, as shown in the illustration.
Huskies are known for its brawny, compact build, so make sure to make the body appear beefy when drawing it!
Step 4 – Afterwards, Draw the Husky’s Front Legs
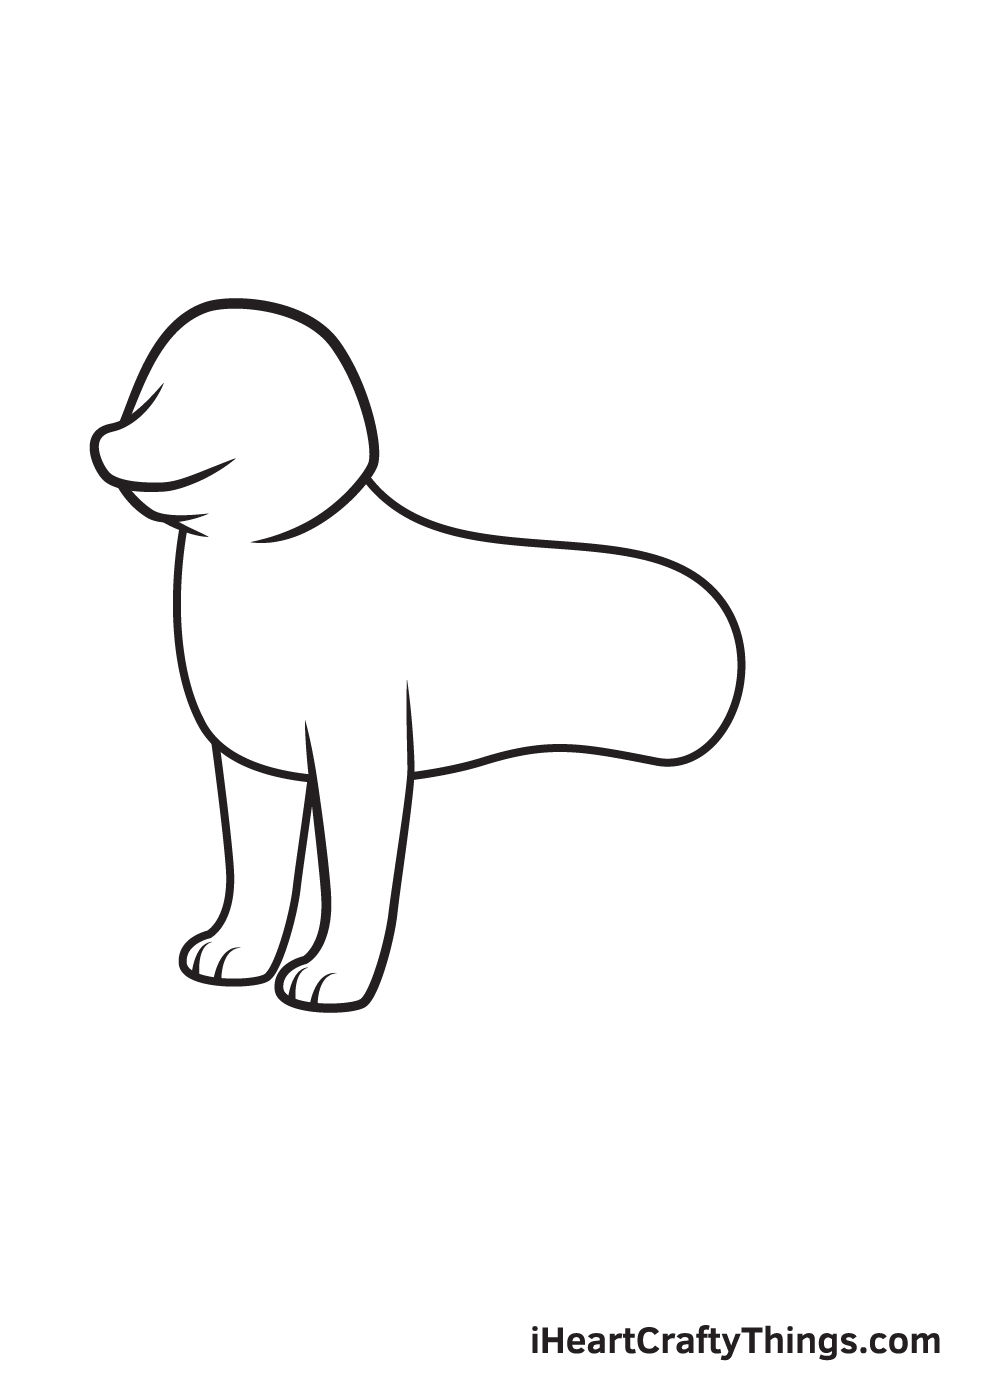
Right underneath the husky’s chest, draw a slender leg on each side of its body. Afterwards, draw a paw with three toes at the bottom of each leg!
Again, don’t forget to erase any unnecessary overlapping lines from the rough sketch of outline we drew previously.
Step 5 – Complete the Husky’s All Four Legs
Draw the husky’s hind legs underneath its buttocks. After finishing this step, the husky’s all four legs—two front legs and two hind legs—should now be complete.
Step 6 – Then, Add the Husky’s Thick, Furry Tail
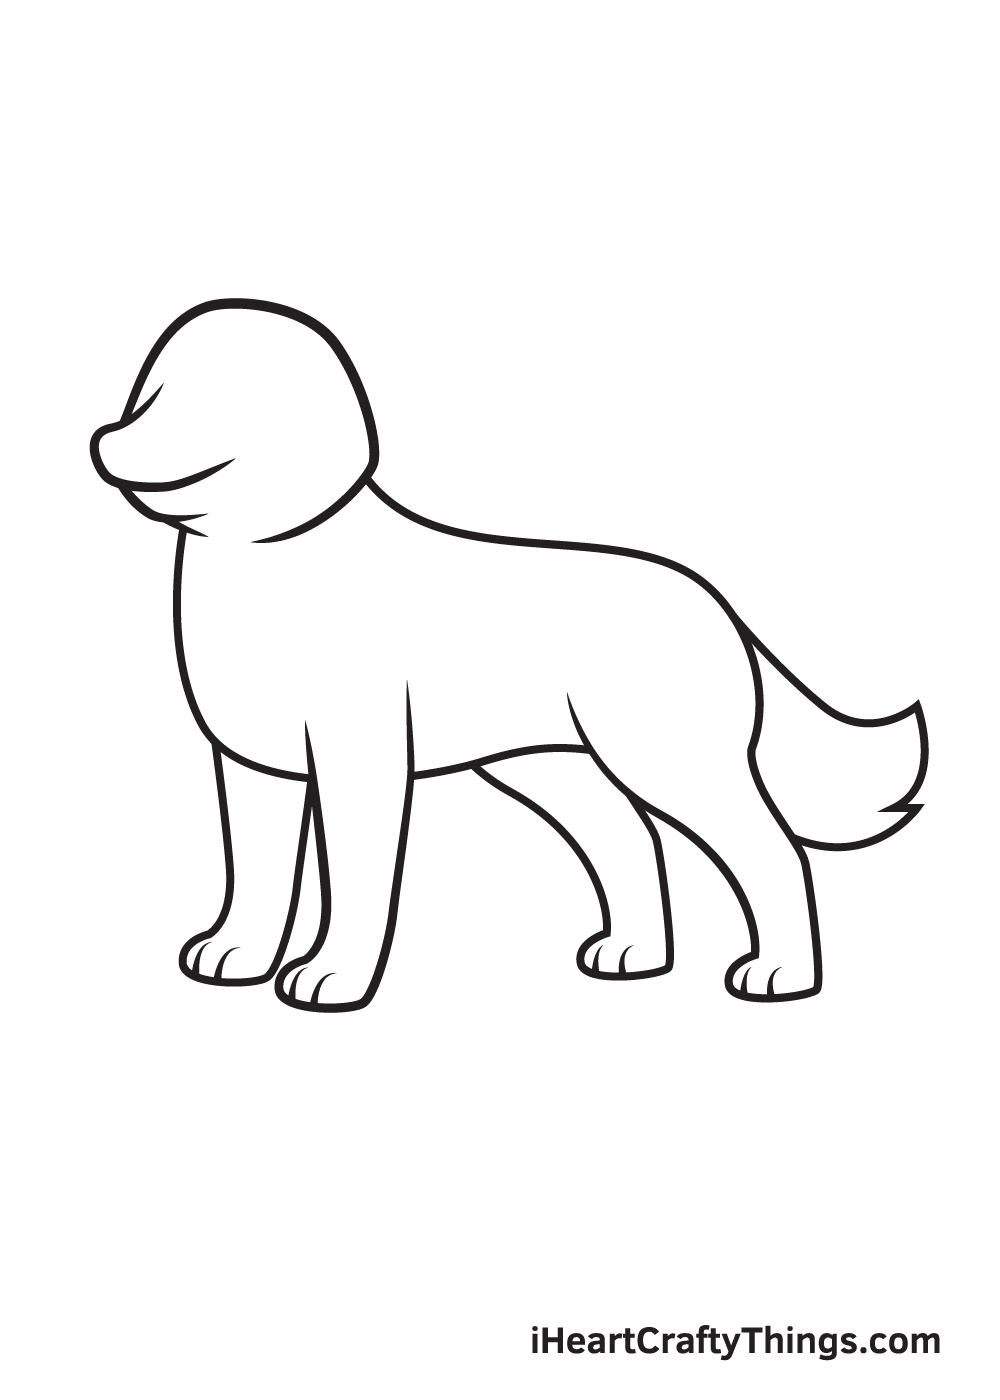
Draw the tail attached to the rear end of the husky’s torso.
Don’t forget to add clumps of fur to add texture on the tail, making it look fluffy and realistic!
Step 7 – Now, Draw a Pair of Upright Pointed Ears
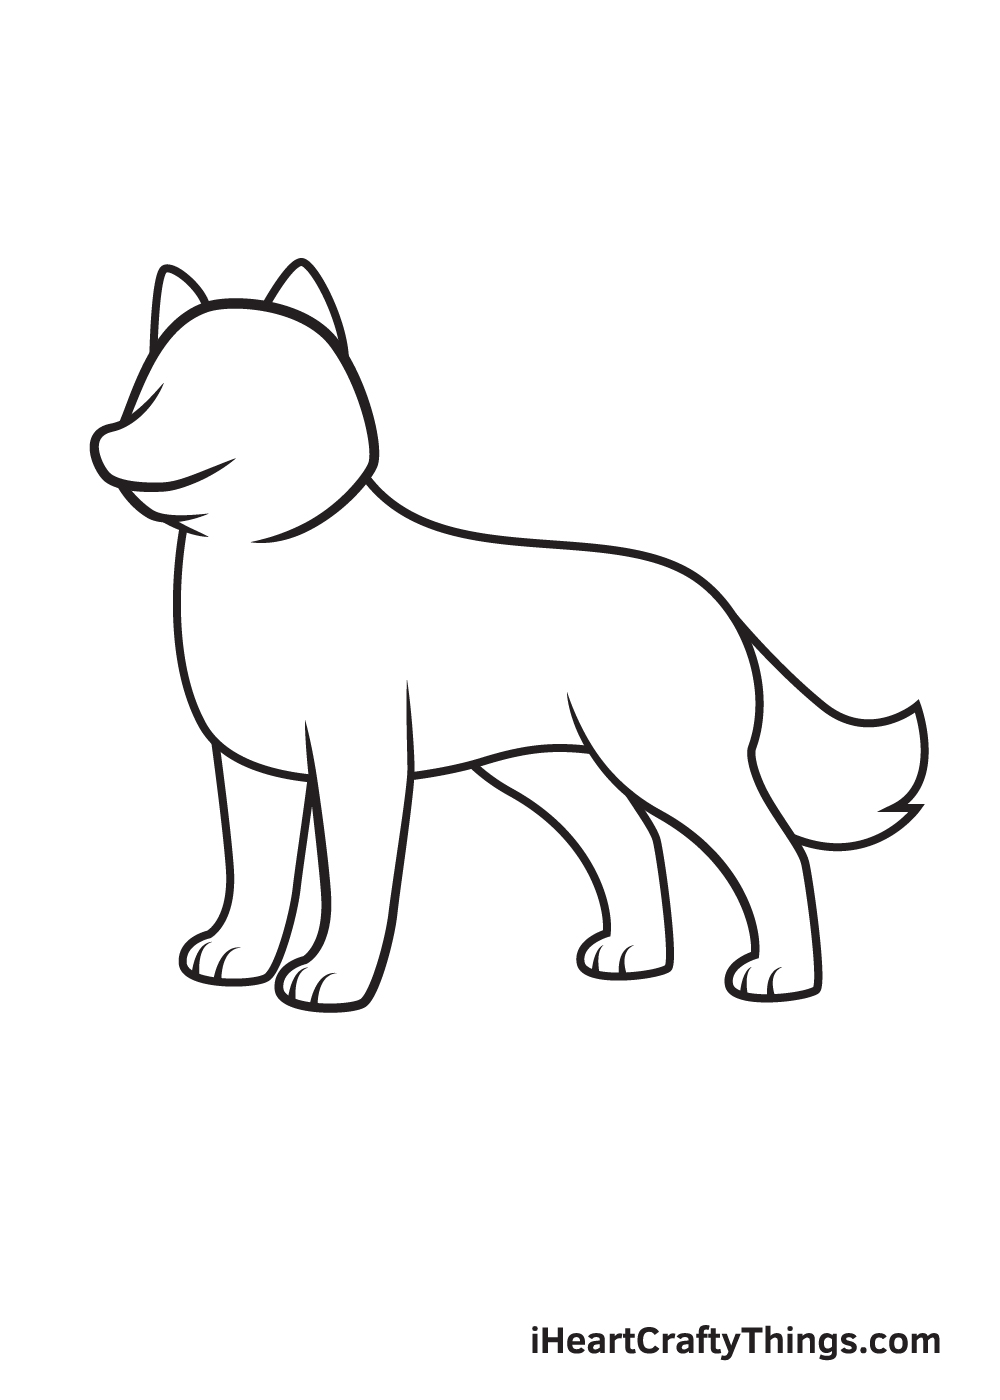
One of the most distinct features of a husky is its erect pointed ears, and that’s exactly what we will be drawing in this step.
Simply draw two upside down “V” shapes at the top of the husky’s head to form the ears.
Step 8 – Add Patterns All Throughout the Fur Coat
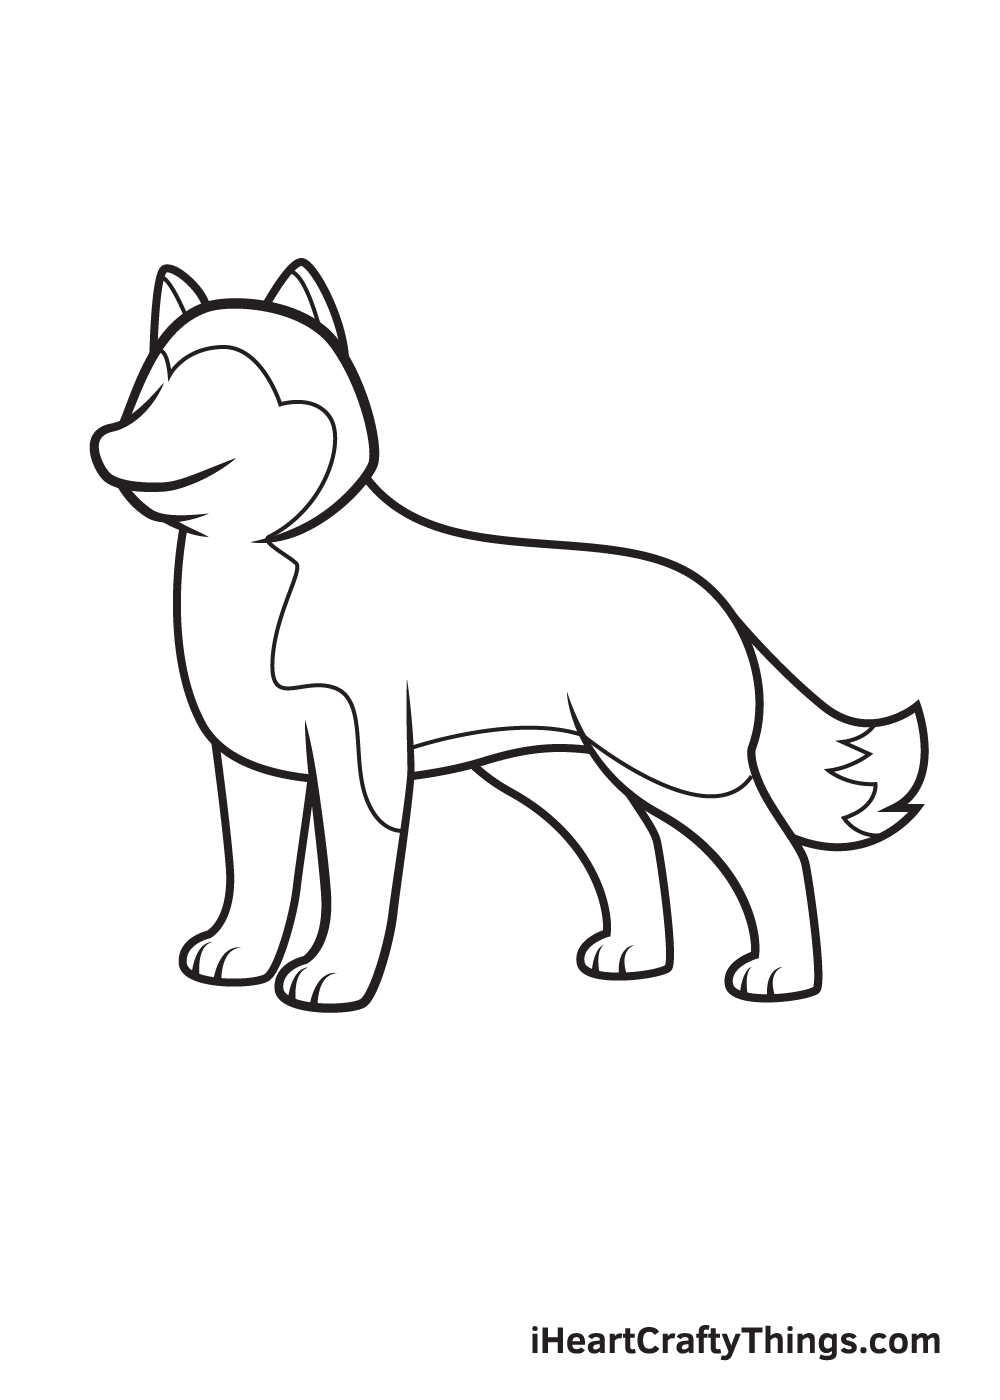
Huskies are particularly known for their multi-colored fur coat, which is usually a combination of black and white. In this step, we’ll be drawing the distinct pattern on a husky’s fur coat.
Draw a continuous, uneven line across the surface of the husky’s body, separating the top of its body from the bottom. This outlines the division between the two colors of a husky’s coat.
Step 9 – Afterwards, Draw the Eyes and the Nose
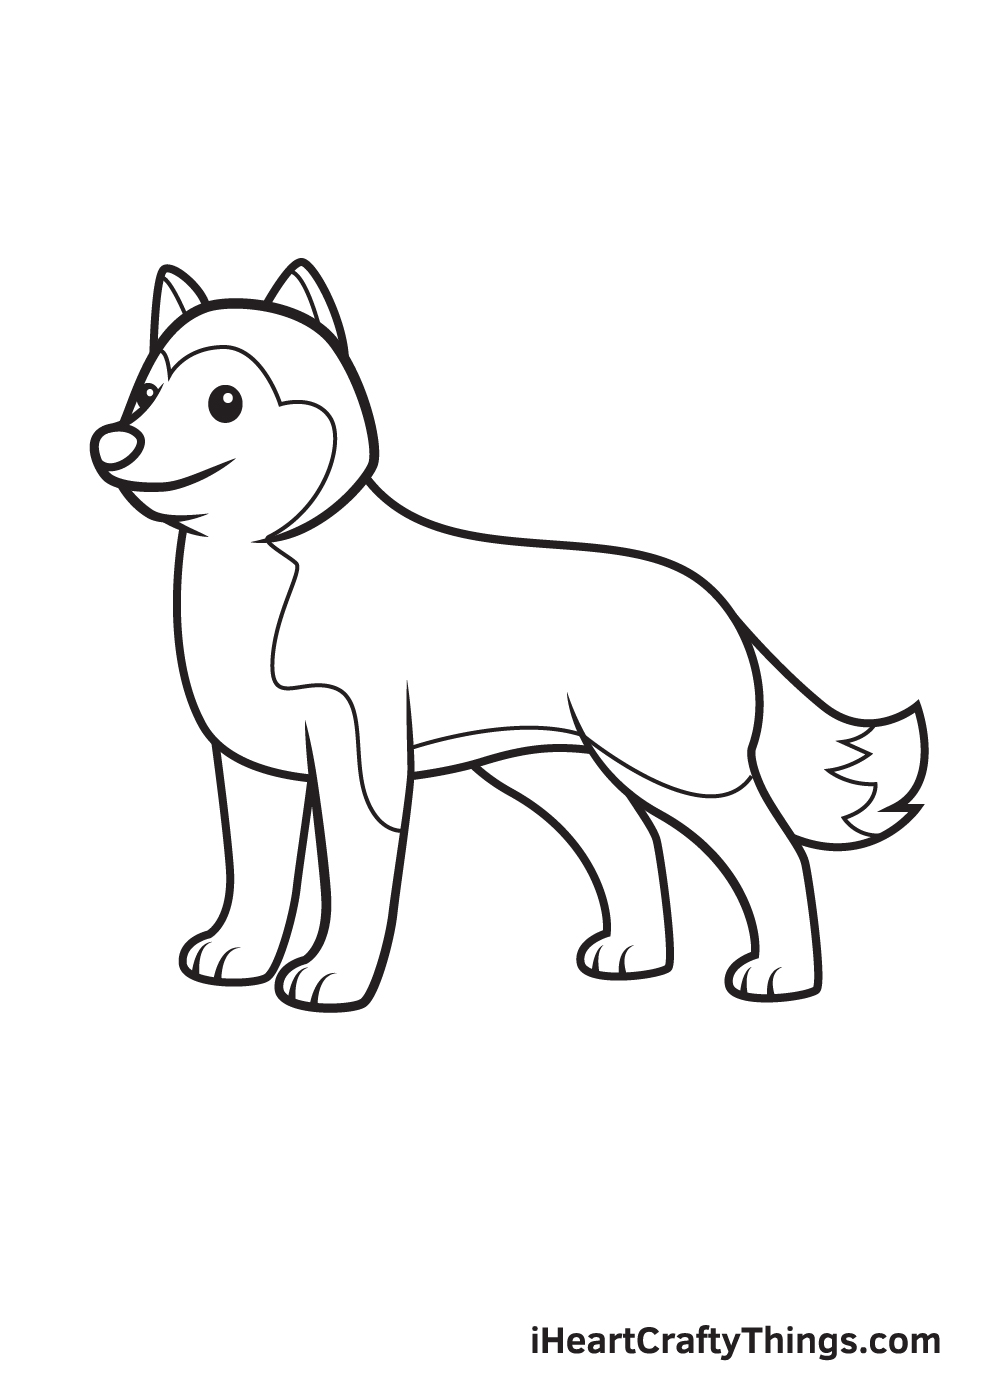
Finalize your drawing by drawing the husky’s facial features. On each side of its face, draw a circle with another tiny circle inside to create the eyes.
Shade the entire eyes except for the small circle within the eyes to create a dramatic “sparkling eyes” effect. Then, draw a half upside down triangle on the edge of the snout for the nose.
As you can see, the husky drawing is complete at last! Now, all it’s missing is a splash of different colors to make your husky artwork more eye-catching!
Now that we have successfully drawn a husky, it’s finally time for the most exciting part, which is picking the colors and coloring your drawing!
This is the part where you can show off your artistic skills as well as your ability to mix and match various colors.
Huskies come in three primary colors: white, black and grey. Generally, their coats have more than one color and are often a combination of the colors black and white, black and tan, sable and white, red and white, and grey and white.
You can opt to color your husky using the standard colors mentioned above or use a unique set of colors. Have fun playing with colors and watch as the husky ultimately comes to life!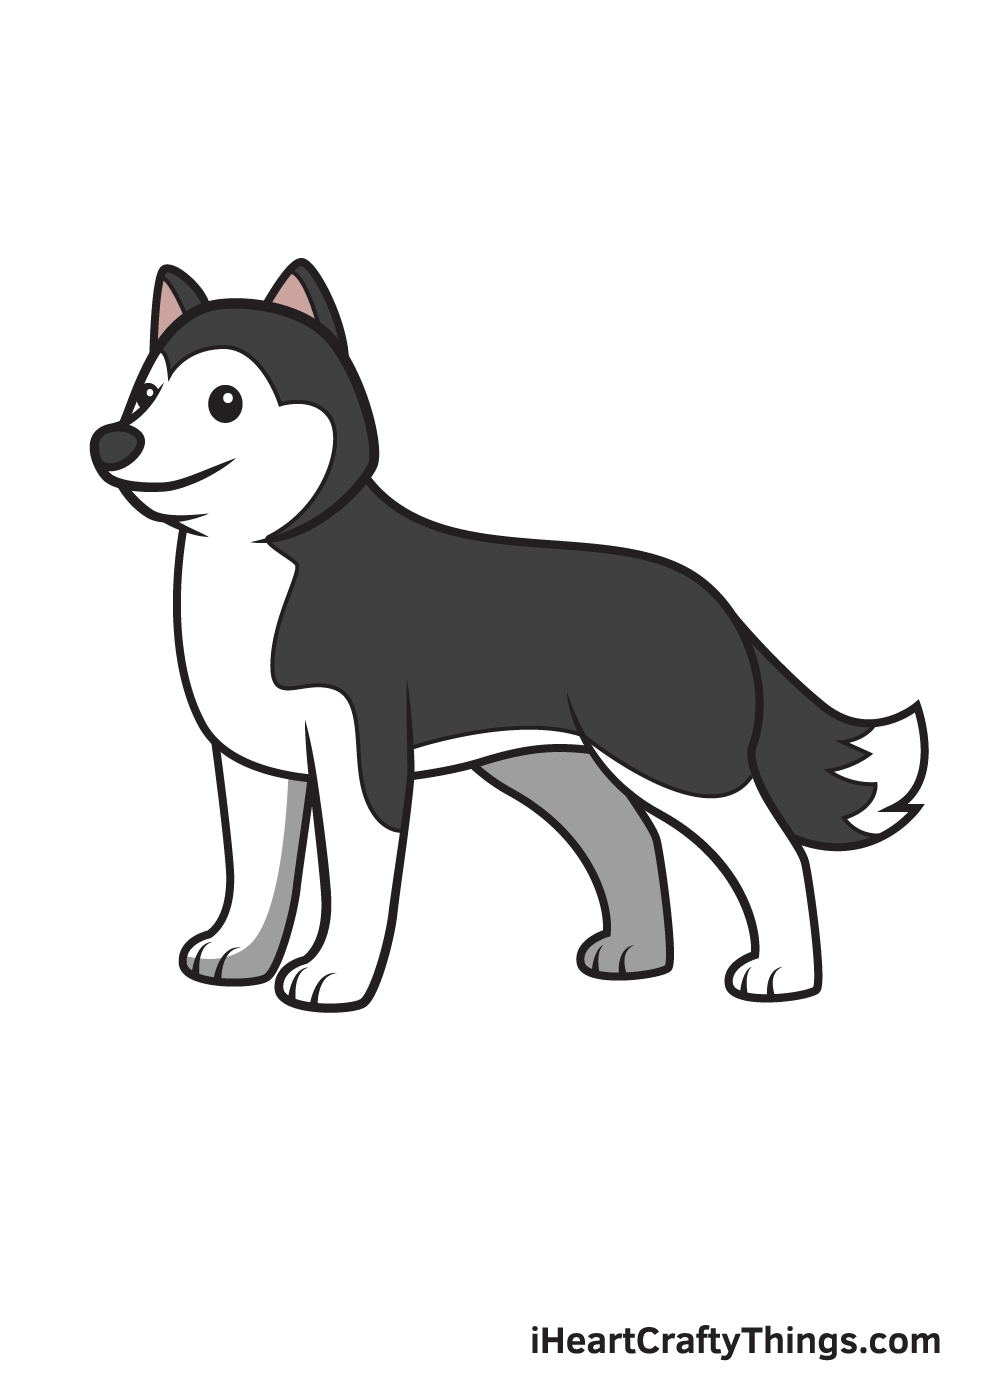
5 Tips To Make Your Husky Drawing Even Better!
Find out how to make your cute husky sketch even better with these tips!
This husky drawing we have worked on is cute enough as is, but we can make it even cuter with some accessories! Adding these can easily add even more cuteness and personality to the husky.
These could be as simple as a collar around the husky’s neck, or it could be a ball it is holding in its mouth. What else could you add for this husky?
The husky is a really sociable breed of dog, and you could make this drawing of a husky even greater with a friend!
Now that you know how to draw a husky, you could easily add another one to the image.
By changing just a few details and features, you could have a completely unique husky friend for this one!
Of course, huskies don’t only make friends with other huskies. They can be friends with any kind of dog, so if you have some favorite dog species then you could add them to this husky sketch!
These could be big like a dalmatian or an alsatian or maybe tiny like a poodle or a Yorkshire terrier. Whatever you choose will look adorable when posed with this husky!
Huskies can also be friends with humans, and you could also add a human character for this husky to be friends with! This human character could be drawn in a similarly cartoony style or a different one if you prefer.
They could be based on a friend, family member or even yourself! What would this person and husky be doing in this scene?
When you have chosen which of these tips to use or not, you can finish it all off with a background! This is the perfect way to complete the scene you have in mind.
If you wanted the dog to be playing with a friend, you could draw them in a lovely yard setting for one idea.
A background is a great way to finish a picture, so what will you use for this husky drawing?
Your Husky Drawing is Complete!
Huskies are used to extremely cold temperatures, thanks to their thick coat. That means, taking care of a pet husky can be quite challenging because you’ll have to adjust the surroundings to their natural habitat.
That can be difficult, especially for people who live in tropical regions. Why not learn how to draw a husky instead?
Hopefully, with this step-by-step husky drawing tutorial, you can have a husky that you can call your own.
This will give you the opportunity to see a husky and appreciate its beauty up close and personal. It almost feels like you have a pet husky! If you love huskies or dogs in general, then we’re sure you’ll have a good time drawing one.
As soon as you finalize your drawing, go the extra mile by coloring it. Once you’re done, take a picture of your colored drawing and share it on our Facebook page and on Pinterest.
Don’t be embarrassed to show off your artwork. You’ve worked hard for it, so it’s absolutely worth sharing. Don’t worry, we’re sure it looks incredible!
We can’t wait to see your awesome husky drawing!