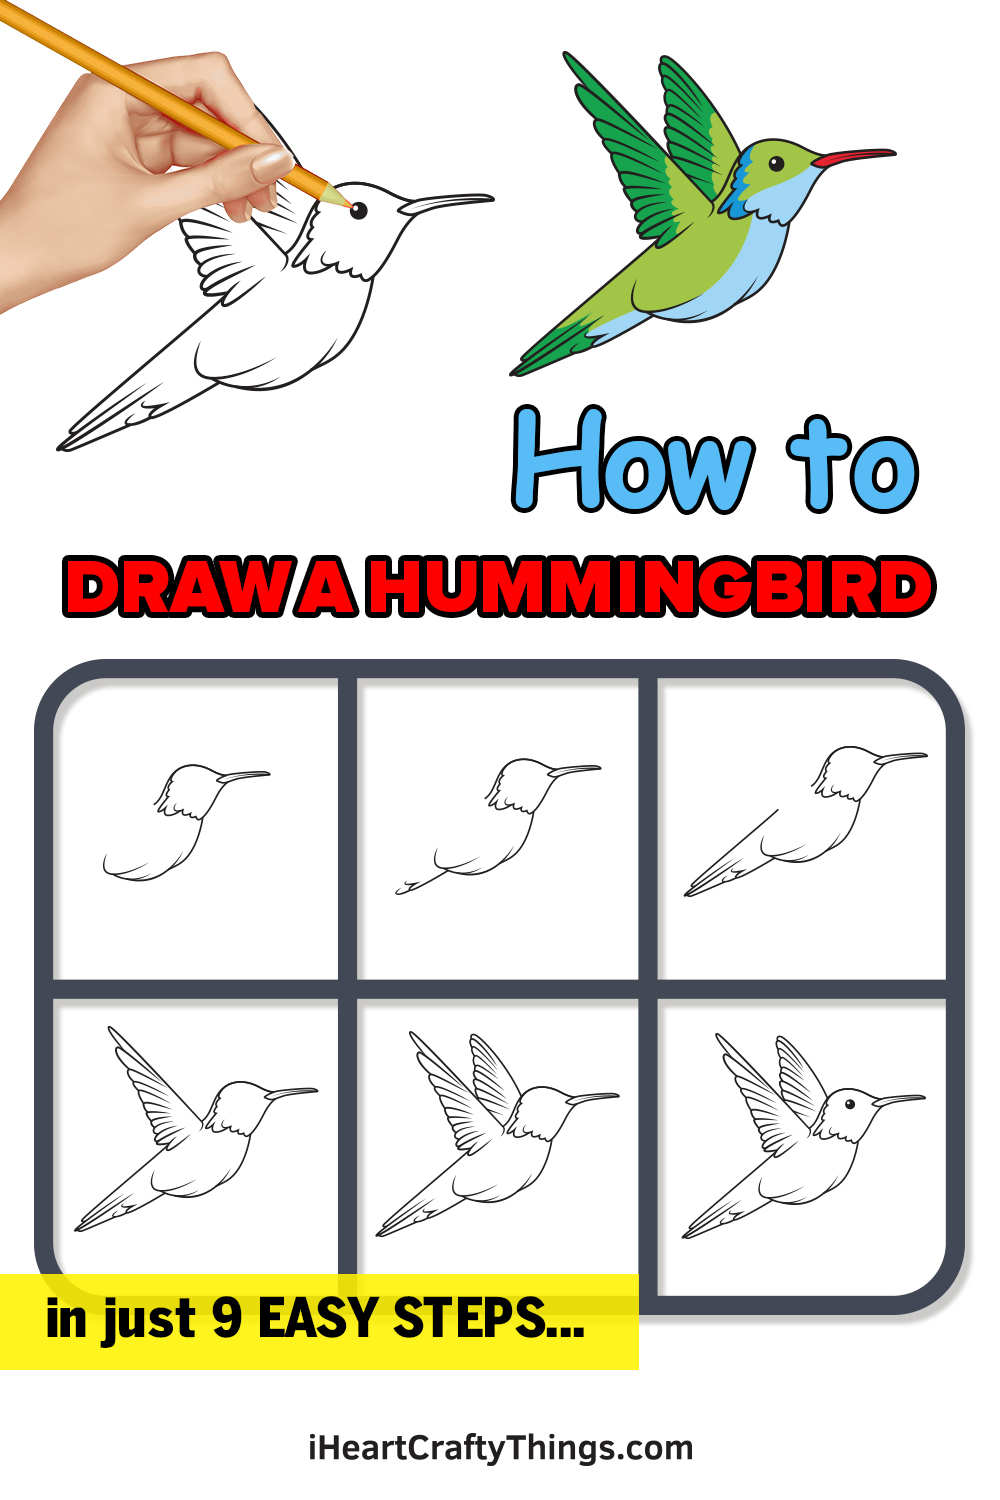
It’s fun and easy for anyone to learn how to draw a hummingbird when following this simple guide for kids! Learn how to draw this adorable, gorgeous bird before you know it.
Hummingbirds are really popular worldwide because of their delicate beauty. They also stand out due to their ability to hover like little helicopters and how they draw pollen from flowers.
Many bird lovers like to try and learn how to draw them, but it can be quite difficult to get it right. That is how it will be if you’re not following this guide, at least!
I will guide you through all the steps of recreating this adorable little bird and how to draw details such as the beak and feathers. Once you have finished it, you could even add a flower for it to interact with!
Join me as we discover the easiest way to draw this beautiful animal.

Watch This Guide To See How To Make A Hummingbird Drawing
How to Draw a Hummingbird — Let’s get started!
Step 1
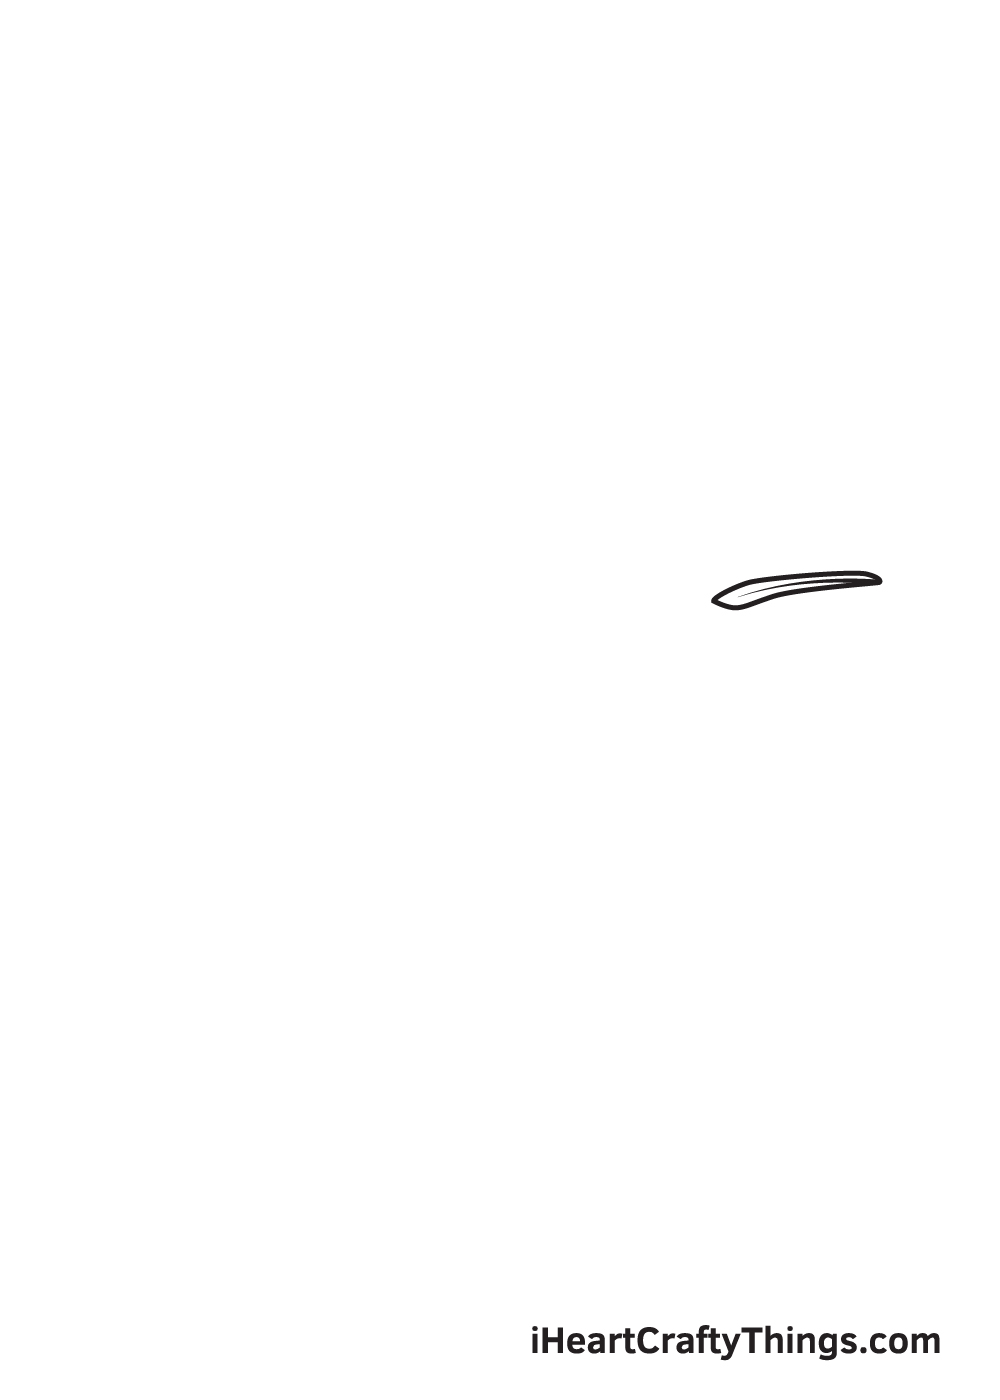
Starting on the right portion of your paper, draw a long, slim pointed shape to create the hummingbird’s bill.
One of the most distinct features of a hummingbird is its long, pointed bill. It is basically the beak that serves as a protective sheath for its tongue, which is what the hummingbird uses to collect nectar from a flower.
Step 2 — Draw the Crown of the Hummingbird
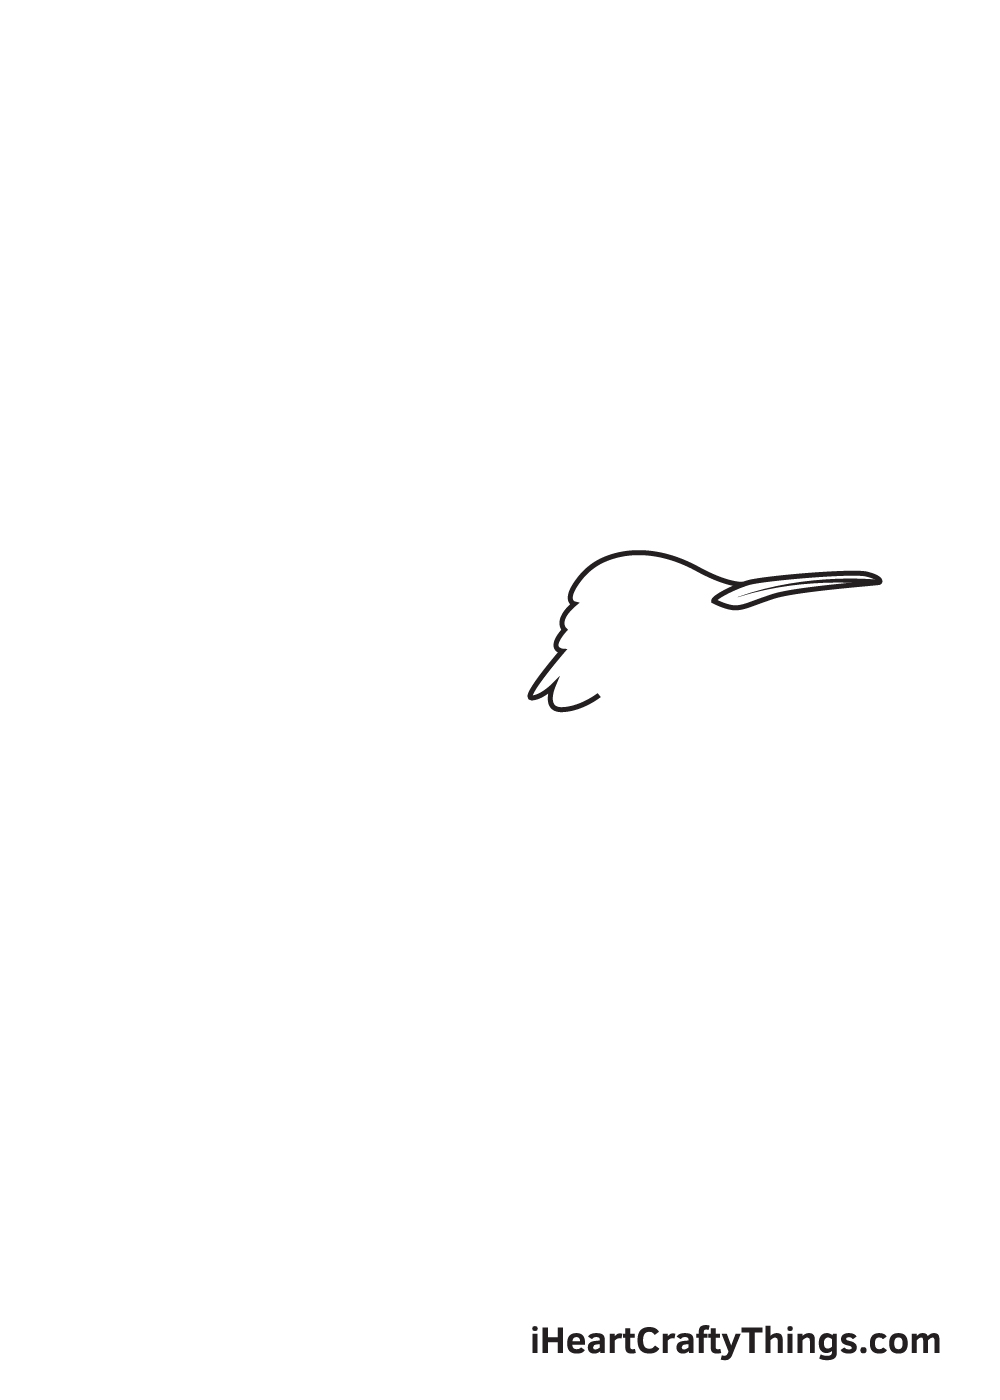
The crown is essentially the top of the head of the hummingbird. Outline the top of the head of your hummingbird by simply drawing a curved line starting from the top of its bill.
When drawn correctly, the line should look like a downward slope, as shown in the illustration.
Don’t forget to add clumps of feather on the surface of the outline to make your bird appear more realistic!
Step 3 — Complete the Outline of the Hummingbird’s Head
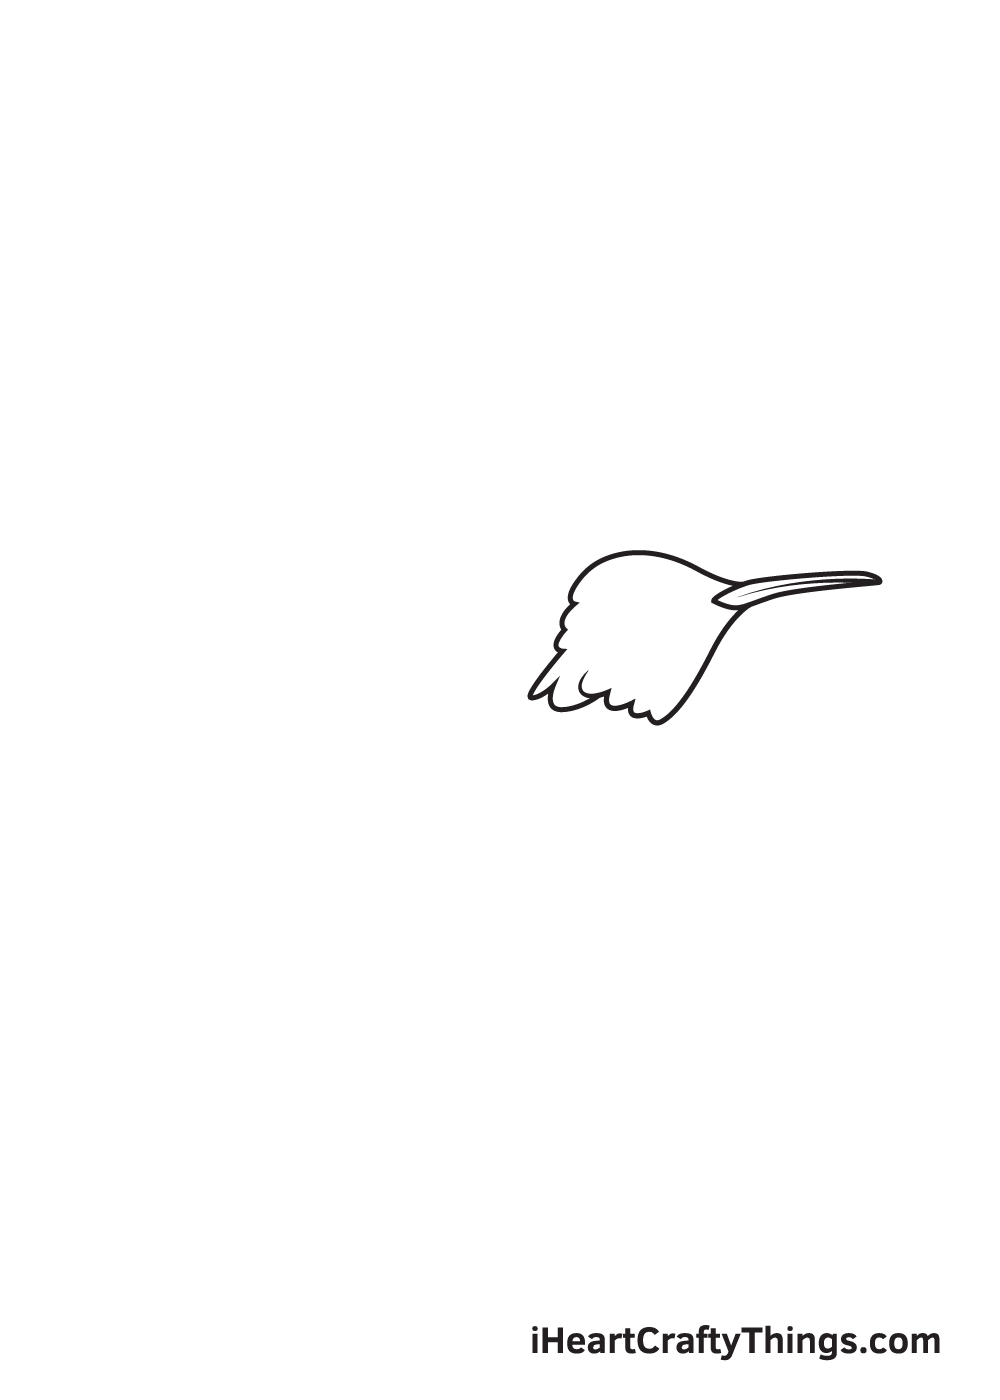
Create the chin of your hummingbird by drawing a downward line beginning from the bottom of the beak.
Then, close off the outline of your hummingbird’s head by drawing multiple linked curved lines at the bottom, forming fluffy chunks of feather.
Step 4 — Now, Draw the Chest of the Hummingbird
Draw a downward curved line starting below the hummingbird’s chin. Then, repeat the same steps until the outline extends all the way down to its belly.
Keep in mind to avoid pressing down too hard with your pencil. Draw this step with a light hand to create natural thick-to-thin strokes. Light strokes will help make the feathers on your hummingbird’s body appear natural.
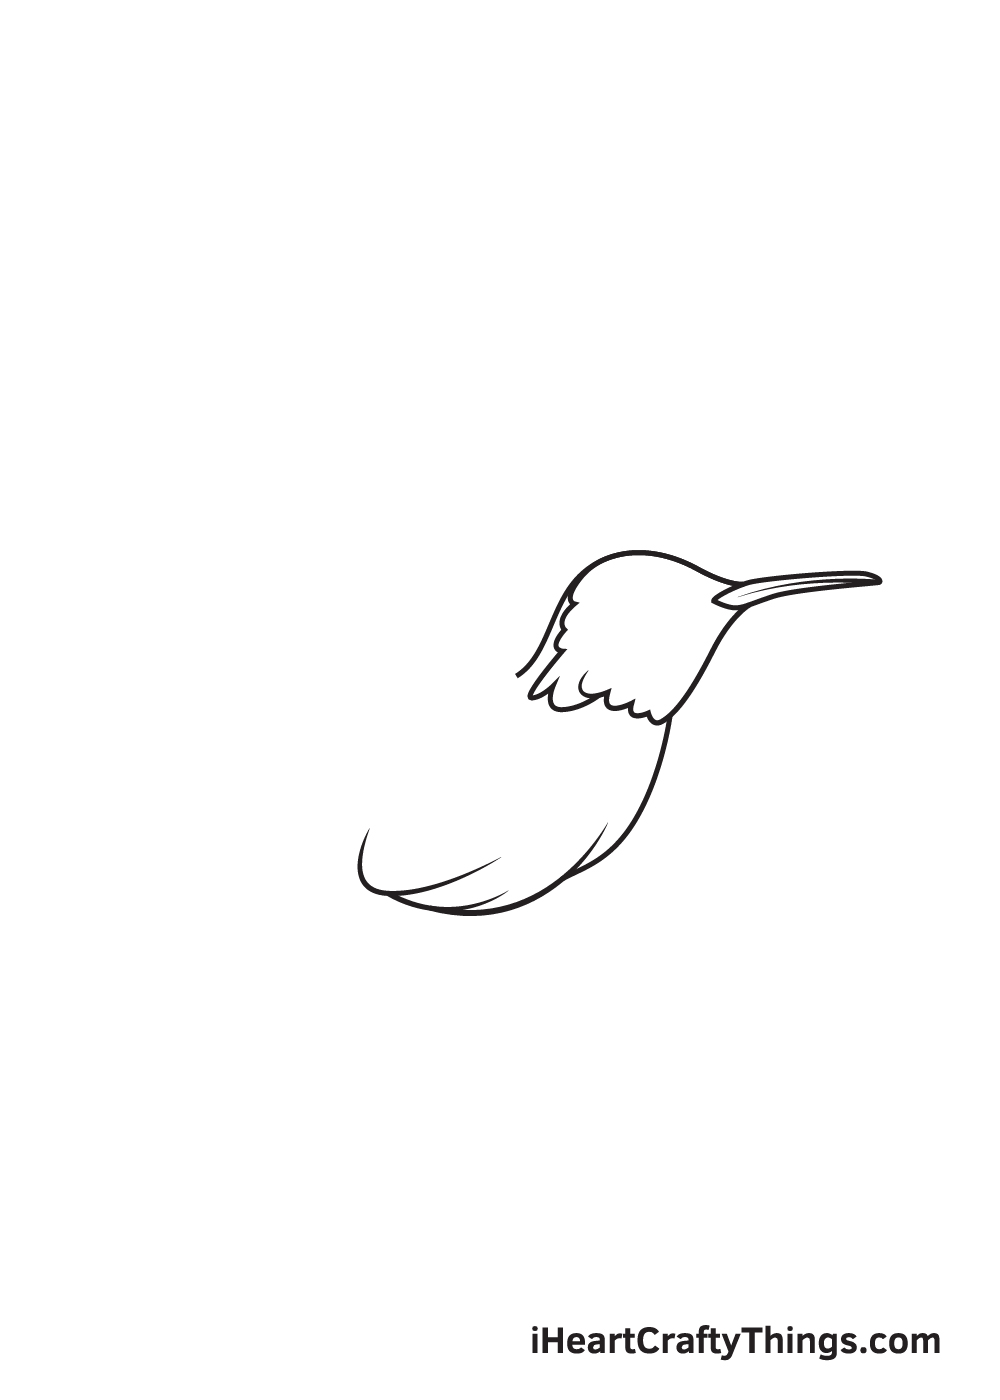
Step 5 — Draw the Bottom of the Hummingbird’s Tail
Draw a line with a curved tip starting from the bottom of the body of your hummingbird.
Then, add some more curved lines near the end point of the line we drew just now to create the appearance of fluffy feathers.
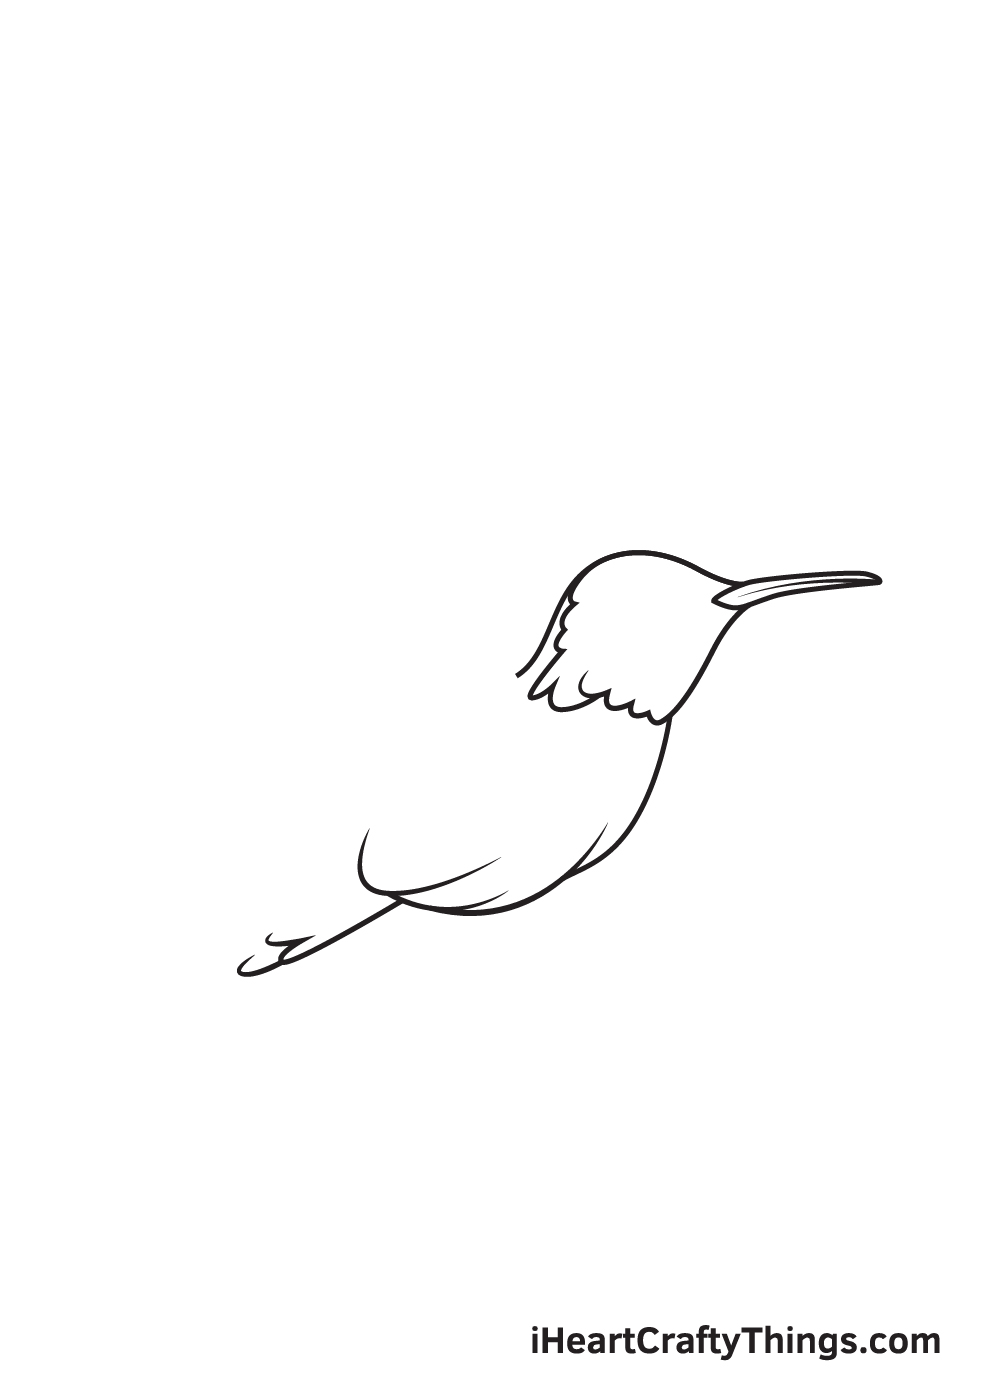
Step 6 — Finalize the Tail of the Hummingbird
Structure the tail emerging from the end point of the hummingbird’s body. The tail can be created by simply drawing multiple overlapping pointed shapes until you reach the desired shape.
As shown in the illustration, we drew a closed tail. Nevertheless, you can draw a fanned or open tail for your hummingbird. Draw the tail however you like. It’s all up to you!
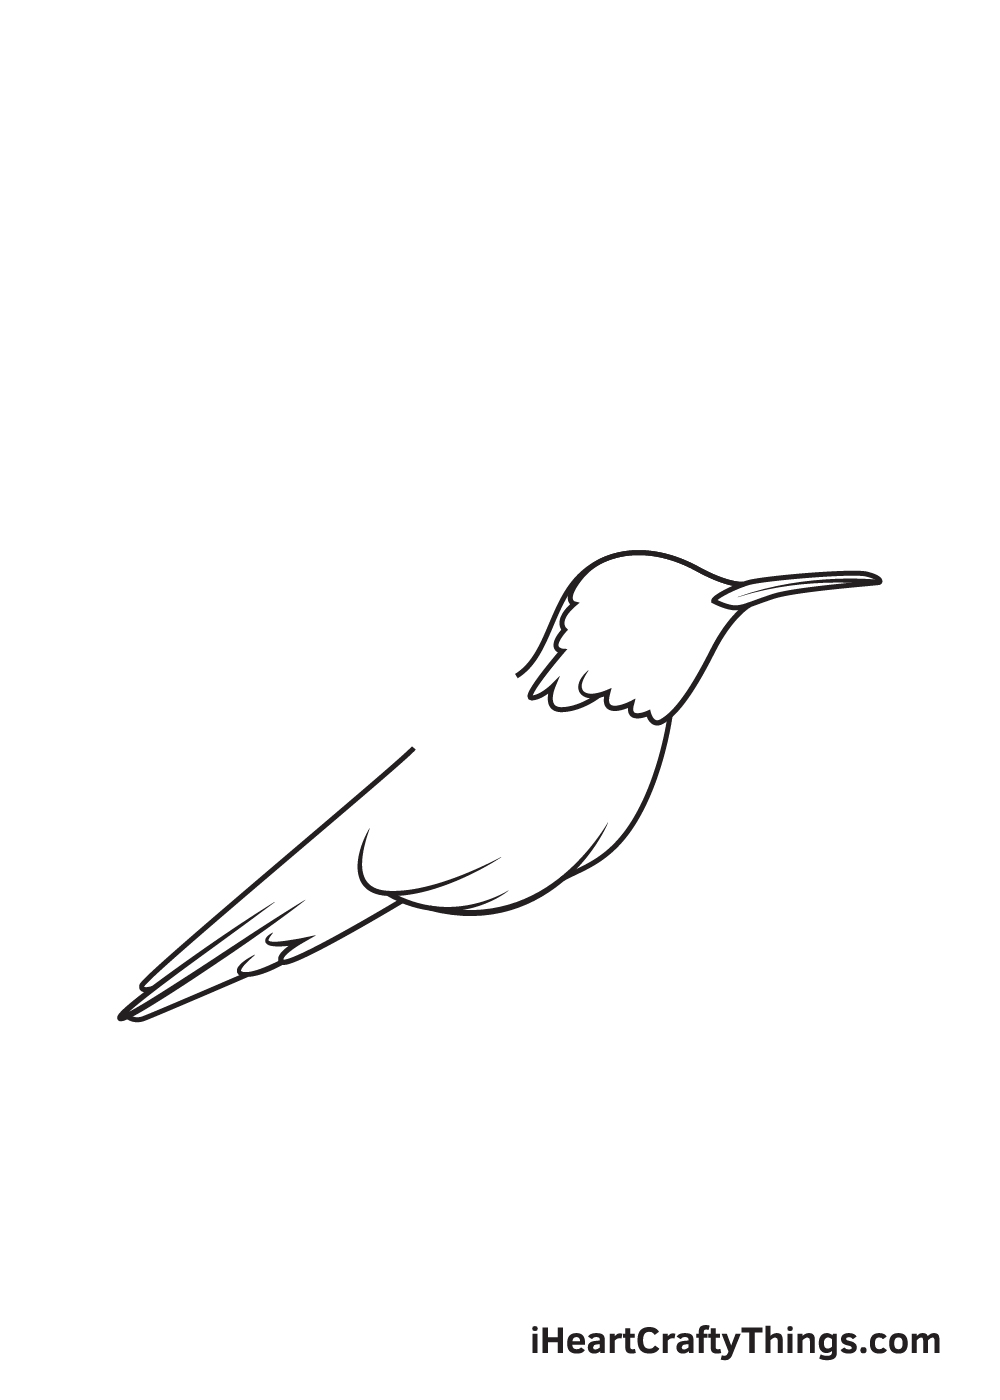
Step 7 — Draw One of the Hummingbird’s Wings
Draw a straight upward diagonal line beginning from the crown of the hummingbird. Then, draw multiple side-by-side feathers on the bottom part of the wing.
Once completed, the wing’s shape should look like a slender diagonal triangle.
We think the hummingbird’s wings look best when it is spread wide open. So, that’s what we drew in the illustration. However, you can absolutely draw its wings any way you like.
You can make the wings perfectly still on the side of the hummingbird’s body or make it slightly raised upwards.
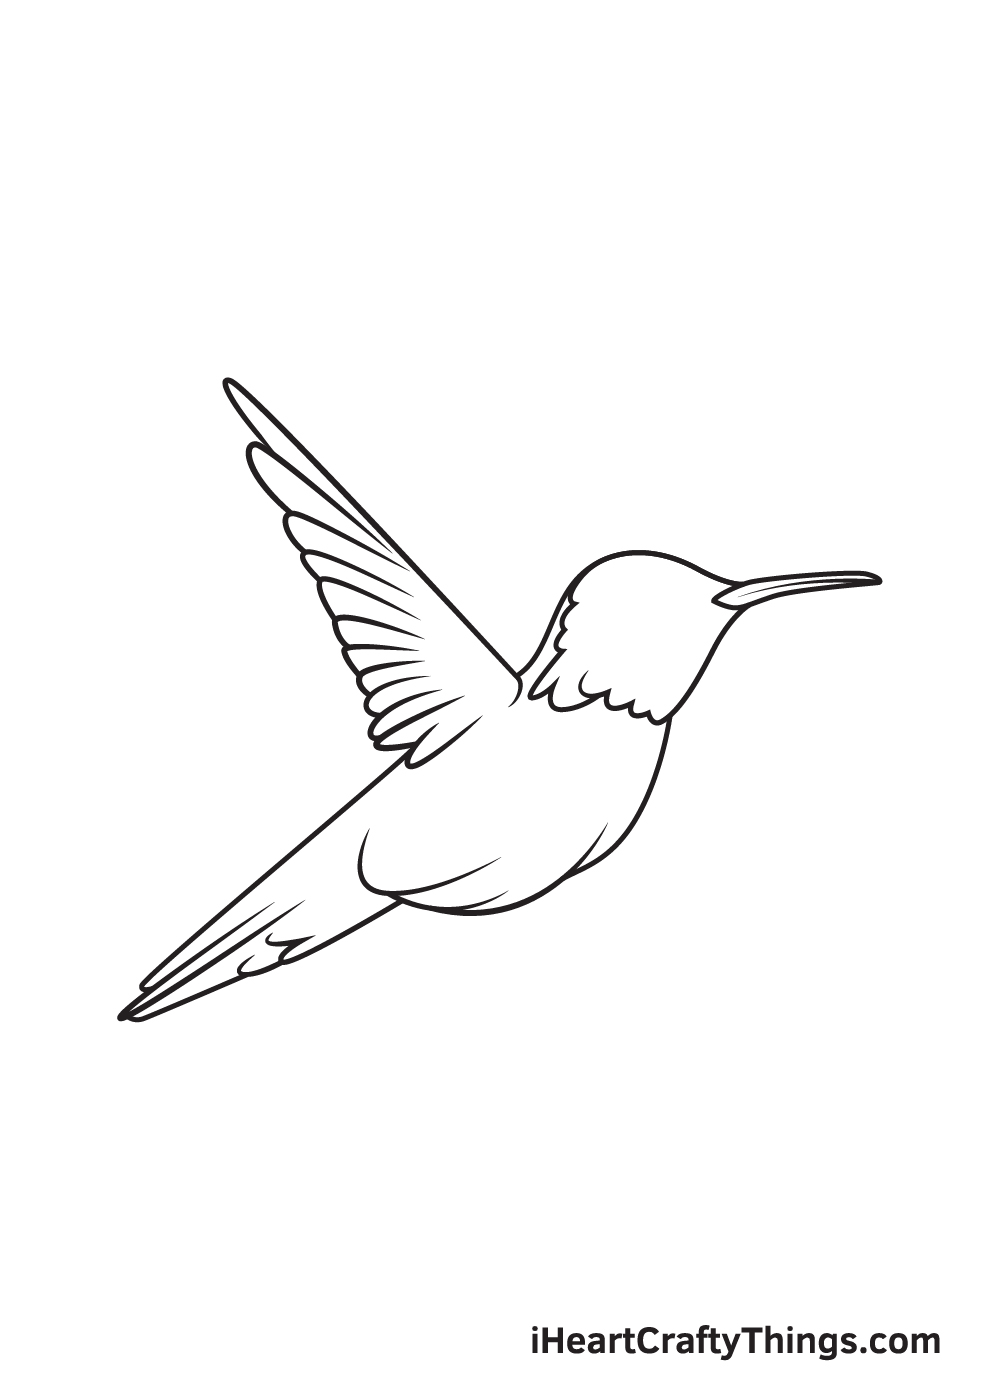
Step 8 — Afterwards, Draw the Hummingbird’s Other Wing
Repeat the previous step on the opposite side.
Since the hummingbird is positioned sideways, only the upper portion of its other wing will be visible, as seen in the illustration.
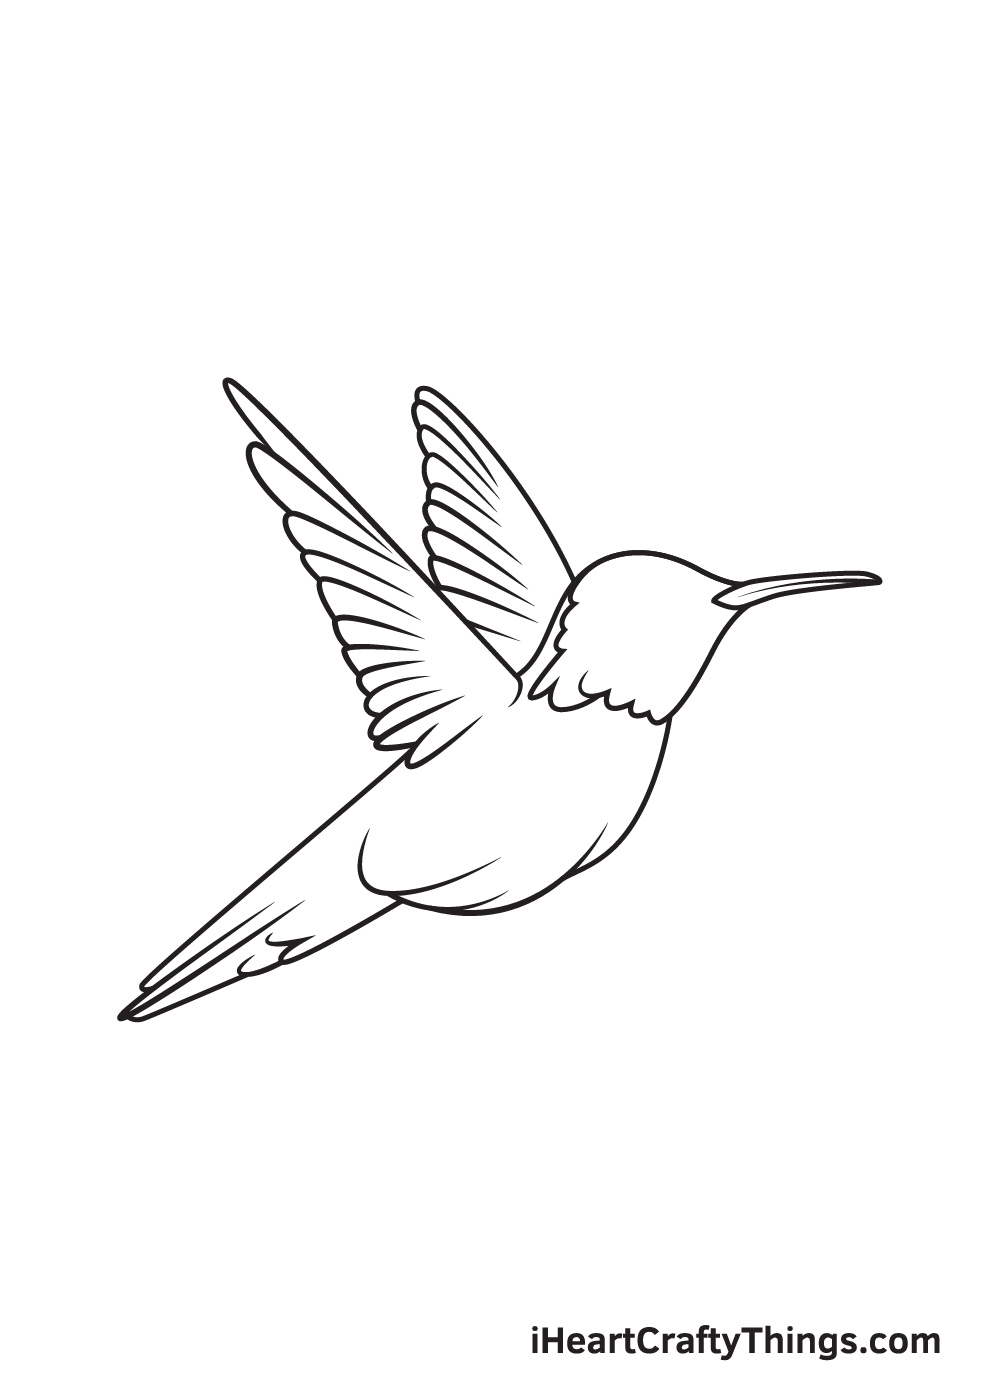
Step 9 — Add the Eyes to Complete the Drawing
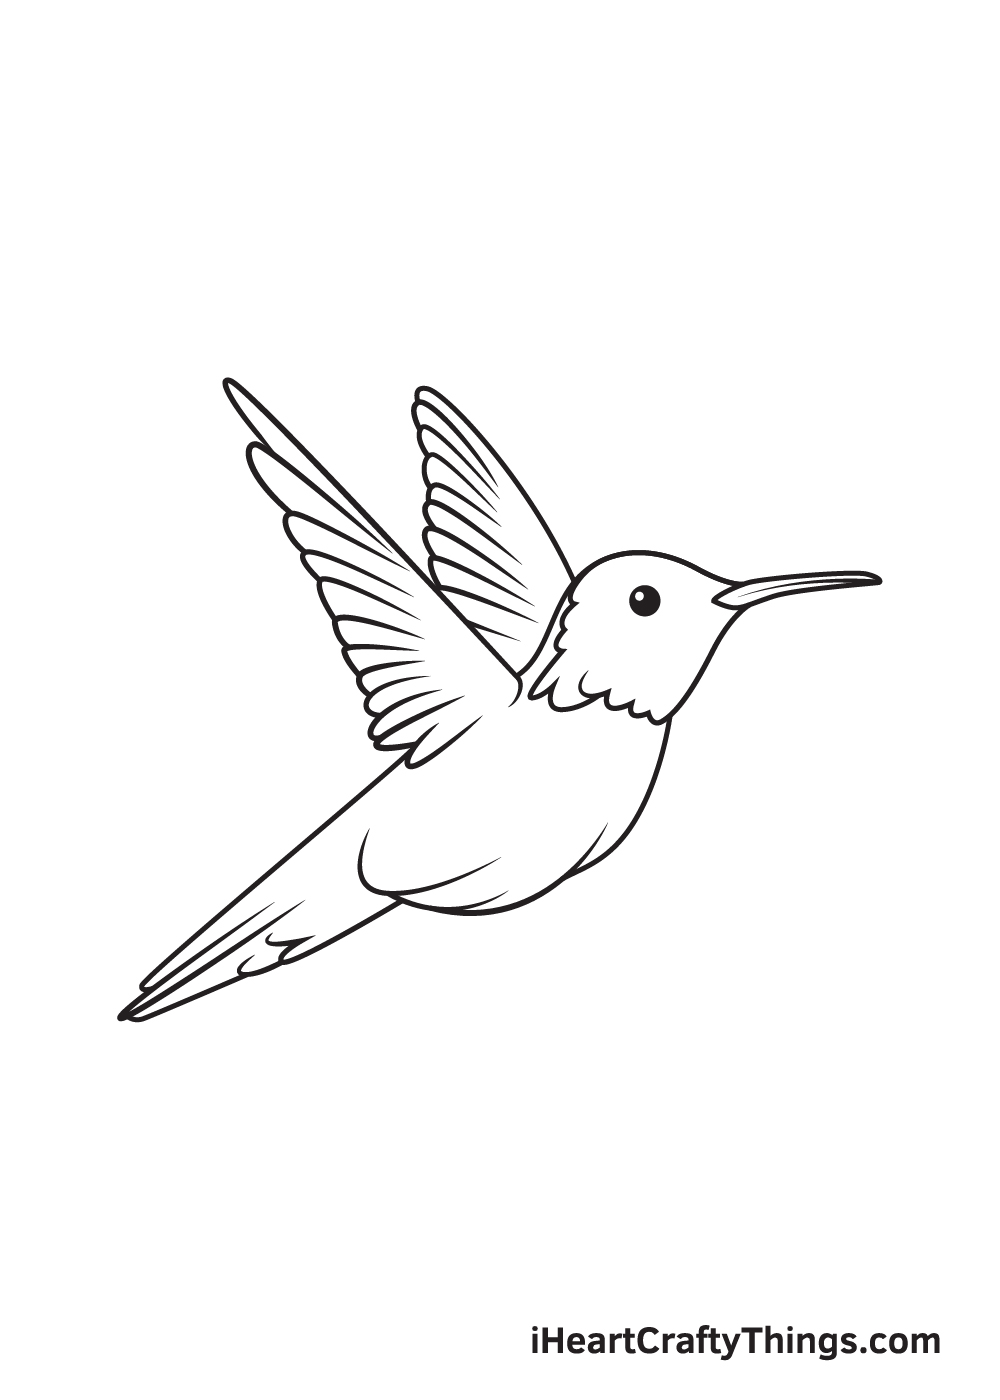
Draw a small perfect circle on the upper portion of its head. Then, draw a tiny circle inside the eye.
Afterwards, shade the entire eye except for the tiny circle inside to make the eye appear like it is gleaming, making your hummingbird look even more adorable!
As you can see, the hummingbird is complete at last! All it’s missing is a splash of colors to make your hummingbird look eye-catching!
Now that we have successfully drawn a hummingbird, it’s finally time for the most exciting part—choosing the colors and coloring your drawing!
Hummingbirds are colorful species of birds. They have more than one color and they exist in a wide range of vibrant color combinations.
The most common colors they have are blue, red, green, and more vivid colors! This gives you a lot of color options to choose from when picking the colors for your awesome hummingbird drawing!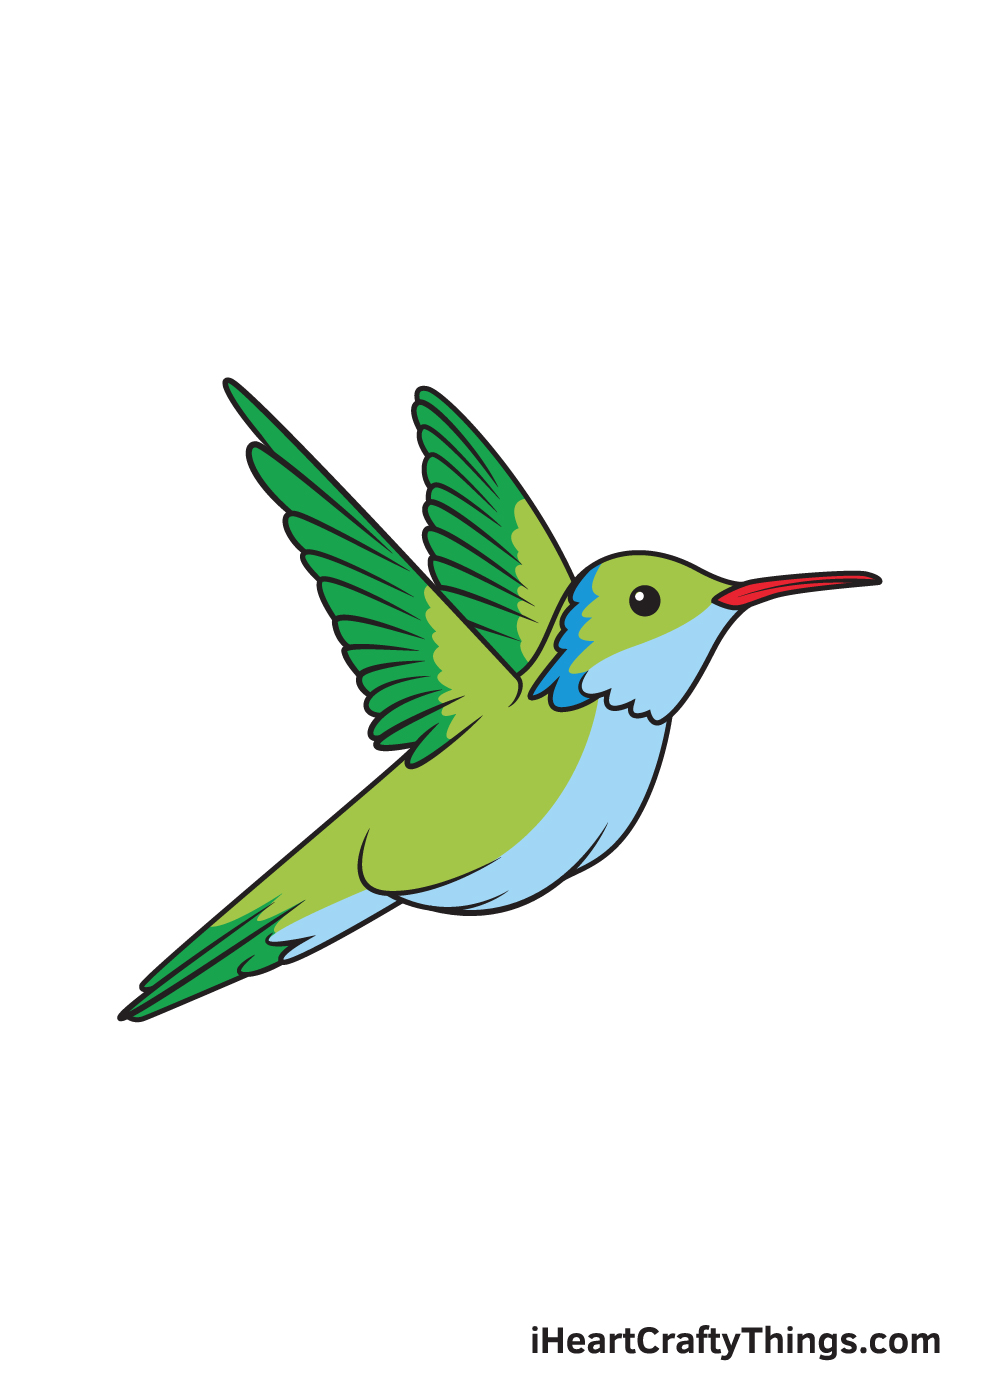
5 Tips To Make Your Hummingbird Drawing Even Better!
Make this delicate and stunning bird look even greater with these handy tips!
Hummingbirds are known not only for their beauty but also for their ability to hover. They do this by flapping their wings extraordinarily fast, and you could display this flapping with some simple lines.
You could do this by adding some curved lines over the wings to show how they are flapping, and this would be a simple touch that would take this hummingbird sketch to a new level.
These little birds are known to hover so they can extract the nectar from flowers, and you could draw one of these flowers for this image.
There are lots of flowers they use for this purpose, and you could look up some pictures of them to draw here.
The flowers will also give you the opportunity for some stunning colors to add to this hummingbird drawing!
One hummingbird is a stunning sight, but imagine getting to see two at once! We think it would look so lovely to add another little hummingbird to this scene.
Simply repeat the steps from the guide and change a few small details and you will have an adorable little friend for this bird.
Carrying on from the last tip, we also think it would look lovely to add a full-fledged background to this image.
You could use a garden setting with lots of plants and flowers growing, and these would again allow for some stunning colors.
That is one background setting, but we’re sure you can think of many more!
Hummingbirds come in some amazing colors, and you could add some really stunning shades to this drawing of a hummingbird.
Different mediums would be perfect here as well, and we especially think that some colored pens or markers would help make the colors pop off the page.
On the other hand, lighter mediums like watercolors and colored pencils would also look great for a softer look to the picture.
No approach is wrong, and it all depends on what you would like for this page!
Your Hummingbird Drawing is Complete!
We hope you enjoy this step-by-step hummingbird drawing tutorial. This guide is designed for beginners and experts alike who want to learn how to draw a hummingbird.
With the help of this extensive tutorial, we’re sure you will be able to draw a beautiful hummingbird in no time! This will absolutely be an enjoyable drawing activity for everyone who loves birds.
We are updating our “how to draw” catalog regularly, so make sure you keep re-visiting our website to continuously enjoy newly uploaded drawing tutorials.
Let us know what kind of bird you would like to learn how to draw next and we’ll do our best to deliver our beloved readers’ requests.
Once you’ve successfully drawn a hummingbird and colored it, you must be feeling very proud of yourself—as you should be! You have finished a masterpiece that is definitely worth sharing.
Show off your artwork by sharing it on our Facebook page and on Pinterest. Don’t be shy, we’re sure it looks incredible!
We are excited to see your beautiful hummingbird drawing!
Here Is A Humming Bird Drawing To Inspire You!
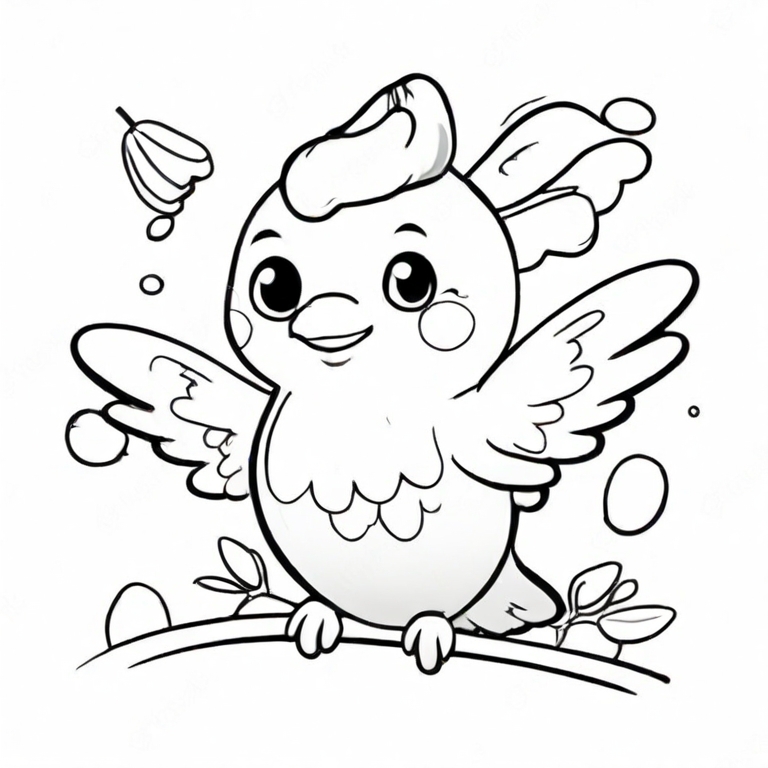
Humming birds are such cute little birds that are a beautiful sight whenever they appear. We wanted to help you a little bit more with this drawing, so we got our artist Freddy to help.
He created this adorable humming bird drawing for kids to give you the inspiration you need for your own drawing. This interpretation is a very cute cartoon take on this famous bird.
He added some lovely feather details and some background elements as well. This helps to make the bird simple and yet detailed at the same time.
Freddy portrayed the bird on a branch, but if you prefer then you can draw it flying as well. Perhaps it could be about to feed from a flower like a real humming bird would.
What other poses could you portray for this cute bird we have here?