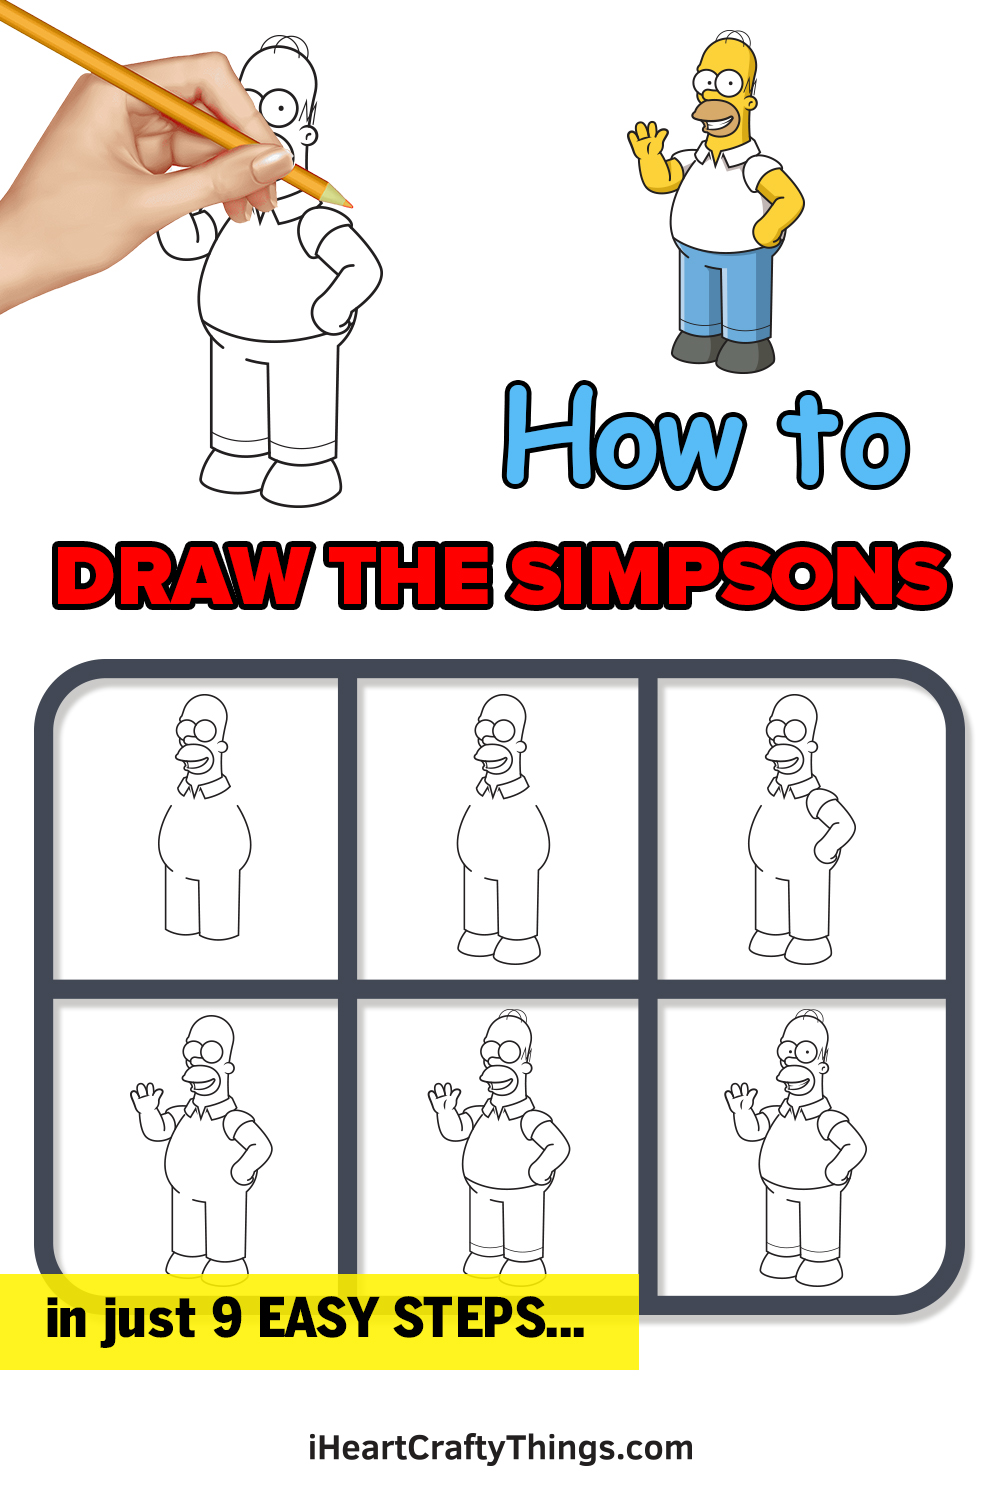
The Simpsons has the distinction of being the longest-running American TV show of all time. First appearing in 1987, this dysfunctional family has been delighting audiences around the world to this day.
At the head of the family is the bumbling but well-meaning Homer Simpson. He’s such a recognizable character, but it can be surprisingly difficult to learn how to draw Homer Simpson!
Luckily, this guide you’re about to read through will show you easy and fun it can be to draw him!
We hope that you enjoy this step-by-step guide on how to draw Homer Simpson in 10 steps!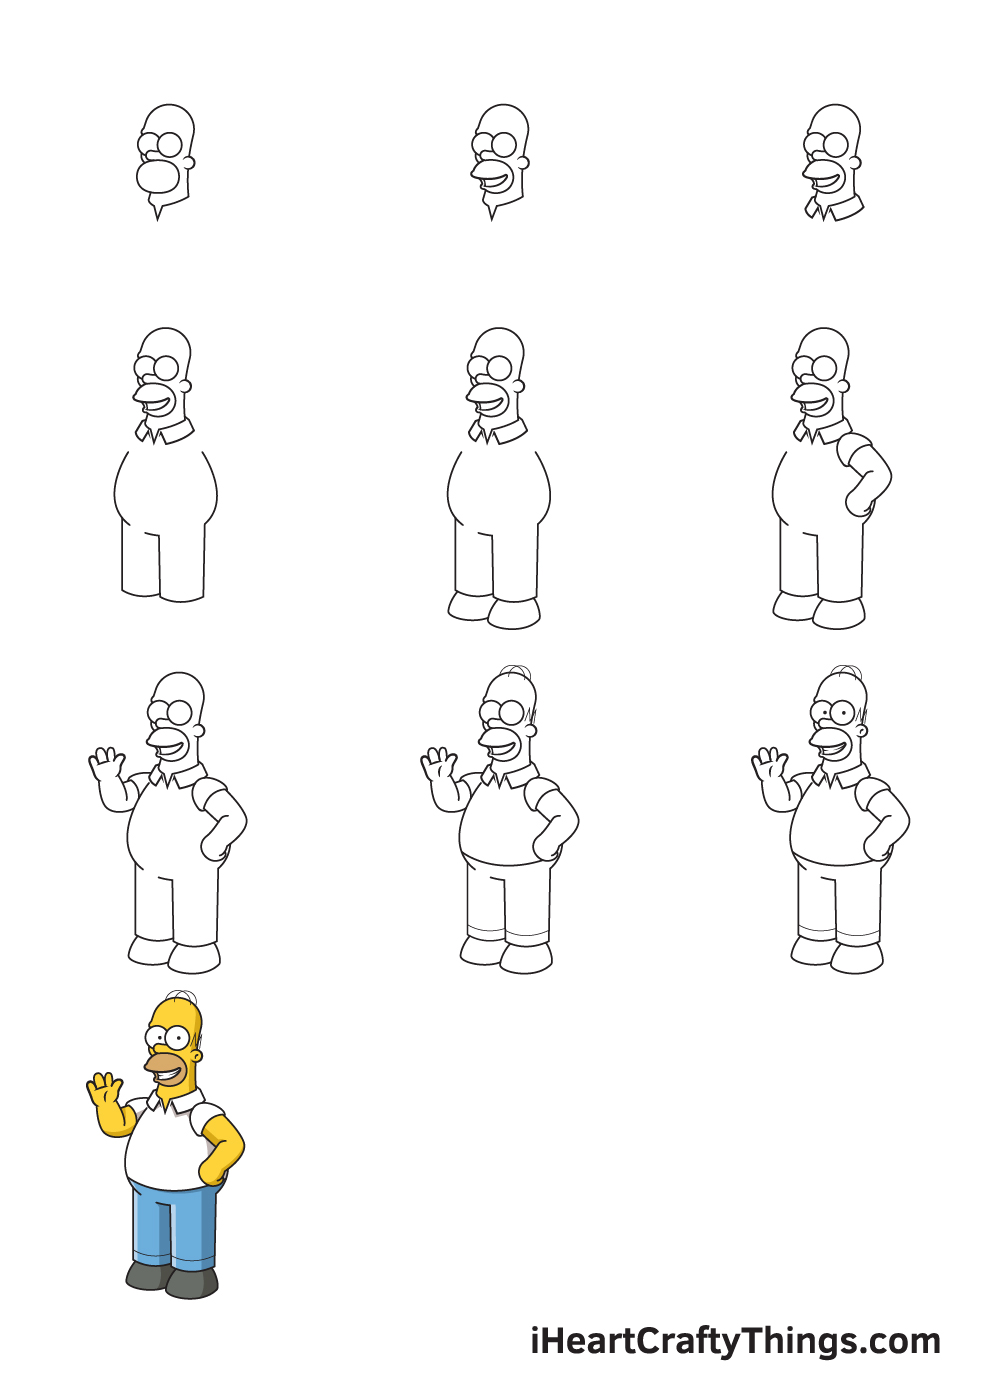
How to Draw Homer Simpson – Let’s get Started!
Step 1

To get this guide on how to draw Homer Simpson started, we will be starting with his head and eyes.
First, use a small circle for the eye on the right. Then, use a curved line to create the eye on the left connecting to it. You can then use another curved line for his nose.
For his mouth, you’ll want to use a pencil to draw an oval shape onto his face to help guide you in the next step.
You can leave that area for now, and then add the top of his head, ear and neck as shown in the reference image.
Step 2 – Draw his mouth in more detail

This part of your Homer Simpson drawing will see you drawing a more detailed version of his mouth.
To do this, you will be using your pen to draw a more rounded mouth inside of the pencil circle that you drew as a guide earlier.
As shown in the reference picture, his mouth will be a bit open to show his teeth. Once you have his mouth drawn you can then erase the pencil oval that you drew in the previous step.
Step 3 – Next, finish off Homer’s shirt collar

We will be finishing off Homer’s shirt collar in this step of our guide on how to draw Homer Simpson.
To do this, simply use a series of straight, jagged lines to form his collar as it’s shown in our picture. It should be connected to the bottom of his neck.
Step 4 – Now start on Homer’s body and legs

Homer’s body and legs will be the focus of this step of your Homer Simpson drawing. First, you can give Homer his rounded body by using two curved lines for his stomach and back.
For the line at his back, you may want to draw it with a pencil as you will be drawing an arm over it in one of the following steps.
Finally, use some straighter lines for his legs coming down from his body.
Step 5 – Draw some shoes for Homer

Homer needs a new pair of shoes, and we will add some in this step of our guide on how to draw Homer Simpson.
His shoes are quite simple in shape, and they are made up of a few curved lines at the bottom of his trousers. That’s all there is to it for this step!
Step 6 – Next, draw his first arm

You’ll be glad that you drew Homer’s back with a pencil as you add this part of your Homer Simpson drawing!
Using your pen, you can draw the semicircle shape of his shirt sleeve under his collar. Then, you can draw his bent arm as it appears in the reference image.
Step 7 – Draw his other waving hand

You’ve drawn one arm so far in this guide on how to draw Homer Simpson, and in this step you can add the next one.
This arm will be connected to the left-hand side of the body, and will be positioned in such a way that it will look as if he is waving.
Step 8 – Start adding some details for Homer

Before we move on to some final steps and colors, we will be adding some smaller details. First, you can use some thin lines for the hair on top of his head and also above his ears.
Then, you can use a curved line across his belly for the bottom of his shirt. Finally, you can draw some lines over the bottom of his trousers to finish them off.
Step 9 – Finish off the final details

It’s almost time to add some color to your drawing, but we have a few more touches to add in this step of our guide on how to draw Homer Simpson.
First, you can add some dots inside of his eyes for his pupils. Then, you can add some lines between his teeth and in his ears to finish off this drawing.
Be sure to draw any extra elements or background details that you may want!
The Simpsons family is known for their bright coloring, and we will be adding them in this final part of your Homer Simpson drawing.
Homer has bright yellow skin with blue trousers, and that’s what we went for in this example.
You can use mediums such as colored pens or markers for some extra bright colors to make it look like he’s come right out of the TV show.
What mediums will you use to finish off your Homer Simpson drawing?
5 Tips To Make Your Homer Simpson Drawing Even Better!
Celebrate this iconic character with these tips for your Homer Simpson sketch!
This character is rarely seen without some kind of snack in hand, so you could add that to this drawing of Homer Simpson!
One of his favorite foods would have to be doughnuts, so that would be a good place to start.
Any other tasty treat you can think of would also work, and you could draw it right into his hand. What kinds of good food would you like to give to Homer?
We have portrayed Homer Simpson in his classic outfit here, but he has also been seen in many other looks throughout the series.
For a few ideas, you could draw him in his work hazmat suit or maybe as a cowboy.
What are some classic Homer looks you could use here?
This Homer Simpson drawing shows him in a fairly relaxed pose, but once you have the hang of this drawing you can portray him in many different poses.
That would be a great way to put him in some wacky situations and adventures! Will you use some scenes from the show as inspiration or create a new setting for him?
Of course, Homer Simpson is one member of the larger Simpson family. You could also make this picture better by adding Marge, Bart, Lisa or Maggie.
If you have other favorite characters from the town of Springfield, then they could be added too! Simply look up some pictures of your favorite characters or use the show itself to help you as you draw.
What characters would you like to add?
When you’re happy with how your Homer Simpson sketch is looking, you can then finish it all off with a background. If you use the show, you would be spoiled for choice when it comes to iconic settings!
Of course, you don’t have to stick to pre-established settings. This would again be a chance for you to use your imagination and come up with some brand new settings for Homer to be in.
Your Homer Simpson Drawing is Complete!
That brings us to the end of this guide on how to draw Homer Simpson! We hope that this guide was not only very helpful and easy to use but that it also made creating this iconic TV dad a lot of fun as well!
Now that you can draw Homer Simpson, be sure to add any other fun details or additions that you may want!
You could draw other members of the family or even create a background to replicate your favorite Homer Simpson moment.
This guide you’ve just completed is one of many that we have in store for you on our website! Be sure to visit often, as we upload new ones frequently for you to enjoy.
Once your Homer Simpson drawing is complete, we would love to see your wonderful artwork! You can show us your creation by sharing it on our Facebook and Pinterest pages for us to enjoy.