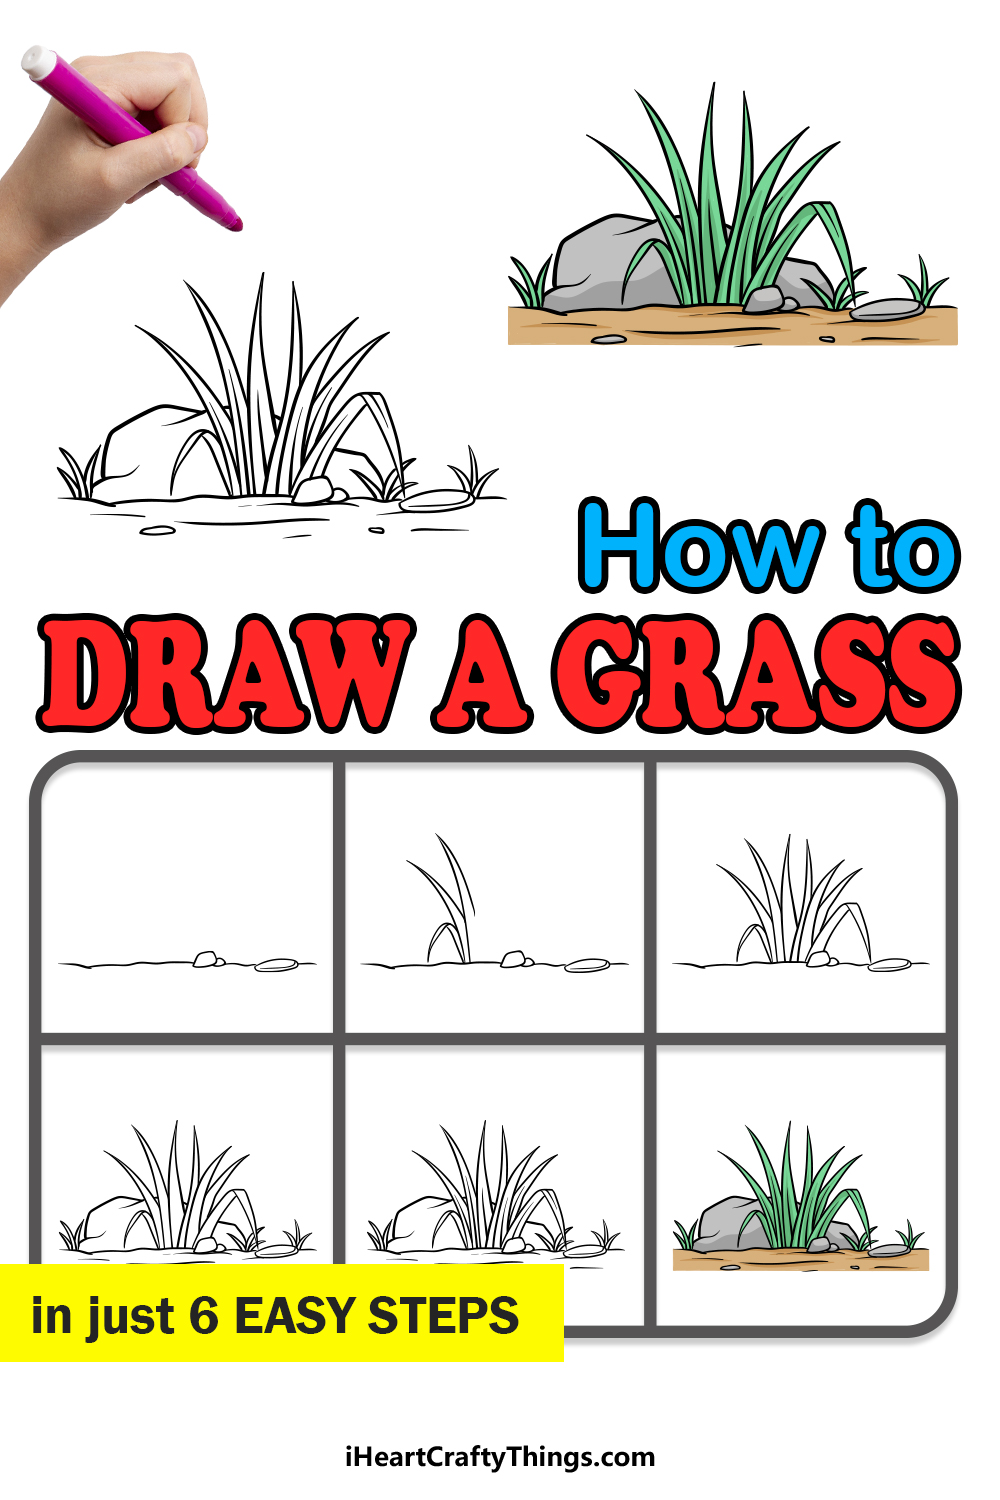
If you want to know how to draw grass, then this tutorial for kids will be perfect for you. Follow along and see how to make this detailed design.
It feels great to walk out on the grass with bare feet. It’s also really pleasant to look out on a calm field of grass, and if you look closer then you will also see all of the little bugs and creatures that live in the grass.
Making a grass drawing isn’t as easy as you may think though. This guide will show you how to make a really detailed drawing with details such as rocks included.
Once you have the hang of it, you could even add your own ideas and additions to make a whole garden scene! It will be fun to work through the steps so let’s start with the first step together.
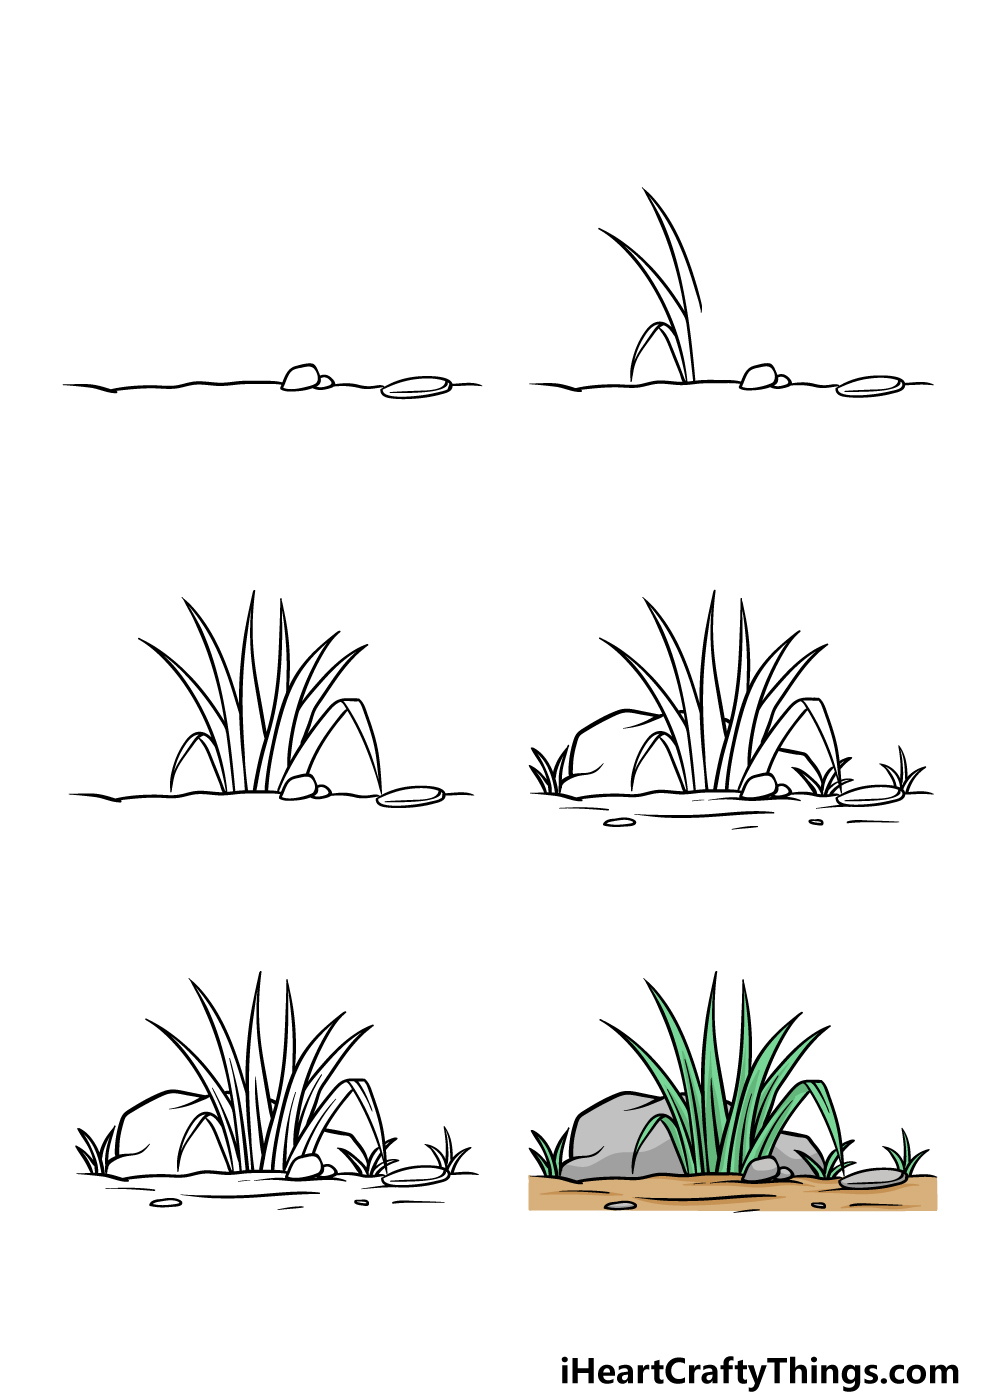
Watch These Steps To Make Your Grass Drawing
How to Draw Grass – Let’s Get Started!
Step 1
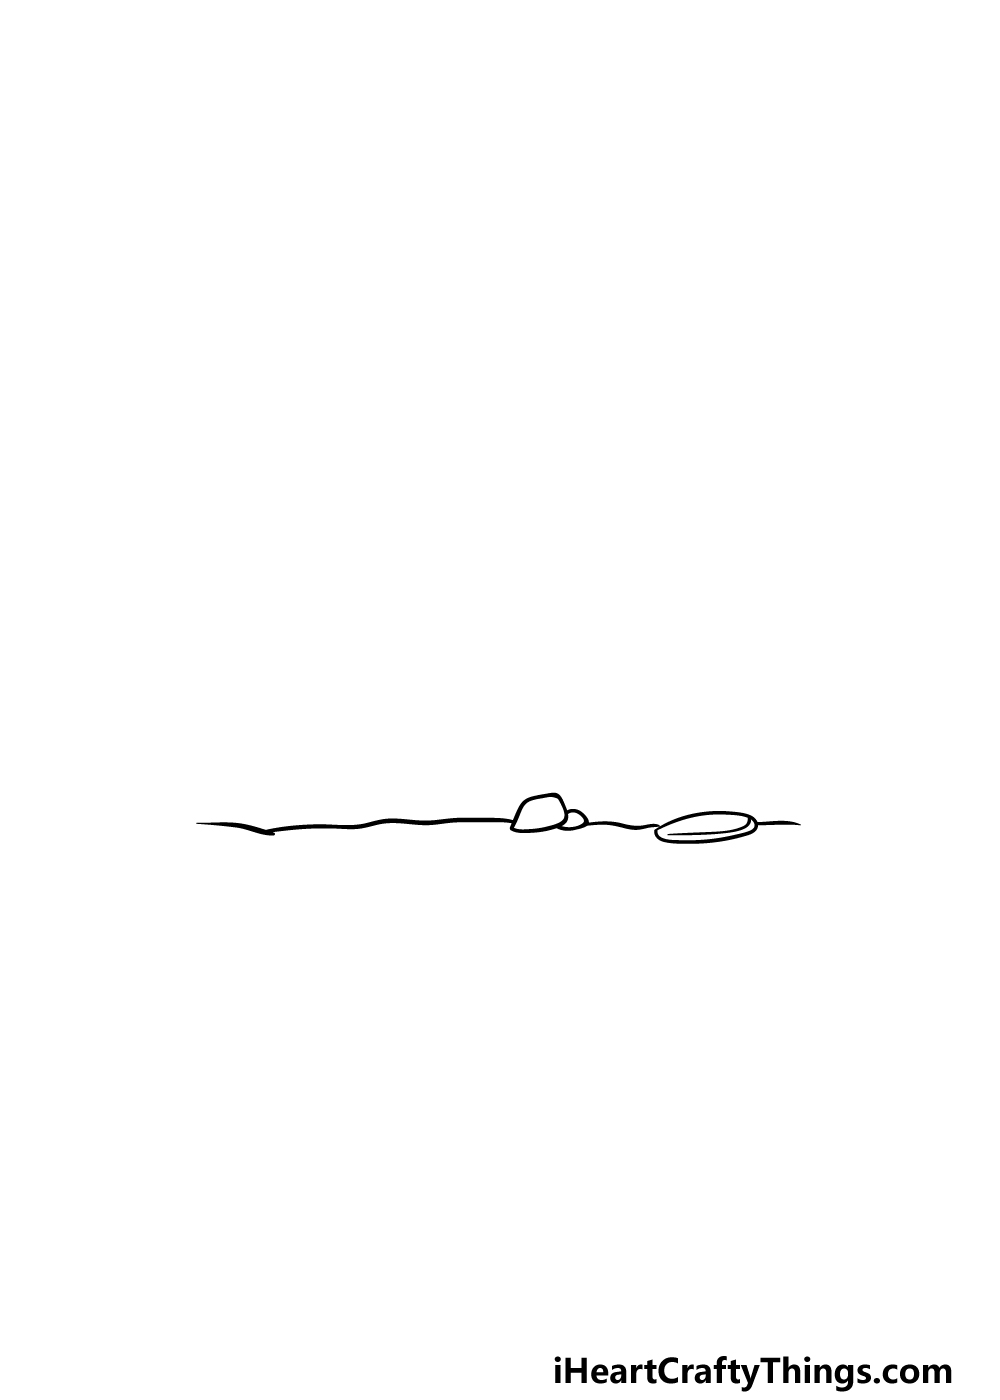
In this first step of our guide on how to draw grass, we will be getting up close with the blades as we draw this grassy scene!
First, however, we need some ground for the grass to be growing out of. We will be using an irregular, curvy line for the ground to start with.
Then, we will be drawing some flat round shapes for some stones and pebbles on the ground.
That’s all for now, so let’s move on to the grass in the next step of the guide!
Step 2 – Next, start drawing the grass itself
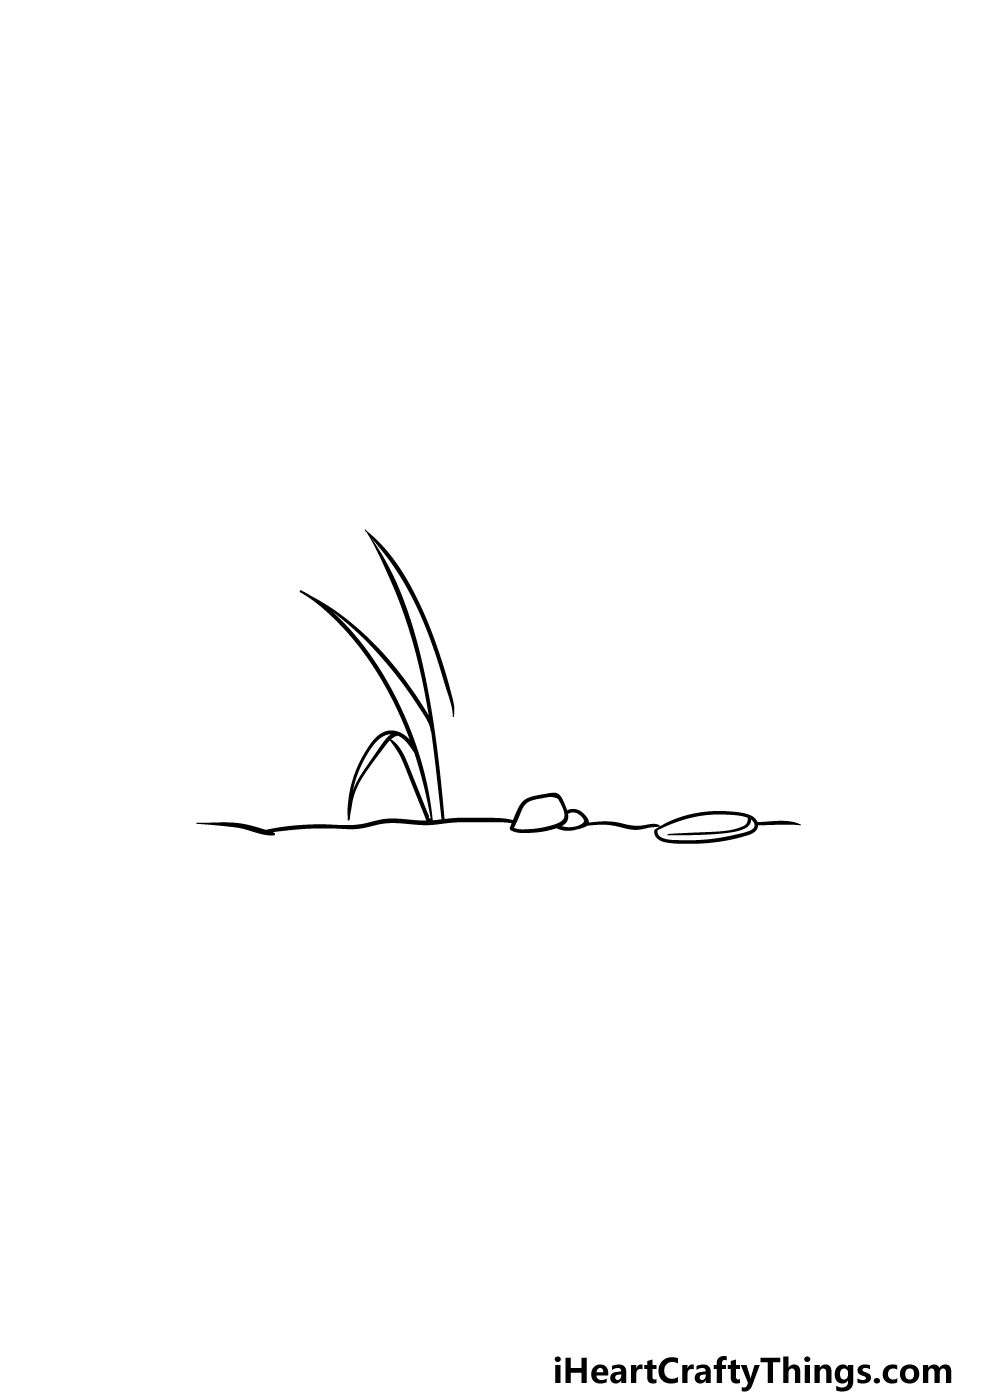
For the second part of your grass drawing, we will start drawing the grass itself. To draw this grass, we will be starting with three blades.
These blades will be drawn with some curved lines that have sharp points at the tops of them. The blade on the left will be bent over while the one in the middle will be curved.
Finally, the blade on the right will have a gap on the side, as we will be drawing some more blades against it later on.
Step 3 – Draw some more of the grass
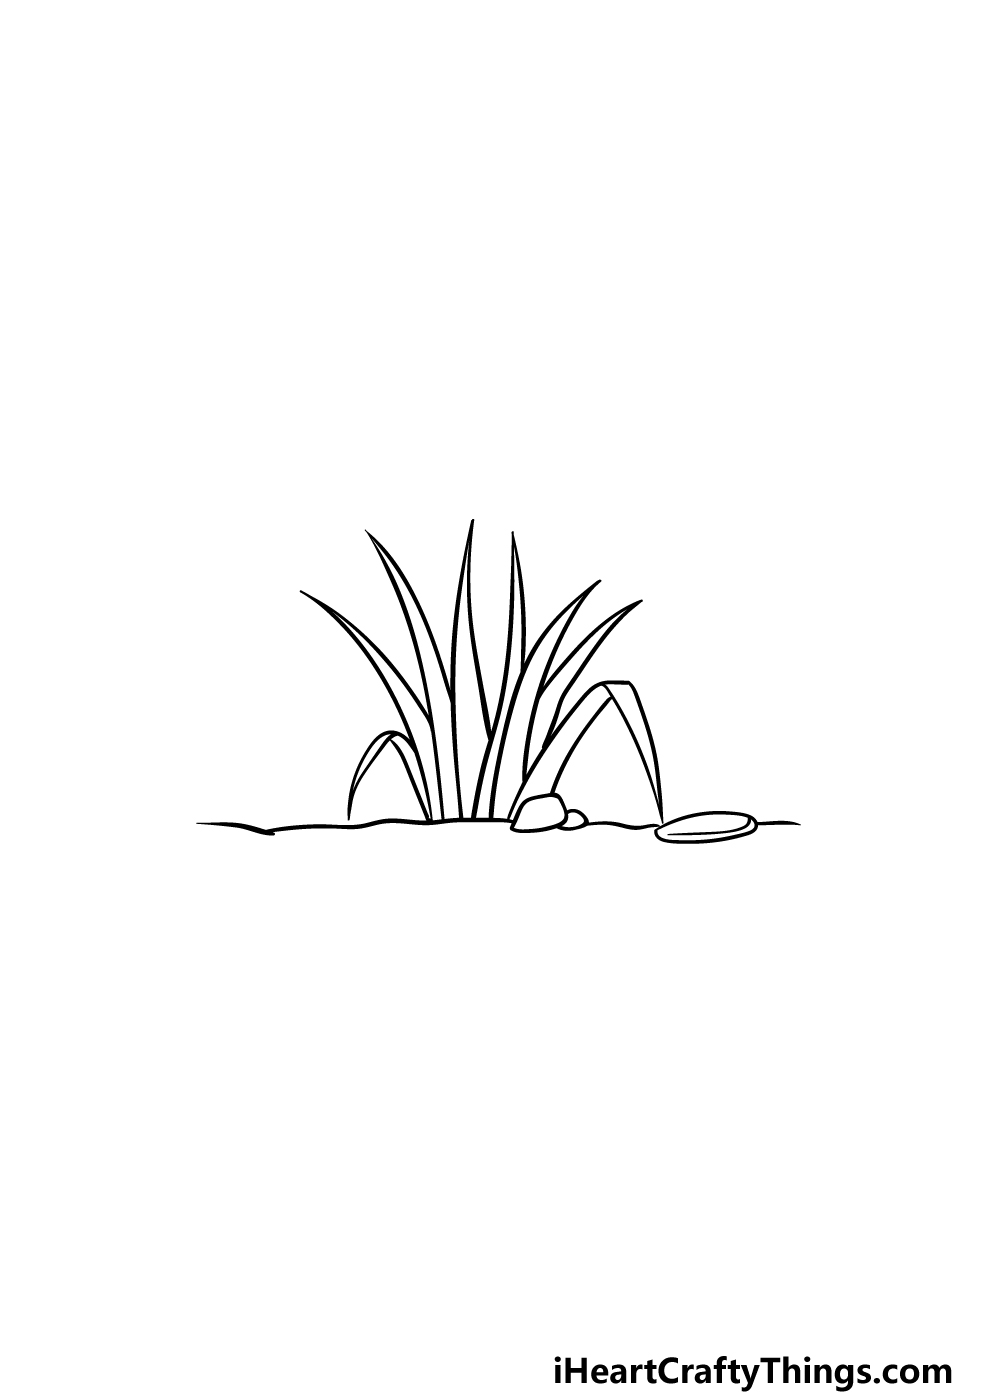
We will be adding some more blades of grass in this step of our guide on how to draw grass. Some of these blades will be positioned differently to others, so we will go over each blade individually.
There will be two blades that overlap each other and go into that space that you left in the blades that you drew in the previous step.
Then, we will add another slightly bent blade with another behind it. Finally, draw one more blade that bends over itself quite sharply at the end of the row of grass.
That will finish off all of the blades, so next we will start to add to some background detailing in the next step.
Step 4 – Now, draw some more of the background for the grass
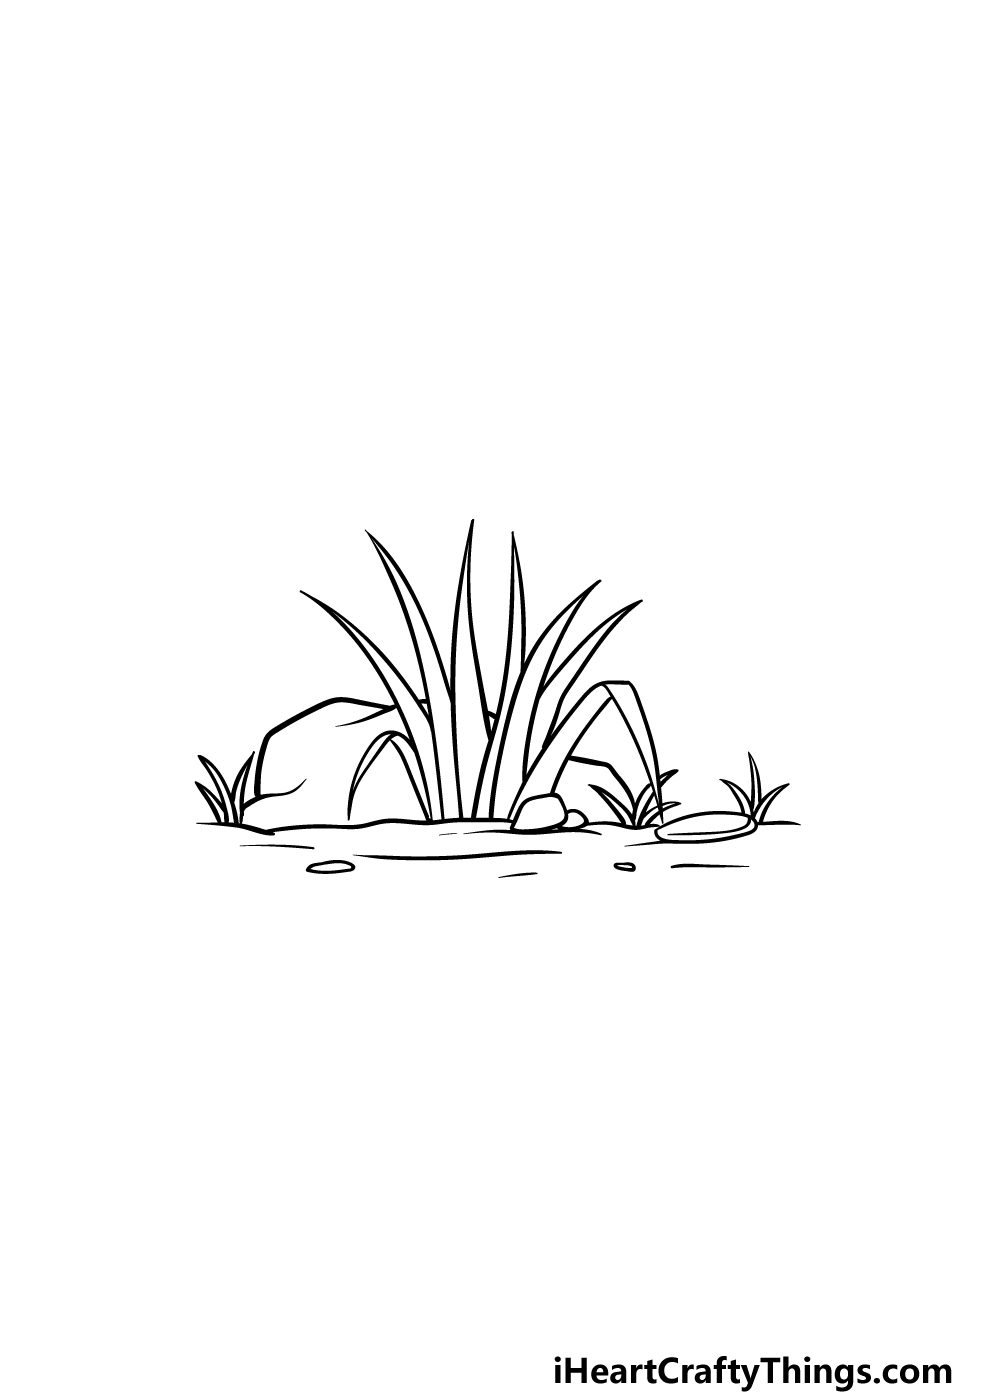
Now that you have drawn all of the grass, we will focus on some background detailing for your grass drawing.
First, we will use some rounded lines for some large stones in the background of the picture. Then, we can use some more curved and sharply pointed lines for some smaller little blades of grass beside the larger ones.
Finally, you can finish off by using some line detail on the ground around the grass to give it some more texture detail.
Then you’re ready to add some final details in the next part! Before you do that, you could also add some background details of your own.
Perhaps you could draw some insects or other small animals buzzing and playing in the background or add even more grass to go along with the drawing.
You could even draw some of your favorite flowers to the image to give it even more vibrancy!
Step 5 – Finish off the final details for your grass drawing
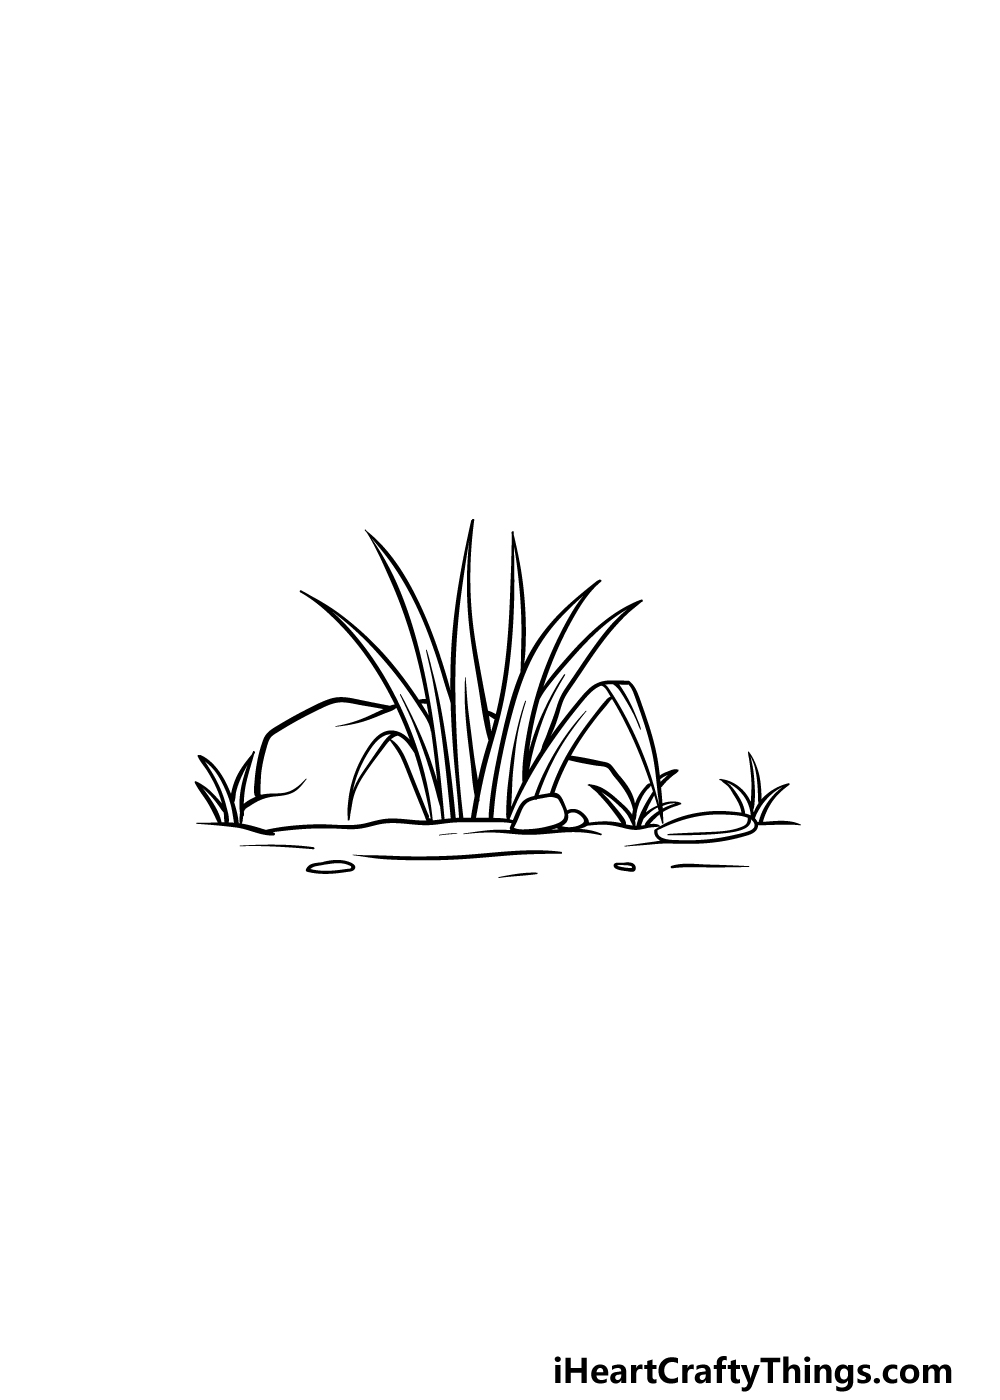
We shall be finishing off some final details in this step of our guide on how to draw grass.
First, add some simple line detailing onto each individual blade of grass, and these lines will start from around the halfway point of each blade.
You could also add some more fine detail such as weathering or little holes where bugs may have nibbled on the blades.
The next step will be the final part of the guide where you finish off with some colors, so this is your chance to add any final touches that you may want for the picture! When you’re ready to move on, it’ll be time for the final step.
Step 6 – Finish off your grass drawing with some color
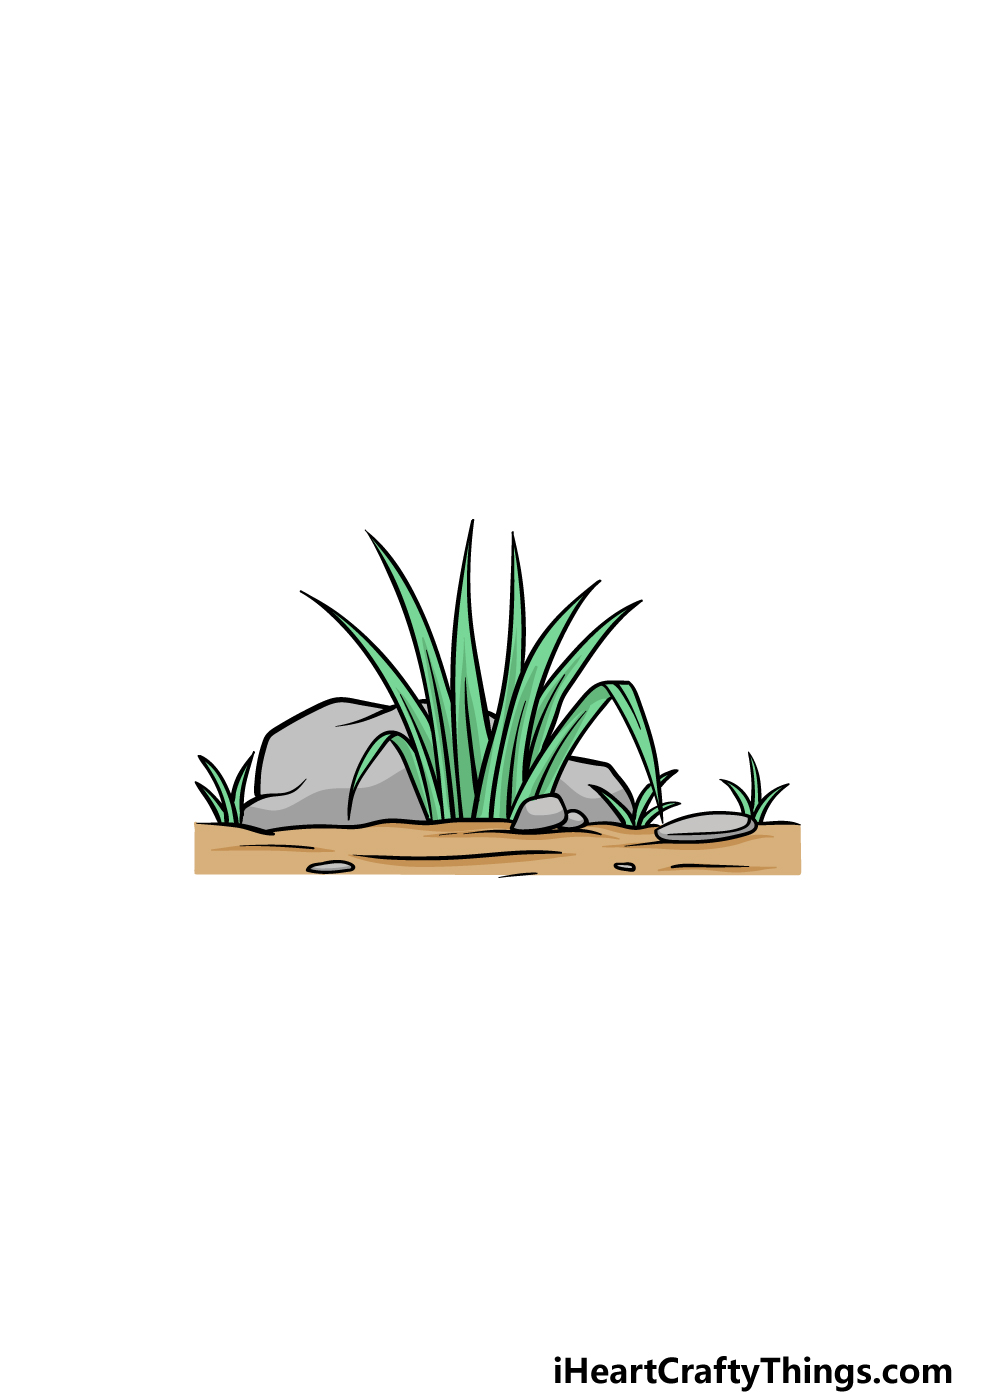
This sixth and final step of your grass drawing will be all about finishing off your artwork with some colors!
In our reference image, we used some more muted tones such as browns, greys, and greens for a more earthy look to the picture.
Even if you go for a similar color scheme, there is a lot that you can do to inject some of your favorite bright colors into the mix.
If you drew any background details or added a background, then that gives you lots of opportunities to get creative with color.
You can also achieve some color variation by playing around with your favorite art mediums and tools.
For outdoor, nature-themed pictures like this one it can often look great to have the softer colors of watercolor paint, but any mediums you choose will bring something to the picture!
We look forward to seeing what you choose to finish off your grass drawing.
Here’s how you can make your grass drawing even better…
Create a beautiful scene with these ideas for your grass sketch.
We created a pretty small patch for this drawing of grass, but one easy way to make it look more interesting would be to add more grass to this patch.
Now that you have completed this guide, you have everything you need to add as much grass as you want!
If you wanted to make a larger landscape, then you could even draw several layers of grass to make it look even fuller.
Once you have added as much grass as you want, you could also add other small details. For example, we already see one rock in the scene we created.
You may want to add even more rocks to the patch of grass for some variety. Other examples would be piles of sand, small flowers or maybe a bush.
These are just a few examples of natural things you could add to have there be even more to look at in this image. What else could you add to make it look even better?
Another idea would be to add some small animals to your grass sketch. For some ideas, there could be little bugs, mice or maybe a squirrel.
Some birds would also look great in this little scene! You could also go for something a bit larger and show some sheep or maybe deer grazing on the grass.
This is your chance to show off what animals you love the most by adding them here.
The final addition we would suggest for your grass sketch would be some human characters! If you were to go with this idea, you could draw them realistically or maybe in a cartoon style.
Then, you could pick who you would like to be in this image. The characters could be based on people you know or maybe on characters in a movie or TV show you like.
It’s all up to you, and then you can decide what kinds of activities they would be enjoying.
Your Grass Drawing is Complete!
You have completed all six steps of this guide on how to draw grass, and we hope that it was a lot of fun!
Drawing something like grass may seem like it should be really easy, but it can often be surprisingly difficult when you get down to it.
In this guide, we aimed to break it down into small steps so it wouldn’t be difficult and would let you focus on the fun parts!
Now you can show us how you can bring this image even further with your own details and elements.
We mentioned a few ideas for how you could do this, but be sure to get creative and have fun with it!
Please be sure to visit our website for more fun when you’re done with this guide! We have many amazing drawing guides for you and we upload more guides often.
We would be thrilled to see your finished grass drawing, so please be sure to share it on our Facebook and Pinterest pages when it’s ready!